Tag: crafts

  • Herbal Bath Salts

    Herbal Bath Salts

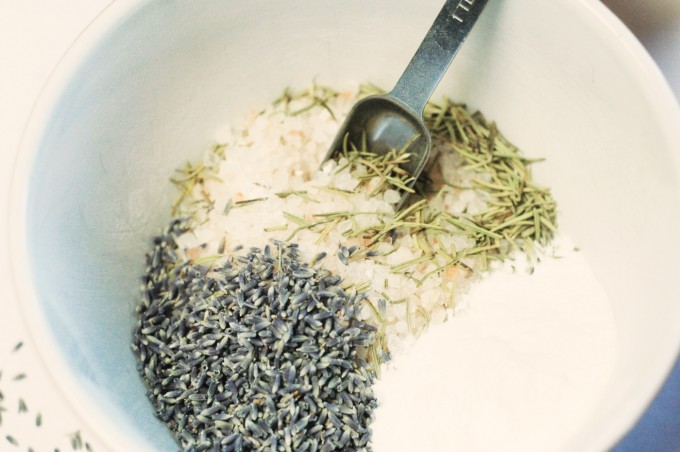
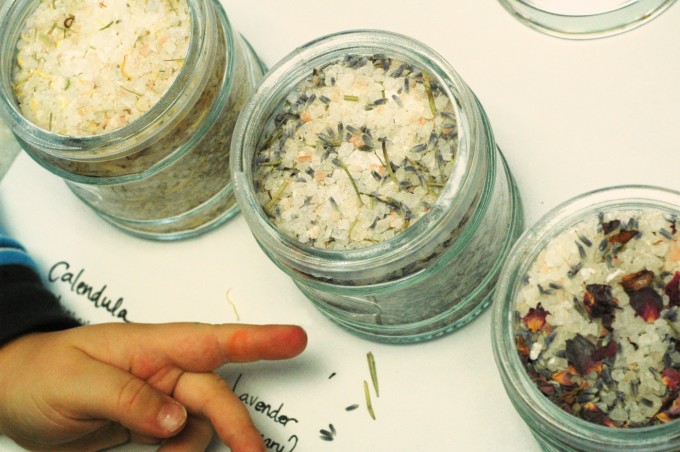
    Take a couple of nature’s gifts, mix them together and add to steaming water for a healing and rejuvenating experience. These mineral & herbal blend bath salts have a lot to offer in the gifting department: few ingredients; super simple to make; beautiful end result; useful for anyone who has a tub or even a basin in which to soak their feet!

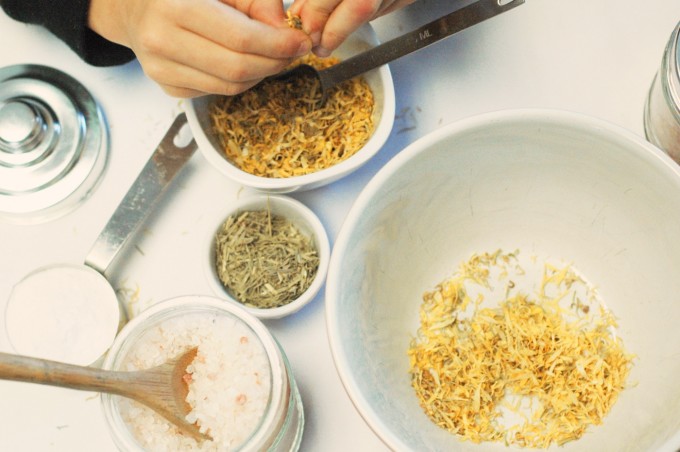
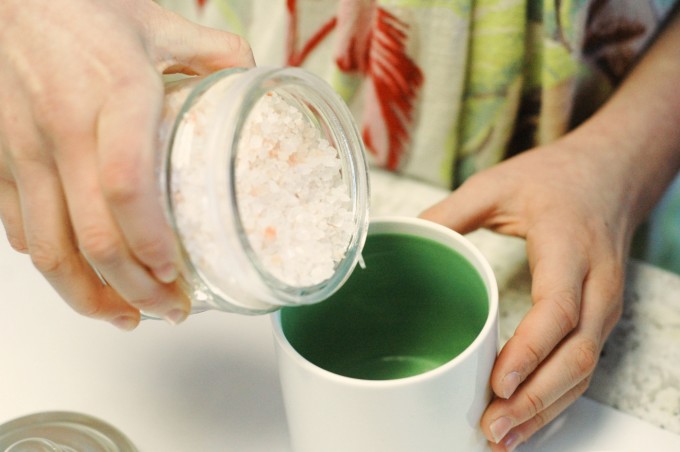
    This is a great gift-giving project for kids as it can be done without pesky adults getting in the way. Simply provide jars with lids, dried herbs, and mineral salts and let them go to town! We added about 2tbsp of herbs and baking soda per cup of mineral salts.


    Materials

    • mineral salts or epsom salts
    • dried herbs of your choice
    • baking soda
    • bowls
    • tablespoon
    • glass jars with lids
    • festive string/ribbon/twine, tags, pens, etc.

    TP bath salt trio TP bath salt makerpouring the salts bath salts ingredients bath salts boytiny advent bath salts finished

  • Guest Post :: Using Beeswax at Home

    Guest Post :: Using Beeswax at Home

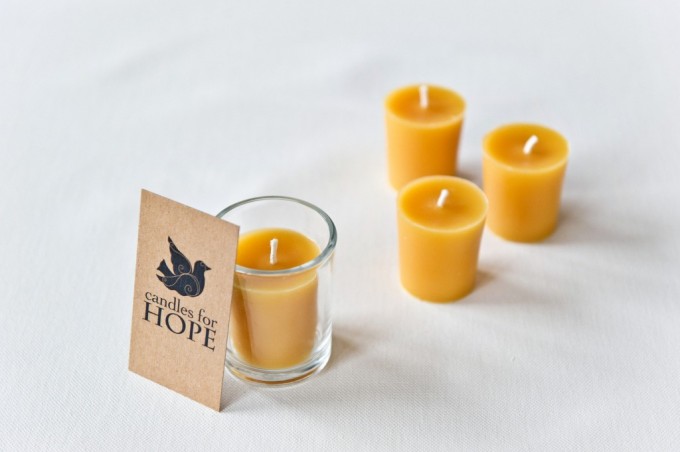
    Written by guest contributor Marlese Hazeu of Candles for Hope.

    My journey into making beeswax candles came somewhat unexpected, but I’ve fallen head over heels in love and have never looked back. Here are a few things I’ve learned along the way.

    1. Wax source: if you can, find a local apiarist (beekeeper) and ask them what they do with their wax. The other option is to head over to a local supplier. I have used BeeMaid in Winnipeg. Keep in mind, there is no quality control for the wax they obtain. One week you may get beautiful clean wax, the next it may be full of bee parts or sediment.

    2. Breaking up the wax: If you end up with a hug slab of wax and you need it to be broken in to smaller pieces, save yourself the headache of painstakingly trying to chisel, slice or chop off a chunk and freeze it instead. Once frozen, beeswax becomes brittle. Place in a bag and smash with a hammer. Kids love this part!

    3. Melting: Always melt wax in a double boiler. Be patient, better to do it slowly on medium heat. Wax is best poured at 160F. Too hot and it will crack when cooled, too cold and it will not pour smoothly.

    4. Filtering: There are various methods. Some use gravity to let the sediment settle and ladle the pure wax off the top. Others use a water bath, with acidified water using simple vinegar. The particles actually are held in the water, once poured off into a pail to cool, leaving a block of pure wax. The other way is long and tedious. It involved straining melting wax through kleenex and a strainer, one ladle at a time, leaving you an extremely pure, clean wax to work with. Also with the most amazing fire starter to use and give away to all your family and friends.

    Things to keep in mind:

    • Dirty wax will sputter, smoke and choke the wick.
    • If you don’t have a designated pot to melt over a double boiler… the pot can actually be cleaned after use quite easily, contrary to popular belief. Simply use cold water, soap and a metal scrubby. It works amazing. Remember, wax becomes brittle when frozen or cold. This works to your advantage.
    • Thrift stores are gold for finding all your beeswax melting supplies (ladle, pots & strainers).
    • Pure beeswax will shrink. That’s one way to know it’s real. Even different batches from difference sources will have different shrinkage percentages. Some people add fillers (other waxes) to lessen the shrinkage. It’s better to fill to the brim to compensate for shrinkage.
    • Wax can naturally be a range of colors from pale yellow to almost brown. It all depends on where the busy bees have been.

    I have enjoyed this process of trial and error and I hope this will help eliminate a few frustrating moments for you with this humble post on beeswax.

    Hazeu-101-1024x681

    marlese photo
    Marlese Hazeu loves the bunnytrails life takes; they bring her to many hidden treasures she would not otherwise have discovered. She loves the outdoors and shares that joy with her husband and 4 crazy kids.

    Marlese is the founder and operator of Candles for Hope, which exists to provide quality, hand crafted, 100% pure beeswax candles for you and your home, with 100% of the profits being given to Mercy in Action.


    Mercy in Action is a non-profit organization that focuses on the crisis in Maternal/Newborn/Child health care worldwide. They have established and funded free birth centers for poor families in the Philippines since 1992, and to date more than 12,000 babies have been delivered free of charge for the poorest of the poor in Mercy In Action’s Birth Centers, and literally tens of thousands of lives have been helped and healed in the medical outreaches. Their current Birth Center is Mercy Midwives Birthing Home outside of Olongapo, Philippines.


    This post was shared as a part of  Montessori Monday at Living Montessori Now,  Natural Living Monday at Modern Alternative Health,  Simple Lives Thursday at Real Food for Less Money/My Humble Kitchen,  Unprocessed Fridays at Girl Meets Nourishment,  Simply Natural Saturdays at The Pistachio Project, and Thank Goodness It’s Monday at Nourishing Joy.

  • Celebrating Halloween Mindfully :: Mini Pumpkin Candles

    Celebrating Halloween Mindfully :: Mini Pumpkin Candles

    I want our children’s memories of Halloween to be positive, festive, and warm. We choose to minimally participate (early evening trick-or-treating on our block and to grandparent’s homes, in fun rather than scary costumes), while aiming to create positive and gentle memories for them to carry with them as they grow.

    Part of this memory making involves crafts. Below are instructions for a craft loved by the whole family.


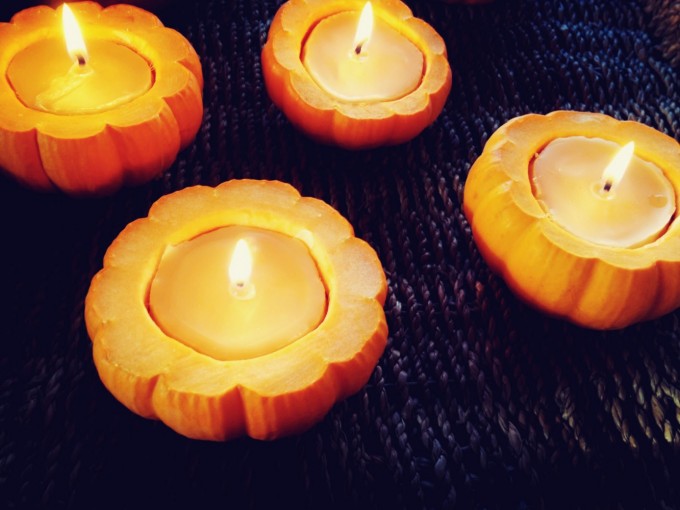
    Mini Pumpkin Beeswax Candles

    lit mini pumpkins

    This project was so much fun, the favourite part being scooping out the ‘guts’ of the pumpkins. For some reason, the cool factor of this task was upped a notch due to these being tiny pumpkins. We were so thankful to receive beeswax from a friend who operates an amazing candle company, Candles for Hope.  Marlese donates all proceeds to a free birthing centre in the Philippines.

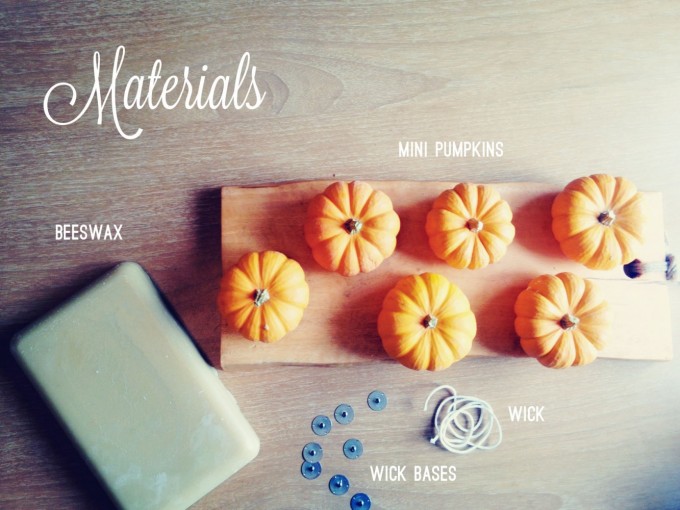
    Materials

    • beeswax
    • wick
    • metal plates for the base of the wick
    • scissors
    • mini pumpkins or gourds
    • lighter or matches
    • double-boiler
    • ladle
    • spoons
    • pliers
    • baking tray or other tray to contain beeswax drips

    mini pumpkin candles materials

    Instructions

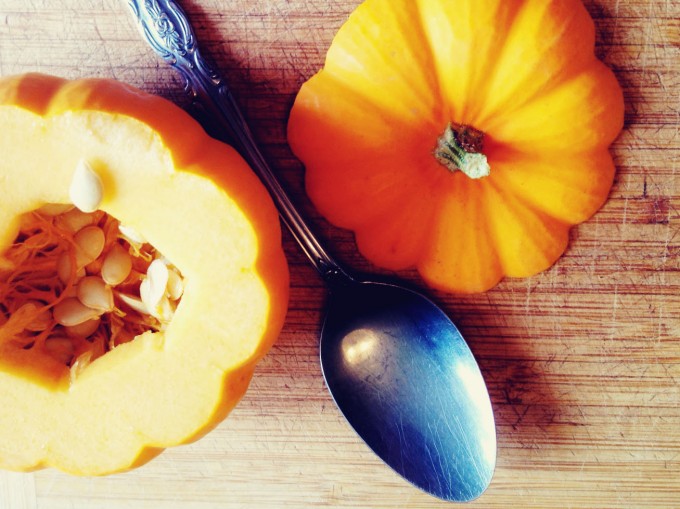
    1. Cut the tops off the mini pumpkins.mini pumpkin and spoon

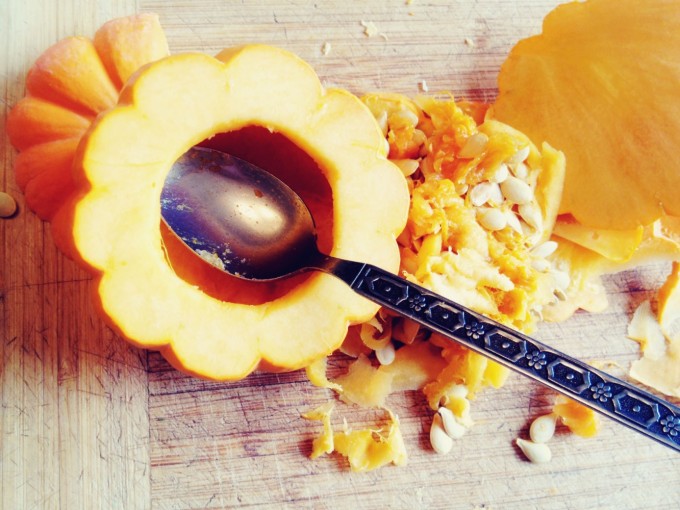
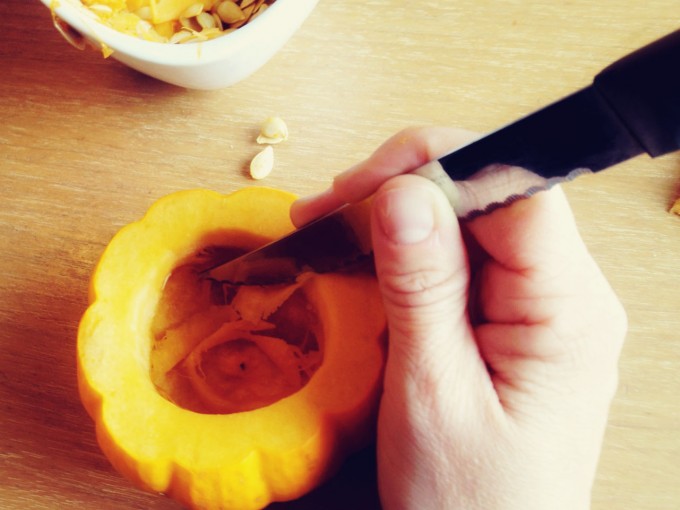
    2. Cut a hole in the top, and scoop out the insides. Use a knife to clean up the opening after.scoop out the gutsclean up the opening pumpkin

    3. Melt the beeswax in the double-boiler (you really don’t have to grate it, just cut it into chunks – ours were in roughly 2″x3″x1″ chunks)

    4. Place the wick in the pumpkin to figure out where to cut it – allow for extra and then trim later on.

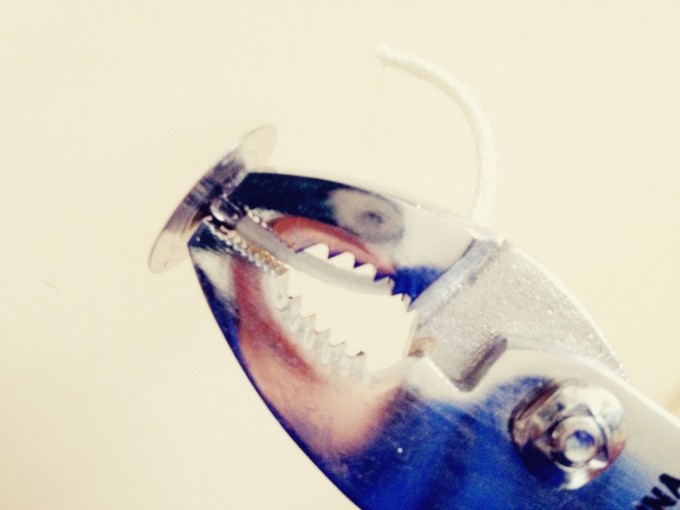
    5. Thread the wick through the metal base and then use the pliers to clamp it tight. clamp the wick base

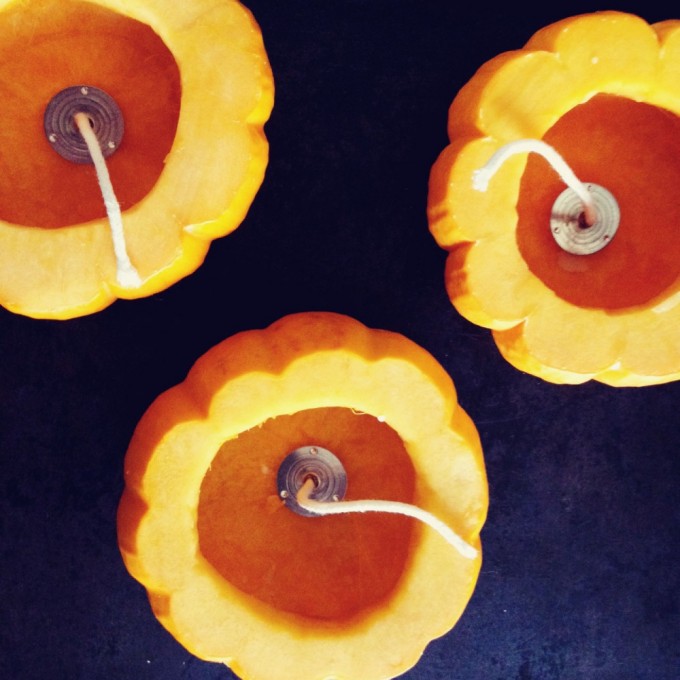
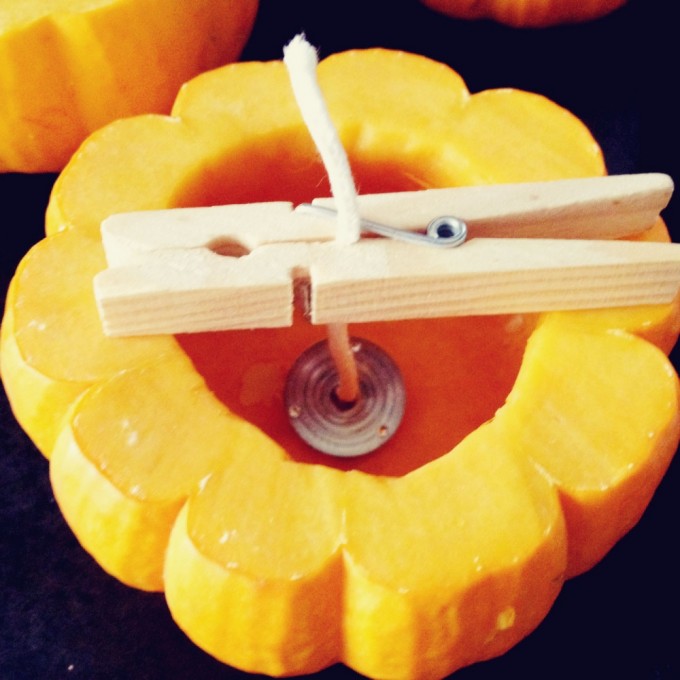
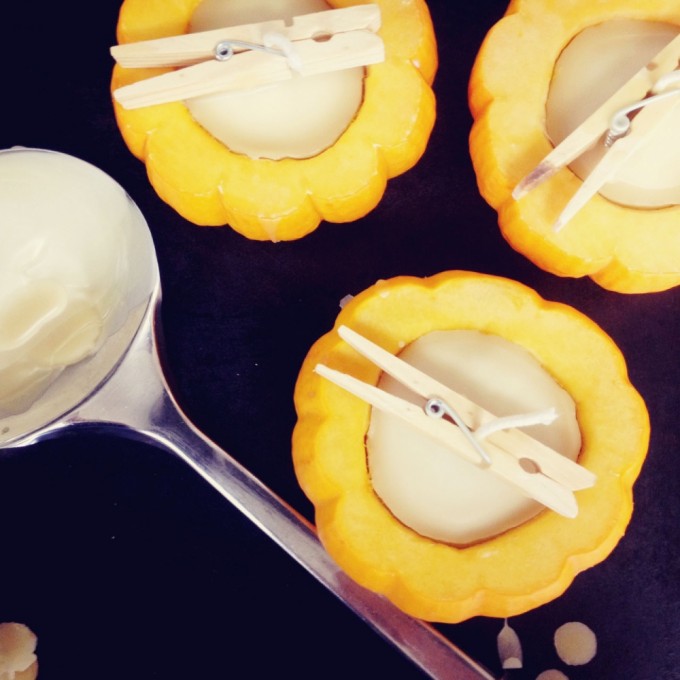
    6. Place the wick and base in the pumpkin and secure in the centre by using a clothespin (thanks to my genius husband for this idea – he is the logical-sequential brain behind my crafting operation!).place the wickpumpkin clothes pin

    7. Using a ladle, scoop and pour the melted beeswax into the pumpkin, right up to the top. poured wax pumpkins

    8. Once cooled, remove the clothes pins. To make these more halloween inspired, add a jack-o-lantern face using a permanent marker.  Light and enjoy!
    one mini pumpkin candle


    Don’t miss our latest FREE resource: Pumpkin Mini Inspiration Pack PDF: Fun pumpkin activities, recipes, poems, and recommended stories for your book basket.

    Screen Shot 2014-10-17 at 9.07.05 AM


    This post was shared as a part of Simply Natural Saturdays at The Pistachio Project, Thank Goodness It’s Monday at Nourishing Joy, and Natural Living Monday at Modern Alternative Health,  Simple Lives Thursdays at Real Food for Less Money, and Unprocessed Fridays at Girl Meets Nourishment.