Below are twelve gifts that are simple and engaging enough for kids to make as Christmas or other gifts for teachers, friends, and family. Some have links to posts that we’ve published here at Tiny Peasant, and others are just to provide the idea or send you somewhere else to get the full instructions! All of them are things that our little ones (and older one) have made and so they are tried, tested and true.
CRAFTS
1. Felted Stone Paperweights or Decorations
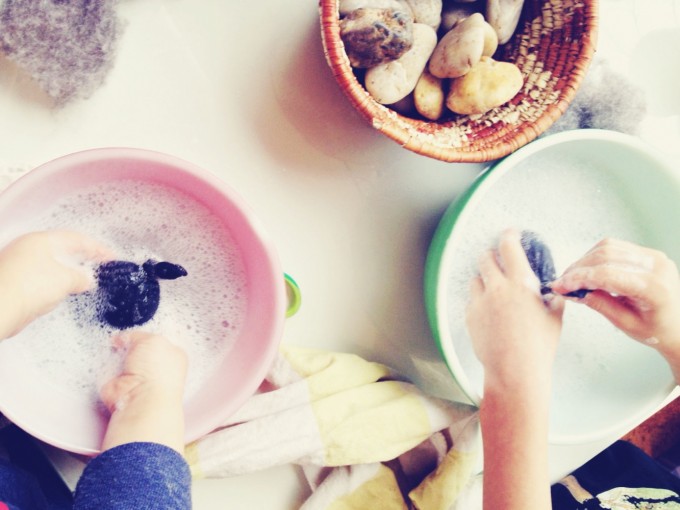
Kids love the warmth of this activity, as they dip their hands into warm soapy water. The resulting felted stones can be gifted for use as a decoration or paperweight. Find our how-to post here.

2. Felted Soap
Follow the directions for felted stones. Replace the stones with soap. Leave the dish soap out of the water, as the soap itself will provide the suds.
You can include a little note, if you’d like, to use it just like regular soap, as some folks might think it is just decorative!
We also sell Tiny Felter kits in the shop, if you’d like to get the supplies there for gift-making – and they also make a sweet stocking stuffer or gift for future crafting as well!


3. Framed Artwork
Purchase affordable frames from a local store (IKEA for example) and frame some of your children’s artwork to give as gifts. Try talking with your little ones about drawing something that their recipient will be interested in or love. Check out some how-to-draw books from your local library if your crew would like some inspiration.

4. Mason Jar Candles
When we were making mini pumpkin candles this fall, we had leftover melted beeswax. I had a nice short mason jar on hand, as well as extra supplies, so quickly made a simple mason jar candle. This would be a very simple thing to do, though might not have enough steps to safely include little ones. I think it would be a great project for teens! You can find instructions here – just use a jar or other container instead of a pumpkin. Also check out this helpful post: Using Beeswax at Home.
A friend of ours made a lavender flower version of these. Oh my goodness. Yes.


5. Play Dough
If you have flour, salt, cream of tartar, oil, and some elbow grease, you are ready to go! Check out our recipe for pumpkin spice play dough (both regular and gluten free), and omit the spice, adding in an essential oil such as orange or lavender, if desired. Package up your homemade play dough in mason jars or tupperware, put a label or some nice patterned fabric under the sealer ring, and you have a great gift for little ones. You can also try gingerbread play dough for the holidays!

PANTRY
6. Herbal Tea Blends
Just fill your jar or tin with healing herbs! Add a label or tag with instructions if necessary. So, so simple for little ones and truly a lovely gift. If you can get outdoors and collect some of your own herbs to include, even better. The rose hips shown were harvested by our three and six year olds.
We made pine and cedar tea blend, as well as a rose hip, nettle, and elderflower blend. Get creative or look online for ideas!


7. Herbal Salve
Even though this seems like it would be an involved project, it is really quite simple with a decadent result. Get the recipe here. You can also find our Tiny Herbalist kit in the shop, a beautiful cotton pouch stocked with tins, beeswax, recipes, labels, a beautiful handmade herbal journal and more.

8. Essential Oil Lip Balm
We made these last year, using a great recipe that was simple to follow with fairly basic ingredients. Bonus: You’ll also find a recipe for peppermint bark on the same page as the lip balm recipe!
9. Vanilla
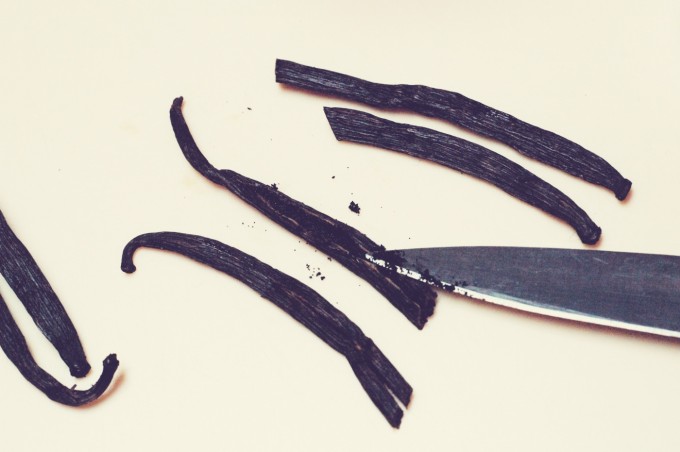
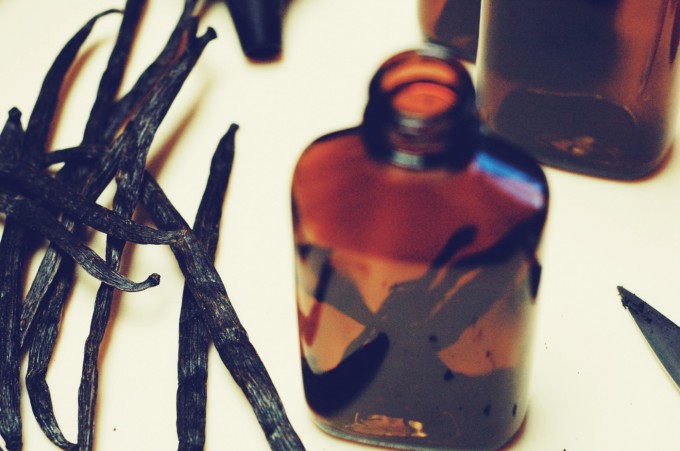
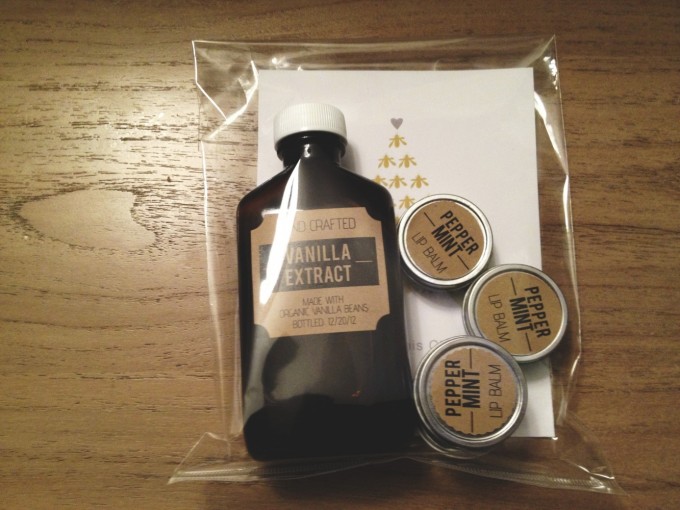
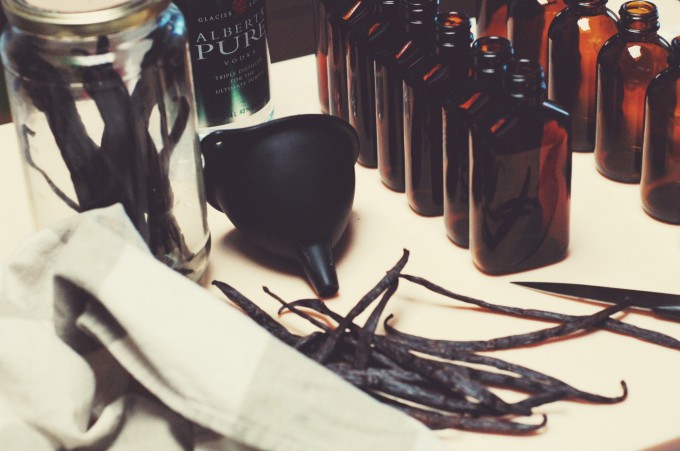
It truly doesn’t get much simpler than this. Older kids can help with scoring the beans, and all ages can drop the beans into the bottles, and help with the funnel and pouring. You can get the full instructions in our how-to post, which also links to our free, printable vanilla labels.
10. Fair Trade Fudge
We made this using Cocoa Camino fair trade chocolate. So, so good! Get instructions and flavour ideas here.

11. Homemade Cookies
Make your favourite recipe, and put it in a pretty package to gift to friends, family or teachers. We made peppermint shortbread. We left out the chai, and subbed at least part whole grain flour and a whole sugar…
Another favourite is Spruce Tip Shortbread cookies. Get it the recipe here.
You’ll find ten great cookie recipes in the ebook Nourishing Cookies for a Healthy Holiday by Diana of My Humble Kitchen.


12. Chocolate Dipped Goodies
You can use regular or gluten-free pretzels, or any other treat (almonds, homemade gummies, earth/bliss balls, homemade cookies) for this recipe. Using a double boiler, simply melt about 3 tablespoons of coconut oil along with 1.5 cups of fair trade chocolate chips, baker’s chocolate, or a chocolate bar. If you’d like it to be sweet, add a few tablespoons of honey (if you are using chocolate with added sugar, this won’t be necessary). Use tongs to dip the pretzels into the melted mixture and then lay on a cookie sheet to set. Package up in a canning jar or other nice package!

This post was featured at Real Food Forager, and shared as a part of Thank Goodness It’s Monday, Natural Living Monday, Fat Tuesday, Simple Lives Thursday and Simply Natural Saturdays.