Author: kris

  • Plant Spiced Cider

    Plant Spiced Cider

    One of our favourite outings is a trip to our local garden centre, Sage Garden Herbs. It’s not just a garden centre. It’s really so much more. Evelyn and Dave grow organic herbs, flowers, shrubs and trees and have a beautiful gift shop full of treasures for gardeners, cooks, and kids. Our little ones love the thought taken to make the visit special for them while mom and dad shop. There’s a little play house with tools, a train set, a small table and chairs… and a huge and lovely outdoor space with pathways, little birdhouses, and other treasures to find.

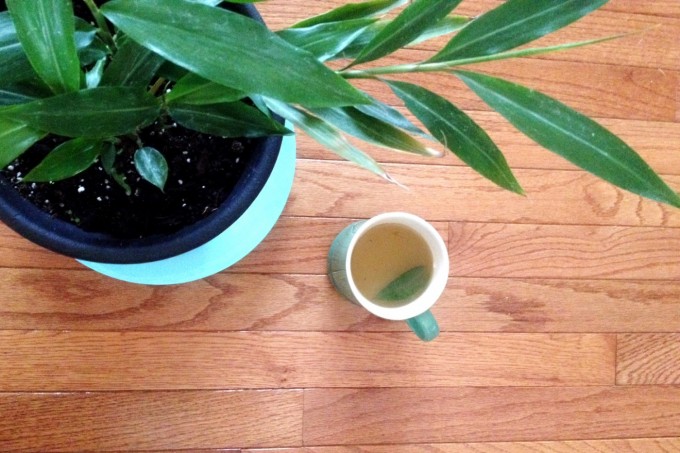
    This weekend we visited in search of seed garlic and some herbs to grow inside over the winter. We were surprised with a treat of spiced cider made by the staff using plants from their greenhouse. Oh my, this cider hit the spot on a chilly fall day! Below are the plants that were used in a base of pure apple juice or cider. Play with the amounts to find a combination perfect for you and yours.

    We purchased a Galangal Ginger plant. The leaves can be used for cooking, as well as the roots. How cool is that? We’re looking forward to picking up the other plants as well, so we can make the full recipe over the winter…

    Thanks to Evelyn and Dave for sharing the ingredients.

    Bay Rum

    Allspice 

    Galangal Ginger 

    Lemon Verbena 

    ginger wooden spoonginger plant and cider


    This post was shared as a part of Thank Goodness It’s Monday at Nourishing Joy, Natural Living Monday at Modern Alternative Health,  Fat Tuesday at Real Food Forager,  Simple Lives Thursday at My Humble Kitchen,  Fight Back Friday at Food Renegade, and Unprocessed Fridays at Girl Meets Nourishment, and Simply Natural Saturdays at The Pistachio Project.

  • This Moment

    This Moment

    “A Friday ritual. A single photo – no words – capturing a moment from the week. A simple, special, extraordinary moment. A moment I want to pause, savor and remember.” {joining Soule Mama today}

    If you’re inspired to follow along, please leave a link to your moment in the comments!

  • Celebrating Good Food at Home

    Celebrating Good Food at Home

    World Food Day was October 16th, and today is Food Day (October 24) in the United States.  How can families truly embrace the heart behind these celebrations in our everyday?  Here are a few quick ideas:

    Mealtime

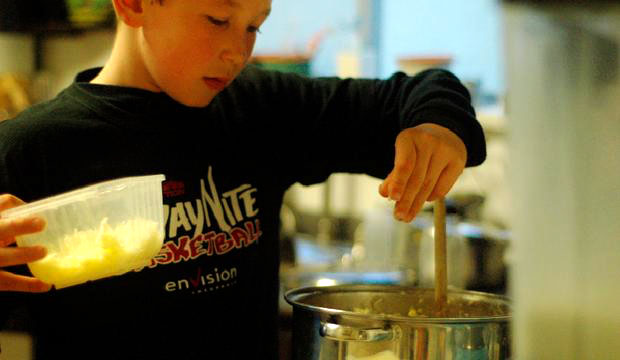
    • Involve the whole family in choosing and cooking dinner – get everyone involved in washing, peeling, chopping, and cooking.
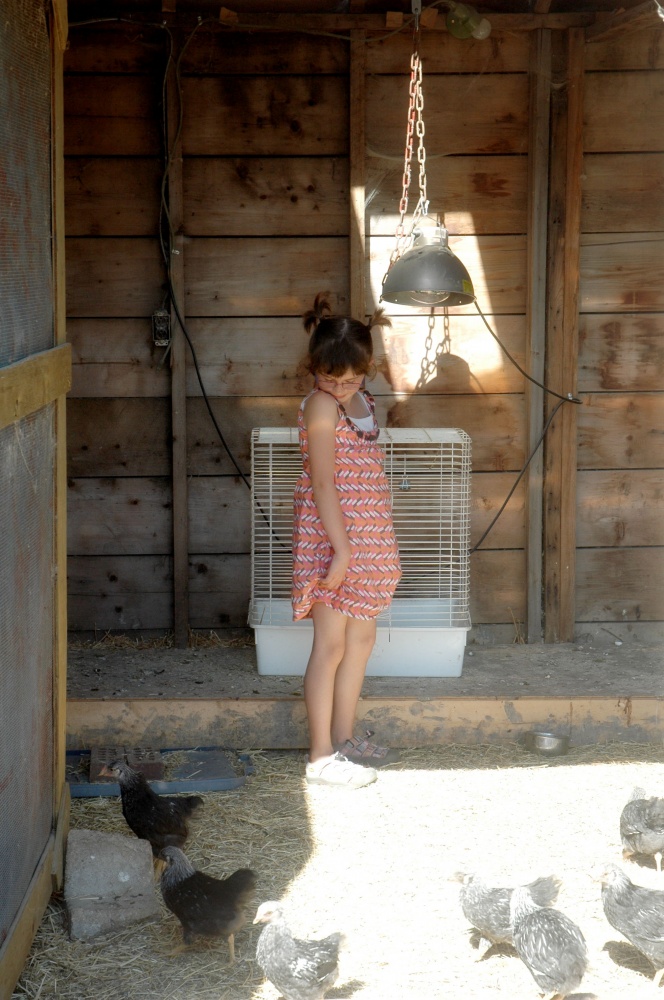
    • During dinner, talk about where the ingredients came from. Are the carrots from a farm nearby? Maybe your family has met the person who raised the chicken.
    • Draw or print out a map of your province and map your meal. Put a symbol on the map for each farm that supplied food for your meal – don’t forget your own garden!

    Activities

    • Watch a documentary that focuses on food and talk about one of the issues.
    • Volunteer at a food bank
    • Take a cooking class with a friend or family member
    • If you’re in the United States, there are many organized activities over at foodday.org. Even if you’re outside the U.S., you’ll find transferable ideas on the Food Day site.
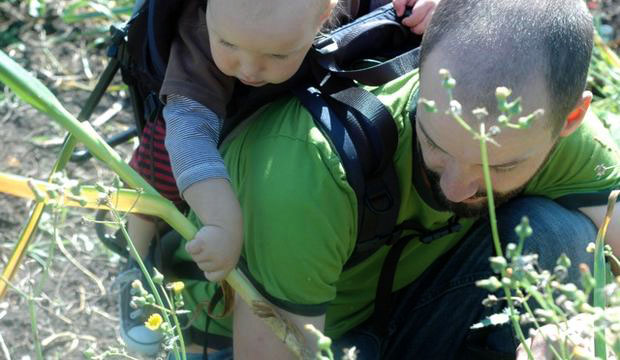
    • Visit a local farm.
    • Grow some herbs in your home.
    • Read books about food – growing it, foraging for it, cooking it, eating it…

    Crafts

    • Make a collage using foods cut out from flyers – group the foods according to origin, main vitamins, whether they are nutritious or not, etc. To strike up a conversation about local food, group the images according to whether they are available right in your province or state.


    • bran cookingmi garlicbre chickens

     
    Tiny Peasant Pantry is a fantastic resource for your home or homeschool. Whether your children already love to spend time in the kitchen, or have the meal-time ‘blahs’, they will love this engaging food skills program that equips them with the skills to nourish themselves and those around them. Parents will love the section on age-appropriate ways to involve kids in the kitchen as well as the sanity-saving menu planning resources (also available separately).

    Tiny Peasant Pantry fb

    In our Menu Planning Resources package, you will find everything you need to get your family on track with menu planning. Forget about the 4pm overwhelm once you start using this system. There are handouts with tips to get you started, as well as actual menu planners that you can print out and keep in a binder, or laminate and use on the fridge.  Seriously save a ton of time, money, and your sanity!

    Tiny Peasant Pantry Menu Planners Badge


     This post was shared as a part of Simple Lives Thursday at My Humble Kitchen, Fight Back Friday at Food Renegade, and Unprocessed Fridays at Girl Meets Nourishment,  Simply Natural Saturdays at The Pistachio Project, Thank Goodness It’s Monday at Nourishing Joy, and Natural Living Monday at Modern Alternative Health.

  • Egg Carton Nature Collections

    Egg Carton Nature Collections

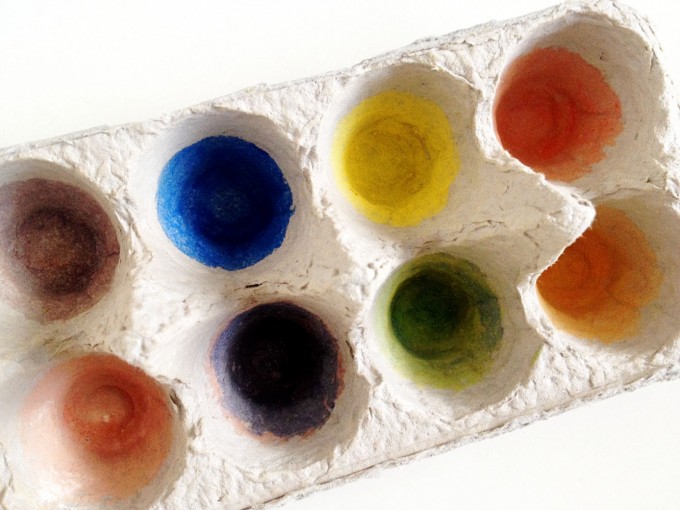
    Several years ago when we started taking regular nature walks, I found this activity online. The whole family will go for a walk and try to find natural items to fill in each section of the egg carton. The photo above shows what the kids found this week on one of their walks, just in our own neighbourhood. I was surprised at how much colour is still out there this far into fall, when we’ve already had snow. If we took the carton out on one of our forest adventures, the findings would be quite different -fewer domestic flowers, but likely more wild berries, seeds, and things like prickly wild cucumbers!

    To make your own egg carton nature collection, simply paint or colour in each section of the carton in a different colour. Enjoy your walk as usual, and look for flowers, leaves, stones, seeds, sticks, and other items to fill in the sections.

    If you don’t already have a nature table, you can use your egg carton as a mini nature collection to display somewhere special.

    egg carton colours


    This post was shared as a part of Montessori Monday at Living Montessori Now.

  • Heirloom Offerings :: Hospitality + Commitment

    Heirloom Offerings :: Hospitality + Commitment

    This offering to Heirloom Offerings :: The Grandma Project was contributed by Kelly Bernardin-Dvorak . Are you interested in sharing? Read our submission guidelines and get started.


    In French, grandmother is Grandmère.  Grandma is Memère.  I’m thankful that I still have both of my Memères not only in my life but near enough for visits.

    kelly grandma 1b
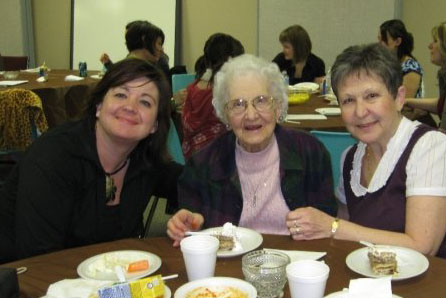
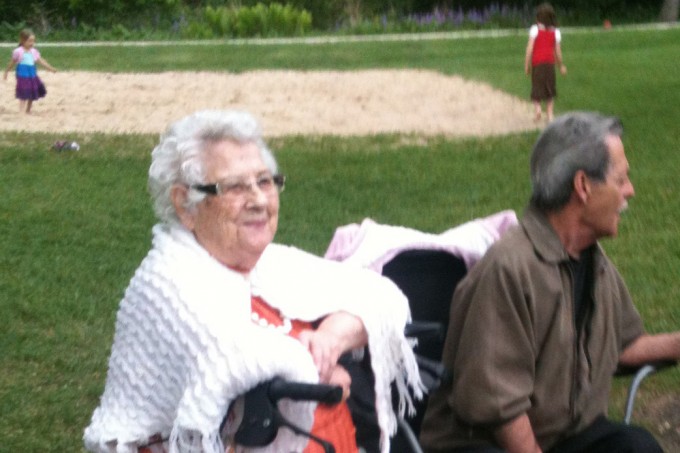
    Here’s me a couple years ago with one of my aunts and my mom’s mom, Cecile.  This Memère taught me hospitality from the heart.  When I’d visit, she’d haul out all sorts of things for me to eat.  Soon, the spread in front of me  consisted of something like this: left over mashed turnip, cut up tomato, a few pickles, a garden salad with lots of different veggies, maybe a wiener without a bun, and always:  tomato vegetable soup.  Over time I saw through the mis-matched-ness, and realized that she was sharing everything she had with me. For her, hospitality wasn’t about performing or perfection. I started to see her heart in this array on the table. She didn’t want to withhold a single thing that I might enjoy, and everything she had was for sharing.  Thinking on it, I’m reminded of the old Sunday school song – you know the one about banqueting tables and banners of love?

    kelly grandma 2d
    Here’s my dad’s mom, Henriette, in a photo taken just a few months ago. This Memère has taught me commitment to family and community as a way of life.  She had 11 children and helped run the family farm; responsibilities she managed with incredible efficiency and no shortage of love. When people remark that I have a habit of taking on a lot, I’m thankful that I am my grandmother’s granddaughter.  At 89, she is still active  in her community, dearly loved by extended family and many friends, and has close relationships with their children and grandchildren. She is leaving an inspiring legacy.


    kelly bernardin thumbnail

    Kelly Bernardin-Dvorak is a French Canadian woman who hopes to live these examples of hospitality and commitment. She wrote this post on (Canadian) Thanksgiving, 2013. She also writes at www.abidethree.wordpress.com.

    {Kris}: Thanks so much, Kelly, for sharing these meaningful life lessons from your grandmothers! It’s easy to forget about true hospitality and what that means – simply offering what we have and who we are.

    Share your memories and experiences of hospitality from the heart and commitment to community as a way of life in the comments…

  • Pumpkin Spice Play Dough

    Pumpkin Spice Play Dough

    Pumpkin Spice Play Dough 

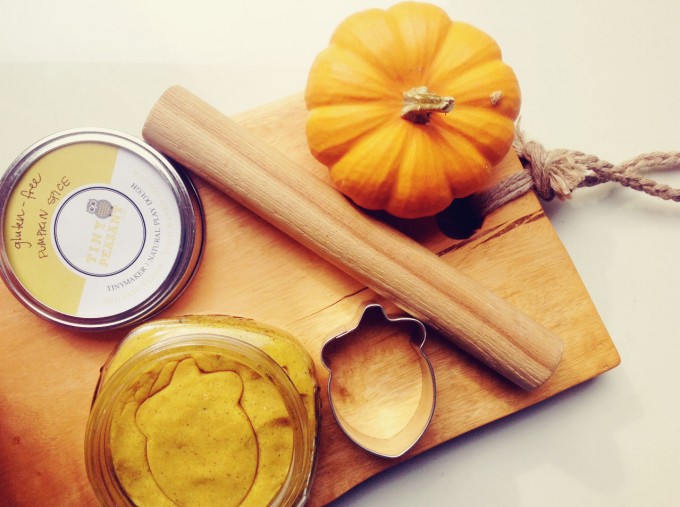
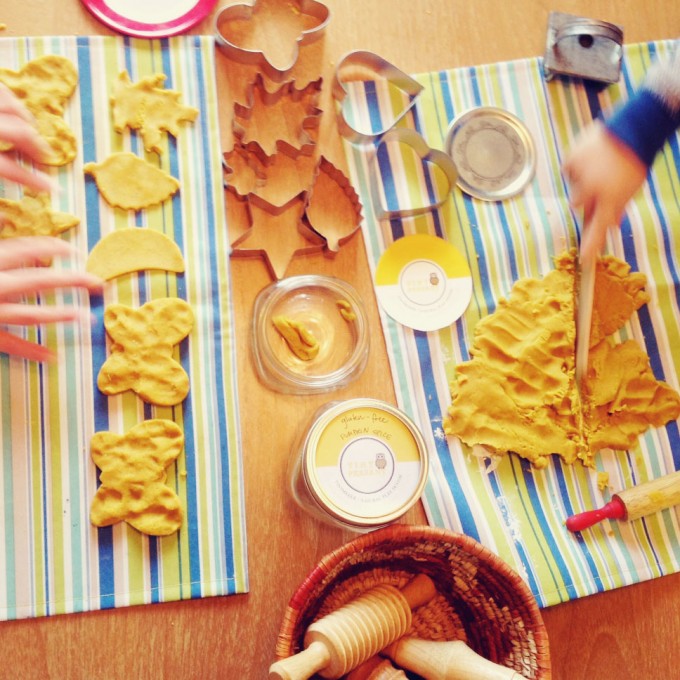
    This recipe offers up the usual fun of play dough, with an added sensory bonus of a warm, inviting scent. Use your favourite combination of pumpkin pie spices or those reminiscent of fall.

    Ingredients

    • 1 cup organic flour (see below for gluten free modifications)
    • 1 cup warm water
    • 1/2 cup sea salt
    • 2 tablespoons cream of tartar
    • 2 tablespoons oil
    • natural colour combo to make a deep yellow or orange (we have tried India tree, as well as homemade dyes)
    • pumpkin pie spices: 1 tablespoon cinnamon, 1/2 teaspoon ginger, 1/4 teaspoon nutmeg, and 1/4 teaspoon clove OR whatever you prefer!
    • 1 teaspoon or more of real vanilla – this will add a sweet scent that makes the dough smell more like pie

    Gluten Free Ingredients

    • 1/2 cup rice flour or other gluten free flour
    • 1/2 cup arrowroot powder (or, in a pinch corn starch, but I really recommend arrowroot)
    • 1 cups warm water
    • 1/2 cup sea salt
    • 2 tablespoons cream of tartar
    • 2 tablespoons oil
    • natural colour combo to make a deep yellow or orange (we have tried India tree, as well as homemade dyes)
    • pumpkin pie spices: 1 tablespoon cinnamon, 1/2 teaspoon ginger, 1/4 teaspoon nutmeg, and 1/4 teaspoon clove OR whatever you prefer!
    • 1 teaspoon or more of real vanilla – this will add a sweet scent that makes the dough smell more like pie

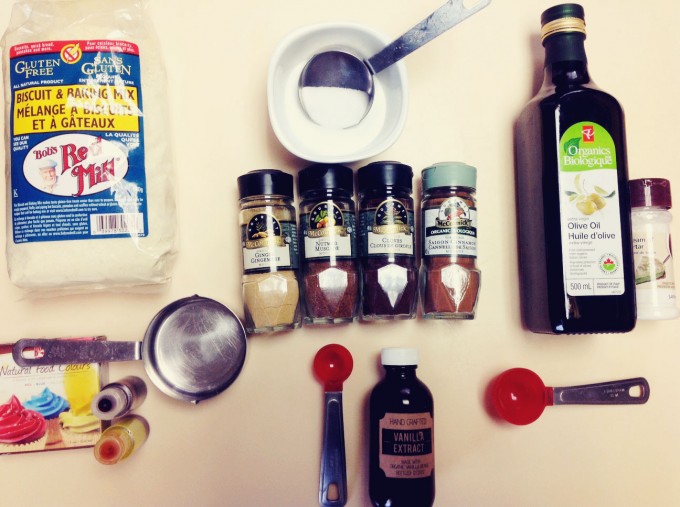
    pumpkin play dough ingredients

    Instructions

    1. Add the natural food colouring to the water.

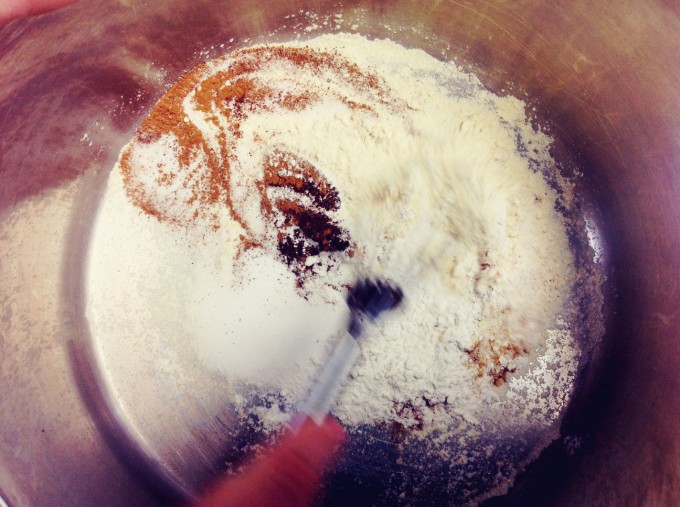
    2. Place all ingredients into a pot.pumpkin play dough mixing

    3. Put on an element and turn to medium-low.

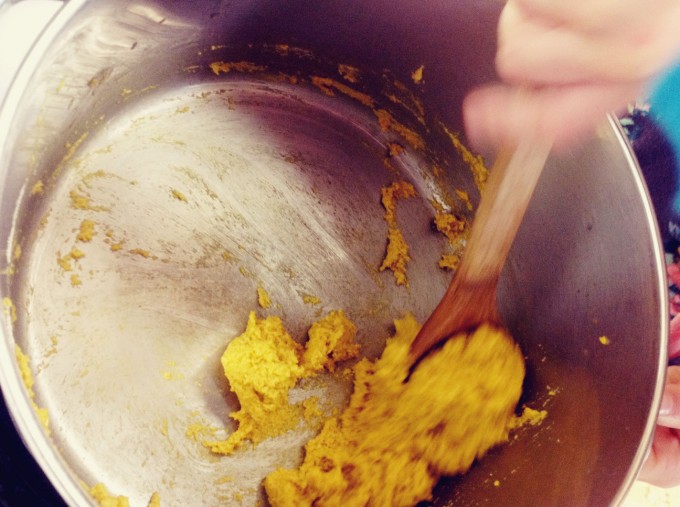
    4. Stir, stir, stir! Continue to mix until the dough forms a ball.

    pumpkin dough ball

    5. Remove from heat and let the mixture cool a bit.

    6. Take the dough from the pot and knead it on a floured surface until it is the desired texture.

    7. Store in a sealed jar for weeks of fun! Our dough, unused, has often lasted a year. Once it starts getting used, it lasts months rather than a year, as it gets dried out and, well, dirty!

    pumpkin play dough 1pumpkin play dough 2pumpkin play dough cut outs pumpkin spice play dough


    Don’t miss our latest FREE resource: Pumpkin Mini Inspiration Pack PDF: A great way to get to know my work (investment free), and lots of fun activities, recipes, poems, and recommended books for pumpkin learning.

    Screen Shot 2014-10-17 at 9.07.05 AM


    This post was shared as a part of Simple Lives Thursday at Real Food for Less Money and Share It Saturday at Natural Beach Living.


  • Guest Post :: Using Beeswax at Home

    Guest Post :: Using Beeswax at Home

    Written by guest contributor Marlese Hazeu of Candles for Hope.

    My journey into making beeswax candles came somewhat unexpected, but I’ve fallen head over heels in love and have never looked back. Here are a few things I’ve learned along the way.

    1. Wax source: if you can, find a local apiarist (beekeeper) and ask them what they do with their wax. The other option is to head over to a local supplier. I have used BeeMaid in Winnipeg. Keep in mind, there is no quality control for the wax they obtain. One week you may get beautiful clean wax, the next it may be full of bee parts or sediment.

    2. Breaking up the wax: If you end up with a hug slab of wax and you need it to be broken in to smaller pieces, save yourself the headache of painstakingly trying to chisel, slice or chop off a chunk and freeze it instead. Once frozen, beeswax becomes brittle. Place in a bag and smash with a hammer. Kids love this part!

    3. Melting: Always melt wax in a double boiler. Be patient, better to do it slowly on medium heat. Wax is best poured at 160F. Too hot and it will crack when cooled, too cold and it will not pour smoothly.

    4. Filtering: There are various methods. Some use gravity to let the sediment settle and ladle the pure wax off the top. Others use a water bath, with acidified water using simple vinegar. The particles actually are held in the water, once poured off into a pail to cool, leaving a block of pure wax. The other way is long and tedious. It involved straining melting wax through kleenex and a strainer, one ladle at a time, leaving you an extremely pure, clean wax to work with. Also with the most amazing fire starter to use and give away to all your family and friends.

    Things to keep in mind:

    • Dirty wax will sputter, smoke and choke the wick.
    • If you don’t have a designated pot to melt over a double boiler… the pot can actually be cleaned after use quite easily, contrary to popular belief. Simply use cold water, soap and a metal scrubby. It works amazing. Remember, wax becomes brittle when frozen or cold. This works to your advantage.
    • Thrift stores are gold for finding all your beeswax melting supplies (ladle, pots & strainers).
    • Pure beeswax will shrink. That’s one way to know it’s real. Even different batches from difference sources will have different shrinkage percentages. Some people add fillers (other waxes) to lessen the shrinkage. It’s better to fill to the brim to compensate for shrinkage.
    • Wax can naturally be a range of colors from pale yellow to almost brown. It all depends on where the busy bees have been.

    I have enjoyed this process of trial and error and I hope this will help eliminate a few frustrating moments for you with this humble post on beeswax.

    Hazeu-101-1024x681

    marlese photo
    Marlese Hazeu loves the bunnytrails life takes; they bring her to many hidden treasures she would not otherwise have discovered. She loves the outdoors and shares that joy with her husband and 4 crazy kids.

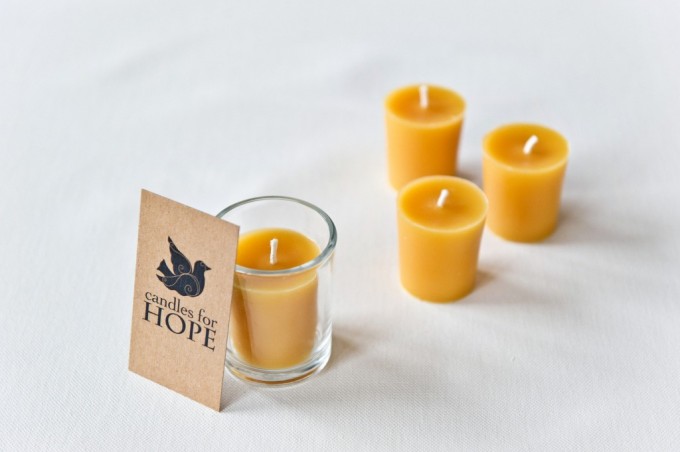
    Marlese is the founder and operator of Candles for Hope, which exists to provide quality, hand crafted, 100% pure beeswax candles for you and your home, with 100% of the profits being given to Mercy in Action.


    Mercy in Action is a non-profit organization that focuses on the crisis in Maternal/Newborn/Child health care worldwide. They have established and funded free birth centers for poor families in the Philippines since 1992, and to date more than 12,000 babies have been delivered free of charge for the poorest of the poor in Mercy In Action’s Birth Centers, and literally tens of thousands of lives have been helped and healed in the medical outreaches. Their current Birth Center is Mercy Midwives Birthing Home outside of Olongapo, Philippines.


    This post was shared as a part of  Montessori Monday at Living Montessori Now,  Natural Living Monday at Modern Alternative Health,  Simple Lives Thursday at Real Food for Less Money/My Humble Kitchen,  Unprocessed Fridays at Girl Meets Nourishment,  Simply Natural Saturdays at The Pistachio Project, and Thank Goodness It’s Monday at Nourishing Joy.

  • Celebrating Halloween Mindfully :: Mini Pumpkin Candles

    Celebrating Halloween Mindfully :: Mini Pumpkin Candles

    I want our children’s memories of Halloween to be positive, festive, and warm. We choose to minimally participate (early evening trick-or-treating on our block and to grandparent’s homes, in fun rather than scary costumes), while aiming to create positive and gentle memories for them to carry with them as they grow.

    Part of this memory making involves crafts. Below are instructions for a craft loved by the whole family.


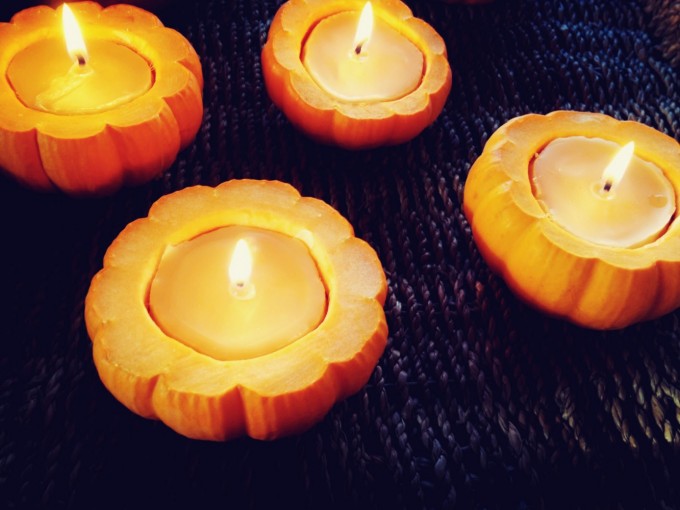
    Mini Pumpkin Beeswax Candles

    lit mini pumpkins

    This project was so much fun, the favourite part being scooping out the ‘guts’ of the pumpkins. For some reason, the cool factor of this task was upped a notch due to these being tiny pumpkins. We were so thankful to receive beeswax from a friend who operates an amazing candle company, Candles for Hope.  Marlese donates all proceeds to a free birthing centre in the Philippines.

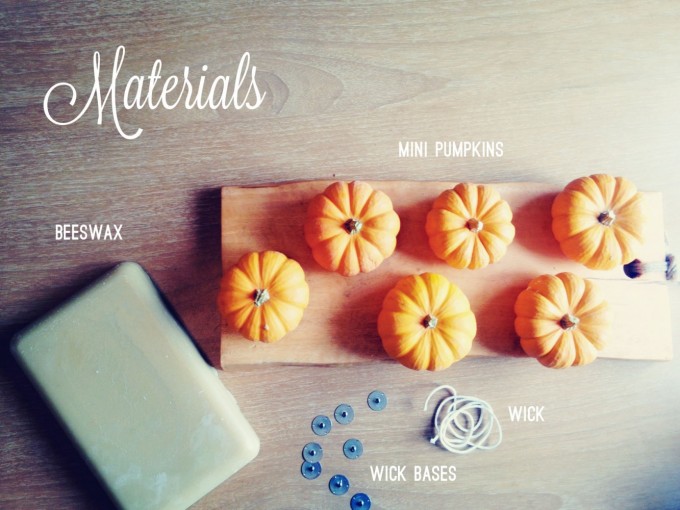
    Materials

    • beeswax
    • wick
    • metal plates for the base of the wick
    • scissors
    • mini pumpkins or gourds
    • lighter or matches
    • double-boiler
    • ladle
    • spoons
    • pliers
    • baking tray or other tray to contain beeswax drips

    mini pumpkin candles materials

    Instructions

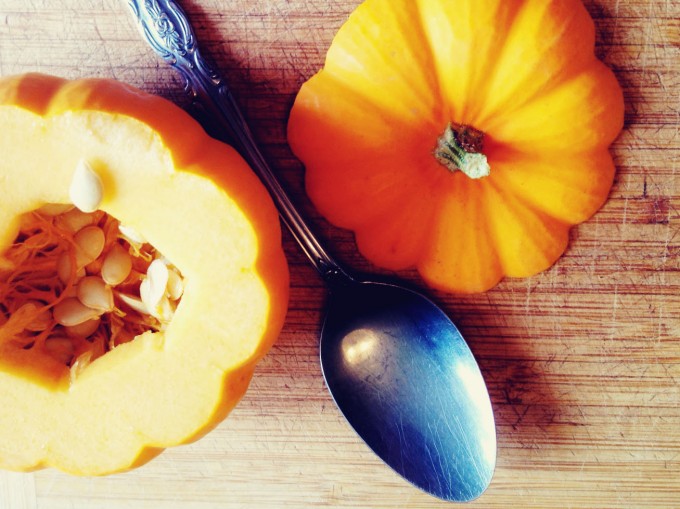
    1. Cut the tops off the mini pumpkins.mini pumpkin and spoon

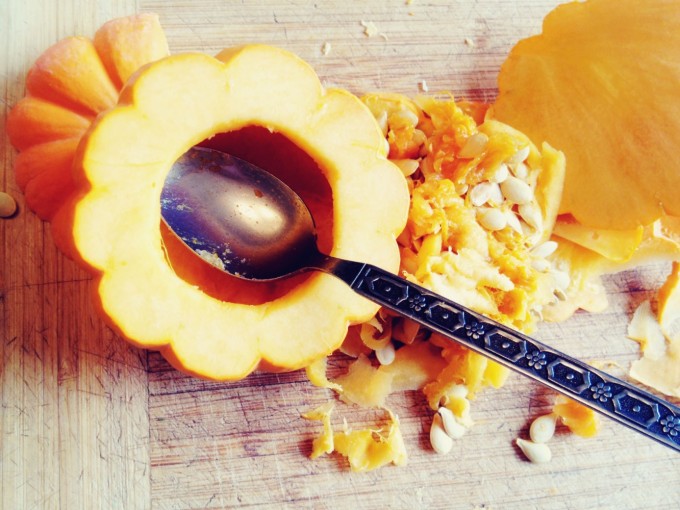
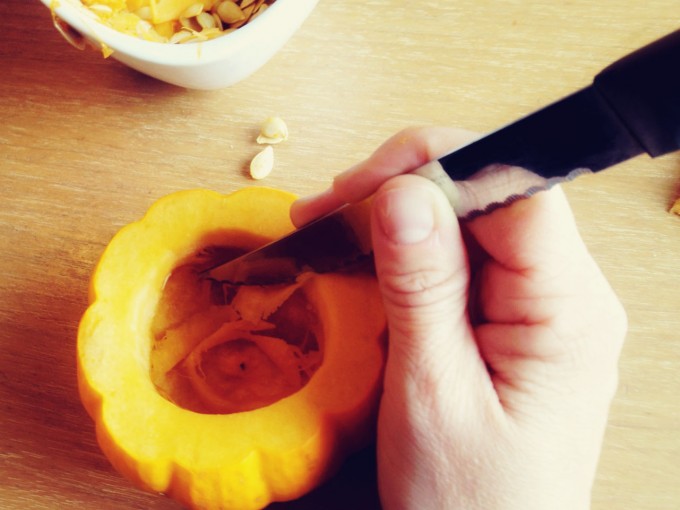
    2. Cut a hole in the top, and scoop out the insides. Use a knife to clean up the opening after.scoop out the gutsclean up the opening pumpkin

    3. Melt the beeswax in the double-boiler (you really don’t have to grate it, just cut it into chunks – ours were in roughly 2″x3″x1″ chunks)

    4. Place the wick in the pumpkin to figure out where to cut it – allow for extra and then trim later on.

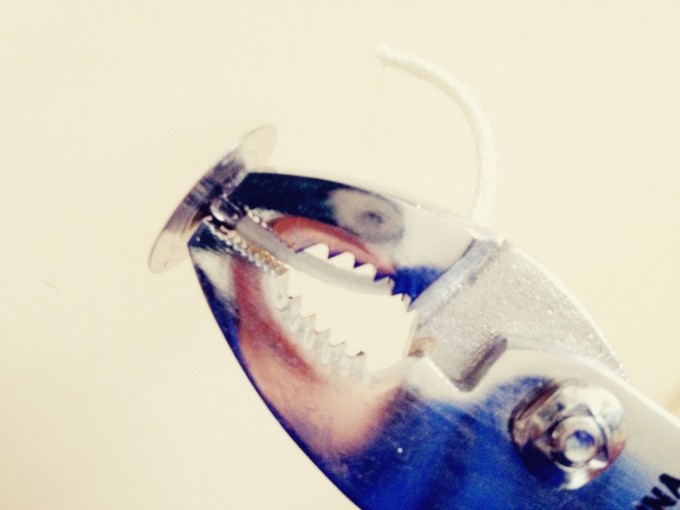
    5. Thread the wick through the metal base and then use the pliers to clamp it tight. clamp the wick base

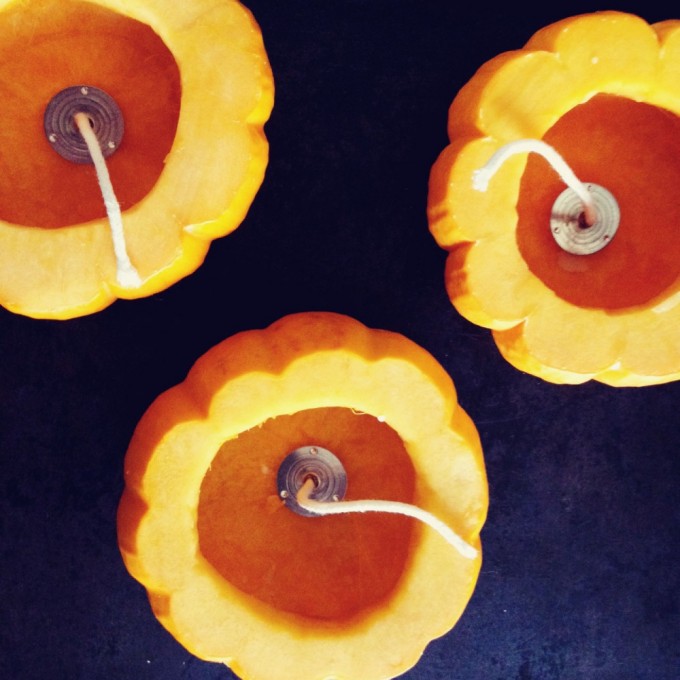
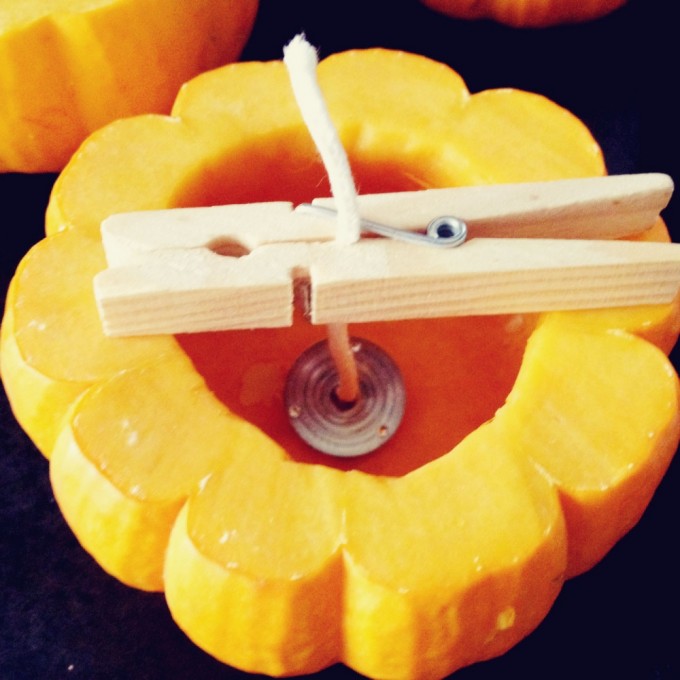
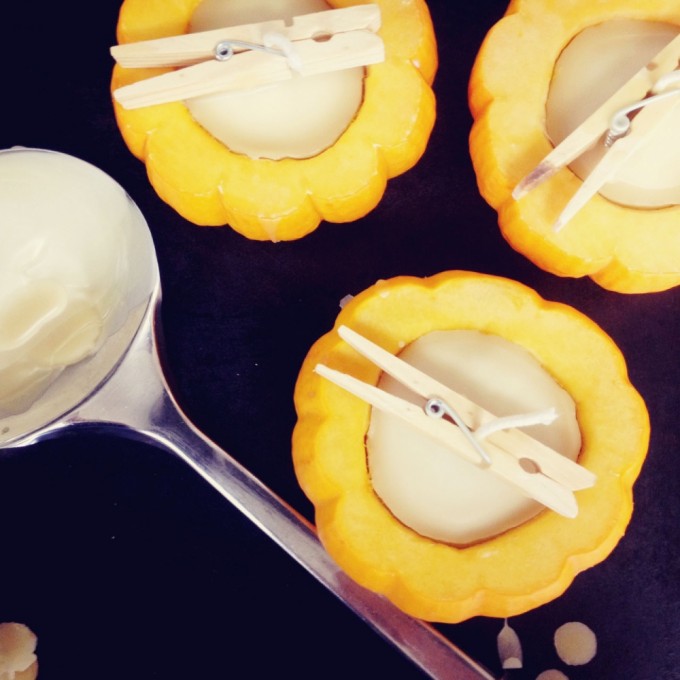
    6. Place the wick and base in the pumpkin and secure in the centre by using a clothespin (thanks to my genius husband for this idea – he is the logical-sequential brain behind my crafting operation!).place the wickpumpkin clothes pin

    7. Using a ladle, scoop and pour the melted beeswax into the pumpkin, right up to the top. poured wax pumpkins

    8. Once cooled, remove the clothes pins. To make these more halloween inspired, add a jack-o-lantern face using a permanent marker.  Light and enjoy!
    one mini pumpkin candle


    Don’t miss our latest FREE resource: Pumpkin Mini Inspiration Pack PDF: Fun pumpkin activities, recipes, poems, and recommended stories for your book basket.

    Screen Shot 2014-10-17 at 9.07.05 AM


    This post was shared as a part of Simply Natural Saturdays at The Pistachio Project, Thank Goodness It’s Monday at Nourishing Joy, and Natural Living Monday at Modern Alternative Health,  Simple Lives Thursdays at Real Food for Less Money, and Unprocessed Fridays at Girl Meets Nourishment.


  • This Moment

    This Moment

    “A Friday ritual. A single photo – no words – capturing a moment from the week. A simple, special, extraordinary moment. A moment I want to pause, savor and remember.” {joining Soule Mama today}

    If you’re inspired to follow along, please leave a link to your moment in the comments!

  • Pumpkin Pie, Three (Allergy Friendly) Ways

    Pumpkin Pie, Three (Allergy Friendly) Ways

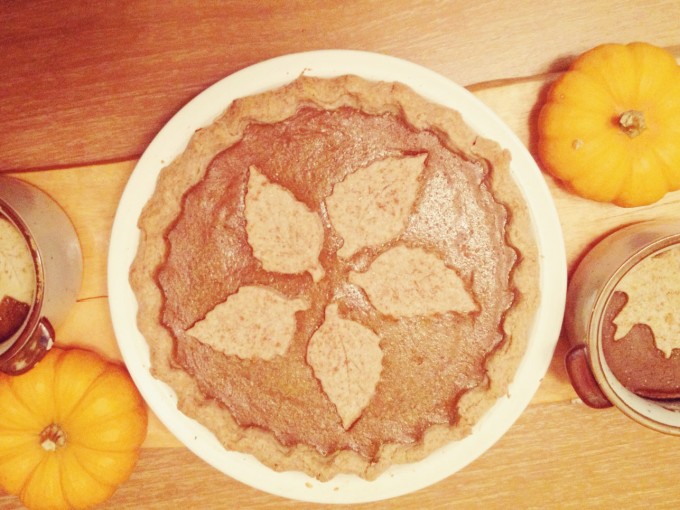
    As part of our homeschool baking program for October,we baked a total of seven pumpkin pies. Each week they progressively got better. Even though I was supposed to be teaching our ten year old how to make pie, I had never really baked pie before myself! So, we learned together, which was wonderful.

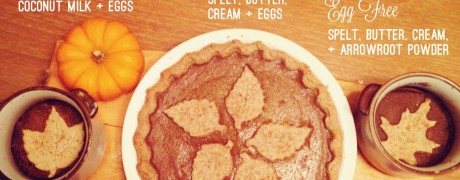
    There are a few allergies in our home, and those who don’t have to worry about them aren’t ready to give up spelt flour, cream, butter or eggs, or whatever combination of those ingredients they each can have. So, we make a few variations. Below is an overview of how we made: Spelt Pumpkin Pie, Gluten + Dairy Free Pumpkin Pie, and Egg Free Pumpkin Pie.


    Gluten Free + Dairy Free Pumpkin Pie

    One of our little ones has a gluten and casein free diet, and the rest of us join in now and then simply for the sake of consuming less of these foods that can be hard on our bodies.


    Super Simple Gluten Free, Dairy Free, Egg Free Crust:

    :: 1.5 cups gluten free flour mix (we like Namaste pie mix)

    :: 1/4 cup coconut oil

    :: 3-5 tbsp water (less or more depending on how it goes!)

    1. Combine the flour and coconut oil in a large bowl until crumbly.
    2. Slowly add in the water, little by little, until the dough comes together nicely for rolling.
    3. Shape the dough into a flattened disc. Place it on a flat surface, on top of a sheet of wax or parchment paper to avoid sticking. Cover with a sheet of wax or parchment paper. Roll the dough out, on top of the parchment. This will stop the dough from sticking onto the rolling pin. Once the dough is slightly larger than the diameter of your pie plate, peel off the top layer of parchment and flip the dough into the pie plate, with the remaining paper on the surface. Peel off the parchment, and press the dough into the pie plate. If it breaks up a bit, just press it back together where necessary.

    Gluten & Dairy Free Filling:

    :: 2 cups pumpkin pureé

    :: 1 cup coconut milk, full fat

    :: 2 eggs

    :: 1/2 cup unrefined sugar

    :: 1.5 tsp vanilla

    :: 2 tsp cinnamon

    :: 1/4 tsp salt

    :: 1/4 tsp each: nutmeg, allspice, clove


    Fill the crust with the pumpkin filling, and bake at 450F for 10 minutes, followed by 350F for 30 minutes.
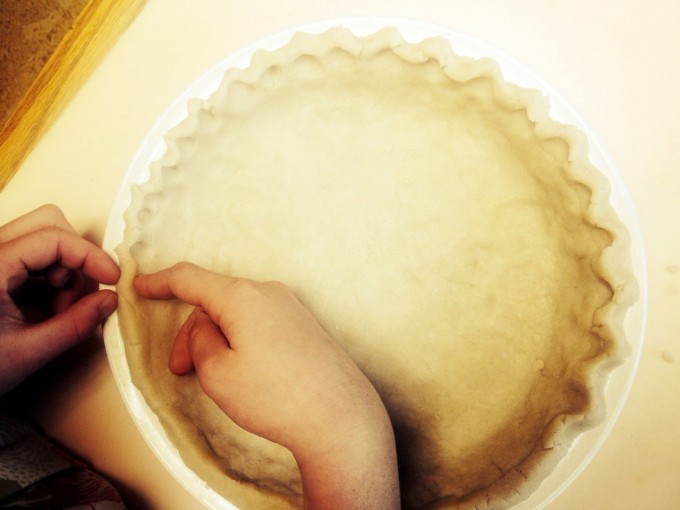
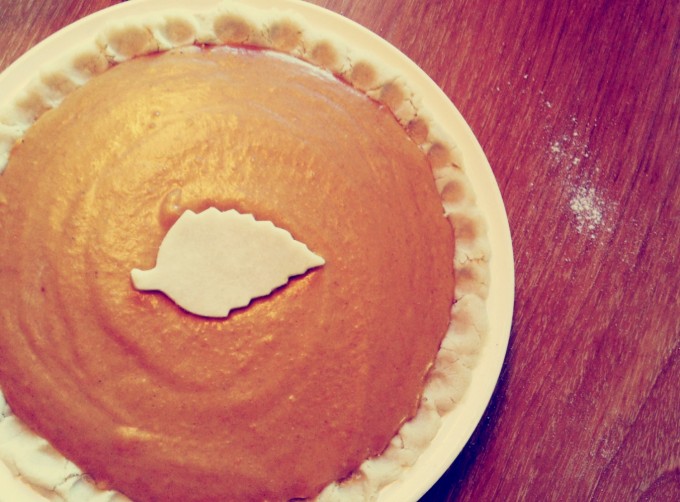


    pinching pie crustgluten free pumpkin pie

    SPELT PUMPKIN PIE

    For this crust, we used Martha Stewart’s Perfect Pie Crust recipe, and subbed in spelt flour for 100% of the all-purpose flour. The crust is still delicious with this swap. Honestly, we didn’t even use chilled butter. We’re, ahem, pretty laid back in these parts when it comes to following recipes…

    The filling is the same as for the gluten and dairy free version – see above – with the following substitution:

    – Cream in place of coconut milk
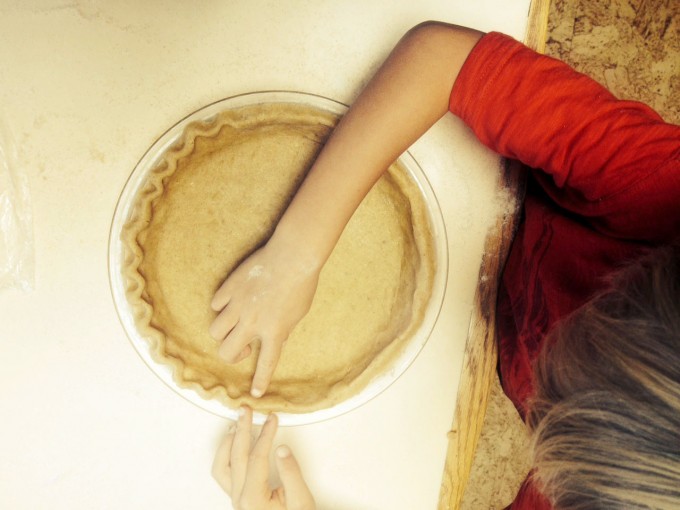
    cohen pinching crustspelt pumpkin pie

    EGG FREE PUMPKIN PIE

    The good news is that most pie crust is already egg free, which just leaves the filling. For the first two weeks of pie-making we used flax-seed egg replacer (1 tbsp ground flax to 3 tbsp water per egg). Our poor little guy’s pie never really tasted great. This week I did some research and found that a lot of egg-free pie filling includes corn starch. While we don’t like to use corn starch, mainly due to GMO content, arrowroot powder is a great alternative. This week, the egg free pie filling had a much better consistency and taste.

    To make this pie, we used the same recipe as the spelt pie, but omitted the eggs and added in 1/4 cup of arrowroot powder. We also made them in a mini version this time (second photo).
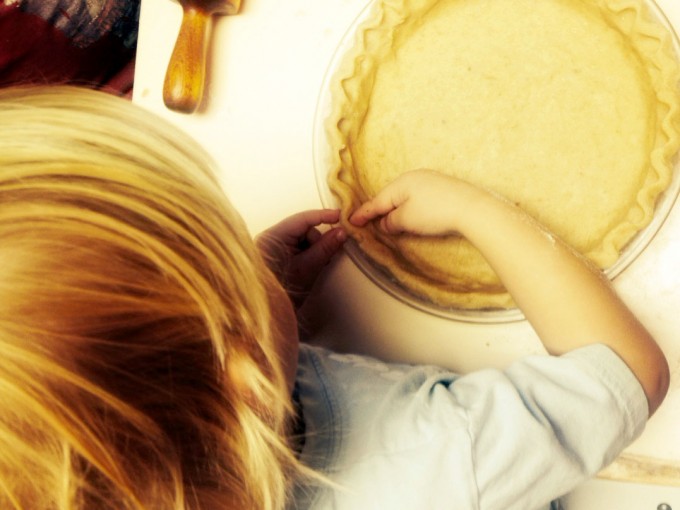
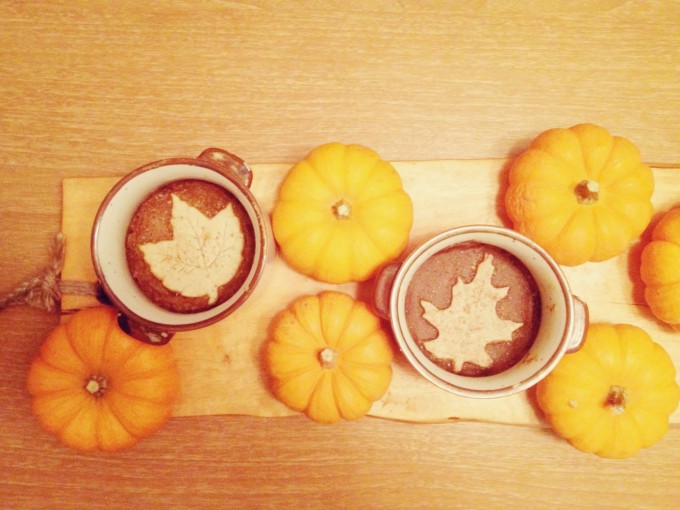
    milo pinching crustefgfdf pies

    …………………

    The last three weeks of pumpkin-pie making and eating have been great. Our baker-in-training feels fairly comfortable making a pumpkin pie from scratch and the two of us will be ready to tackle thanksgiving next year, now having the details ironed out. And the other littler ones got some practice decorating pie crust – I never would have thought it was so simple that a three year old could do it! As the weather gets even cooler, we’ll be thankful for our next lesson – bread making. Looking forward to a warm kitchen and a home filled with the aroma of freshly baked sourdough.

    What is your favourite pumpkin pie recipe or tip? Share it in the comments…


    This post was shared as a part of Simple Lives Thursday at My Humble Kitchen,  Fight Back Fridays at Food Renegade. and Simply Natural Saturdays at The Pistachio Project, Fat Tuesdays at Real Food Forager,  Real Food Wednesday at Kelly the Kitchen Kop, and Thank Goodness It’s Monday at Nourishing Joy.