Author: kris

  • This Moment

    This Moment

    “A Friday ritual. A single photo – no words – capturing a moment from the week. A simple, special, extraordinary moment. A moment I want to pause, savor and remember.” {joining Soule Mama today} If you’re inspired to follow along, please leave a link to your moment in the comments!


  • Enchanted Autumn :: Beeswax Dipped Leaves

    Enchanted Autumn :: Beeswax Dipped Leaves

    To welcome fall, we joined with another family for a walk in the woods at a local natural area. We were greeted by an abundance of tiny characters beneath the trees; little acorns wearing their adorable caps. Many were gathered in baskets and pails, before we hit the trail.

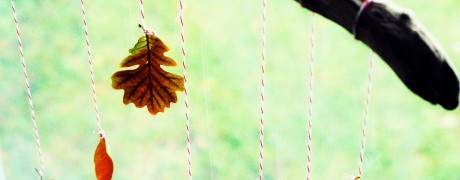
    Along the way we saw fall leaves, plants with questionable berries, ducks, and squirrels. Leaves were gathered and brought back home for crafts. Read on for the Beeswax Dipped Leaves tutorial – for an activity that is pleasing to the senses, with the comforting aroma of beeswax, the beautiful colours of leaves, and the surprisingly soft texture of the end product.

    Forgive the lack of process photos, as it was a bit tricky to get shots with 7 kiddos working with hot wax in a tiny corner of our kitchen…  that said, this is truly a simple project.

    For more leaf learning, don’t miss our Fall Leaves Inspiration Pack, which is oozing with over 40 pages of  fun, engaging activities for learning about and with fall leaves. You’ll find Montessori inspired learning, Waldorf inspired learning, story book recommendations, recipes, poems, and more.

    Screen Shot 2014-09-25 at 11.59.22 PM


    Materials:

    • String
    • Clothes pins
    • Old towel
    • Beeswax
    • Double boiler
    • Leaves, freshly fallen
    • Tongs, tweezers or kid-friendly chopsticks – for safe dipping


    Instructions

    1. To start, set up a line of twine or string and have a basket of clothes pins ready. Lay out an old towel under the leaf line, to catch the drips of beeswax.

    2. Chop or grate some beeswax and put it in a double boiler on medium heat until melted. We used about 1/2 cup of shavings and dipped roughly 30 leaves with a bit of wax leftover.

    3. Remove the pot from the heat, and over to where your towel is set up. Grasp a leaf stem between the chopsticks, and lower it into the pot, moving as necessary until covered. Keep your leaf pile to the left of your pot, to encourage left to right transferring (the same direction as we read!).
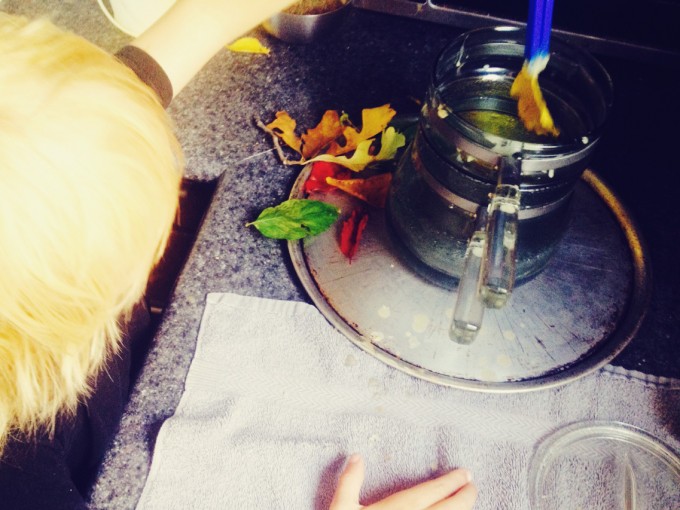
    dipping leaf

    4. Using a clothespin, hang the leaf from the stem on the line to dry.

    5. Repeat.

    6. Once all of the leaves are dry, create your piece of art. Below are some ideas, or you can come up with your own creations:

    • Garland
    • Window decoration
    • Wreath
    • Centerpiece

    Try making some patterns in your creations, such as a colour or leaf type pattern for the garland.
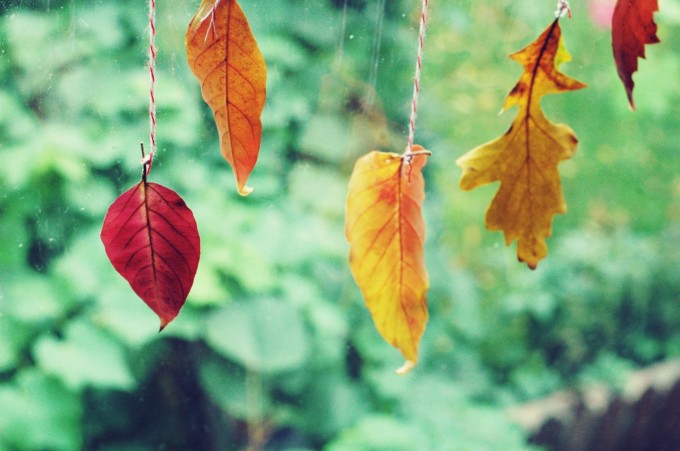
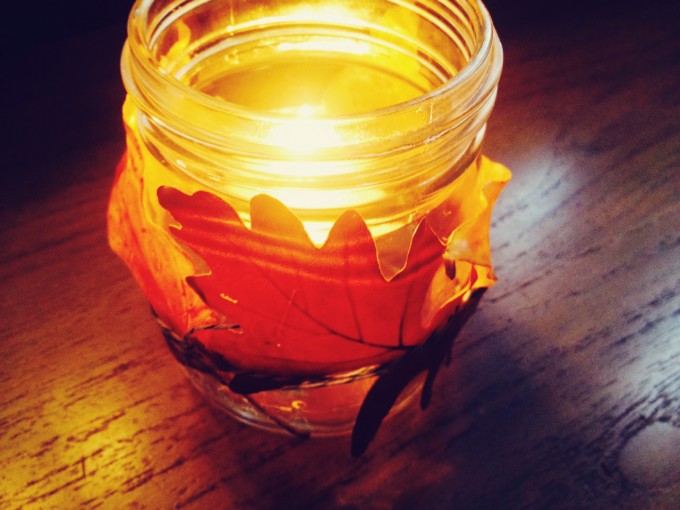
    dipped leaves 2 leaf candle


    This post is shared as a part of Simply Natural Saturdays at the Pistachio Project, Thank Goodness It’s Monday at Nourishing Joy,  Montessori Monday at Living Montessori Now,  Hip Homeschool Hop  Good Tips Tuesday, and Our Days.
  • Horse Keeping 101

    Horse Keeping 101

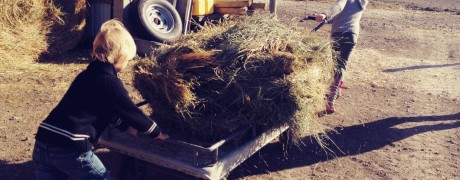
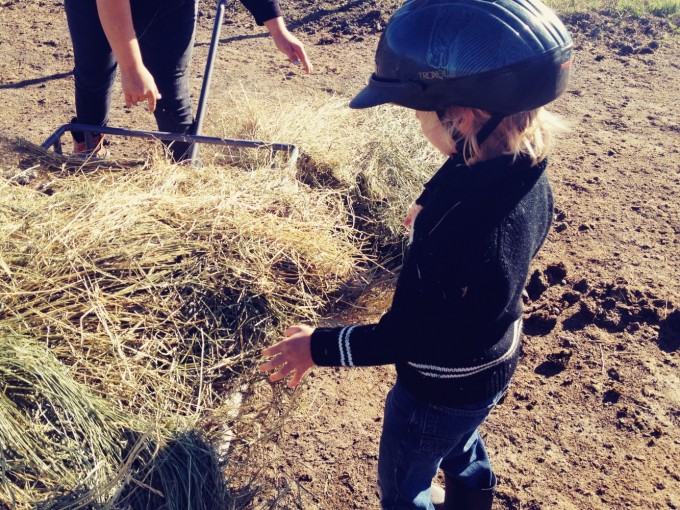
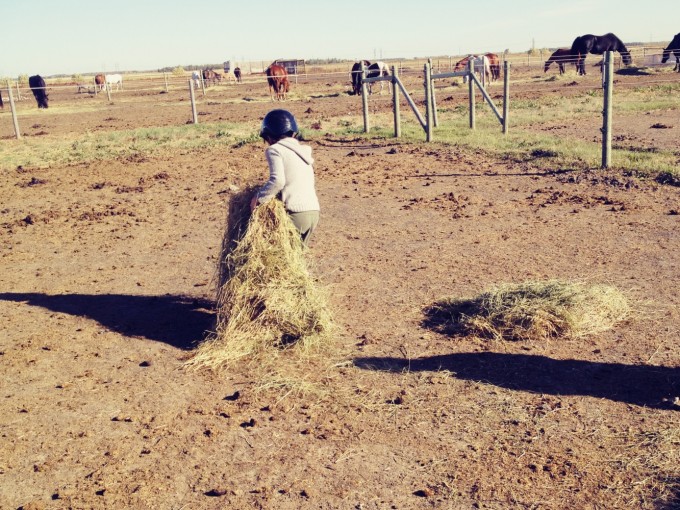
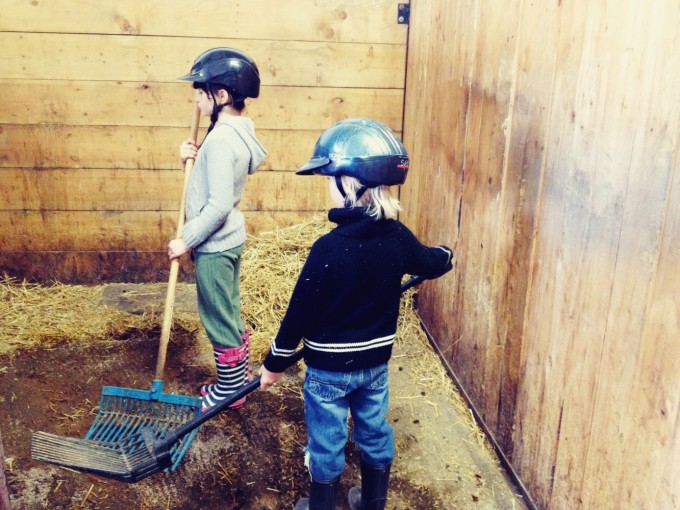
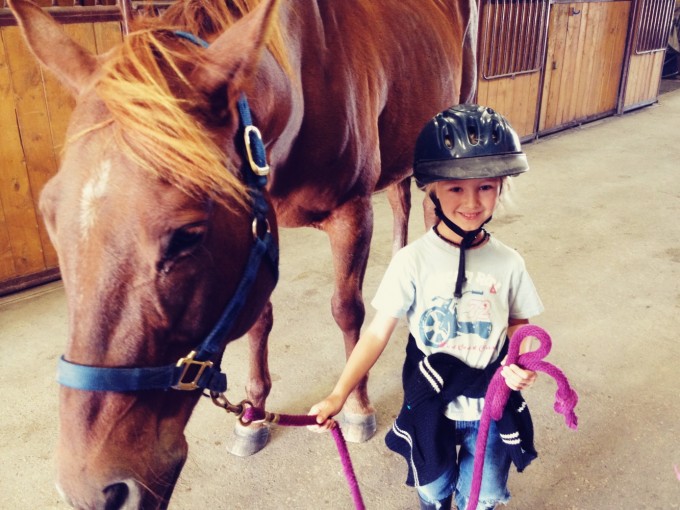
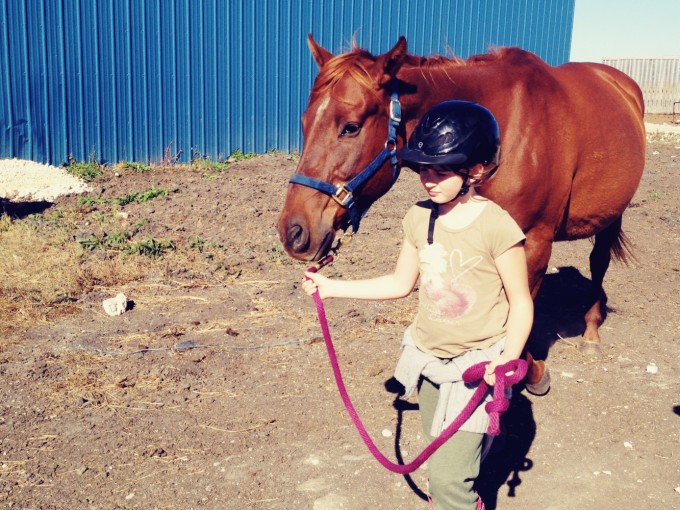
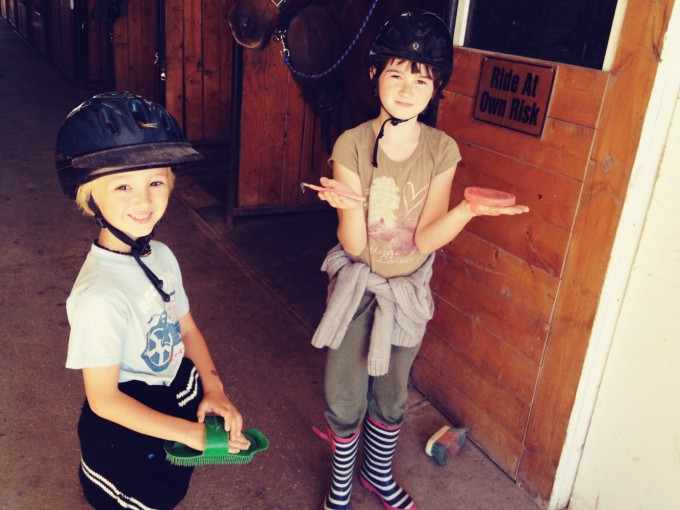
    As part of our homeschool curriculum this fall, we are volunteering at a local stable. This morning marked our first visit and we are so thankful for the opportunity to learn the value of hard yet rewarding work! Hauling, feeding, mucking, leading, grooming… all in a day’s work. The kids were truly tuckered after completing their chores, but in a good way. A good way that means heading home for warm showers, cozy towels, fresh clothes, a nourishing meal, and settling in to some grounding work like finger-knitting.

    The kids are also seeing first hand that there truly is no such thing as a free horse, even if kijiji leads you to believe otherwise. The costs and labour are large, they are learning – yet so are the rewards.

    So, what can a 6 year old and 10 year old learn from one morning at a stable? If they have a great facilitator, a lot. Aside from general safety rules, some of the things they recall include:

    • If you make two fists and hold them together, with your thumbs along the bridge of your nose, you’ll have the same sight field as a horse.
    • Hay is for eating; straw is for sleeping.
    • The slice of a bale that is fed to the horses is called a flake (there are 3 flakes on the wagon in the photo).
    • The special rake used for mucking is called a poop fork (at this stable, at least).
    • After a stall is mucked, it has to be aired out to prevent mould, before adding straw bedding.
    • To lead the horse, stand by his or her ear and keep your head up and eyes ahead.
    • The plastic or rubber grooming brush that is used first, is called a curry brush.
    • Horses have elbows! They are located right at the top of their front legs.

    The kids both agree that this is their favourite class so far, and they are eagerly awaiting next week’s visit with our new friends.

    feedingfeeding 2muckingleading 2leading grooming


    This post has been shared as a part of Simple Lives Thursday at My Humble Home.

  • This Moment

    This Moment

    “A Friday ritual. A single photo – no words – capturing a moment from the week. A simple, special, extraordinary moment. A moment I want to pause, savor and remember.” {joining Soule Mama today} If you’re inspired to follow along, please leave a link to your moment in the comments!


  • Homemade Applesauce

    Homemade Applesauce

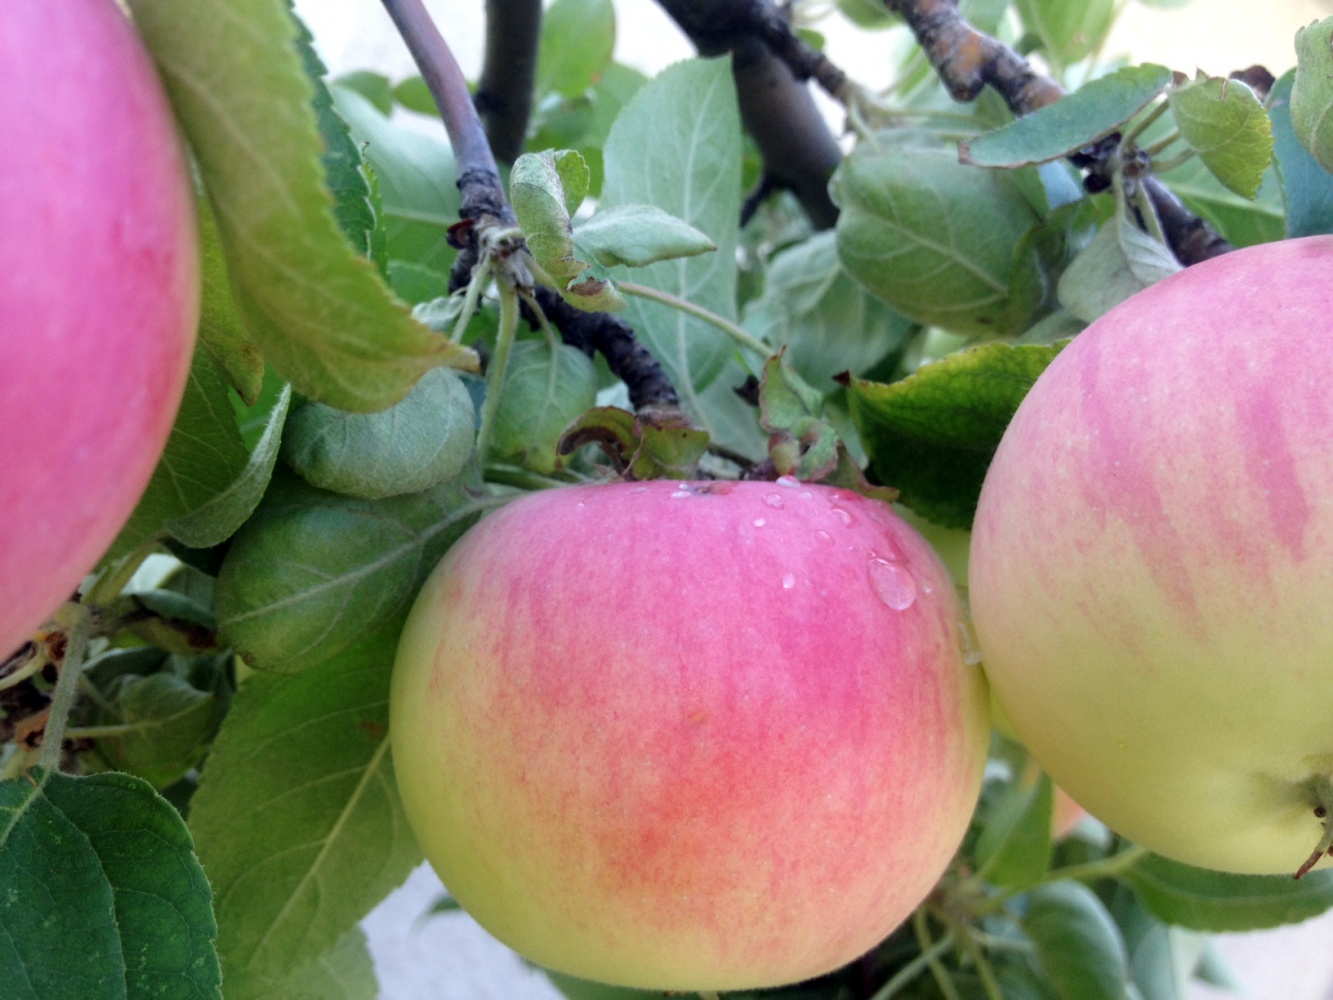
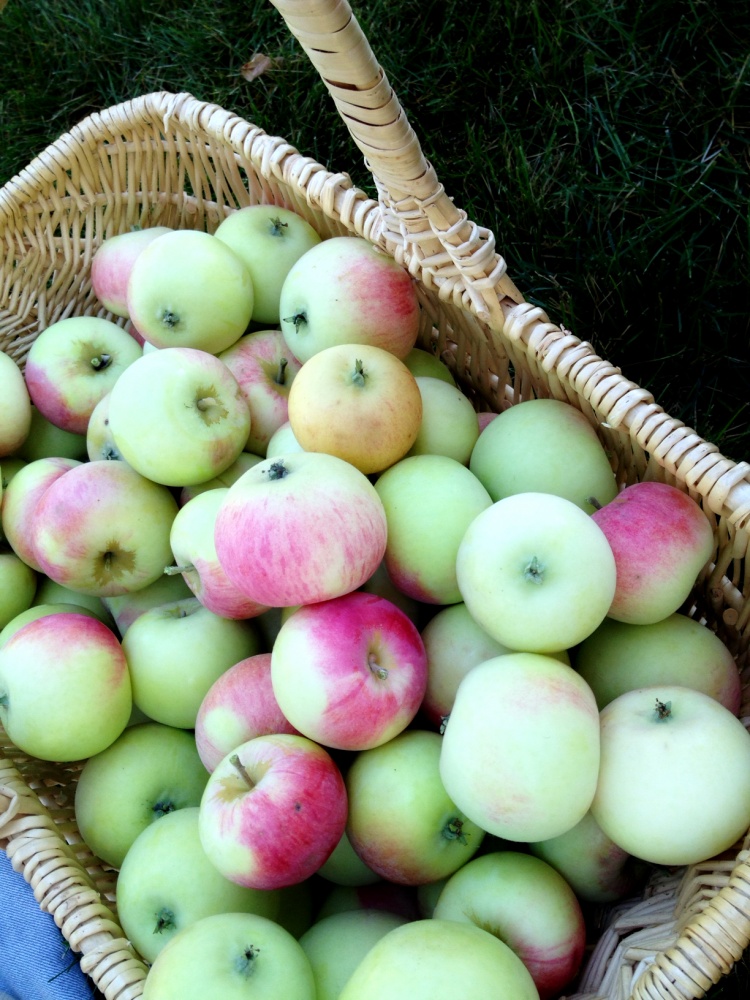
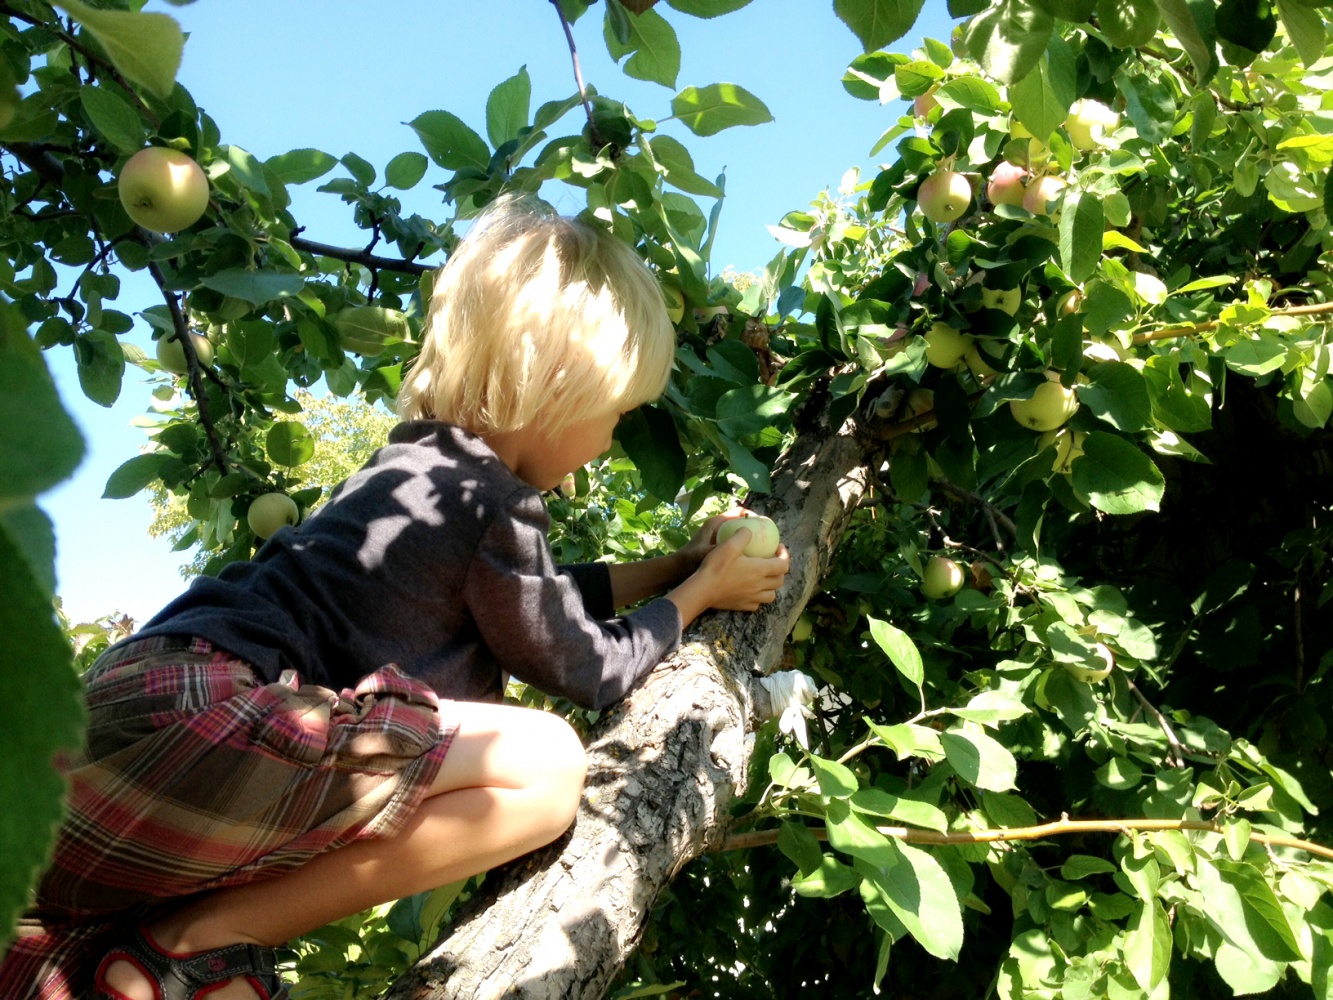
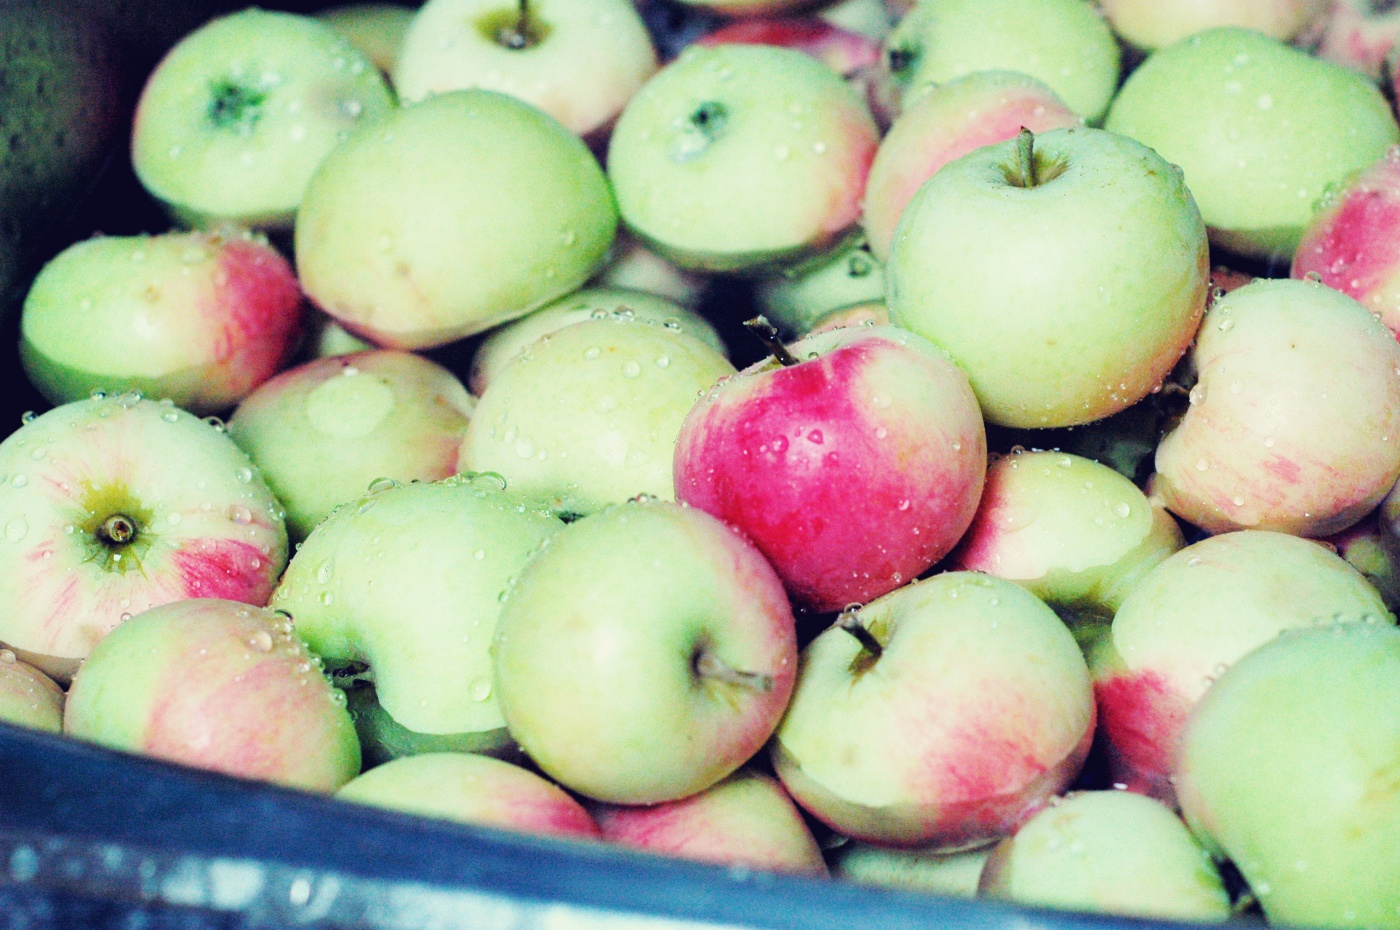
    Recently we were blessed to be able to harvest from two apple trees at the home of a relative’s neighbour. The neighbour is ill and in the hospital, so the apples are just slowly falling to waste. Armed with baskets, and snacks, we went for a harvest day and picked what we could reach, being careful to pick only what we could reach with our arms extended or by climbing a limb, so that the smaller among us would have plenty to pick as well.

    apple dewapple basketcohen harvesting applesbreann harvesting applesThe first thing requested was apple french toast, followed by apple muffins, and finally applesauce. Thanks to Aimée at Simple Bites, we decided to not only add cinnamon to our sauce, but also vanilla – whole vanilla bean. This made for a decadent and beautiful applesauce and I’m not sure we can ever go back to sauce without vanilla again.

    Below are the steps we take to make our sauce:

    Wash the apples in water and a splash of vinegar.

    apple bath

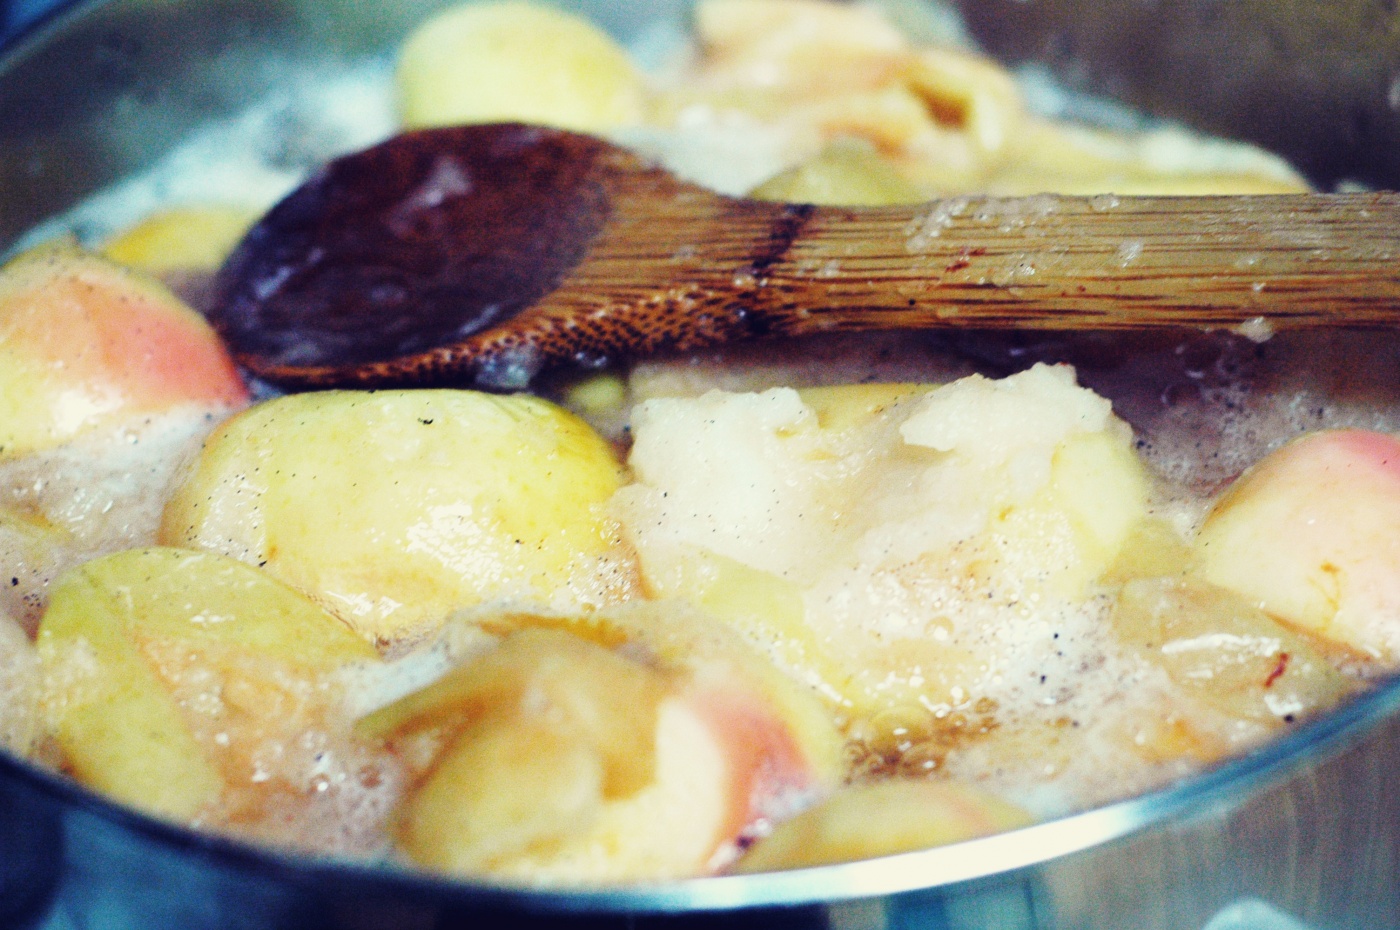
    We keep prep really simple and just cut off any bad spots, before tossing them in the pot. Add 1 cup of water for 6 lbs of apples, adjusting for how thick or thin you like your sauce. Toss in cinnamon and one vanilla bean, scored open to release the vanilla flecks.

    apples in pot new

    Cook down the apples on medium-low heat until they are soft enough to mill.

    apples cooked down

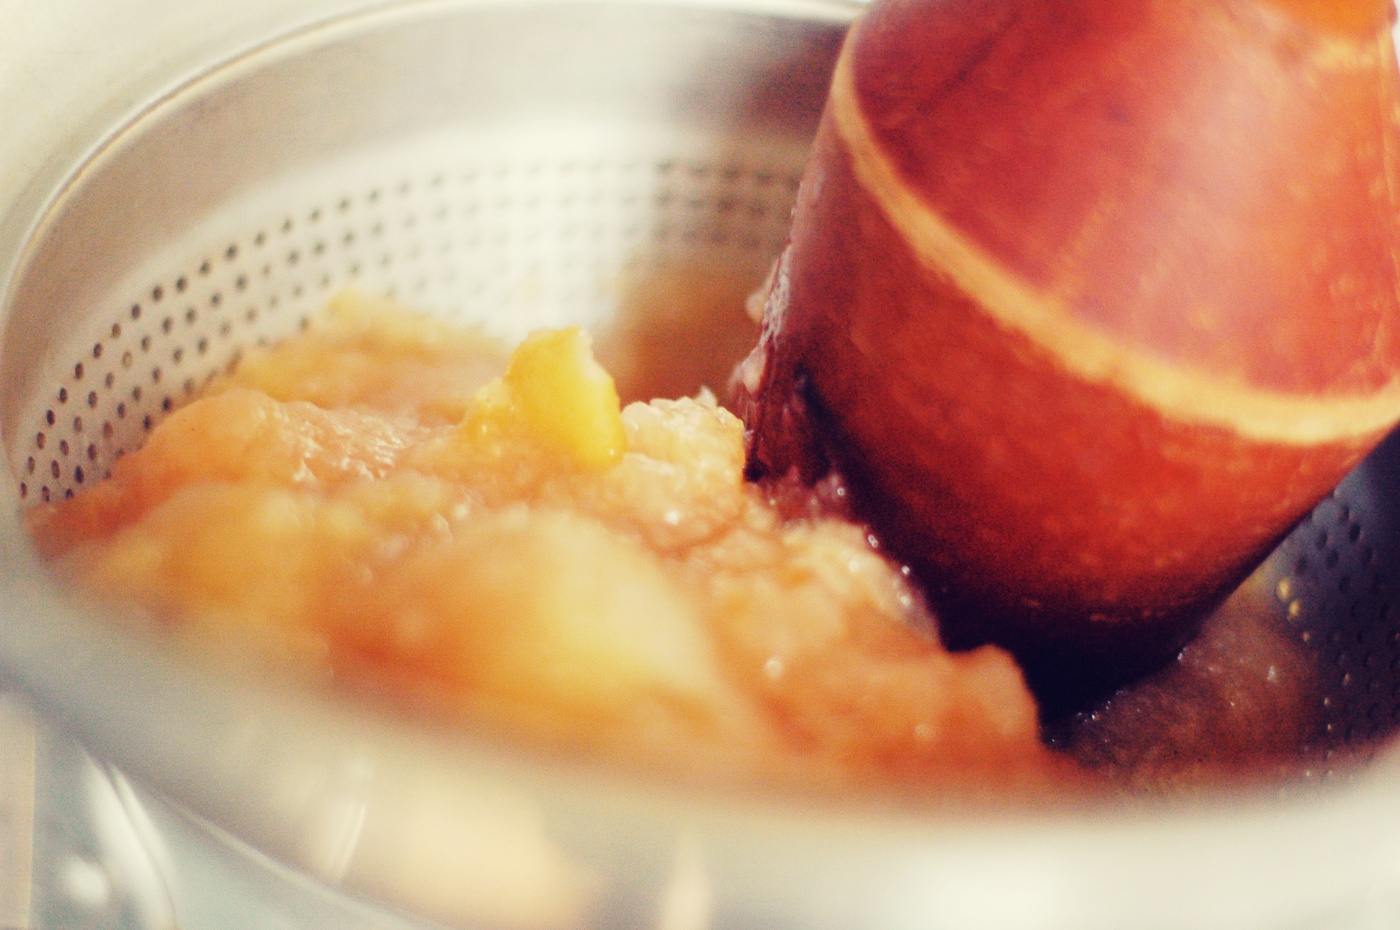
    Place the mill over a bowl or pot, scoop the apples in, and mill, getting out as much sauce as you can.

    applesauce maker copy

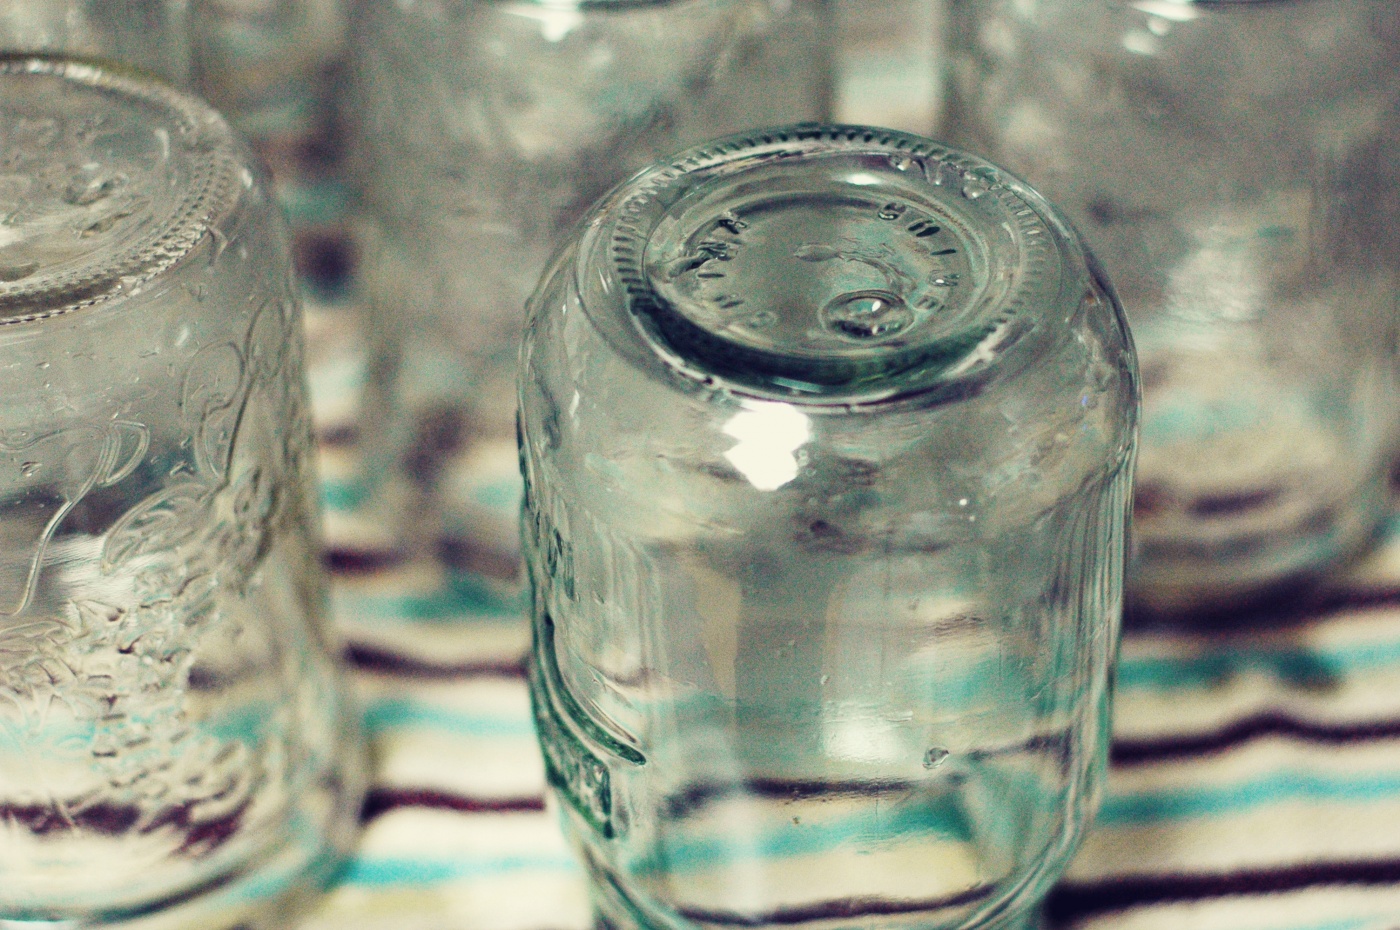
    Using a funnel, scoop the milled sauce into clean canning jars. We don’t actually can our sauce; in preference of keeping things simple, we freeze it and take out a jar the night before we want it.

    clean jars

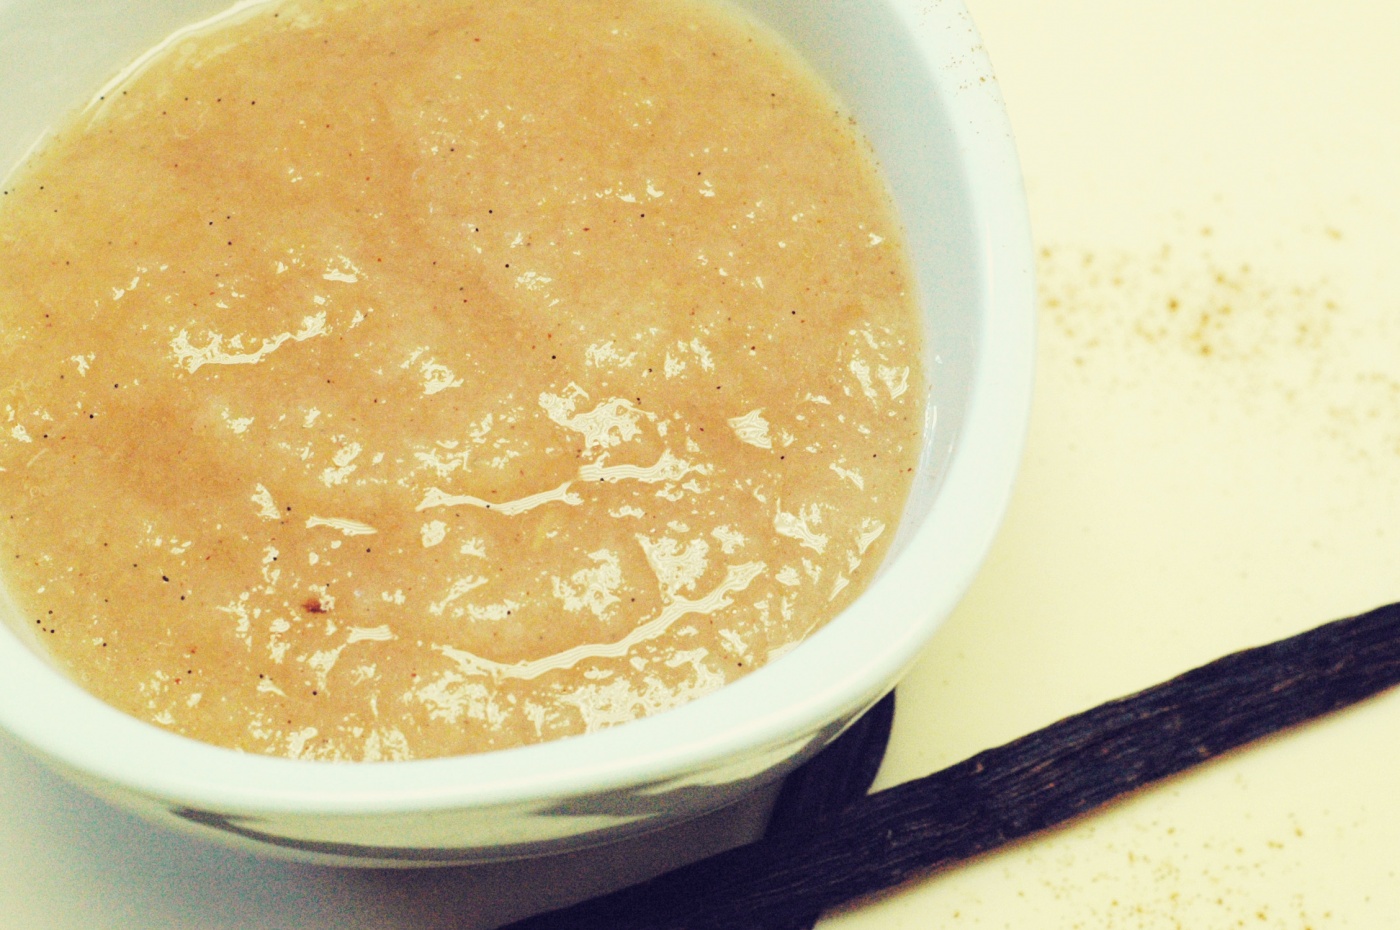
    Beautiful applesauce with vanilla bean flecks. We hope that the apple tree owner will enjoy a gratefully gifted jar or two of this sauce soon!

    vanilla applesauce copy


    This post was featured at Thank Goodness It’s Monday at Nourishing Joy and shared as a part of Unprocessed Fridays at Girl Meets Nourishment.

  • Spring + Summer Book List

    Spring + Summer Book List

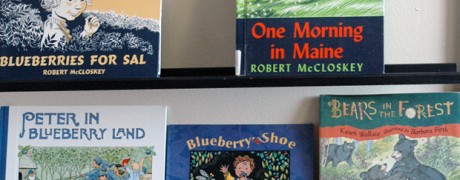
    Growing, cooking, and eating good food is a huge part of our family’s life. Another passion of ours is reading – we read when we wake up, we read throughout the day, and we read each night before bed. Our children often find some books, pull up their chairs and ask if it’s ‘Tea and Story Time’ yet, one of our favourite combinations of our two shared passions of food and written word.

    Helping our children understand the importance and honour of eating local, organic food from farmers we often know and love is something we as parents take seriously. Creating an environment rich with books about food, farmers, gardening and other food related topics helps us accomplish this goal. Open the PDF book list to check out some of our family favourites.

    Not all the books are about healthy, local food, but they can serve to spark a discussion about these things and deepen the connection to the natural world.  Have you read any of them? If so, share your thoughts in the comments – and add your family favourites as well!


    This post has been shared at Thank Goodness It’s Monday at Nourishing Joy.

  • Simple Summer: Mini Farmer’s Market

    Simple Summer: Mini Farmer’s Market

    Passing on the skills of growing and preparing food to our children is such a privilege and joy – not to mention an important step in the path to their future self-sufficiency. In these summer months the kids love being a part of caring for the garden, from preparing the garden and planting the seeds, to harvesting the fresh, intensely flavoured fruits and vegetables.

    How can we keep our little ones interested in learning about food? The answer is pretty simple. Make it fun.

    market-bros

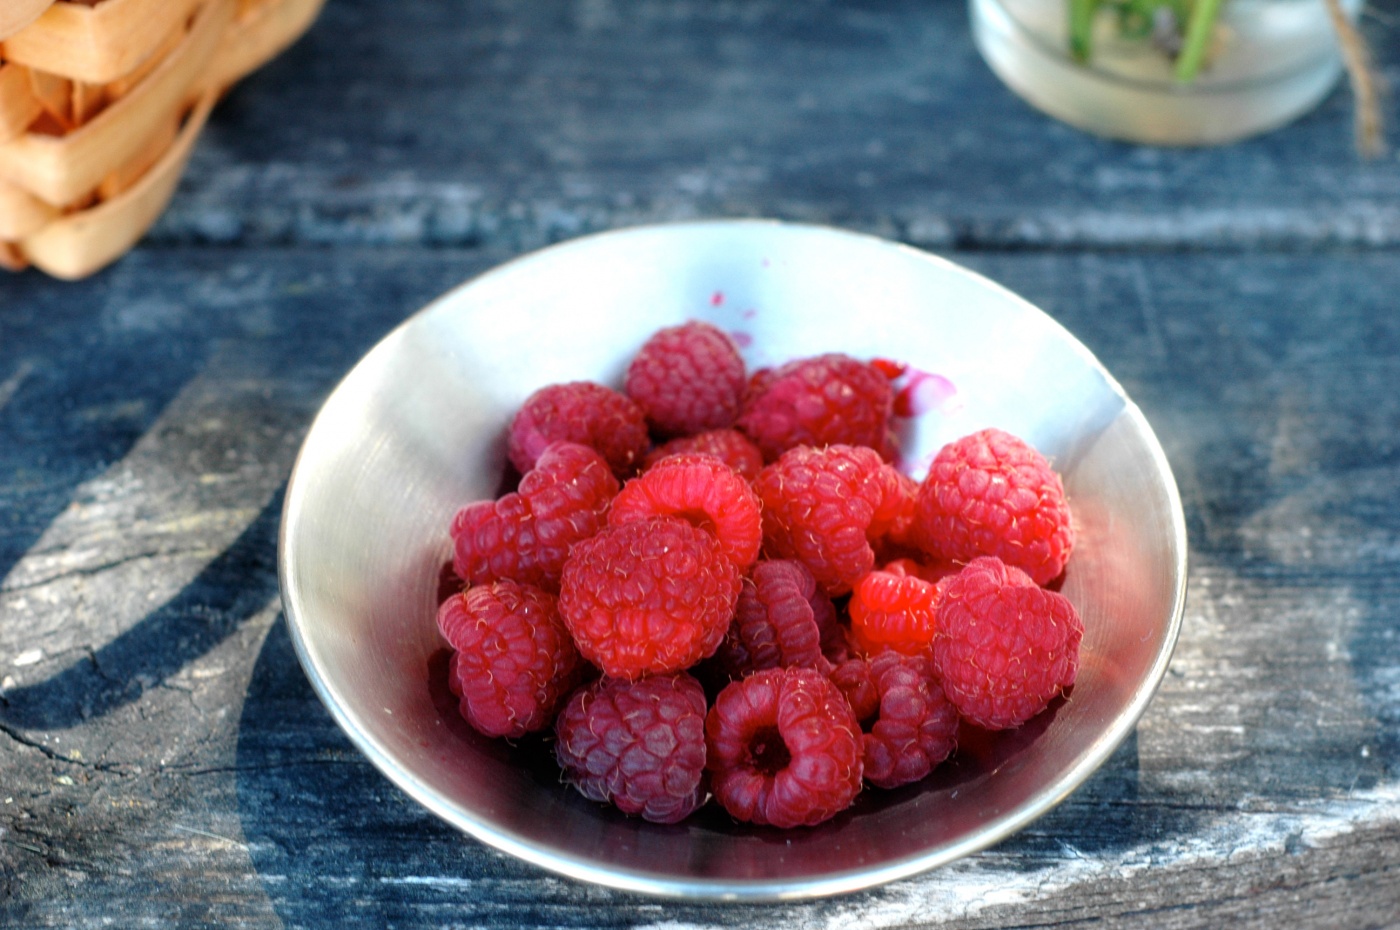
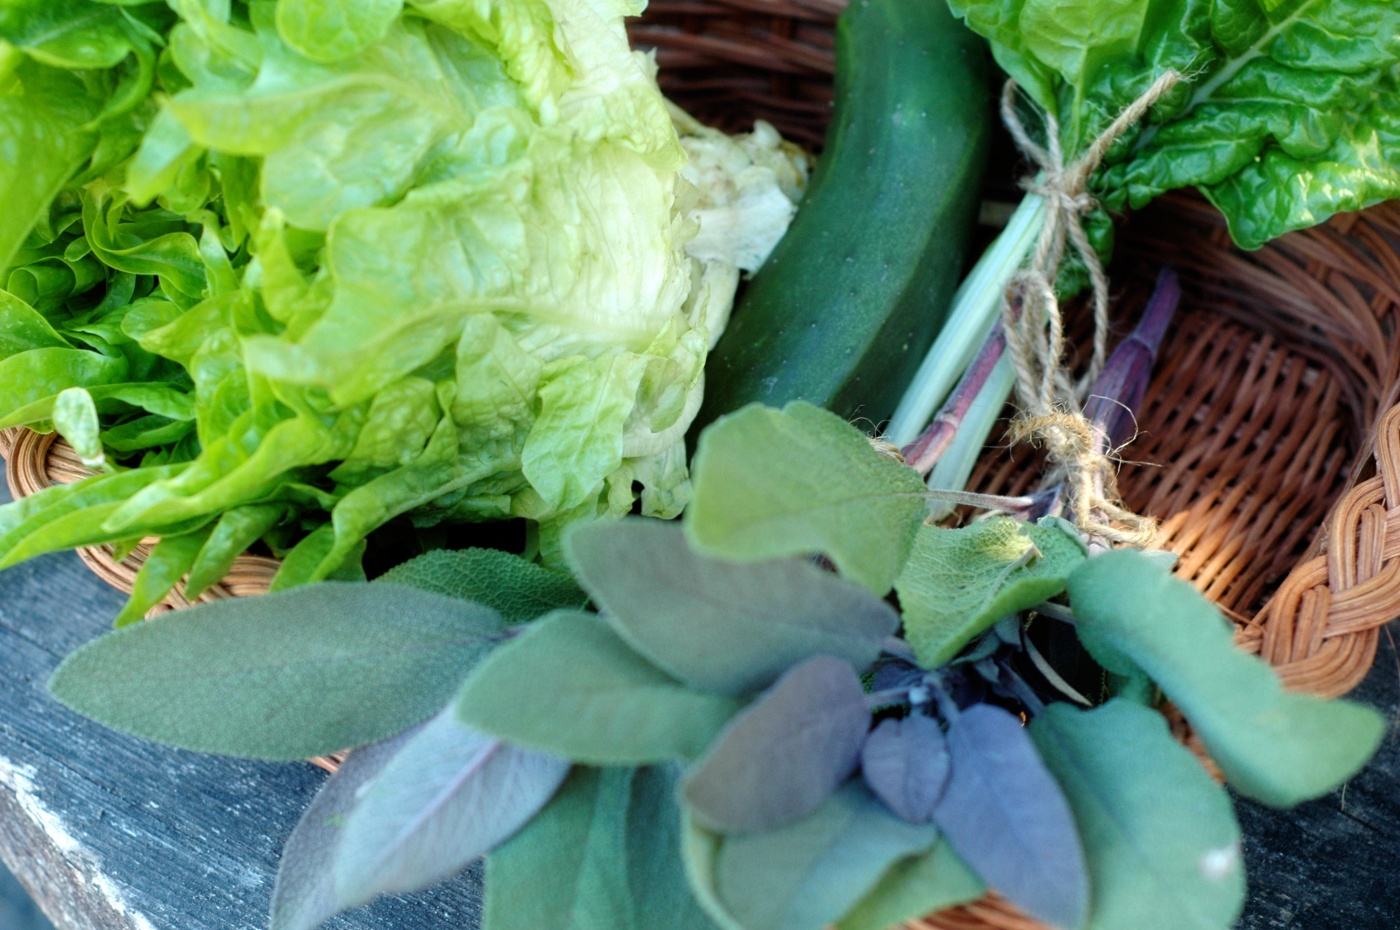
    We’re all familiar with lemonade stands and this idea adds a twist – invite your children to harvest some garden produce and create their own mini farmer’s market (just don’t call it “mini” in front of them – this is their very own business venture!). If you’re rurally based, just head over to a friend or relative’s place – or work with your children to organize a market at your local community centre or town hall with their friends.

    raspberries

    MATERIALS:

    • garden produce
    • scissors for harvesting
    • baskets for collecting and for display
    • table and chairs
    • umbrella for shade, if desired
    • wagon, to make a traveling farmer’s market
    • chalkboard or sign making materials
    • small float of change
    • camera to document all the fun, if the kiddos want to
    • err, grandparents, aunts, uncles and the like – given a head’s up just in case business is slow


    The rest is really self explanatory, yet remember: your job is to facilitate and try to bite your tongue when they want to sell a single shell pea for a dollar. This is a learning experience for them, not only to nourish those roots of a love for growing food, but in marketing, sorting and counting money, assigning value to items, teamwork if you have more than one child, and so much more. At the same time, we all know that sitting around and not making sales is no fun – if business isn’t going well after a while, offer up a gentle suggestion that lowered prices or even a “buy one, get a dozen free” special on shell peas might help.

    grandpa-at-market

    boquets-for-salegreens-and-herbsHave fun with your market – please do share a link to your photos in the comments!

    simple-summer-farmer-market

    This post has been shared at Thank Goodness It’s Monday at Nourishing Joy and featured as most popular post.

  • Fermented Chard Stalks

    Fermented Chard Stalks

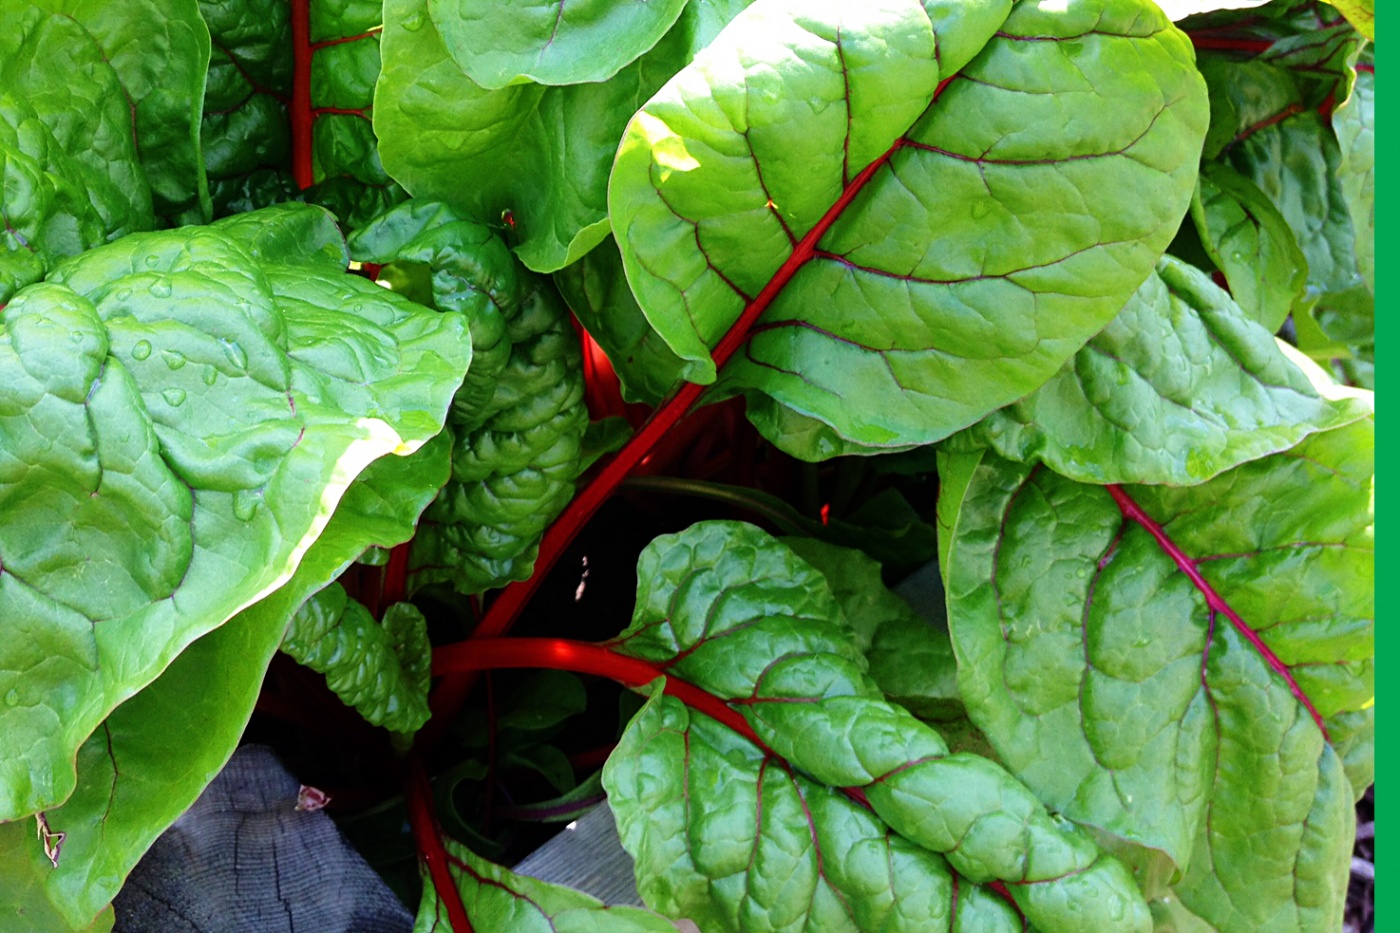
    Today as I was harvesting swiss chard from the garden, the idea to pickle the stalks struck me. Thanks to the wisdom of my dear friend, Adrienne, I remembered that you can really ferment just about anything. I cut off the stalks and set aside the leaves to freeze for smoothies, omelettes and casseroles, and set to work experimenting with my first jar of fermented chard stalks.


    How to Make Fermented Chard Stalks

    chard leaves

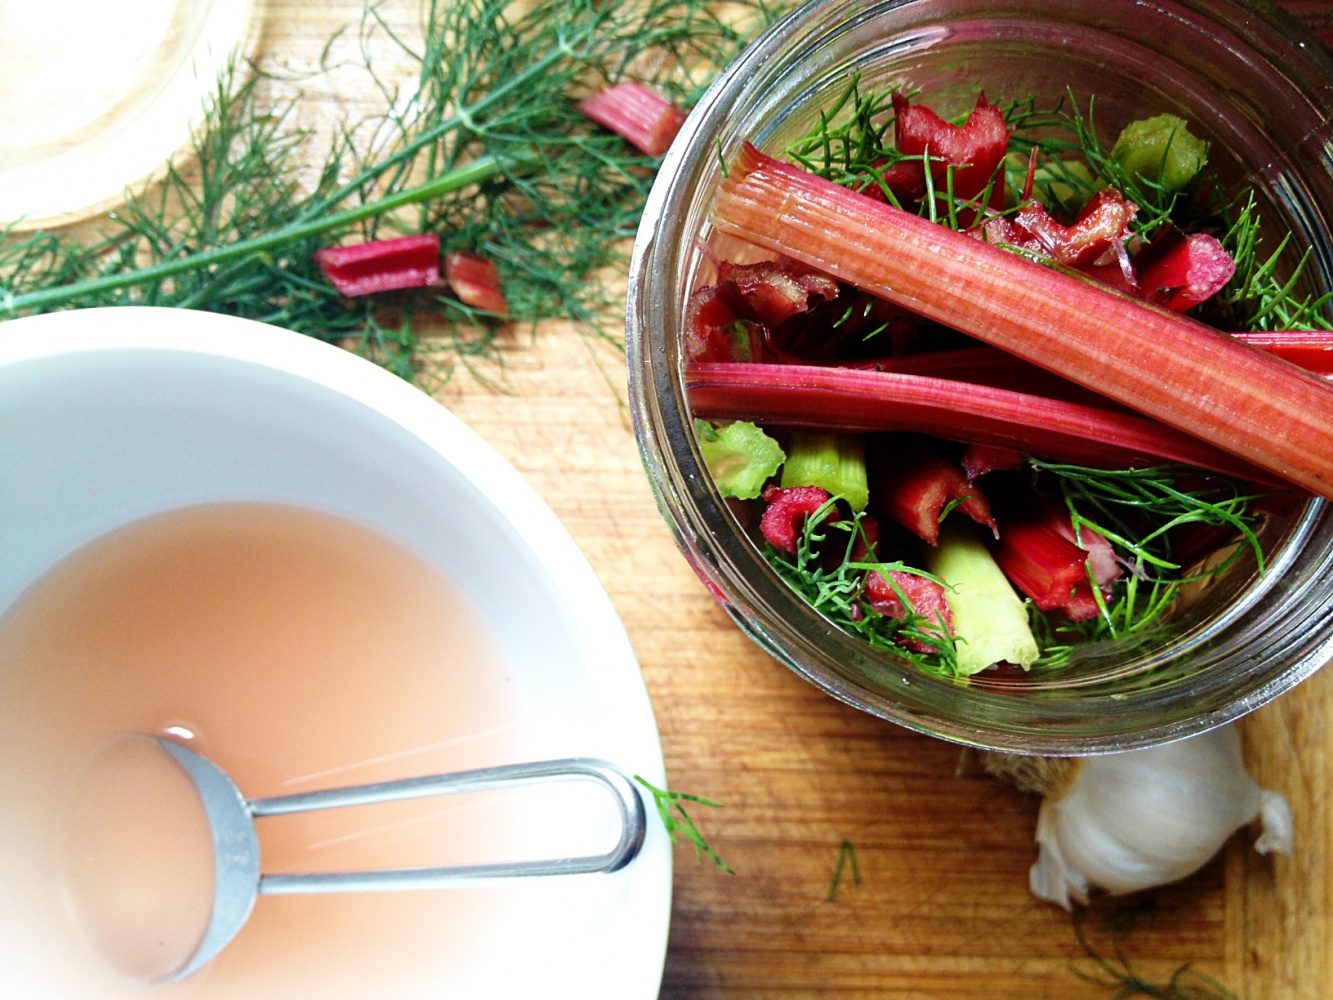
    1. Wash and cut the stalks so they will fit into your clean 500ml (2 cup) canning jar.

    2. Toss some garlic, dill, and a bay leaf into the jar. You can play around with seasonings and add really any flavours that you and your family enjoy.

    3. Stuff the chard stalks into the jar. Pack them in. One of Adrienne’s tricks is to reserve some pieces to lay across the top to keep the other pieces from floating up and out of the brine (I ran out of stalks, or this jar would be way more packed than it is).

    chard stalks salt water

    4. I made a whey-free version, simply because I didn’t have whey on hand. To do this, mix 2 tbsp sea salt with 1/2C water. Pour over the stalks. Add water to cover, leaving one inch of air space at the top of the jar.

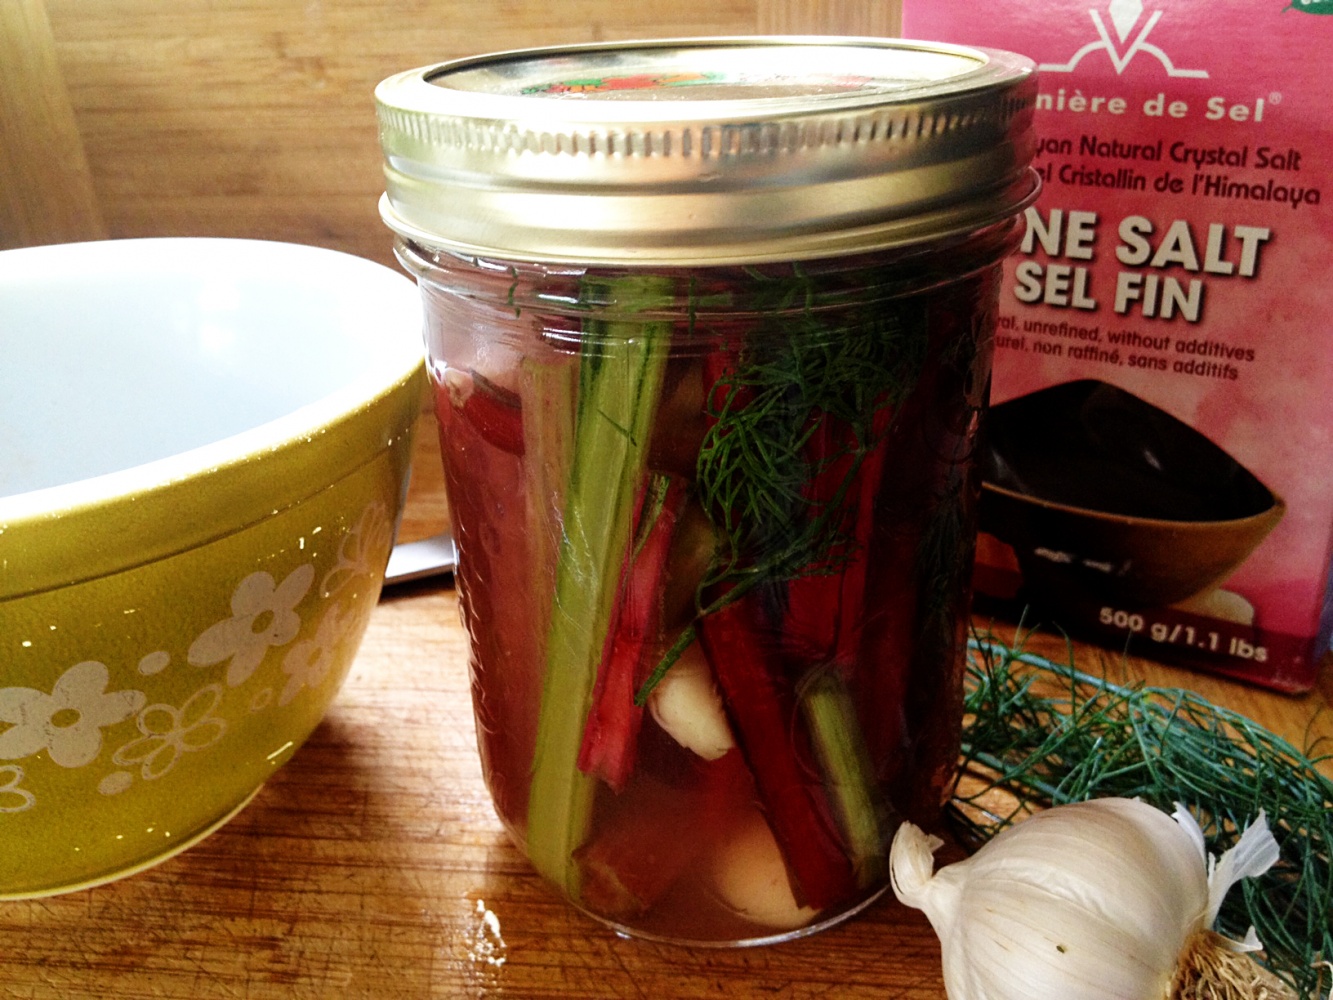
    5. Screw the lid on tightly and set aside for 3-7 days. I like to put a tray with a lip underneath to collect any potential leaks.
    6. After 3-7 days, place into cold storage. Whey free ferments are saltier, so Adrienne recommends leaving them in cold storage for as long as four to six weeks to develop tasty flavours and diminish the saltiness.chard stalks final


    To learn more about fermentation (and how to make whey based vegetable ferments, among many other things), check out Adrienne’s latest course, Traditional Wisdom Modern Kitchen. It’s a game changer.


    This post is a part of Natural Living Monday Natural Link Up at Modern Alternative Health,  Thank Goodness It’s Monday at Nourishing Joy,  Fight Back Fridays at Food Renegade and Unprocessed Fridays at Girl Meets Nourishement.


  • How to Make Garlic Scape Pesto

    How to Make Garlic Scape Pesto

    Hardneck garlic varieties are hardy and bestow a special treat – they produce flower stalks called scapes that are lovely in many recipes.

    We make pesto with scapes that are harvested from our garden – this is the time (early to mid July for our plants) to harvest scapes. Harvesting them rather than leaving them allows the plants to put energy into developing nice healthy bulbs.

    Kids will love to help harvest garlic scapes because of their curly shape. They can be worn as bracelets while harvesting and carrying inside to cook!


    NUTTY GARLIC SCAPE PESTO
    Makes 1 cup

    Ingredients

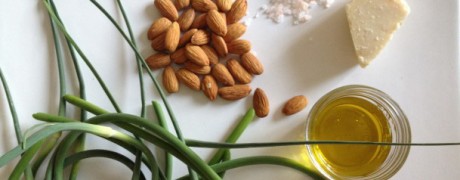
    • a dozen garlic scapes, finely chopped
    • 1/2 cup finely grated Parmesan
    • 1/3 cup raw almonds, walnuts or other nuts (we love Real Raw)
    • 1/2 cup unrefined extra virgin olive oil or unrefined coconut oil (more or less to desired texture)
    • unrefined sea salt, like redmond real

    Instructions

    Toss those curly scapes into the blender along with the parmesan, nuts, and half of the oil. Blend thoroughly. Now drizzle in the remaining oil while blending until you reach your desired texture.

    Enjoy your pesto fresh or freeze it for a few months and use when desired.


    Other Ways to Use Garlic Scapes


    What is your favourite way to use garlic scapes? Tell us in the comments.


  • This Moment

    This Moment

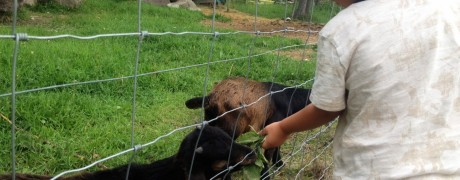
    “A Friday ritual. A single photo – no words – capturing a moment from the week. A simple, special, extraordinary moment. A moment I want to pause, savor and remember.”

    {joining Soule Mama today}

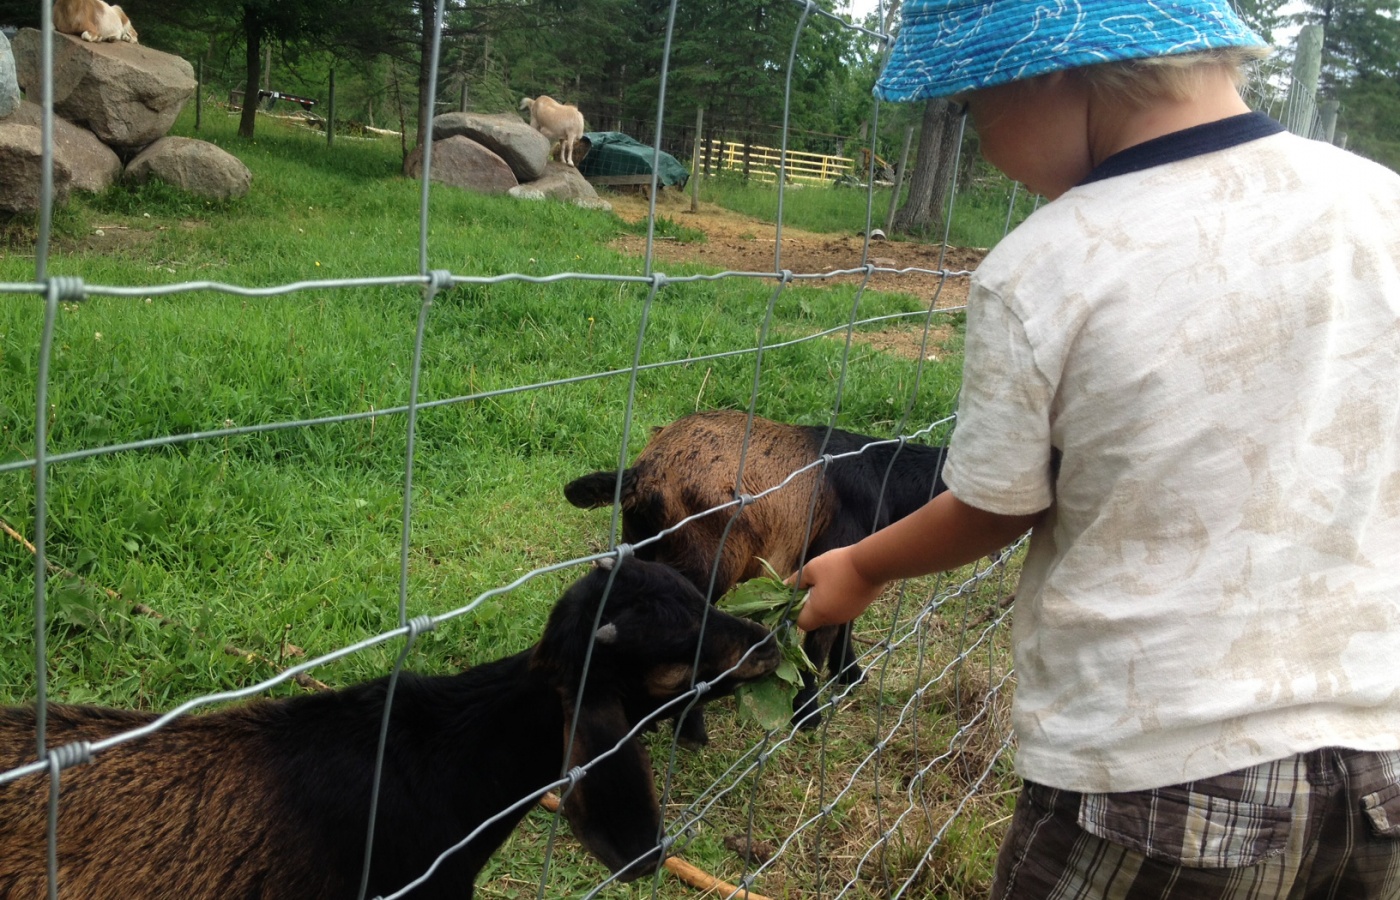
    If you’re inspired to follow along, please leave a link to your moment in the comments!visiting-the-goats-2