To welcome fall, we joined with another family for a walk in the woods at a local natural area. We were greeted by an abundance of tiny characters beneath the trees; little acorns wearing their adorable caps. Many were gathered in baskets and pails, before we hit the trail.
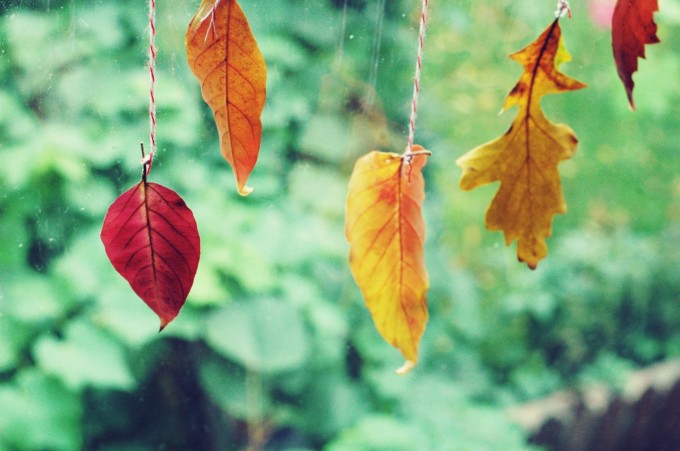
Along the way we saw fall leaves, plants with questionable berries, ducks, and squirrels. Leaves were gathered and brought back home for crafts. Read on for the Beeswax Dipped Leaves tutorial – for an activity that is pleasing to the senses, with the comforting aroma of beeswax, the beautiful colours of leaves, and the surprisingly soft texture of the end product.
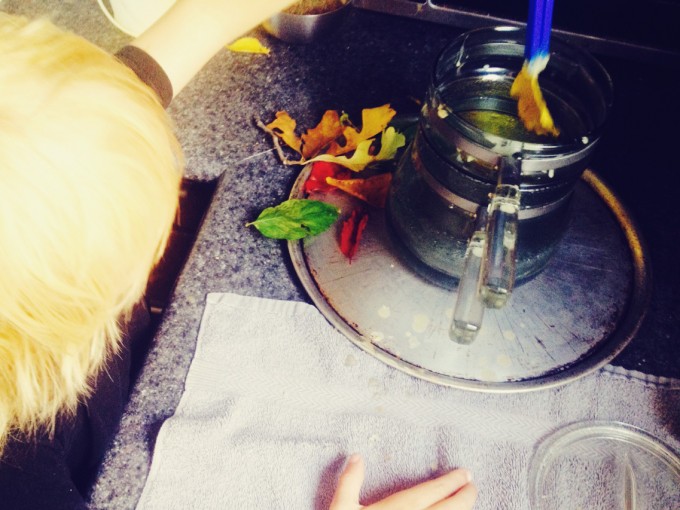
Forgive the lack of process photos, as it was a bit tricky to get shots with 7 kiddos working with hot wax in a tiny corner of our kitchen… that said, this is truly a simple project.
For more leaf learning, don’t miss our Fall Leaves Inspiration Pack, which is oozing with over 40 pages of fun, engaging activities for learning about and with fall leaves. You’ll find Montessori inspired learning, Waldorf inspired learning, story book recommendations, recipes, poems, and more.

Materials:
- String
- Clothes pins
- Old towel
- Beeswax
- Double boiler
- Leaves, freshly fallen
- Tongs, tweezers or kid-friendly chopsticks – for safe dipping
Instructions
1. To start, set up a line of twine or string and have a basket of clothes pins ready. Lay out an old towel under the leaf line, to catch the drips of beeswax.
2. Chop or grate some beeswax and put it in a double boiler on medium heat until melted. We used about 1/2 cup of shavings and dipped roughly 30 leaves with a bit of wax leftover.
3. Remove the pot from the heat, and over to where your towel is set up. Grasp a leaf stem between the chopsticks, and lower it into the pot, moving as necessary until covered. Keep your leaf pile to the left of your pot, to encourage left to right transferring (the same direction as we read!).
4. Using a clothespin, hang the leaf from the stem on the line to dry.
5. Repeat.
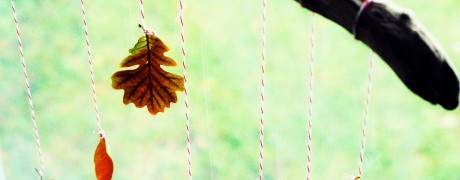
6. Once all of the leaves are dry, create your piece of art. Below are some ideas, or you can come up with your own creations:
- Garland
- Window decoration
- Wreath
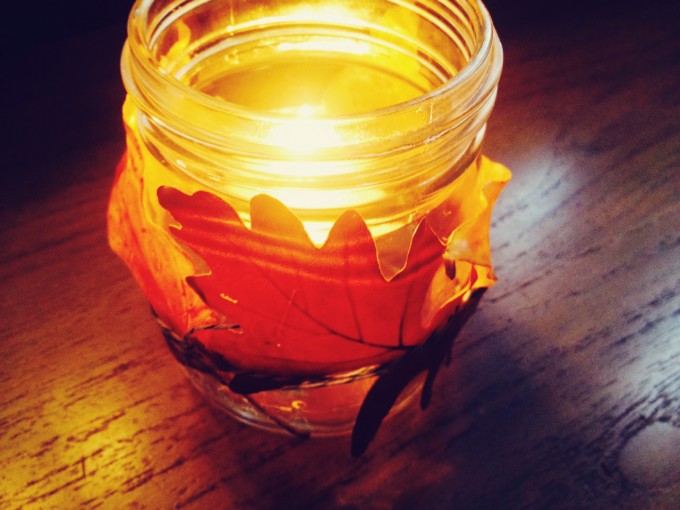
- Centerpiece
Try making some patterns in your creations, such as a colour or leaf type pattern for the garland.
This post is shared as a part of Simply Natural Saturdays at the Pistachio Project, Thank Goodness It’s Monday at Nourishing Joy, Montessori Monday at Living Montessori Now, Hip Homeschool Hop Good Tips Tuesday, and Our Days.
1 comment