Author: kris

  • this moment

    this moment

    snowshoe-swinging“A Friday ritual. A single photo – no words – capturing a moment from the week. A simple, special, extraordinary moment. A moment I want to pause, savor and remember.”

    {joining Soule Mama today}

    If you’re inspired to follow along, please leave a link to your moment in the comments!

  • homemade (banana-based) ice cream

    homemade (banana-based) ice cream

    Our almost thirteen year old had friends sleep over the other night. We generally try not to be too weird and embarrass him by serving kombucha, homemade almond milk, and the like (though a few friends have really enjoyed kombucha). After reluctantly buying a few “healthy” convenience foods for them at our local health food store, I came home to him begging me to make homemade ice cream with frozen bananas!

    Looks like some of our weird foods are actually cool, even by teenage standards! Homemade ice cream is a year-round treat in our home. In fact, we’ve been known to eat it for breakfast now and then, much to our kids’ delight – frozen bananas, nuts and seeds, coconut oil or coconut butter – it’s all good stuff! Let me just add that I don’t only make this for kids – I’ve made it on evenings spent visiting with good friends and they swoon over it every single time. For adults you can add some extra special ingredients like coffee or a liqueur!

    This recipe was also published in The Aquarian; Banana Ice Cream That’ll Make Your Friends Swoon.

    How to make frozen banana ice cream:

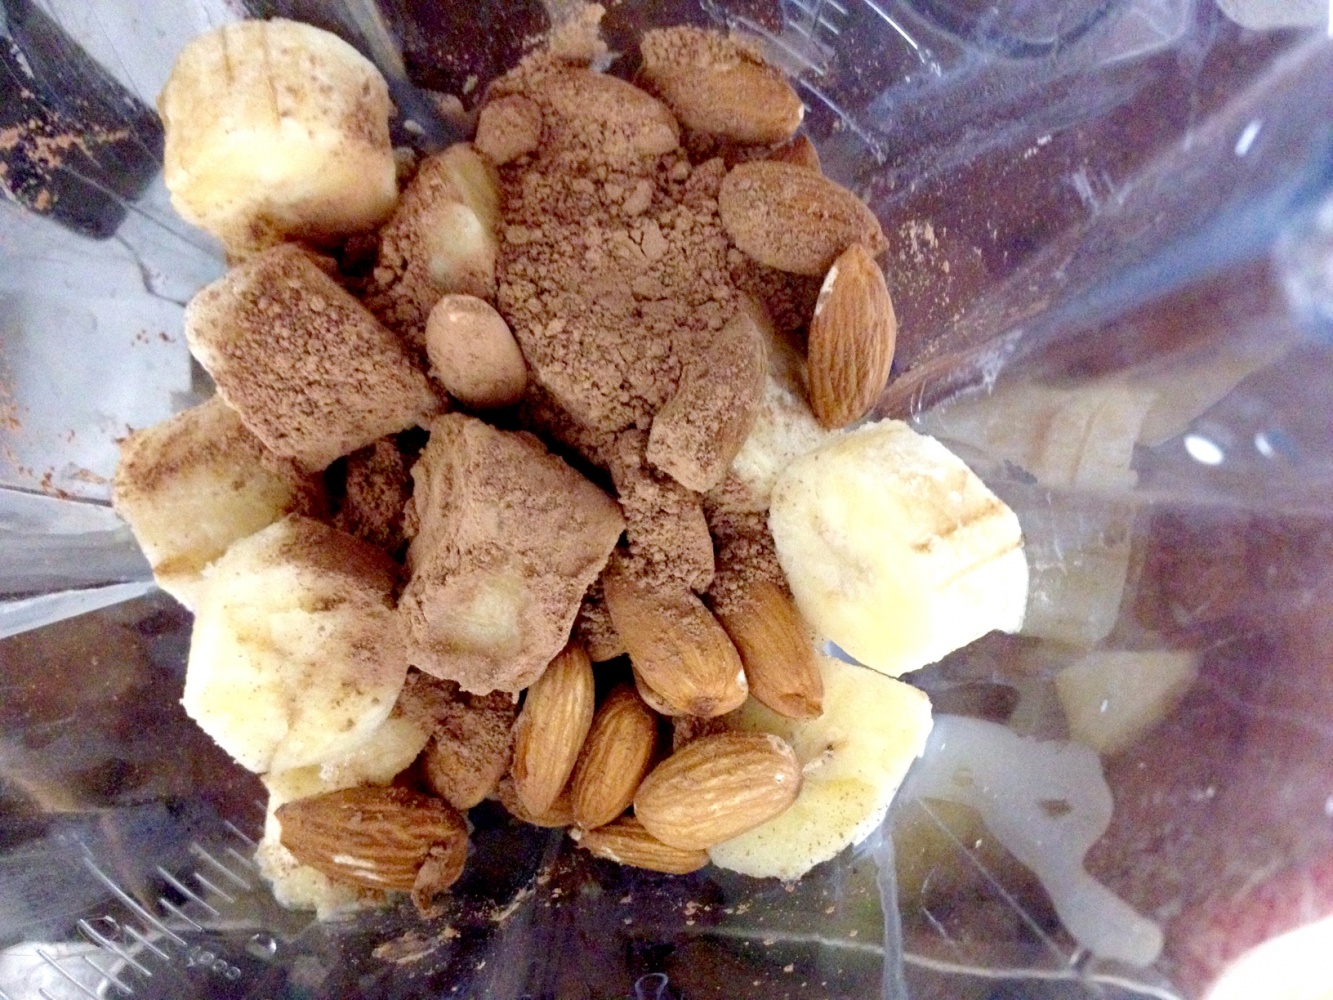
    ice-cream-ingredients

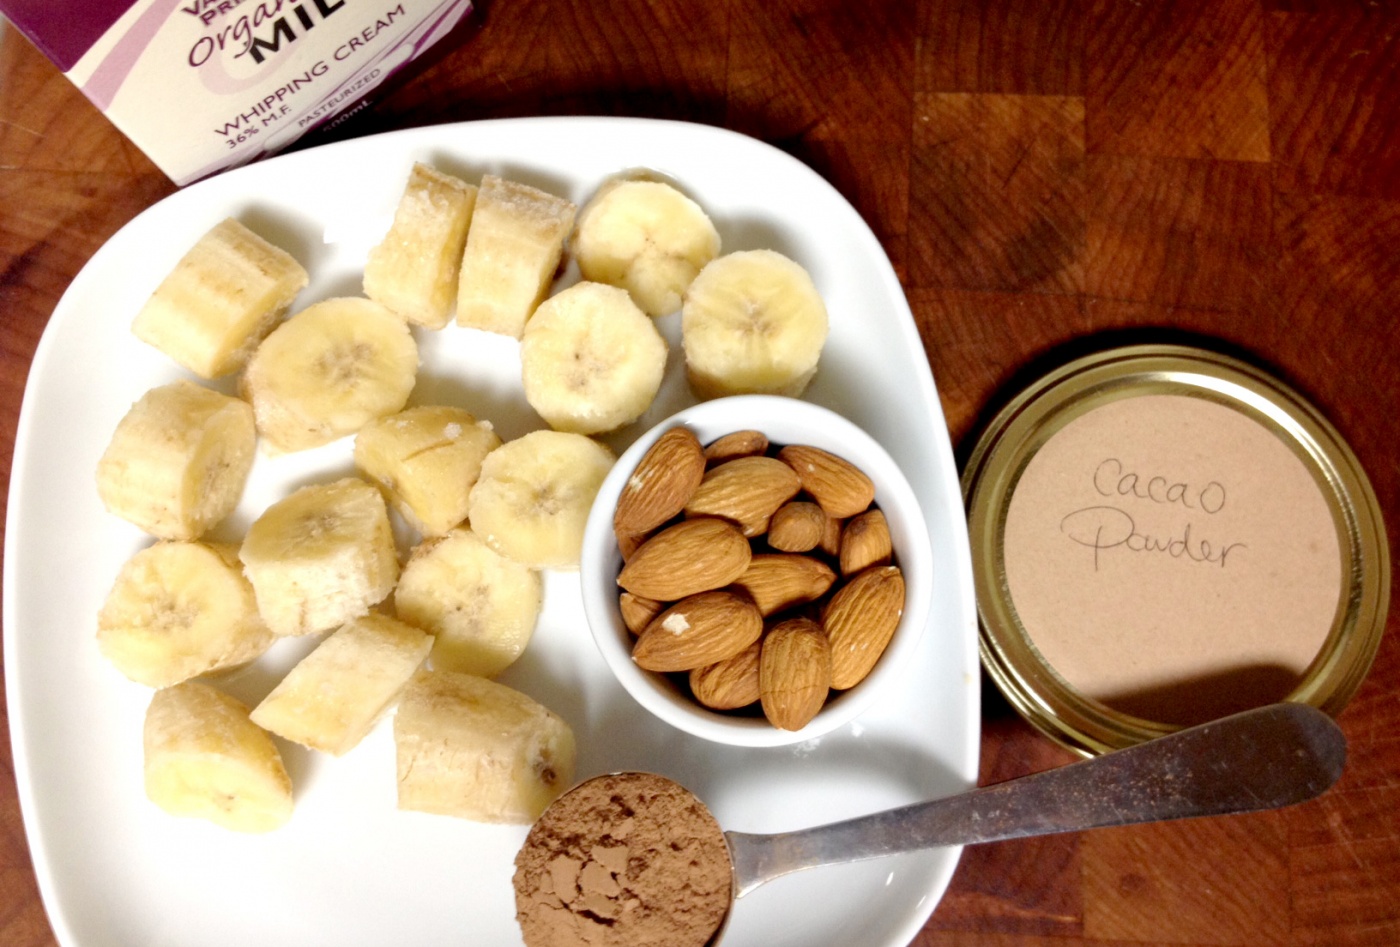
    1. Peel and freeze bananas. We are fortunate enough to score these at our local health food store already peeled and frozen. They had the bright idea to rescue bananas on the tail-end of their edible lives by peeling, bagging and freezing them to sell at a great price. If you aren’t so lucky, you can simply peel your bananas, lay them on a baking tray and pop them in the freezer. Once frozen, seal them in a freezer bag and they will be handy for homemade ice cream and other frozen desserts.

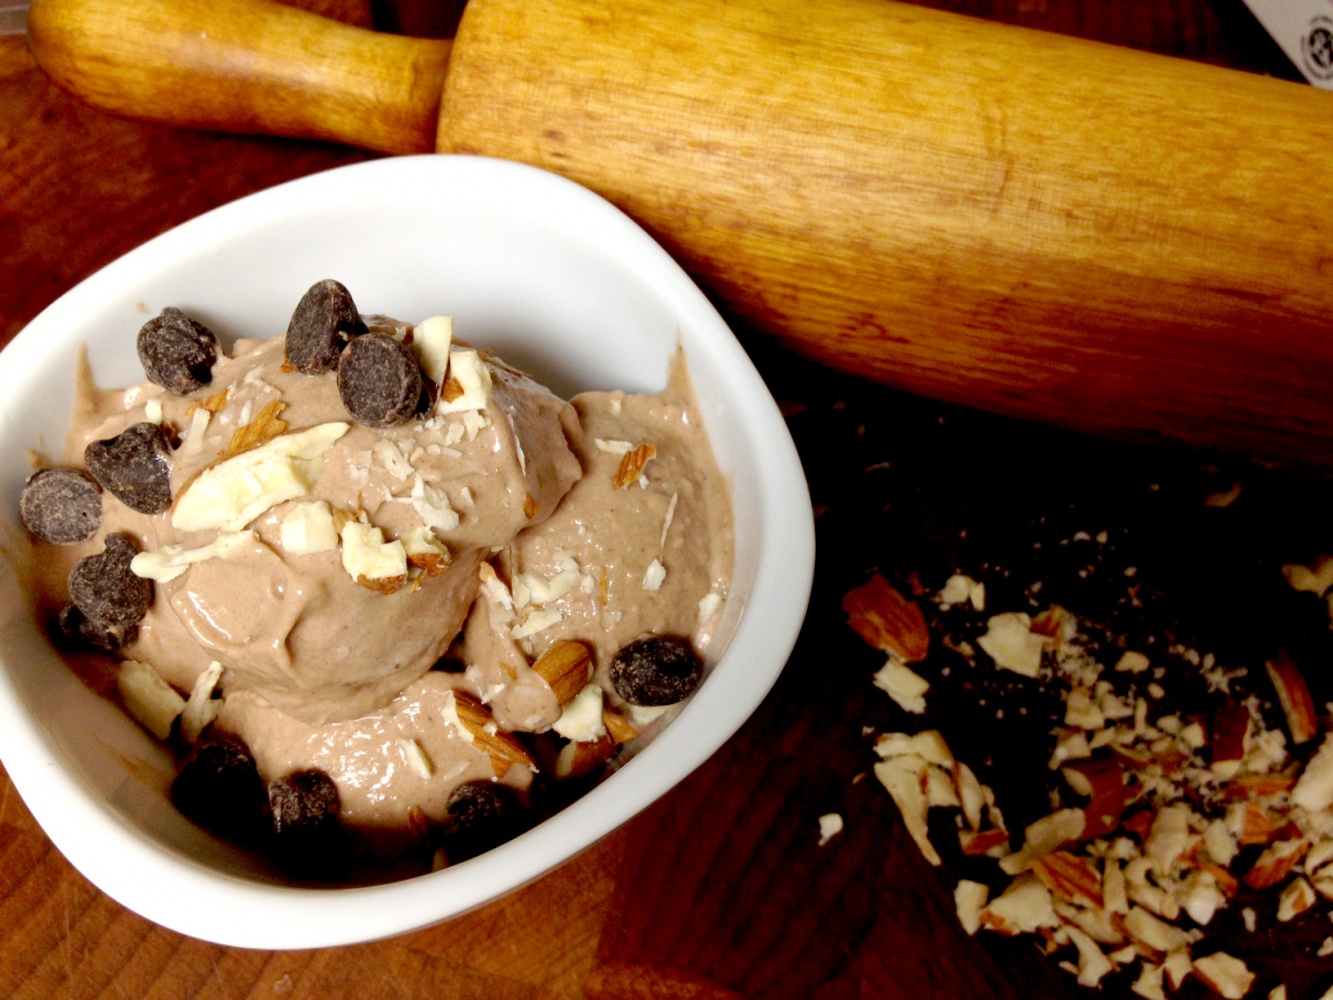
    2. Add milk of your choice to the blender OR food processor. If you are using a high powered blender or a good food processor, you won’t necessarily need to add any liquid to your ice cream. You can add dairy like whipping cream, cream or milk, or an alternative milk such as almond, coconut, or hemp. Once you figure out what your blender is capable of, you’ll find the right ratio of liquid to frozen banana. The ice cream shown in the dish up top is actually a lot more like soft serve because I added too much whipping cream. We like when we get it nice and firm, more like hard ice cream. We often start with no liquid and only add a tiny bit if needed to help the blender along.

    3. Slice the frozen bananas and toss them in the blender.

    4. Add your optional ingredients:

    5. Blend.

    6. Scoop out using an ice cream scoop. Add toppings as desired and enjoy!

    almonds-rolling-pin


    ice-cream-dish


    For more tips on eating well affordably, check out this post: Fitting Real Foods into the Budget – tips from myself on eating REAL food on a budget and links to some of my favourite posts on this topic.

    real food budgeting roundup


    For time and sanity saving menu planning help, grab our Tiny Peasant Menu Planners & Resources!

    Tiny Peasant Pantry Menu Planners Badge

  • snow + a mud pie kitchen

    snow + a mud pie kitchen

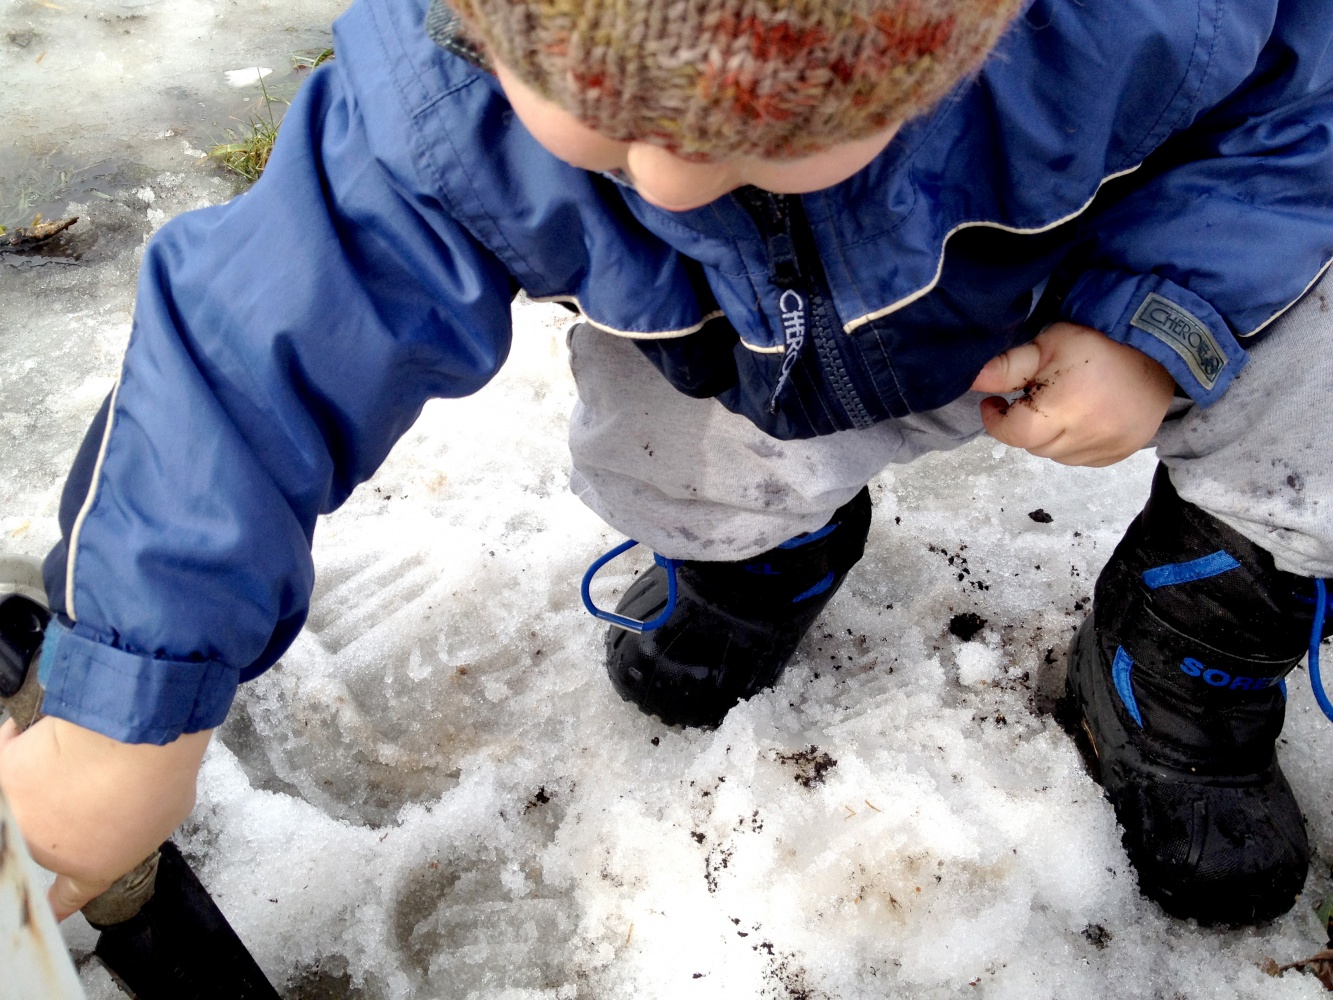
    You don’t have to let the snow stop your children from enjoying nature exploration. Whether you have several feet of snow, slush, or just plain mud in your yard, you can provide tools for your children to create an enchanting natural play area they will adore.

    milo-mud-kitchen
    Over the past few years, some of our kitchen wares have migrated from the kitchen to the backyard into the children’s mud pie kitchen. The kitchen itself travels around the backyard, settling in on a tree stump only to be moved the next hour or day underneath the trampoline, or over into the garden. The important parts are the tools and the imaginations of the children who use them.

    A few things that will make your mudpie kitchen the place to be in your yard:

    • muffin tin
    • wooden spoon
    • old pot or pan, or child size versions
    • bread tin
    • strainer/colander
    • baking tray
    • metal or plastic bowls of various sizes
    • tongs, flippers, and other kitchen tools

    If you have small sizes of the above, that will make them easier for little hands to manage, but anything will do. Really.

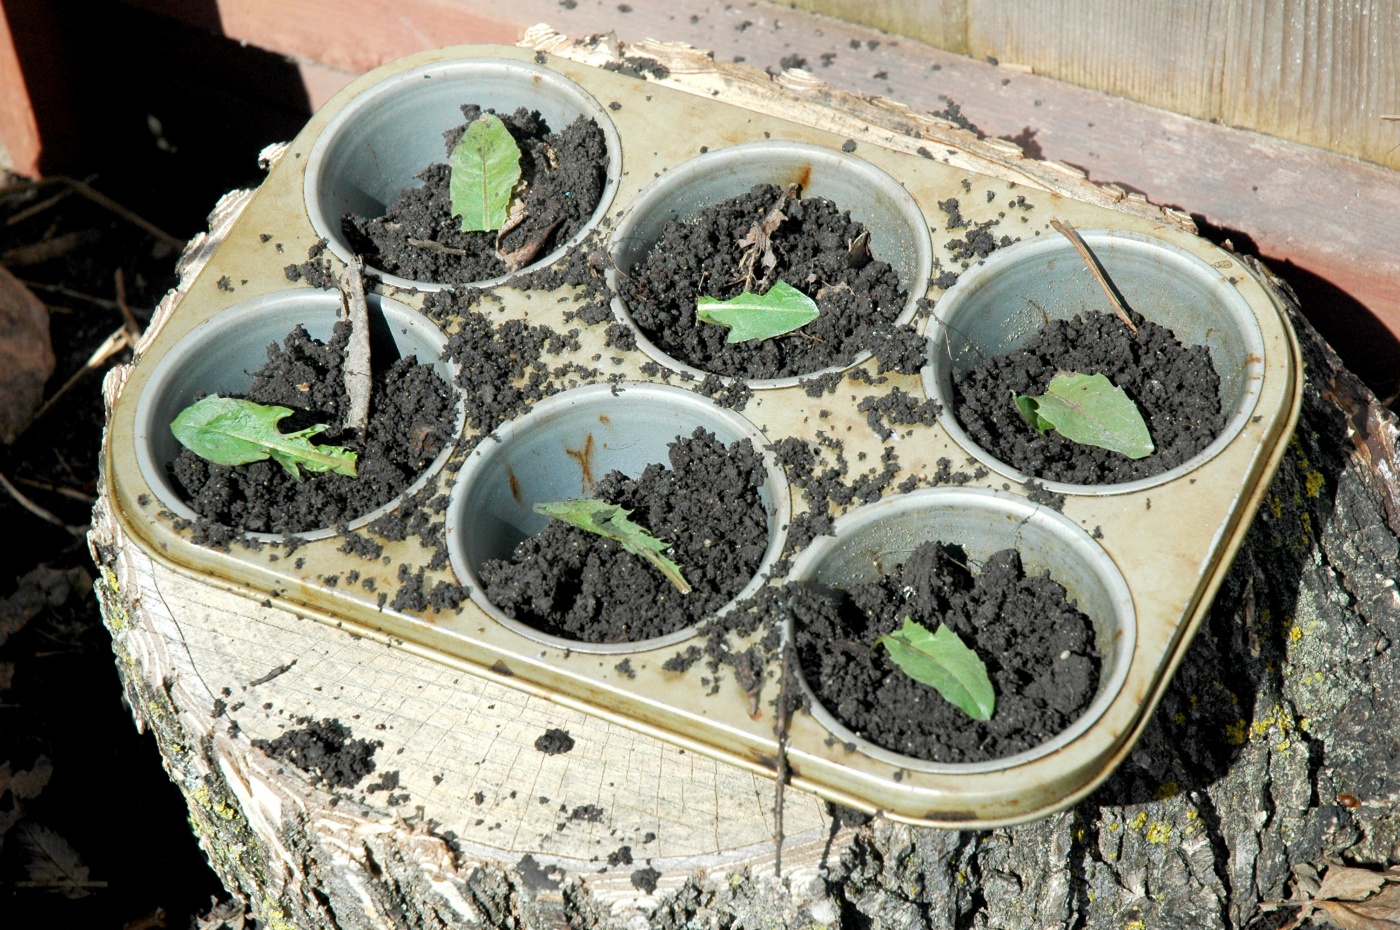
    mud-muffins


    An adorable little book that I learned about from Ginny over at Small Things, is Mud Pies and Other Recipes by Marjorie Winslow. Overflowing with charming illustrations and recipes – from Wood Chip Dip to Pine Needle Upside-Down Cake, it is a great addition to the bookshelf and would be a sweet gift, especially paired with a second hand muffin tin and wooden spoon.

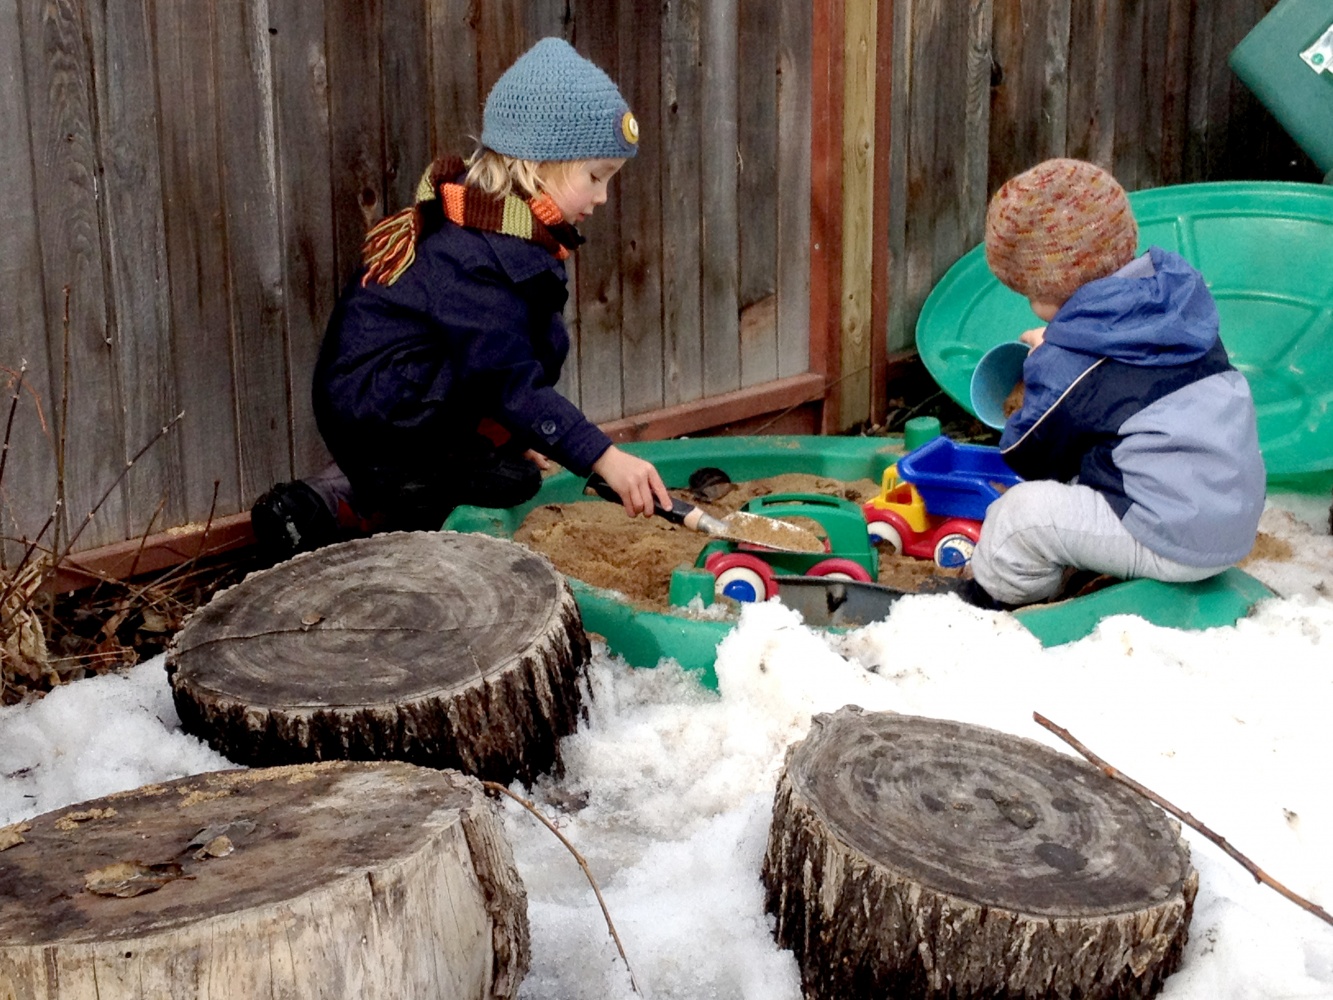
    When the need to move on from the mud kitchen wears off – don’t overlook the novelty of playing in a sandbox surrounded by snow!

    Have fun in your outdoor kitchen this spring!

    boys-snowy-sandbox


  • Games for Kids: Puzzle Bingo & Balancing

    Games for Kids: Puzzle Bingo & Balancing


    Recently I shared a couple of our family’s favourite games. Carrying on with that, here are a couple more that are adored by our children.


    TRAVELLING BINGO

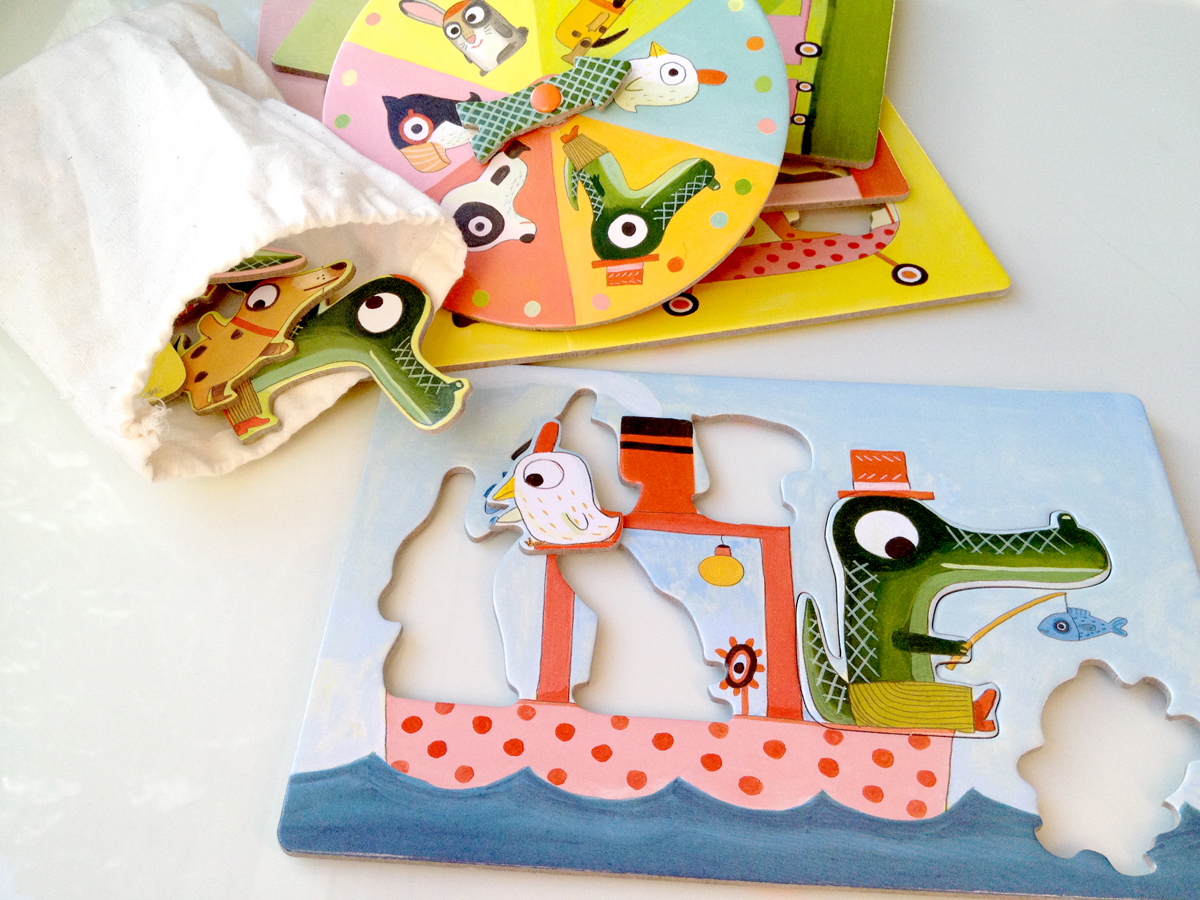
    This simple, and whimsically-designed game has a permanent home on our learning shelf in the living room and is brought down to the carpet area once or twice a week. The kids love the combination of puzzle and bingo and little ones love flicking the spinner and watching it go round and round with eager anticipation of where it will land.

    Djeco’s Travelling Bingo is simple enough that our youngest played it when he was two, but still entertains older children for at least a round or two. The illustrations are endearing, but do be careful how you store the puzzles as they are made of a sturdy cardboard that can peel or bend if handled roughly.

    puzzle bingo


    PANDABO

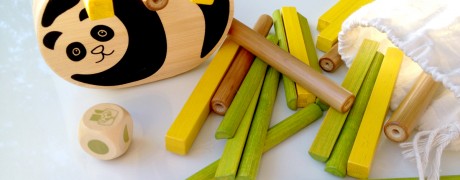
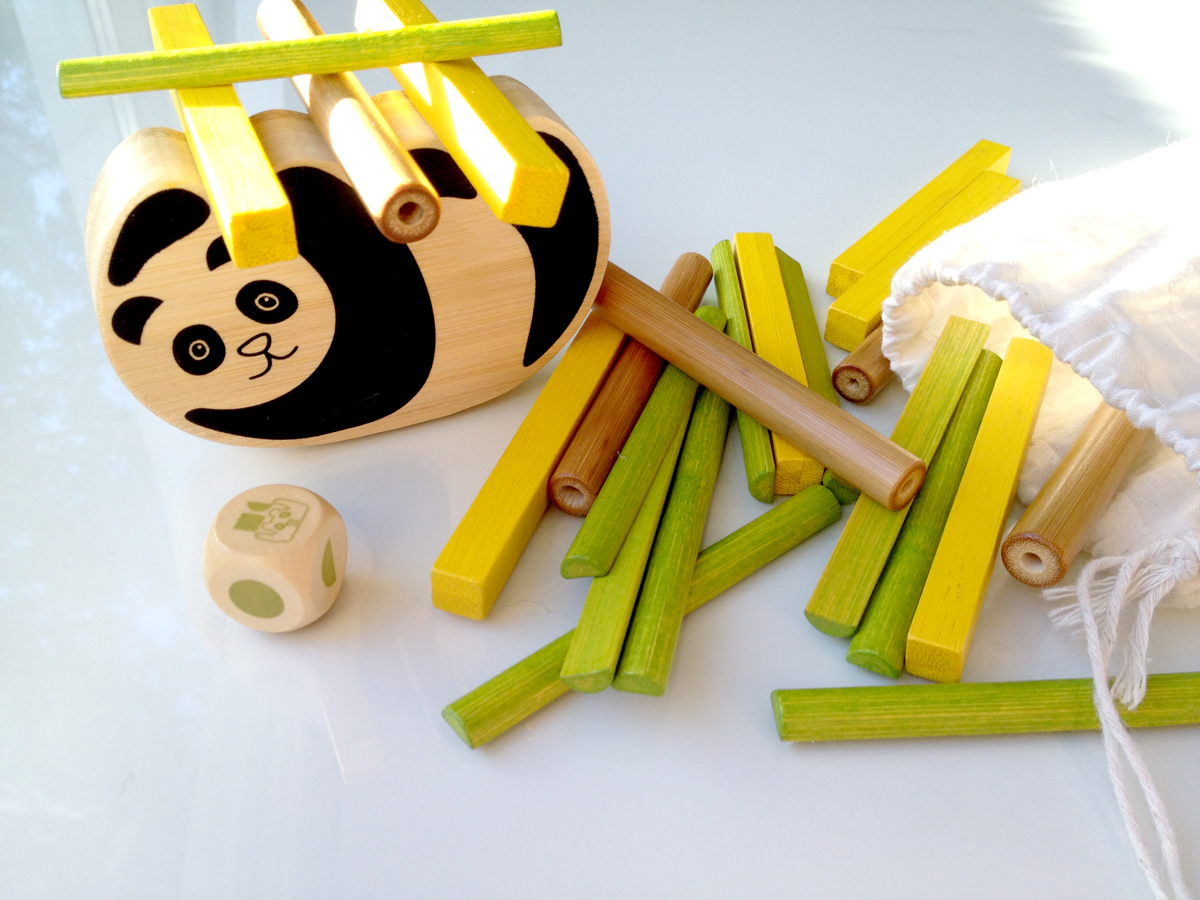
    Neighbour to Travelling Bingo on our living room shelf, Pandabo, by Hape, is a beautiful and fun game. Sustainably made with bamboo and water-based paints, Pandabo offers a strategic challenge and can also be played cooperatively. The idea is to be the one who never causes the stack to tumble, but our family plays together, giving advice and cheering one another on. We aim to get the stack as high as we can as a group. Little ones can practice shape recognition and it’s really fun to see the wheels turning in the minds of older children plotting how best to ‘stay balanced’ as the stack grows.


    pandabo


  • {this moment}

    {this moment}


    “A Friday ritual. A single photo – no words – capturing a moment from the week. A simple, special, extraordinary moment. A moment I want to pause, savor and remember.”

    {joining Soule Mama today}

    If you’re inspired to follow along, please leave a link to your moment in the comments!


  • nurturing young artists: art supplies part one

    nurturing young artists: art supplies part one


    I’ve always been drawn to quality goods. Does anyone else inevitably pick out the most expensive item when shopping? At times that high price tag doesn’t actually equate to high quality, but our family has learned that investing in quality items is a good method of stewardship over the long haul. We can apply this to nurturing a love for art in our children through purchasing select, quality art supplies.

    Why spend the extra money on art supplies for kids? Often as adults we are very product oriented. Our kids, however, are thankfully more process oriented, and working with quality materials allows them to enjoy that process more – it allows them a richer sensory experience, and it doesn’t hurt the product either. On the contrary, artwork will be more pleasing to the eye when created with nice materials, and your kids will notice the difference.

    Below are a few of our tried and true art supplies. We keep them within reach so that the kids don’t have to request or schedule in art time, but can grab materials when they feel inspired.


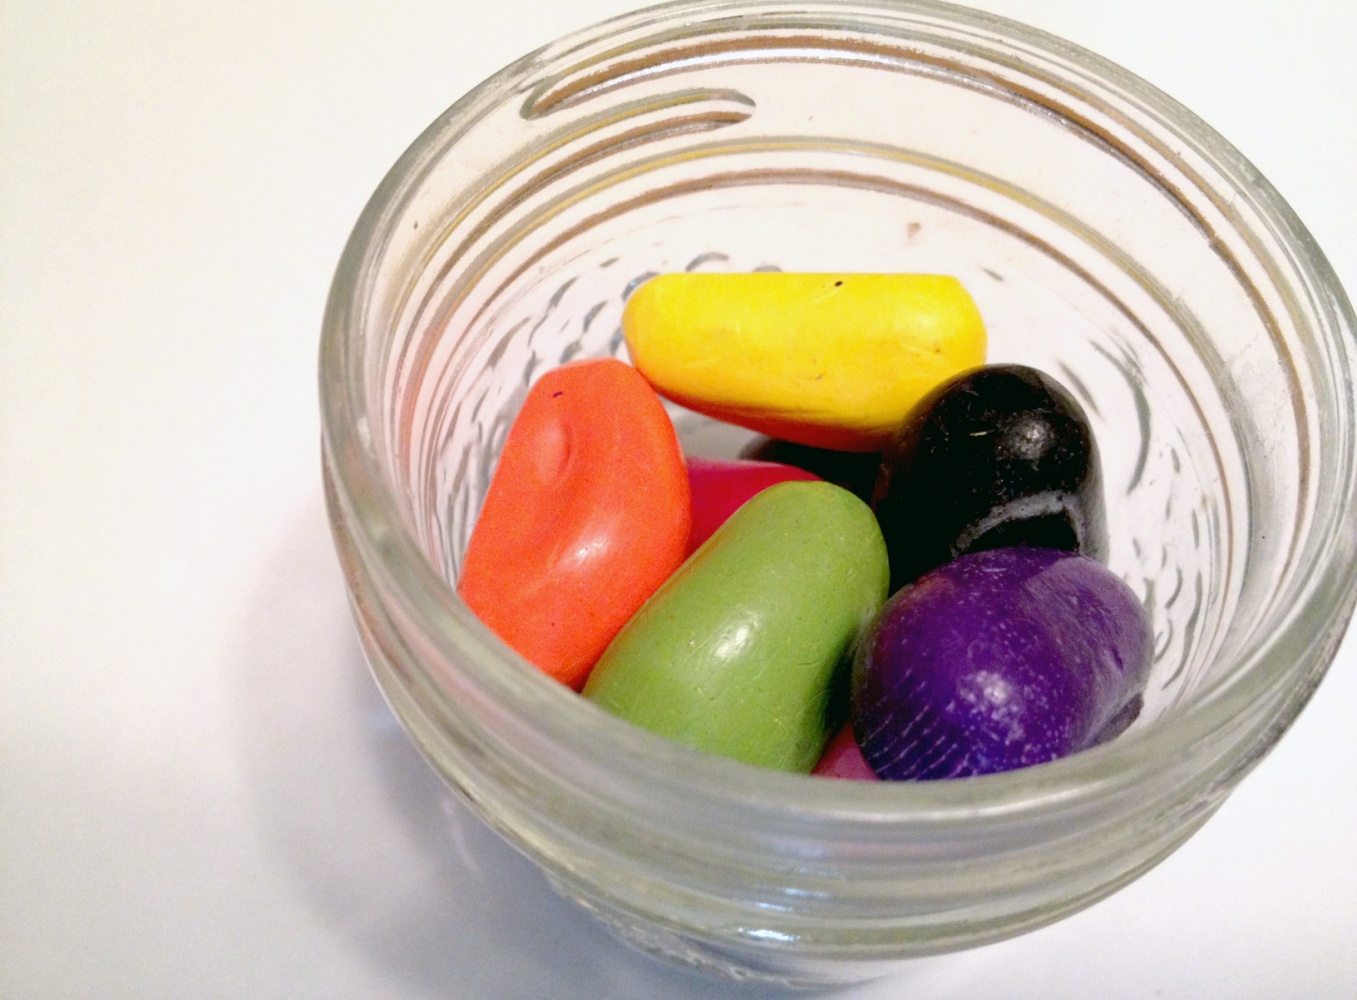
    Rock Crayons, by Clementine Art

    These fun crayons, made of natural ingredients, are cheerful and inviting to children, and striking on paper. They’re also fairly affordable – a great birthday gift for a little (or big) friend.

    rock-crayons


    Lyra Pencil Crayons

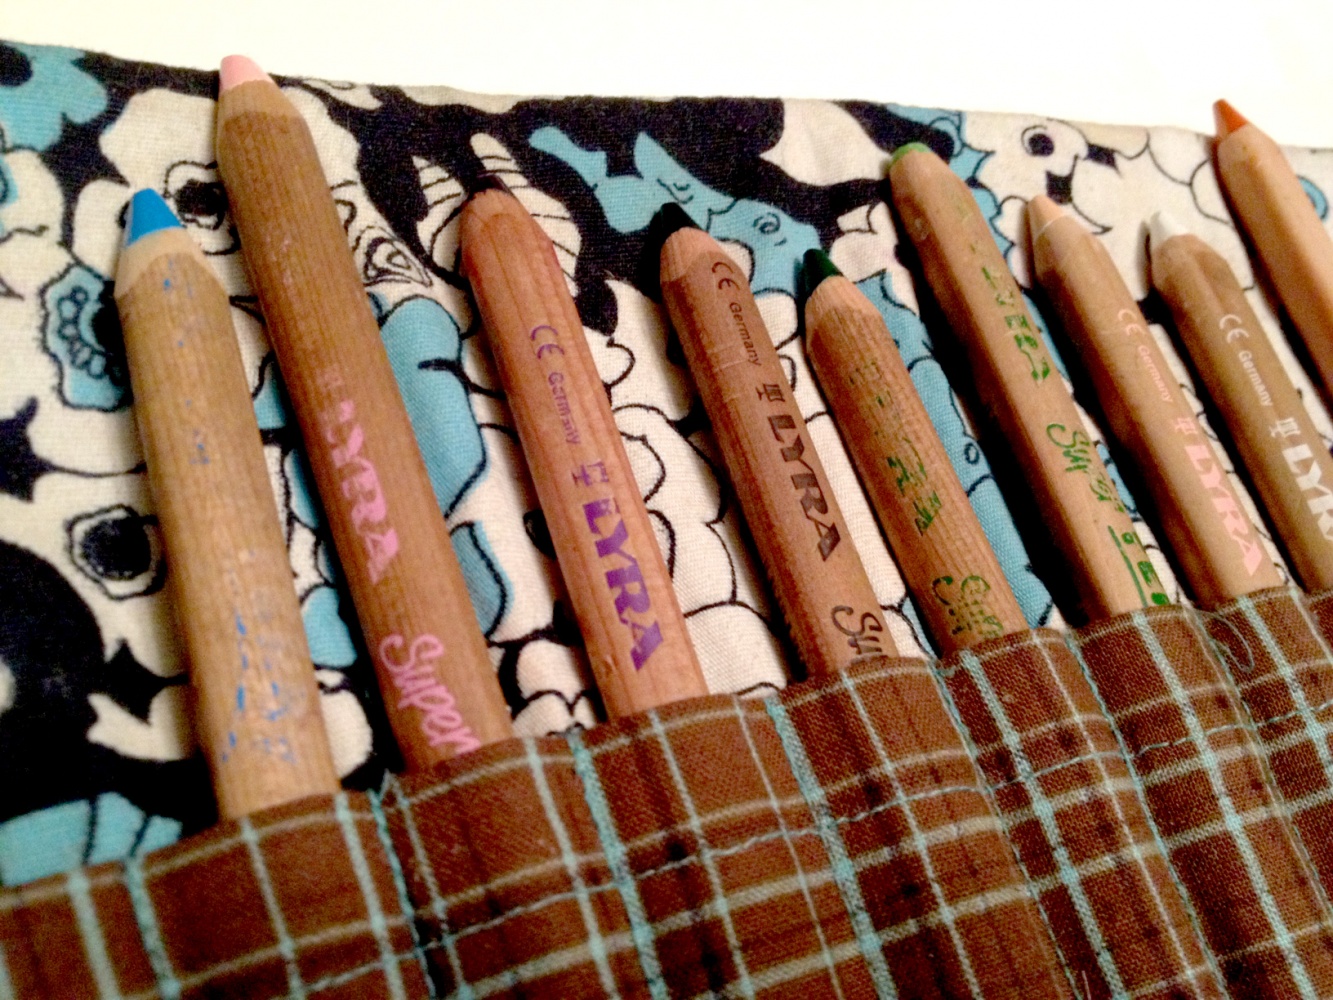
    A staple in our home for years, Lyra makes the bees knees of pencil crayons! Ours are going on strong at about four years now. These pencil crayons are not only work horses that won’t break like regular pencil crayons, but go on the paper velvety smooth in such a delightful way. Kids love the feel of colouring with them, and the triangular shape makes them super easy for tiny hands to hold.

    We keep ours in a pencil roll that I made a long time ago, which makes them easy to grab and go for outings and art sessions in the backyard or car. I dare say that these pencil crayons have been on more adventures than many people, including trips across and out of country!

    Lyra also makes a wonderful set of skin tone pencil crayons. After years of cringing when the kids asked for a “skin-colour” pencil crayon, I was overjoyed to find this set in a lovely toy store in Berkeley. Now my kids are exploring a diversity of skin tones, as well as practicing shading on faces.


    lyra-roll


    Wooden Marker Stand

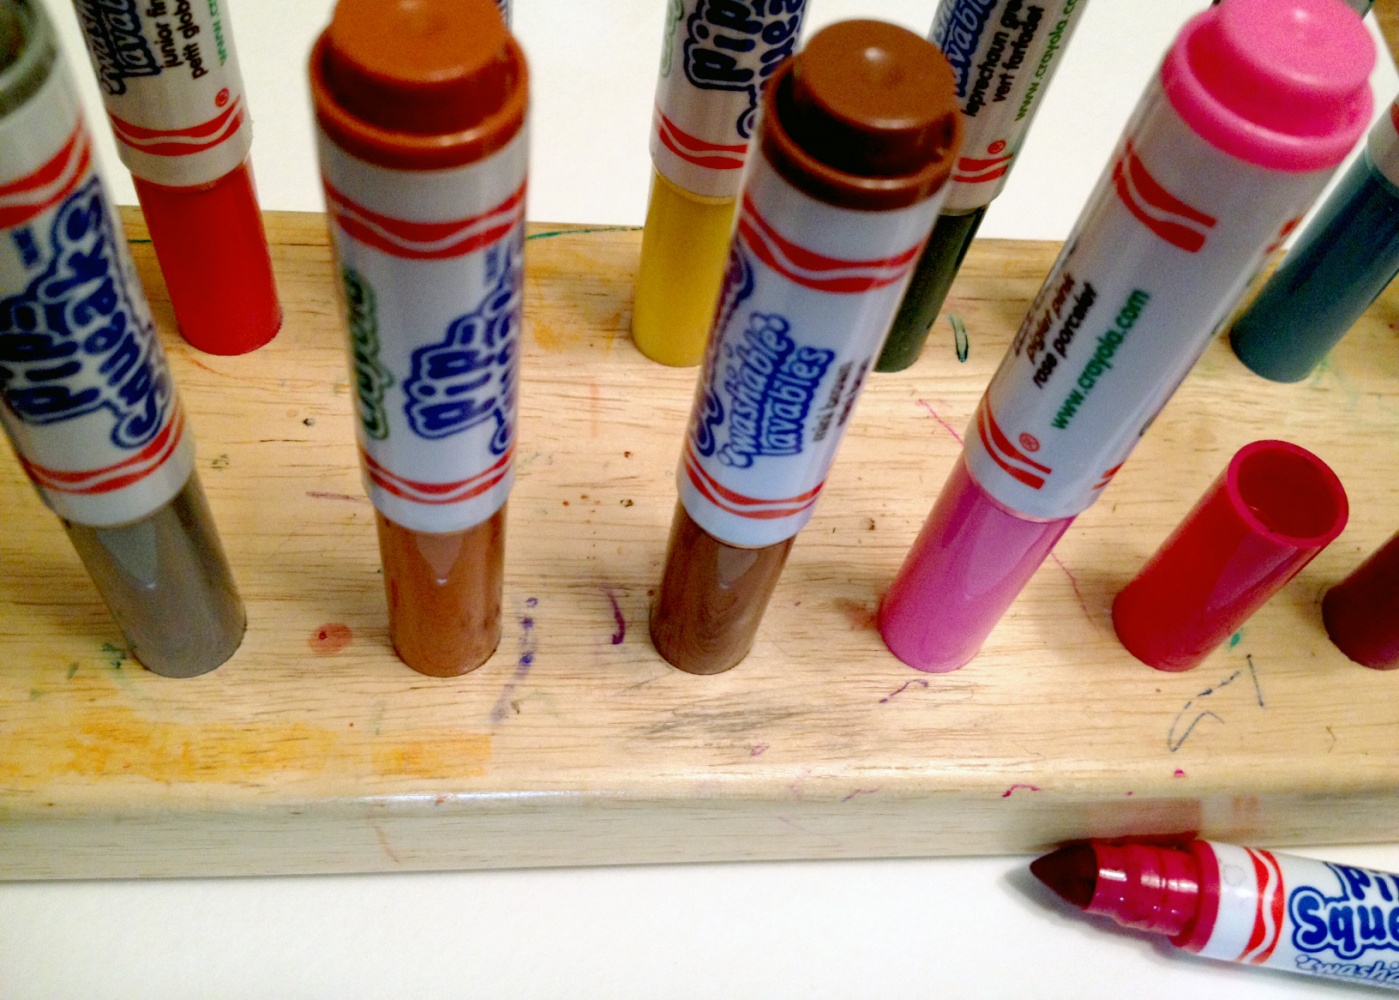
    For quite a while as a new parent, I fought against markers. I loved our natural art supplies and just didn’t think that Crayola markers fit. Maybe I thought that if the kids had access to these bright, cool, markers, they’d abandon the finer supplies we have, and not look back.

    How wrong I was. We found this awesome wooden marker stand, filled it with these smaller crayola markers, and because of this nifty organizer, we’ve managed to only purchase new markers when they run out, rather than when they get lost. The kids are truly thoughtful and selective in their choice between marker, pencil crayon, paint or crayon, depending on the project at hand. I guess this is all to say, while I love providing high quality supplies, there is a place for mainstream materials like good old Crayola markers. Especially if you can find or make a handy marker stand.


    marker-holder


    Please note: All links leading to Amazon are through their affiliate program. I do receive a small amount of compensation for products purchased through my site, which I will gratefully use toward our homeschool supplies and expenses. I will only recommend products that we use in our own home and love, or hope to love in our home soon.

  • Games for Kids: Bug Balancing + Harvest Time

    Games for Kids: Bug Balancing + Harvest Time


    Growing up, our family didn’t play a lot of games. There were adult games of dice and cards that the kids would listen in on, and eventually, as a sort of rite of passage, be granted a seat at the table for the first round or two before bedtime.

    I have now played more games in my six years as a parent than I did in the rest of my life! Winter’s cold can’t keep us indoors all day, but my, how it does limit our adventures. Most days I will find some combination of kids cozied up around a game. This will be the first in a short series of posts on some great family games – and though they can be family games, one thing I do love and appreciate about them is that all of the games I’ll feature here are games that the children can play on their own once they learn how.


    Bug Balancing Game

    The very first game we purchased for our children was the Plan Toys Bug Balancing Game, which has affectionately come to be known as The Ladybug Game in our home. Players take turns rolling the die and placing a ladybug from their pile on the corresponding colour on the tree. As more ladybugs make their way onto the tree, it’s harder to balance them all; smiles widen and little fists clench with excitement. When the branch goes off balance, the ladybugs tumble to the ground.

    The rules say that if you cause the ladybugs to fall, you have to add the fallen bugs to your own pile. The goal is to be the first to successfully find a home in the tree for your pile of ladybugs. We prefer more cooperative games, and so we often play as a team, and our goal is to work together, providing advice and encouragement, to get all the ladybugs cozied up into the tree.

    We bought this game at our favourite neighbourhood toy store, Toad Hall Toys, but it can be purchased through various online stores.

    ladybug-game


    Harvest Time

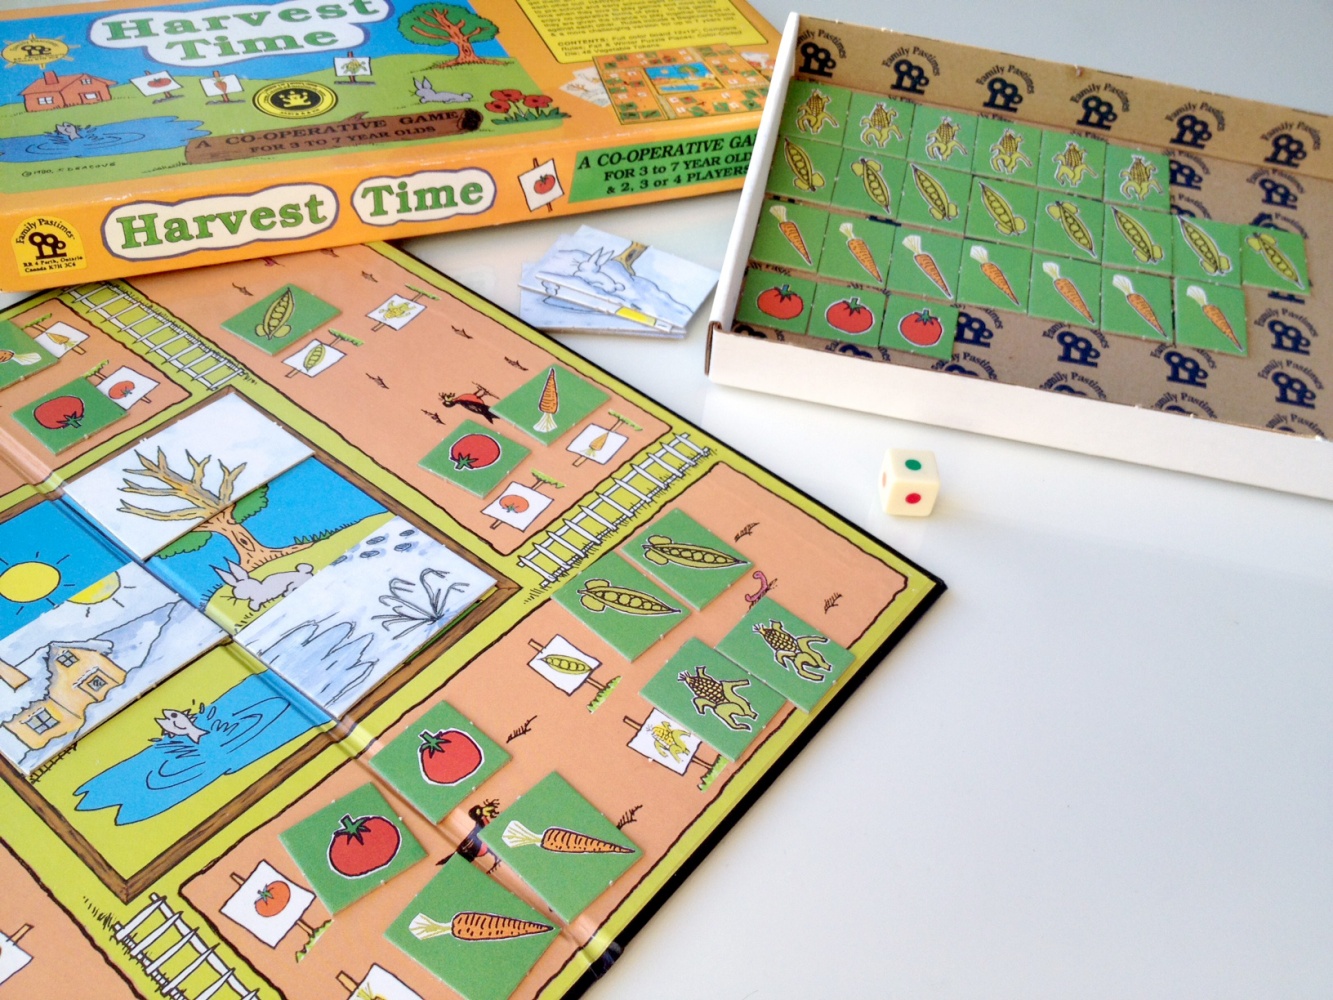
    A couple of years ago we ordered a cooperative game by Family Pastimes called Harvest Time. This game wins the hearts of all the children that play it. I can’t help smiling to myself when I hear our children and their friends yelling in excitement that they should probably harvest some more corn or they won’t have much corn over the winter!

    Players plant their garden plots with corn, peas, tomatoes and carrots. The die has colours that correspond with the vegetables – yellow, green, red, and orange. If you roll green, you harvest a pea plant out of your garden and store it for winter. Get orange, and you harvest carrots. The die also has black which is a wild card allowing you to harvest whatever you feel your winter root cellar will need, and white which brings you closer to winter. There is a homestead in the centre of the board, and with each roll landing on white, the player places a winter puzzle piece on top of summer. The goal is to harvest, together, as much as you can for your community before winter comes.

    We love the cooperative nature of this game. The kids love that they aren’t competing against each other, and if they have already harvested all of their peas, but roll green, they can harvest peas from another player’s garden to put in the community root cellar. It’s all going to be shared among friends anyway!

    Happy bonus: as we harvest veggies from the gardens, we place them in rows in the box lid. What a great math lesson to have a bar graph growing as we play, so we can easily see which veggies are abundant in our cellar, and which we should focus on harvesting when we roll a black.

    We’ve had children ages 2 through 12 enjoy this game.  We ordered Harvest Time from our favourite waldorf toy source, Nova Natural, though you may find it at other local or online toy stores.

    What are your family’s favourite games? Share them in the comments!

    harvest-time

  • Espaliered Apples

    Espaliered Apples


    If you’re like me and you love things to look beautiful, you desire to grow your own food, and you live in the city, you just might fall in love with the centuries-old practice of espalier, which is training trees flat against a supporting structure.

    In the middle ages, espalier was used in castle courtyards where space was limited. Today, this practical benefit extends to city dwellers looking to keep an urban orchard. Now, as then, the effect of espalier is dramatic and romantic.

    My husband and I tackled this project together, planting four dwarf apple trees along our fence. We also incorporated a permaculture technique called a swale that allows water to soak into the root system of the trees.

    Keep reading for a step-by-step photo tutorial to get you started with your own urban orchard.

    Please note that we are not experts, but average folks who squeezed this project into a busy season with four children, work, and homeschooling. We probably haven’t lived up to the standard of the courtyard gardeners of the middle ages!


    SUPPLIES:

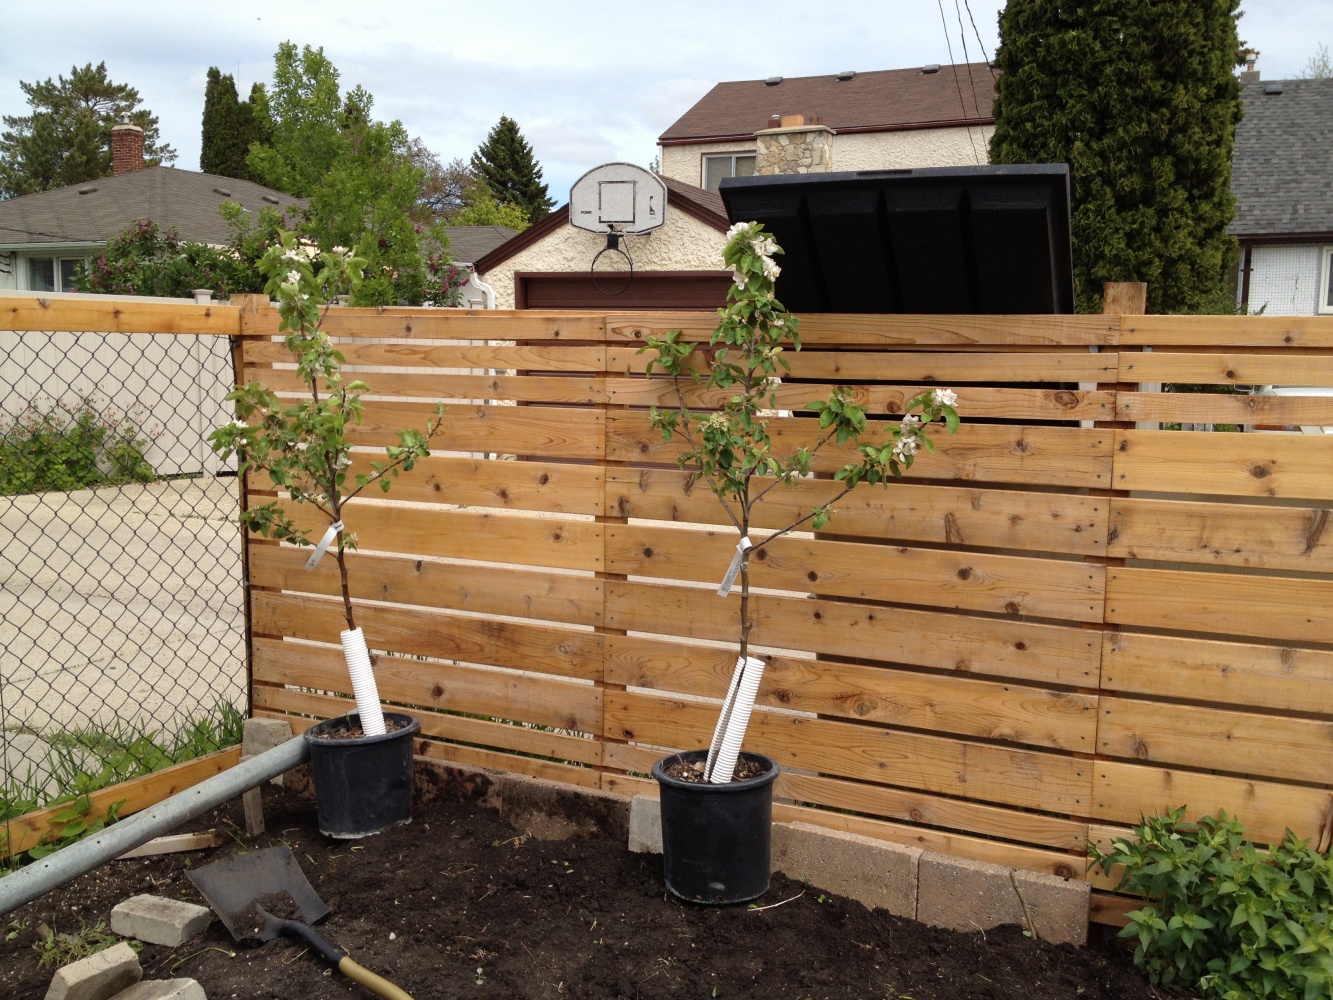
    Dwarf apple trees.

    We chose Dwarf Goodland apples based on what was available at the garden centre and guidance from the knowledgable owner about our specific project and location. We tried to find trees that had two strong branches that looked like they could be trained laterally.

    Our fence is 16 feet long, and we planted four trees, giving each tree 4 feet of width. The branches will overlap, and that’s okay in this context. Normally, you want to prune off a branch if there are two crossing over each other.
    IMG_0996


    Tools.

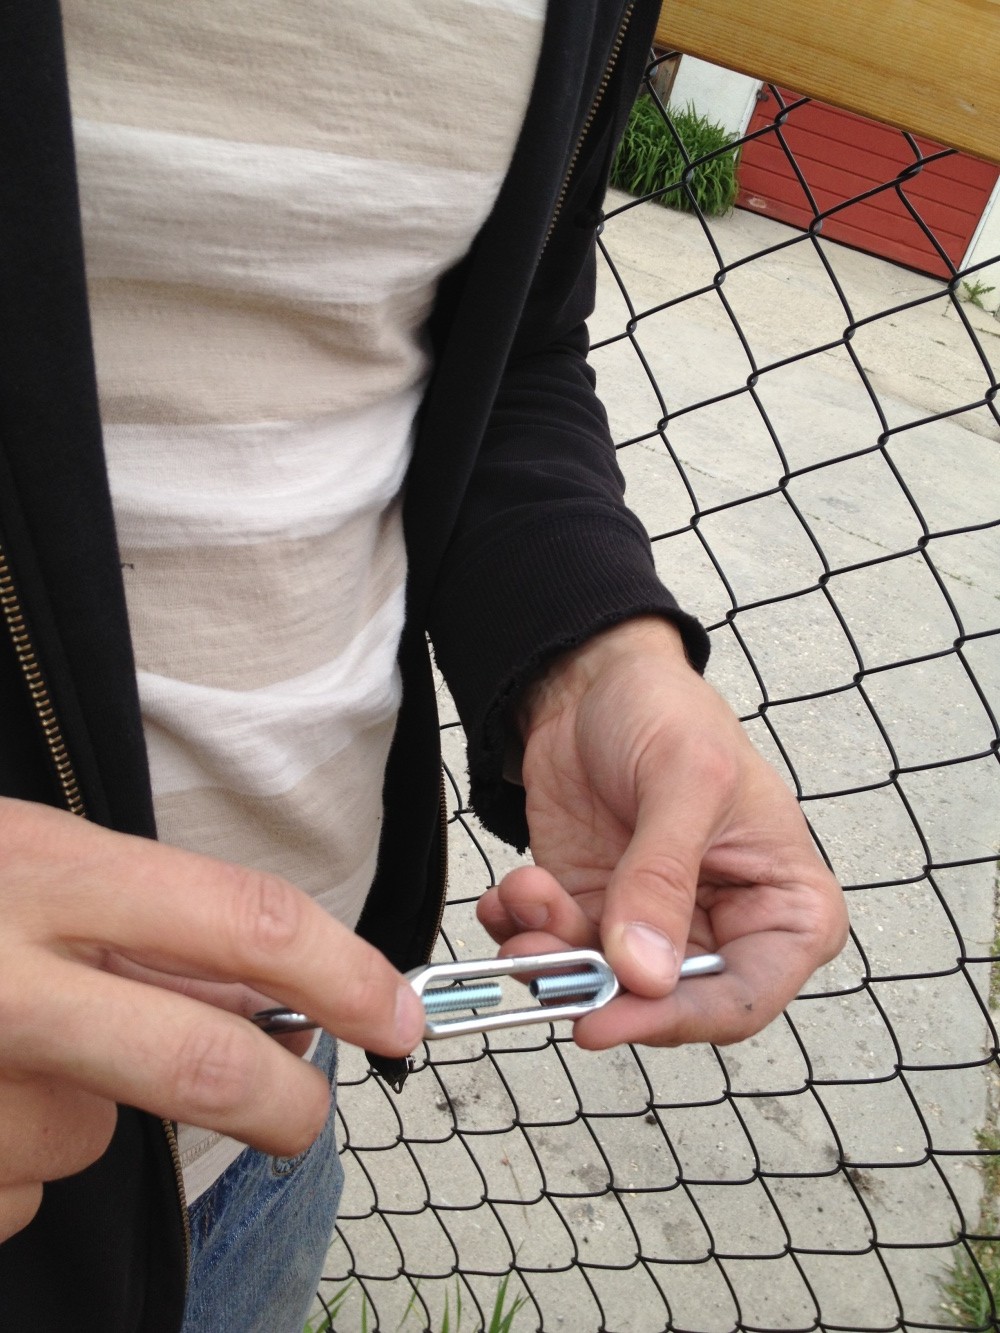
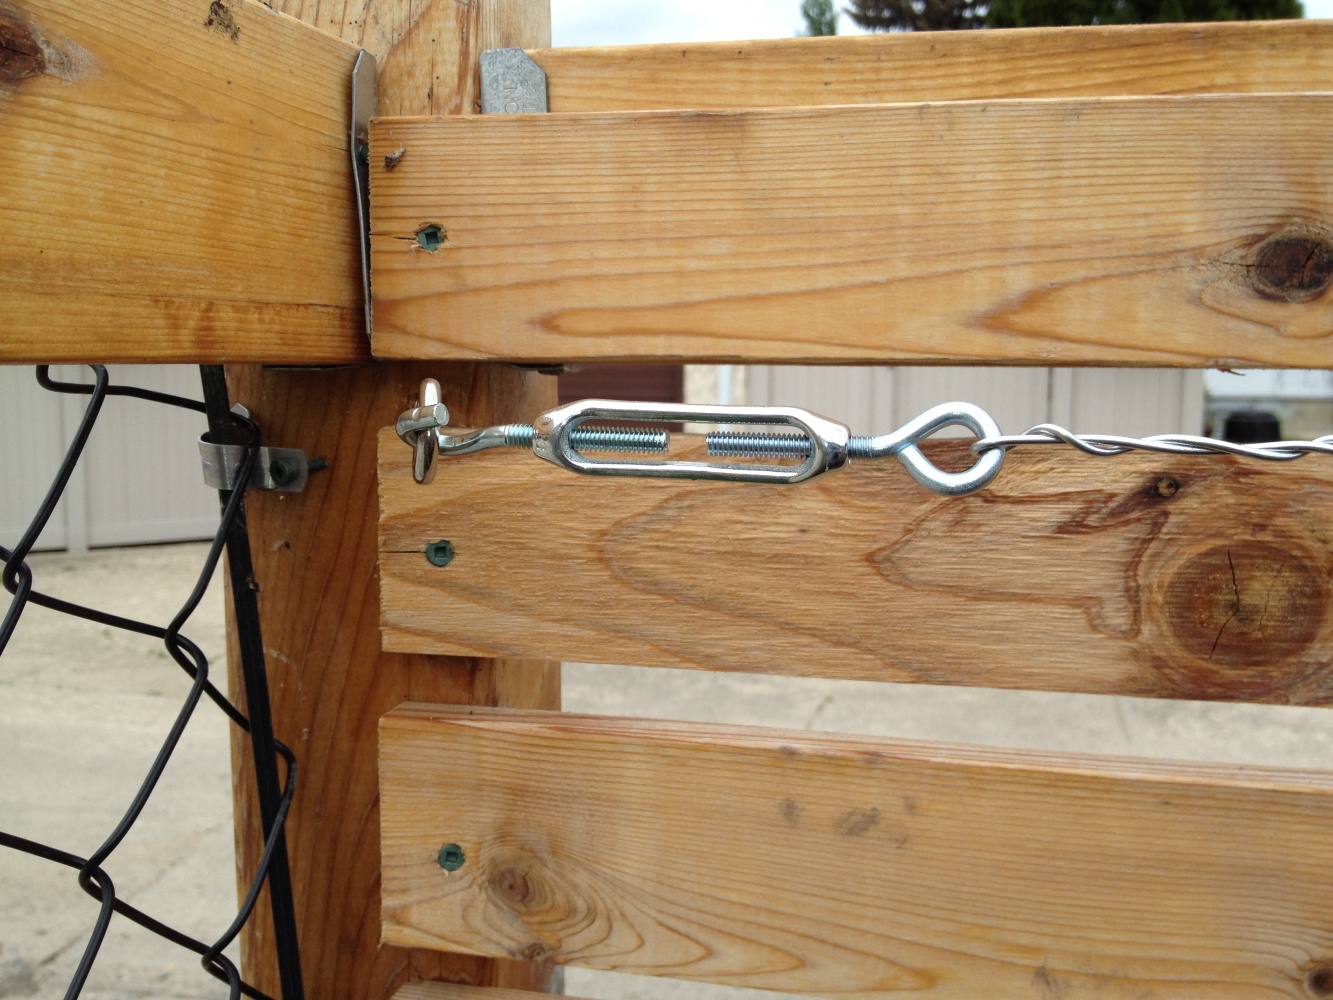
    You’ll need to hit your local hardware store for 14 gauge galvanized steel wire, eye hooks (or eye bolts), and a turnbuckle. Who doesn’t want to do a project where you get to use a turnbuckle? The number of eye hooks you’ll need will depend on the height and length of your supporting wall or fence.

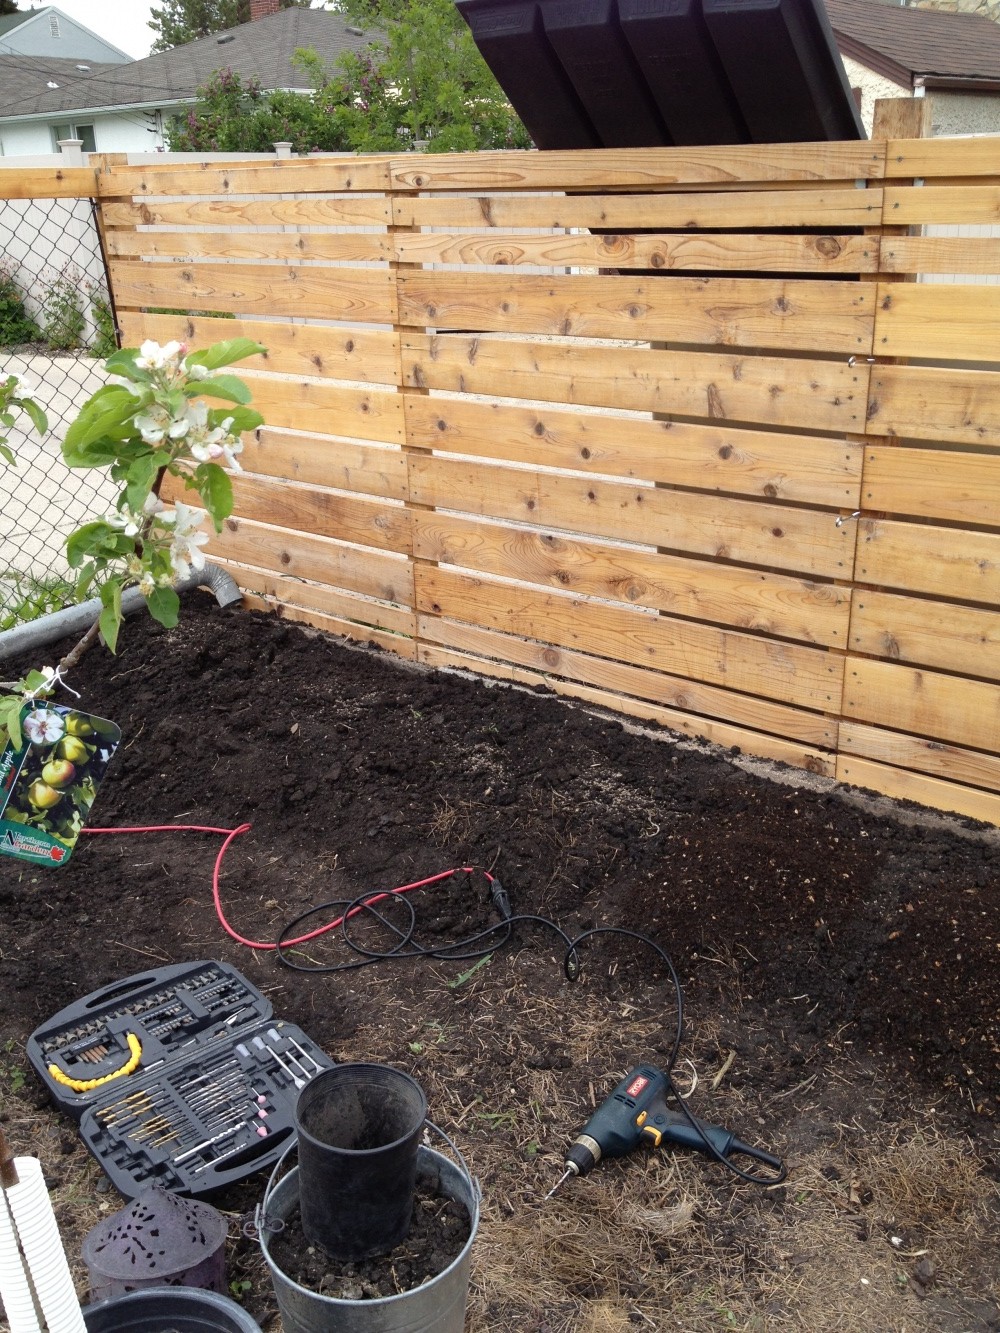
    A tape measure, wire cutters, and though not shown, a pencil to mark ‘the spot’, a drill to make pilot holes for the eye bolts, and a screw driver to help turn them. Oh – and a shovel would be helpful, too!

    IMG_1003

    Amendments.

    We are very blessed to have great soil in our yard. Things grow like we’re in prehistoric times back in this little corner of our yard. So, we’re not very finicky about amendments, but we did toss in some compost, and the owner of our favourite garden centre, Sage Garden Herbs, sent us home with a container of bone meal. Look to your trusted source to decide on what amendments to use – it will very likely depend on the type of tree you espalier, your soil type and it’s condition, and the region you’re growing in.


    STEPS:

    Measure & Plan.

    Measure the length of your supporting structure and then evenly space out your potted trees. You might want to do some more research online to decide on a pattern for your espalier project. Once you know your pattern, you can decide how many levels of wire you will need to sufficiently support the branches of your trees as they grow and eventually bear fruit.

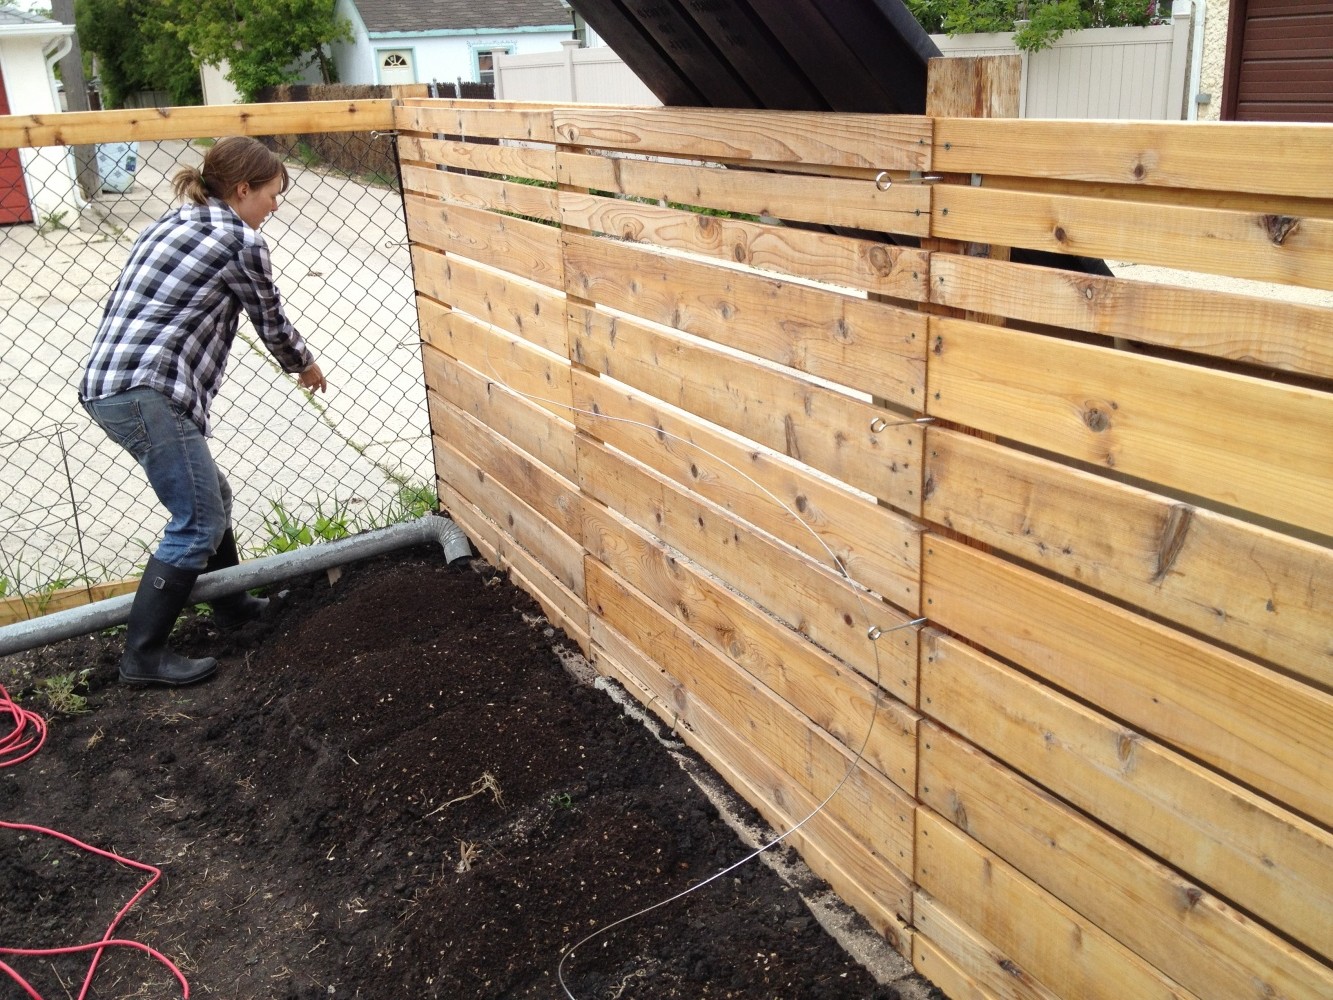
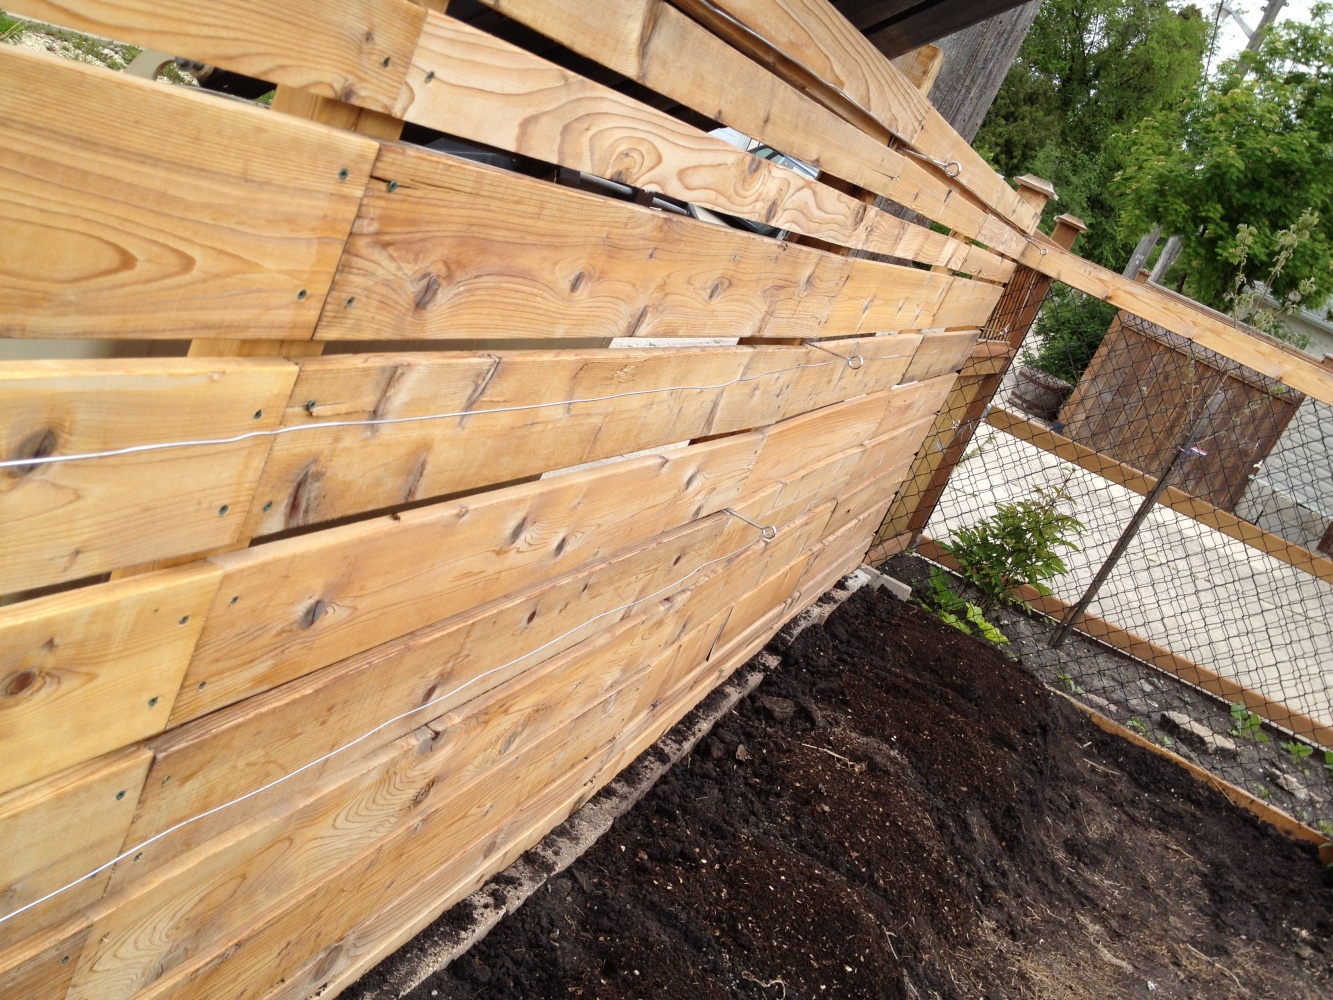
    We installed our espalier wire along our wooden fence. We already had our trees, so we knew how high we would need the wires, starting just above the lowest branches in the tree. From there, we installed three rows of wires running along the full width of a 16-foot fence.

    Pencil in where you’ll place your eye hooks.


    Set Up Your Scaffolding.

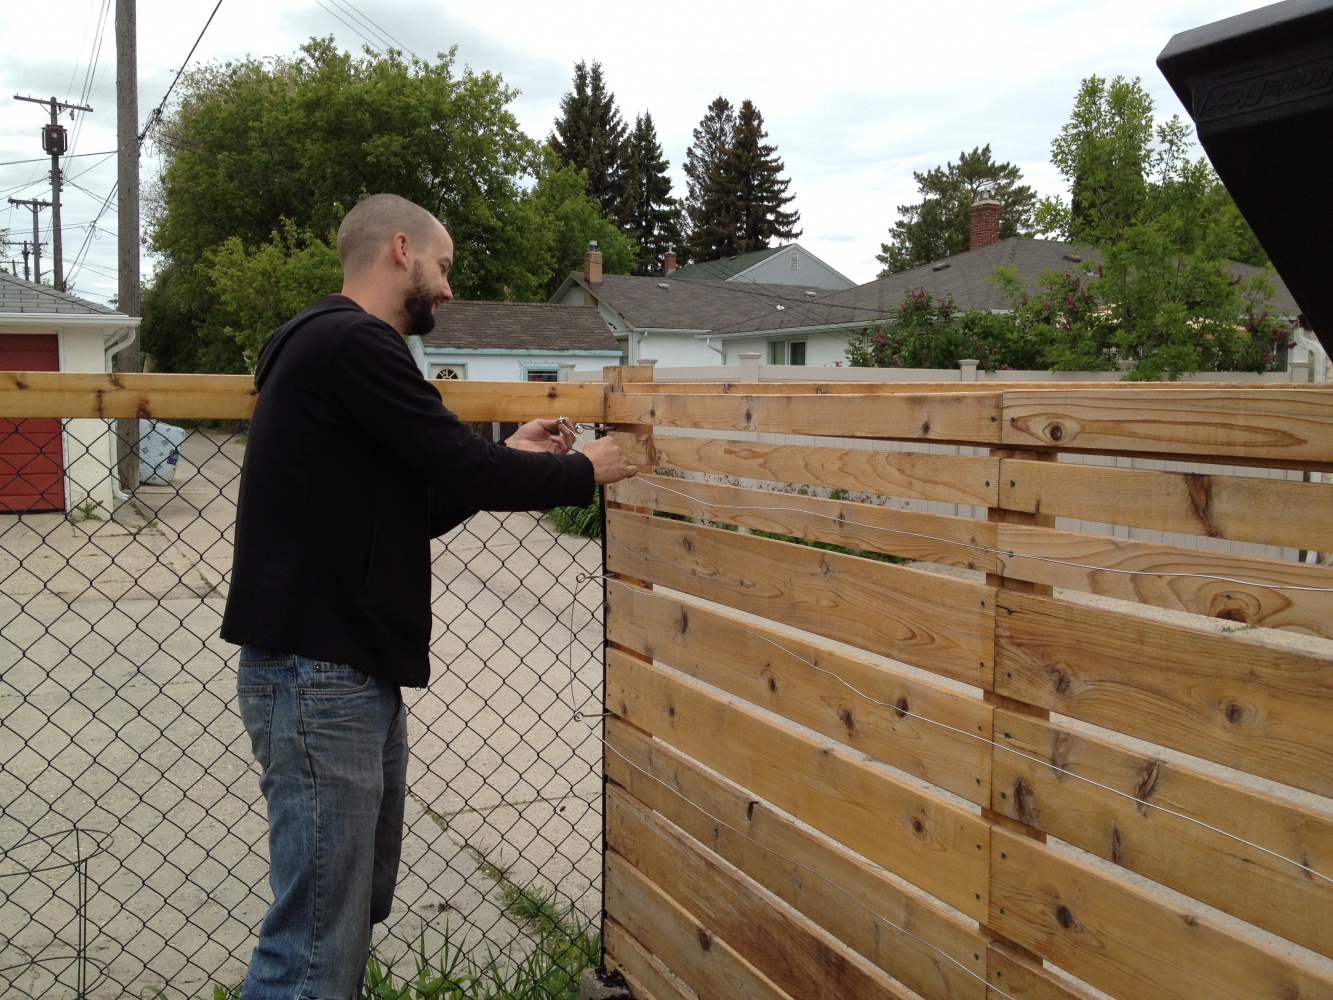
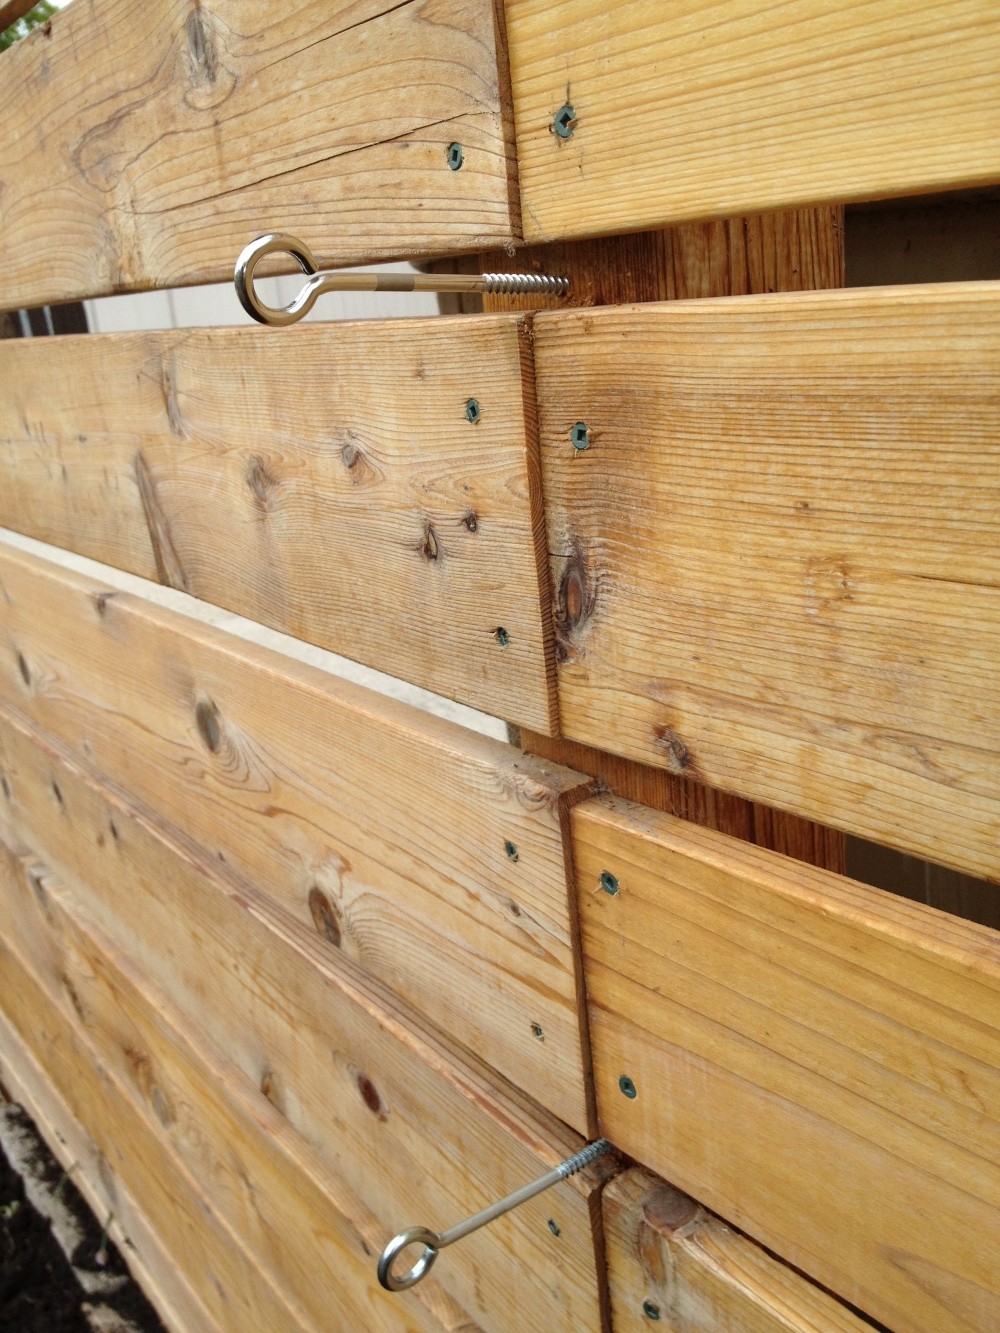
    Drill pilot holes for the eye hooks and then twist them in place, using the screwdriver for extra leverage. We used three eye hooks on each post; one for each row of wire. Get them long and strong; ours weren’t, and started to bend quite a bit when we tightened the wire. The trees should be 3-4 inches away from the fence, so you need them longer than that to sink into the wood enough to hold well. Once your bolts are in place, grab your wire (and hopefully a co-conspirator) and get to it.

    Feed the wire through all the bottom eye hooks, then up and across the next row, until it’s through them all. Twist the wire around itself at the first eye hook. Take your turnbuckle and twist it so that it’s extended all the way out. Put the hooked end of the turnbuckle onto the last eye hook, and pull the wire as tight as you can get it, then twist it onto the closed end. Tighten up the turnbuckle, and your wire is ready.
    IMG_1004

    IMG_1005

    IMG_1008

    IMG_1011

    IMG_1010IMG_1015

    IMG_1017


    Prep, Plant & Prune

    While setting up the scaffolding system, you may have compacted the soil that your trees will be planted in. Prep the area and plant your trees according to the instructions, adding whatever amendments you need.

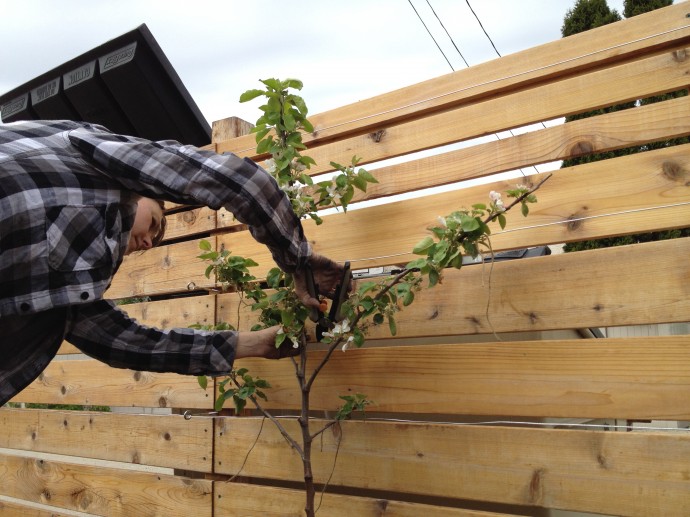
    Next, you can prune off any branches that are growing toward you or toward the fence or wall. Please check your favourite gardening book or website for information on proper pruning technique!

    Using garden twine, strips of nylon or jersey fabric, tie the remaining branches to the wires, guiding them into the pattern you chose. Ours have two 45 degree branches on either side of one vertical. The side branches will criss cross with those of the neighbouring trees. You want to give the branches breathing room, so the twine doesn’t dig into them – this can leave the tree vulnerable to infection. If you use a material that won’t degrade quickly, remember that your branches are growing and you will have to loosen the ties over time.

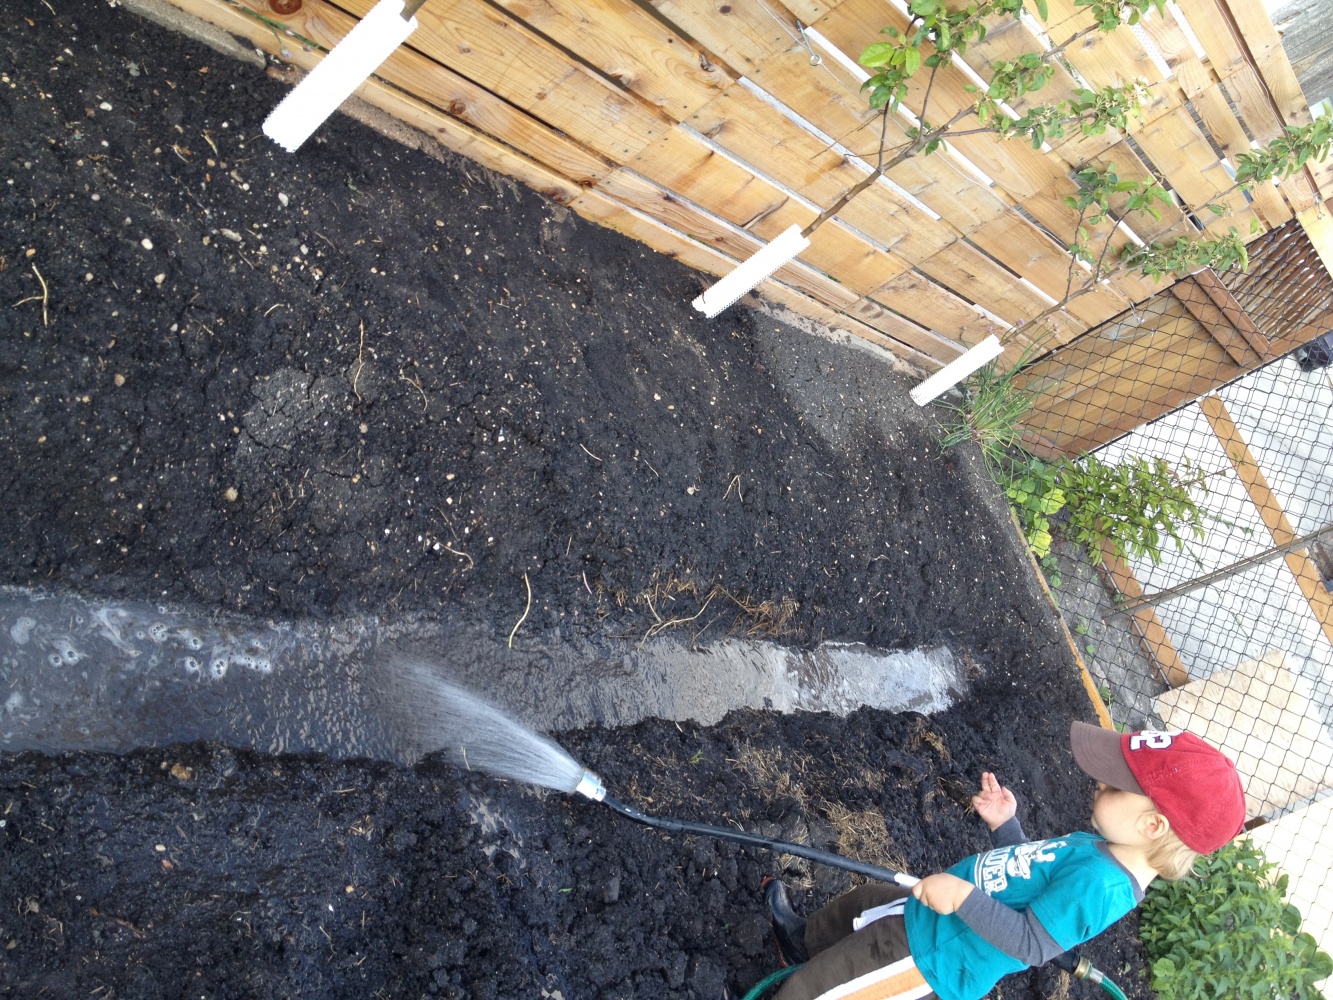
    Now that you have your orchard planted, coax some pollinators into your yard with plants like Bee-Balm (aka Monarda, Bergamot or Bee-Mint). You can plant a variety of herbs, bulbs, annuals and perennials around your trees, providing a living mulch and beneficial companionship. We mulched and planted dill, chives, strawberries, nasturtium, and a variety of native flowering perennials around the trees. Finally, we dug a swale, shown below. We fixed it up after this photo was taken, and also added mulch and let some ground cover creep over it.

    Add some seating and you have a very practical and romantic little orchard!

    IMG_1025IMG_1019-e1361169609597-690x517
    IMG_1022

    IMG_1096

    IMG_1807IMG_1891


    *apple espalier on brick wall photo credit: steeljam

  • Valentine’s Day Freebie

    Valentine’s Day Freebie

    I’m not a huge fan of Valentine’s Day and how consumeristic it all seems. Or pink. That said, I do love letting others know I love them and encouraging our kids to do the same.

    A fun little project was designing the tags for the kids to use on gifts for grandparents and friends.  I hope you’ll enjoy them for any occasion where you’re gifting to someone you love! This would make a great project for a childcare centre, school group, or learning co-op to work on together.


    There are three items in this printable PDF:

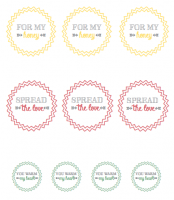
    // For My Honey: This is a tag that you can either hole punch and hang around a jar of honey (or other food), or cut out and place inside a canning jar lid.

    Screen Shot 2015-01-21 at 5.27.28 PM

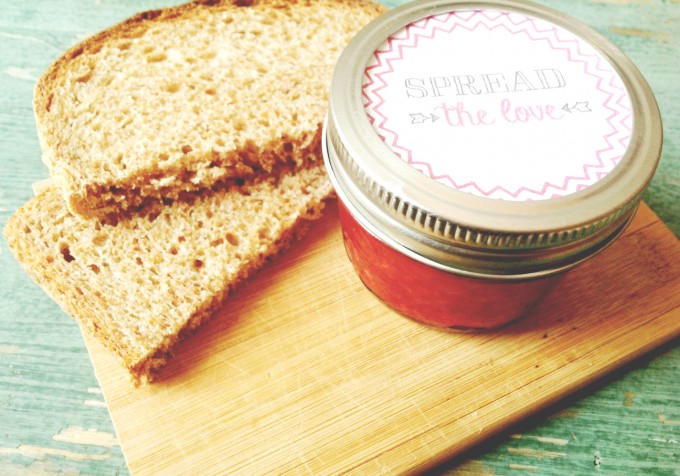
    // Spread the Love: This is a tag that you can either hole punch and hang around a jar of jam, flavoured butter, flavoured cream cheese (strawberry cream cheese would be so sweet for Valentine’s Day), or any spreadable food – or cut out and place inside a canning jar lid.

    Screen Shot 2015-01-21 at 5.27.44 PM

    Spread-the-Love-Tiny-Peasant

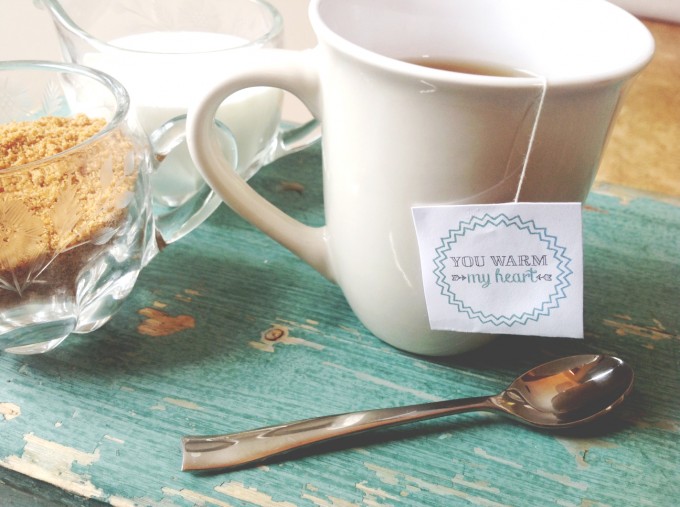
    // You Warm My Heart: Cut this tiny tag out, fold it in half, and glue it over the paper tag on your sweetheart’s favourite tea. Perfect for breakfast in bed, or to spruce up a cup of cider or hot cocoa for the kids on Valentine’s Day.

    Screen Shot 2015-01-22 at 1.03.38 AM

    You--Warm-My-Heart-Tiny-Peasant

    To access these tags, just click the link and print on card stock (regular paper will do if you don’t have card stock). Cut them out and follow the instructions above! Check out this post for The Pinkest Valentine’s Tea to pair with these tags.


    Have a sweet Valentine’s Day!  Click here to download your Tiny Peasant Valentine Tags.

    Screen Shot 2015-01-22 at 1.15.41 AM


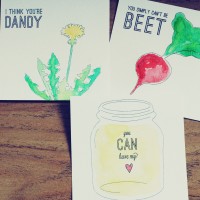
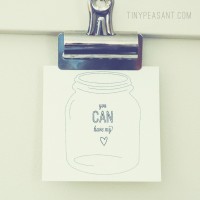
    Don’t miss our Farm Fresh Valentine’s Cards – A set of three printable cards to print and paint or colour. Great for food & nature lovers of all ages.

    valentine's cards - 2014 sneak peek Tiny Peasant Valentine Dandy Tiny  Peasant Valentine Jar


  • Nourishing Hot Cocoa

    Nourishing Hot Cocoa

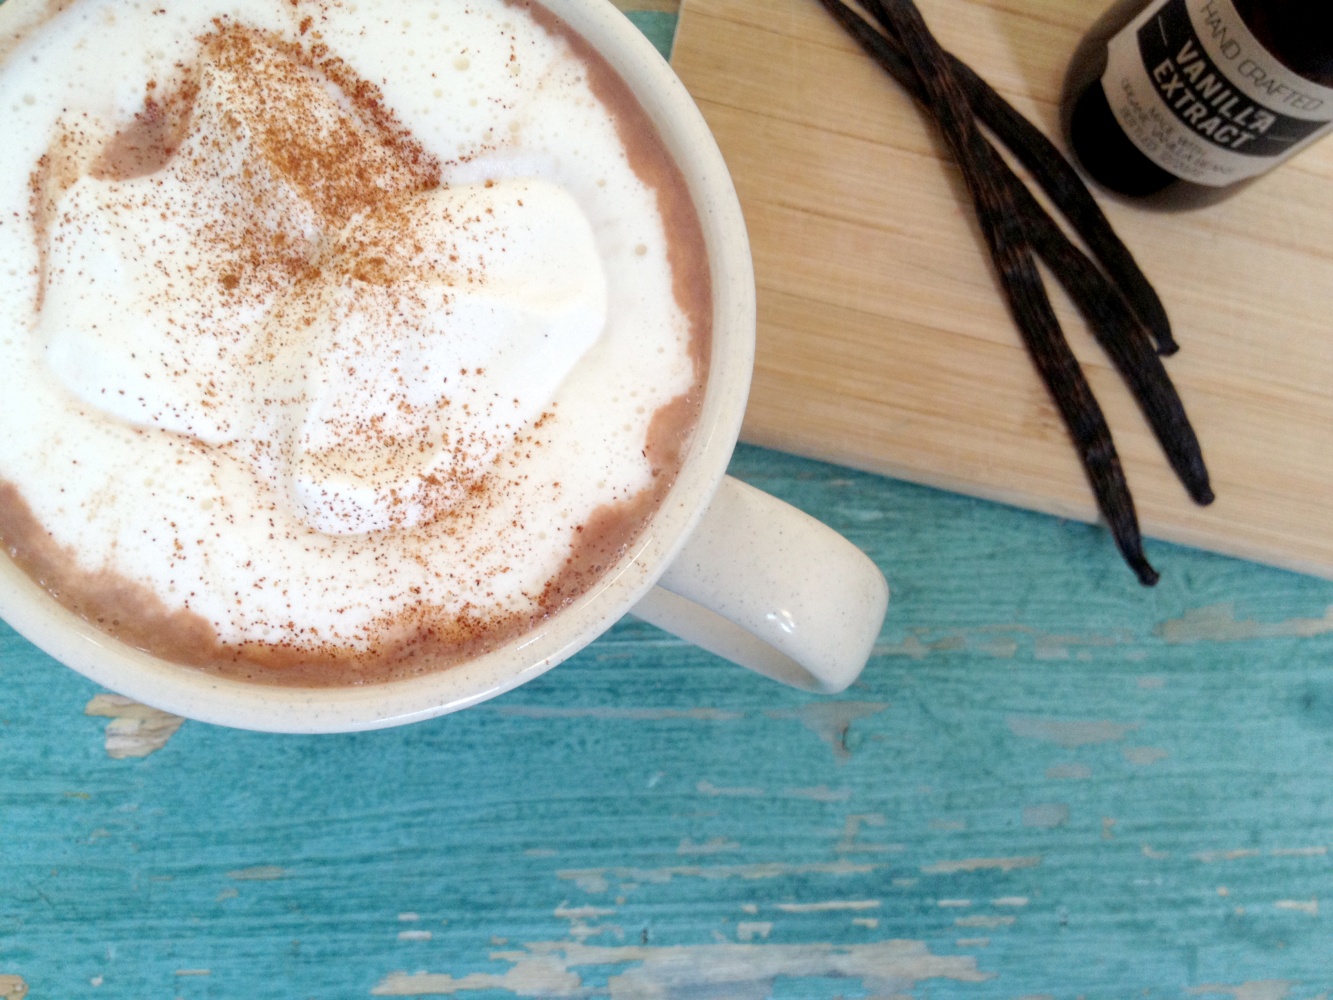
    You can feel good about serving this rich and nourishing cocoa to both little ones and adults. Unlike store-bought versions, this recipe is free of refined sugars, oils, and additives. If you’re used to packaged cocoa, you may have to increase the sweetener content and then slowly work your way down. The cinnamon will increase digestion and help to balance blood sugar. Our kids go bonkers over a cup of this cocoa after a good time playing out in the cool of autumn or cold of winter.

    • 4 cups whole organic milk, coconut milk, almond milk, or whatever milk is preferred

    • 4 tbsp organic, fair trade cocoa powder or cacao powder

    • 2 tbsp extra virgin organic coconut oil or coconut butter, optional

    • 2-3 tbsp maple syrup, honey, coconut sugar, sucanat or panela

    • 1 tsp vanilla extract, optional (see our how-to post to make your own)

    • 1 tsp cinnamon, optional

    Combine ingredients over medium heat. Whisk until well combined and heated through. Top with homemade whipped cream and sprinkle with cinnamon.

    Note that the type of milk used will affect the sweetness. If you use rice milk, for example, you may want to decrease the amount of sweetener since rice milk is fairly sweet on its own.

    As your family makes this nourishing and tasty treat more often, you will find that you don’t really need the recipe, and you’ll add ingredients to taste as your group enjoys it.

    What is your favourite warm and nourishing drink? Share below in the comments…

    photo 3


    This post was shared as a part of Fat Tuesday and Fight Back Friday.