Category: Tiny Peasant

  • Preserving the Harvest :: Simple Frozen Soup Packs

    Preserving the Harvest :: Simple Frozen Soup Packs

    A few years ago, as I stared at mounds of produce from the garden and farmers’ market, mentally preparing myself for the work of making pot after pot of soup to freeze for the winter, my husband asked why I was going to actually cook all the soup then, rather than just freeze the ingredients. Genius.

    Since that day, I no longer cook soups and freeze them at harvest time. Instead, I create freezer packs of soup ingredients to cook as needed, which significantly cuts down on time during the busy season of harvest and preservation.

    Our family follows a rhythm for meal planning where each day of the week we prepare a certain category of food. This helps us avoid dinner time panic since we have a framework, and gives the kids a sense of rhythm to our week so they know what to expect. Monday is soup night (this changes to sandwich or wrap and salad in the summer), Tuesday is pasta/rice/quinoa night, Wednesday is fritatta night, Thursdays we are blessed with a meal with grandparents, and Friday is movie night with nachos and veggies or homemade pizza. Having a stack of “instant soup” in the freezer for soup nights that are busy with sports or lessons really decreases 4pm ‘what’s for dinner’ stress!

    How to Make Simple Frozen Soup Packs


    Supplies

    • vegetables

    • herbs

    • chopping board and knife

    • large freezer ziploc bags

    • sharpie or labels


    Directions

    1. Chop up all the vegetables you’d like to include in your soup. You can work on several types of soup at once, or tackle one kind at a time. Since I put carrots and potatoes in my vegetable soup, minestrone, and borscht, I just chop up a bunch of everything and then assemble the bags as I go.
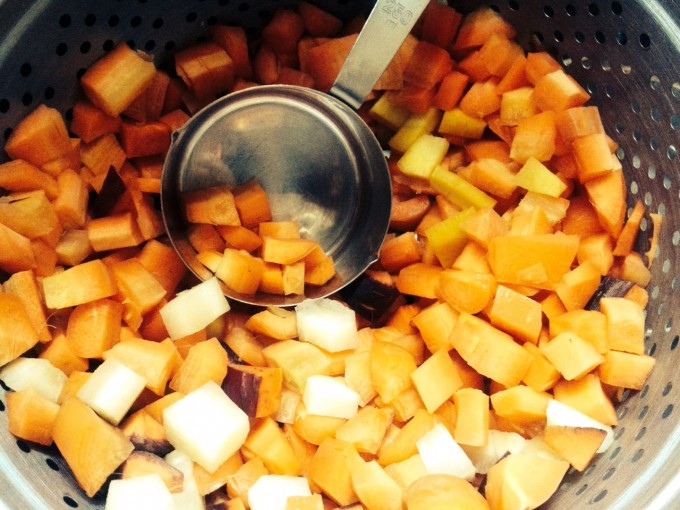
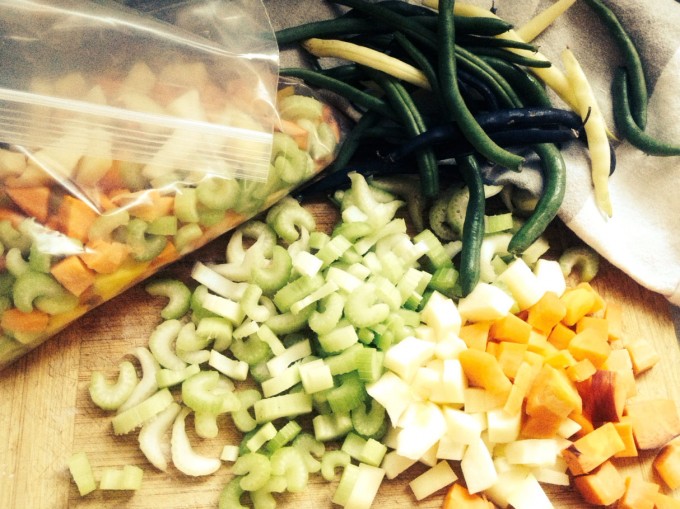
    chopped carrots 2soup ingredients

    2. Place soup ingredients, including vegetables and herbs, into a large freezer ziploc bag.
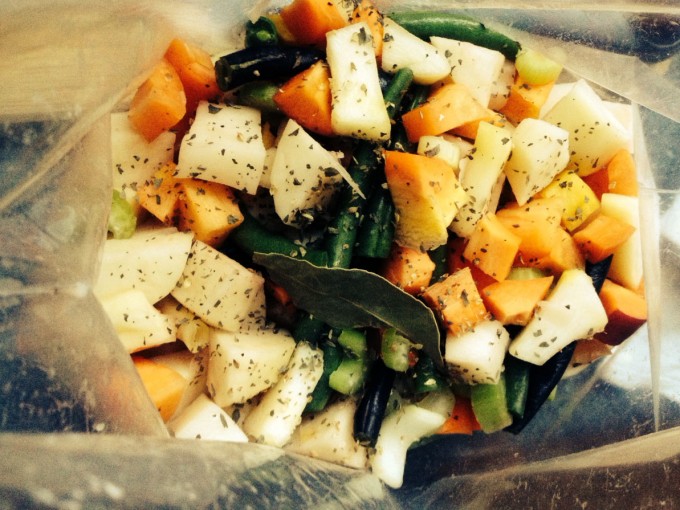
    soup in a bag

    3. Seal the bag and label. We like to include the following things on our label:

    • Name of the Soup

    • Where we got the main ingredient – this makes for a great dinner conversation especially if you visited a farm to harvest or pick up the ingredient. It really solidifies the farm to table experience for children and adults alike.

    • Month and year of packaging

    • If helpful, the amount of stock or water to add to the pot when cooking

    Example:

    Potato Corn Chowder

    Garden Potatoes + Boundary Creek Farm Corn

    October, 2013

    4. Lay the soup packs flat in the freezer, stacked on top of each other.

    5. When ready to make soup, choose the one you’d like, empty the pack into a pot with stock or water and heat until ready, adding any other fresh ingredients required (such as cream) along the way.


    Tips for Gathering Produce

    We are fortunate to have some carrots, beans, corn, and potatoes in our own garden, though not enough for over the winter. This is why we are grateful for our local farmers! Each year we try to buy in bulk from our farmers – 25lbs of potatoes for soup and homemade frozen fries, for example.

    • Talk to your farmer about purchasing in bulk during preservation time, which can mean significant savings. Where we are, we can buy potatoes in 10lb bags at the market for $1/lb. This year we found the same price per pound for a 25lb bag of organic potatoes sized perfectly for cutting into french fries.

    • Ask about culls – we regularly purchase beautiful organic carrots that are sold as culls, or seconds, at a discount just because they have a crack, a funny shape or a dent.


    For more tips on eating well affordably, check out this post: Fitting Real Foods into the Budget – tips from myself on eating REAL food on a budget and links to some of my favourite posts on this topic.

    real food budgeting roundup


    For time and sanity saving menu planning help, grab our Tiny Peasant Menu Planners & Resources!
    Tiny Peasant Pantry Menu Planners Badge


    This post was a Featured Post for Thank Goodness It’s Monday at Nourishing Joy, the Featured Post for  Simply Natural Saturdays at The Pistachio Project, a Featured Post at Simple Lives Thursday at My Humble Kitchen/Real Food for Less Money, and a featured post for Fat Tuesday at Real Food Forager.

    This post was shared as a part of Natural Living Monday at Modern Alternative Health, Simple Lives Thursday at My Humble Kitchen,  Unprocessed Fridays at Girl Meets Nourishment, and Fight Back Fridays at Food Renegade.

  • This Moment

    This Moment

    “A Friday ritual. A single photo – no words – capturing a moment from the week. A simple, special, extraordinary moment. A moment I want to pause, savor and remember.” {joining Soule Mama today} If you’re inspired to follow along, please leave a link to your moment in the comments!

  • Tiny Peasant Pantry ::  Lemon Balm Iced Tea

    Tiny Peasant Pantry :: Lemon Balm Iced Tea

    Over in these parts we are simply loving the Herb Fairies course, offered by Learning Herbs. For the past month, we’ve been immersed in learning about Lemon Balm through story, art, and in the kitchen. The Lemon Balm Iced Tea was a huge hit with the kids and adults alike. I love that this plant has calming properties, and is also great with honey for sore throats.
     

    lemon balm in jarlemon balm in waterstraining lemon balmadding honeylearning about lemon balm


  • Woodland Wonders

    Woodland Wonders

    Over 30 years living here in Manitoba, and neither my husband nor I have been to these forest trails right in our city. We had a couple of hours and knew that we could all use a dose of time in nature, so we made our way to this place. This place that calmed us and excited us at the same time. We felt as though we were miles from the city as we breathed in the fresh fall air, and the smell of the forest floor and all of its life. So much life packed so densely into this tiny breadth of trail next to the river… some of which we have tried to identify – please feel welcome to tell us what you think our botanical finds might be!

    fork in the path
    Two roads diverged in a yellow wood…

    toppled tree roots
    Toppled tree roots, with hands as a reference for size.

    across thhe bridge
    What could be more awesome than this bridge?

    forest chess
    …umm, this woodland chess set might be.

    tree layers
    Tree layers (found this way – we ask the children to not peel off the bark).

    woodland mushrooms
    What we believe are shaggy ink caps. Some sources say they are edible while white (please check with an expert, first!).

    woodland inky mushrooms
    What we believe are shaggy ink caps near the end of their life cycle. We read not to eat these once they’ve turned black. We are not quite confident enough to harvest and eat any wild mushrooms just yet, though we’re quickly falling in love with their character and unique beauty. We highly suggest looking up a shaggy ink cap time lapse on youtube.

    bird treat
    Someone before us left a gift for the birds and furry friends.

    spiky pod
    Wild cucumber. While we read that the roots are used medicinally, the fruits should not be eaten. For more information see the link at the bottom of the post.

    pretty leaves
    Autumn.


    For  information on identification and anatomy of Wild Cucumber, check out the Nature Manitoba Wild Cucumber fact sheet.


  • Pumpkin Recipe Roundup

    Pumpkin Recipe Roundup

    Now that the air is getting cool, it’s time to warm up with some pumpkin recipes. We’ve brought in a few pumpkins from the garden and have friends who have harvested literally dozens and are wondering what to do with them. I hope you can each find one new family favourite in this mix.  Please share your own favourite pumpkin recipes in the comments!

    P.S. Don’t forget that you can roast and purée your pumpkins and keep them in the freezer for up to a year. The word on the street is that pumpkins cannot be safely canned. Food in Jars has a lot of posts on preserving pumpkin if that is what you’re up to…


    Breakfasts + Snacks

    finished-butter-front

    1. Maple Sweetened Pumpkin Butter :: Simple Bites 


    4107593513_24991224bf_z

    2. Whole Wheat Millet Pumpkin Bread :: Food In Jars 


    pumpkin-spice-pancakes-at-keeper-of-the-home

    3. Pumpkin Spice Pancakes :: Keeper of the Home 


    4. Easy Pumpkin Spice Yogurt Cream Cheese 


    Savory 

    winterwarmer-psoup

    1. Winter Warmer Roasted Pumpkin Soup :: Nourish Within 


    8106921214_ea6cda063b_c

    2. Pumpkin Gnocchi With Brown Butter Sage Sauce :: Love Life Eat 


    20120623_KitchnDandelionGreenPesto-104

    3. Dandelion Pumpkin Seed Pesto :: The Kitchn 


    Sweet

    pie-slice1

    1. Gluten Free and Casein Free Pumpkin Pie :: Nourishing Journey 


    6a00d8341c4ea853ef01543702963e970c-640wi

    2. Our Pumpkin Muffins :: Soule Mama 


    pumpkin-custard-3

    3. Pumpkin Custard :: Nourished Kitchen 


    Drinks

    1. Pumpkin Spice Kombucha :: Cultures for Health


    pumpkin-spice-latte-starbucks-copycat

    2. Pumpkin Spice Latte :: Mama Natural 


    This post was shared as a part of Natural Living Monday at Modern Alternative Health and Thank Goodness it’s Monday at Nourishing Joy.


  • This Moment

    This Moment

    “A Friday ritual. A single photo – no words – capturing a moment from the week. A simple, special, extraordinary moment. A moment I want to pause, savor and remember.” {joining Soule Mama today} If you’re inspired to follow along, please leave a link to your moment in the comments!


  • Enchanted Autumn :: Beeswax Dipped Leaves

    Enchanted Autumn :: Beeswax Dipped Leaves

    To welcome fall, we joined with another family for a walk in the woods at a local natural area. We were greeted by an abundance of tiny characters beneath the trees; little acorns wearing their adorable caps. Many were gathered in baskets and pails, before we hit the trail.

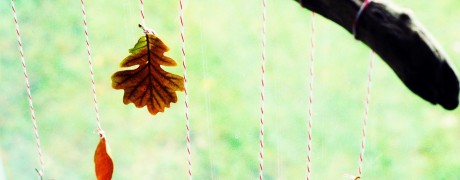
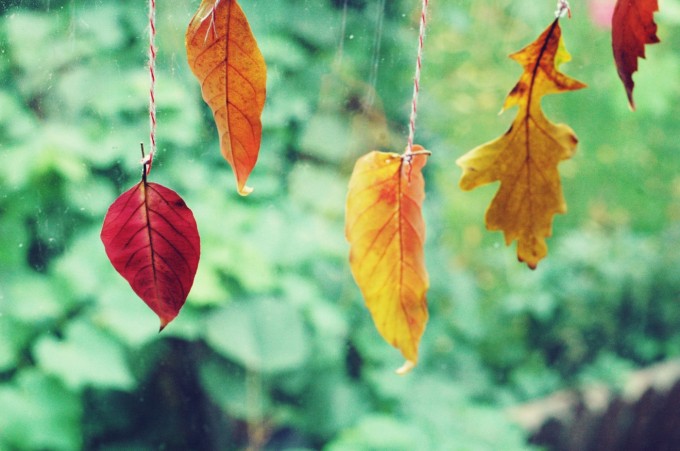
    Along the way we saw fall leaves, plants with questionable berries, ducks, and squirrels. Leaves were gathered and brought back home for crafts. Read on for the Beeswax Dipped Leaves tutorial – for an activity that is pleasing to the senses, with the comforting aroma of beeswax, the beautiful colours of leaves, and the surprisingly soft texture of the end product.

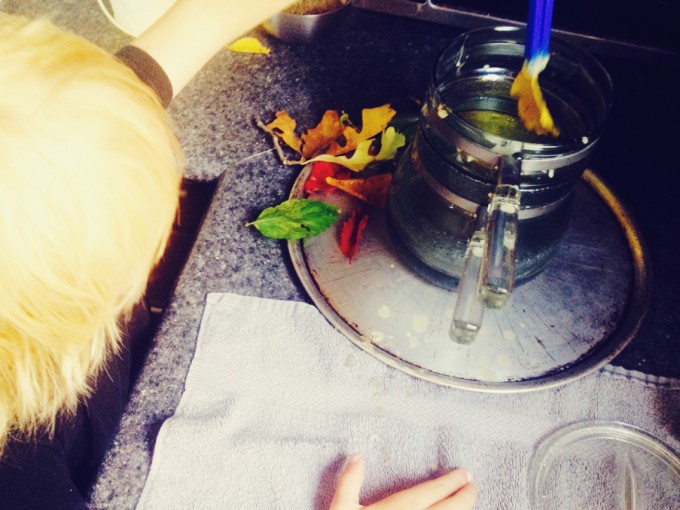
    Forgive the lack of process photos, as it was a bit tricky to get shots with 7 kiddos working with hot wax in a tiny corner of our kitchen…  that said, this is truly a simple project.

    For more leaf learning, don’t miss our Fall Leaves Inspiration Pack, which is oozing with over 40 pages of  fun, engaging activities for learning about and with fall leaves. You’ll find Montessori inspired learning, Waldorf inspired learning, story book recommendations, recipes, poems, and more.

    Screen Shot 2014-09-25 at 11.59.22 PM


    Materials:

    • String
    • Clothes pins
    • Old towel
    • Beeswax
    • Double boiler
    • Leaves, freshly fallen
    • Tongs, tweezers or kid-friendly chopsticks – for safe dipping


    Instructions

    1. To start, set up a line of twine or string and have a basket of clothes pins ready. Lay out an old towel under the leaf line, to catch the drips of beeswax.

    2. Chop or grate some beeswax and put it in a double boiler on medium heat until melted. We used about 1/2 cup of shavings and dipped roughly 30 leaves with a bit of wax leftover.

    3. Remove the pot from the heat, and over to where your towel is set up. Grasp a leaf stem between the chopsticks, and lower it into the pot, moving as necessary until covered. Keep your leaf pile to the left of your pot, to encourage left to right transferring (the same direction as we read!).

    dipping leaf

    4. Using a clothespin, hang the leaf from the stem on the line to dry.

    5. Repeat.

    6. Once all of the leaves are dry, create your piece of art. Below are some ideas, or you can come up with your own creations:

    • Garland
    • Window decoration
    • Wreath
    • Centerpiece

    Try making some patterns in your creations, such as a colour or leaf type pattern for the garland.

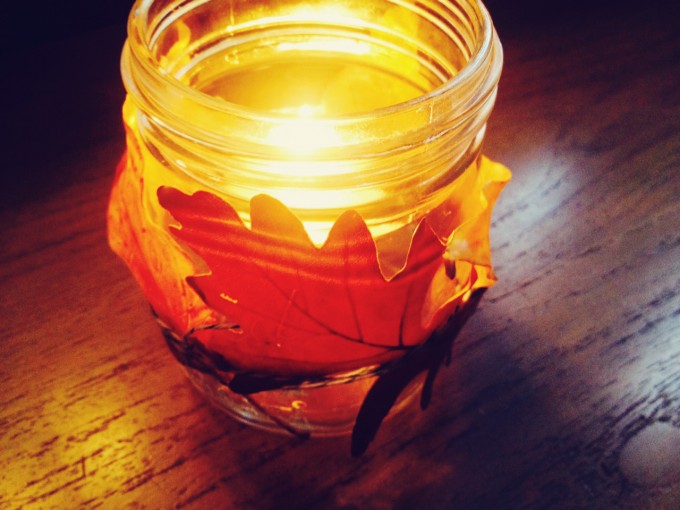
    dipped leaves 2 leaf candle


    This post is shared as a part of Simply Natural Saturdays at the Pistachio Project, Thank Goodness It’s Monday at Nourishing Joy,  Montessori Monday at Living Montessori Now,  Hip Homeschool Hop  Good Tips Tuesday, and Our Days.

  • Horse Keeping 101

    Horse Keeping 101

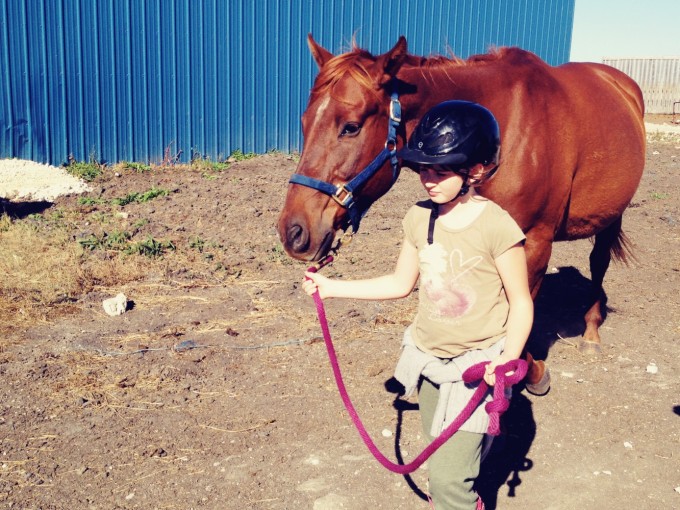
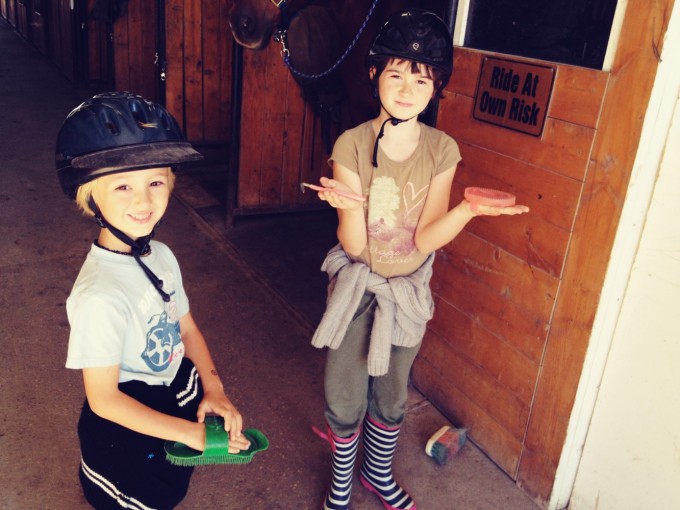
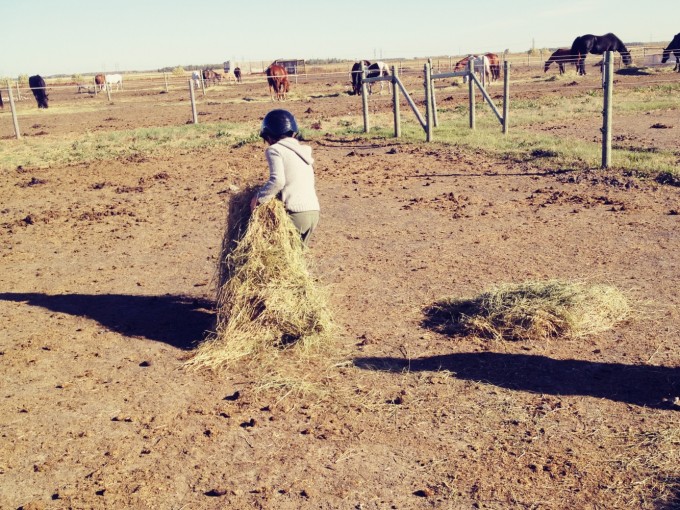
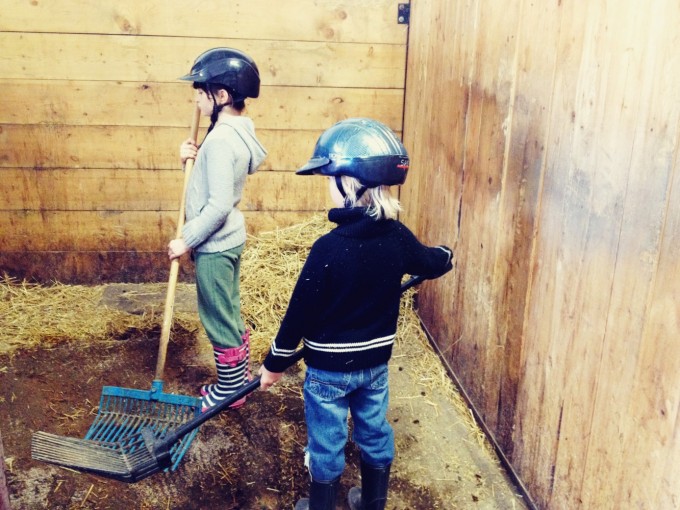
    As part of our homeschool curriculum this fall, we are volunteering at a local stable. This morning marked our first visit and we are so thankful for the opportunity to learn the value of hard yet rewarding work! Hauling, feeding, mucking, leading, grooming… all in a day’s work. The kids were truly tuckered after completing their chores, but in a good way. A good way that means heading home for warm showers, cozy towels, fresh clothes, a nourishing meal, and settling in to some grounding work like finger-knitting.

    The kids are also seeing first hand that there truly is no such thing as a free horse, even if kijiji leads you to believe otherwise. The costs and labour are large, they are learning – yet so are the rewards.

    So, what can a 6 year old and 10 year old learn from one morning at a stable? If they have a great facilitator, a lot. Aside from general safety rules, some of the things they recall include:

    • If you make two fists and hold them together, with your thumbs along the bridge of your nose, you’ll have the same sight field as a horse.
    • Hay is for eating; straw is for sleeping.
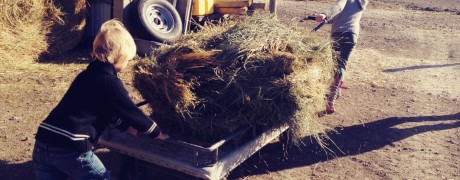
    • The slice of a bale that is fed to the horses is called a flake (there are 3 flakes on the wagon in the photo).
    • The special rake used for mucking is called a poop fork (at this stable, at least).
    • After a stall is mucked, it has to be aired out to prevent mould, before adding straw bedding.
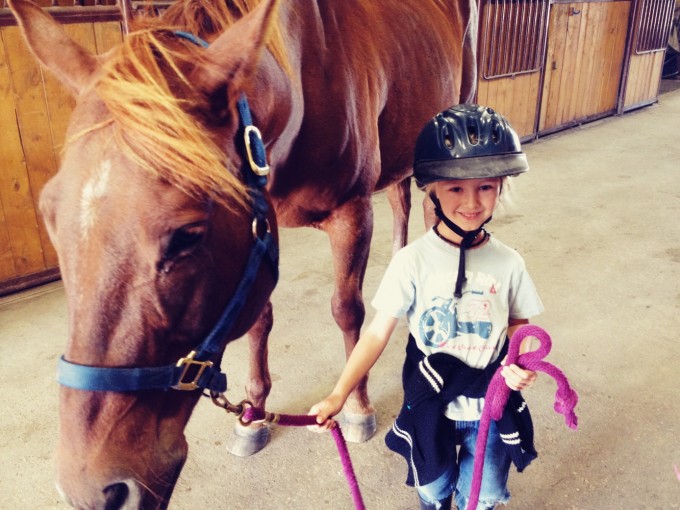
    • To lead the horse, stand by his or her ear and keep your head up and eyes ahead.
    • The plastic or rubber grooming brush that is used first, is called a curry brush.
    • Horses have elbows! They are located right at the top of their front legs.

    The kids both agree that this is their favourite class so far, and they are eagerly awaiting next week’s visit with our new friends.

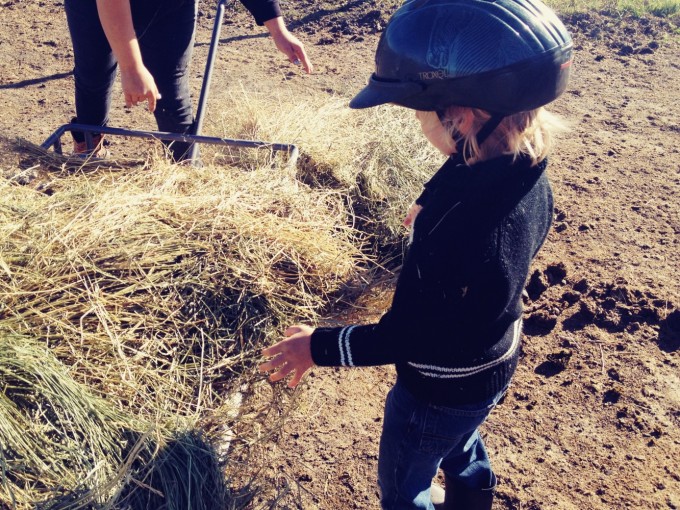
    feedingfeeding 2muckingleading 2leading grooming


    This post has been shared as a part of Simple Lives Thursday at My Humble Home.

  • This Moment

    This Moment

    “A Friday ritual. A single photo – no words – capturing a moment from the week. A simple, special, extraordinary moment. A moment I want to pause, savor and remember.” {joining Soule Mama today} If you’re inspired to follow along, please leave a link to your moment in the comments!


  • Homemade Applesauce

    Homemade Applesauce

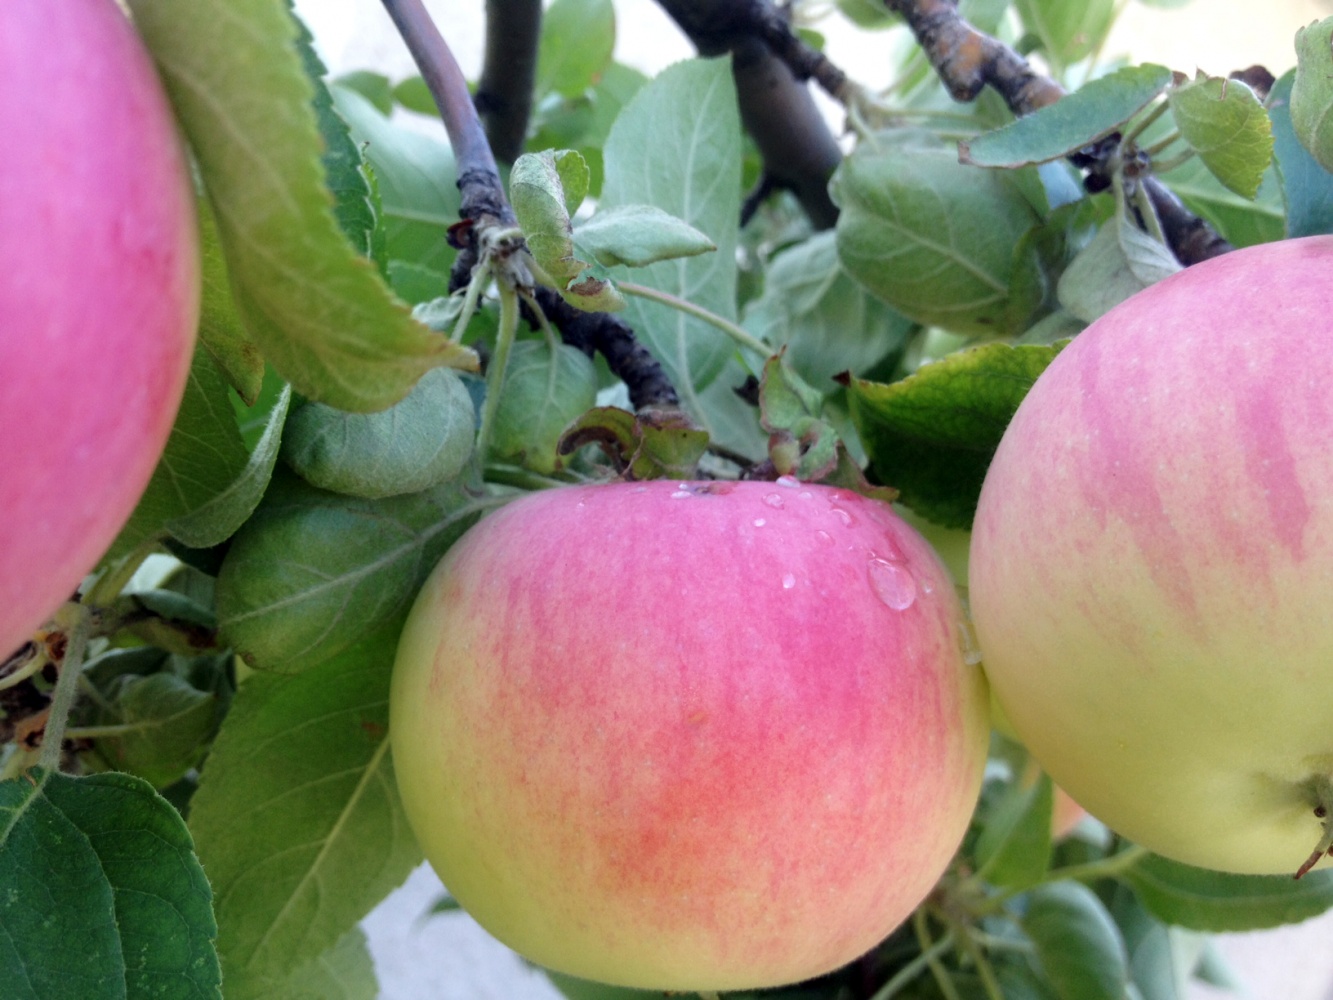
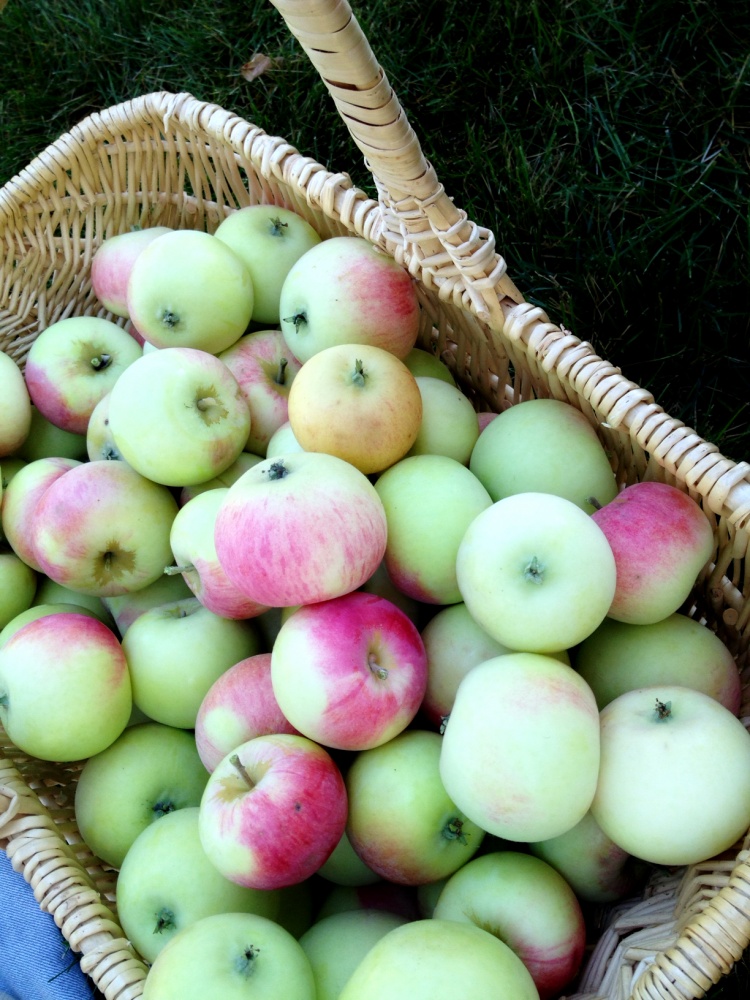
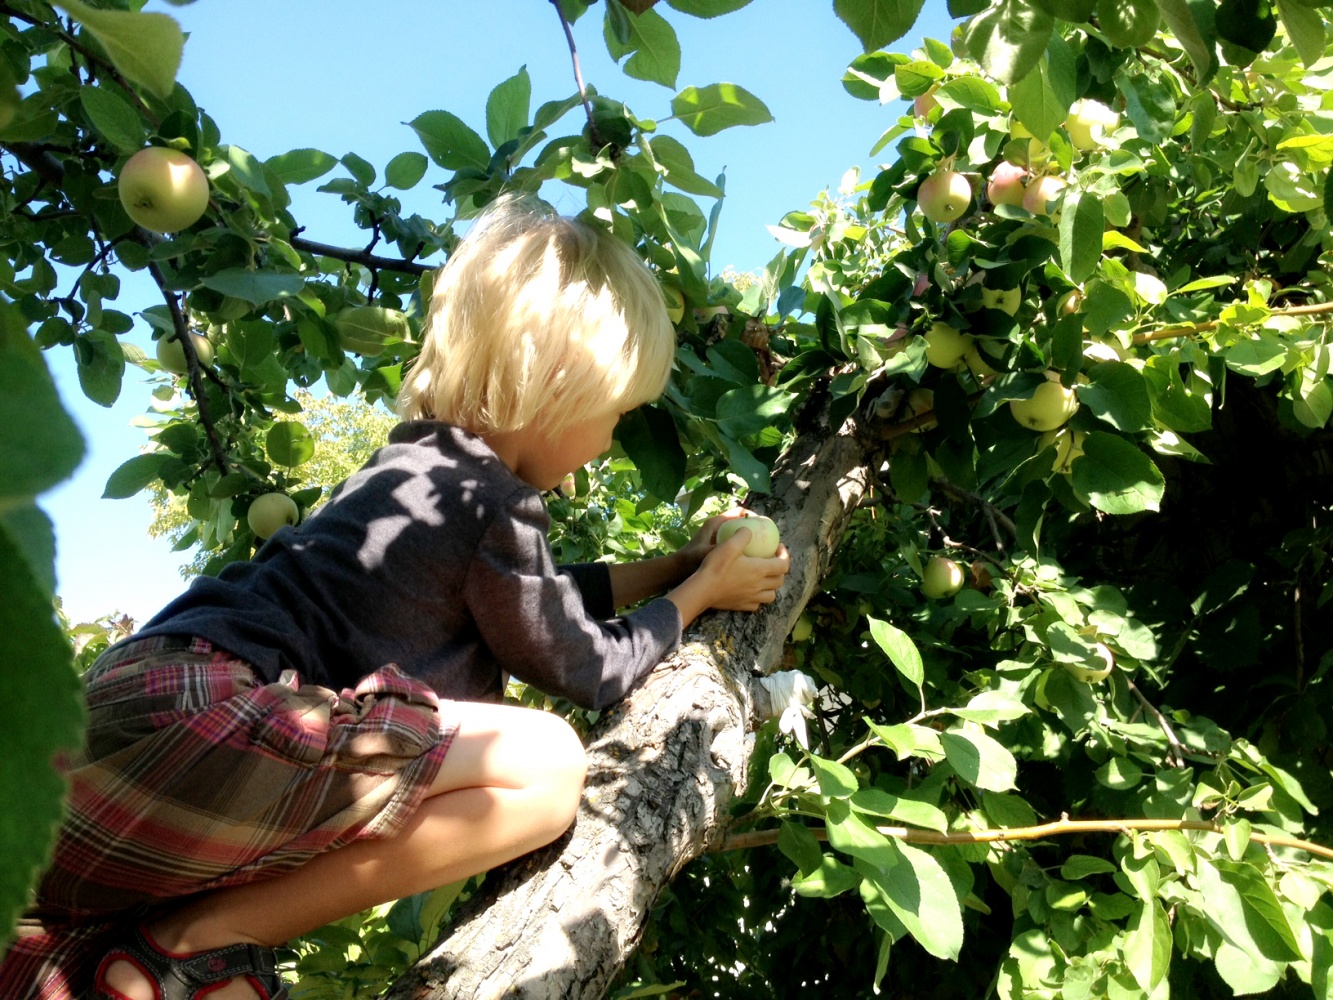
    Recently we were blessed to be able to harvest from two apple trees at the home of a relative’s neighbour. The neighbour is ill and in the hospital, so the apples are just slowly falling to waste. Armed with baskets, and snacks, we went for a harvest day and picked what we could reach, being careful to pick only what we could reach with our arms extended or by climbing a limb, so that the smaller among us would have plenty to pick as well.

    apple dewapple basketcohen harvesting applesbreann harvesting applesThe first thing requested was apple french toast, followed by apple muffins, and finally applesauce. Thanks to Aimée at Simple Bites, we decided to not only add cinnamon to our sauce, but also vanilla – whole vanilla bean. This made for a decadent and beautiful applesauce and I’m not sure we can ever go back to sauce without vanilla again.

    Below are the steps we take to make our sauce:

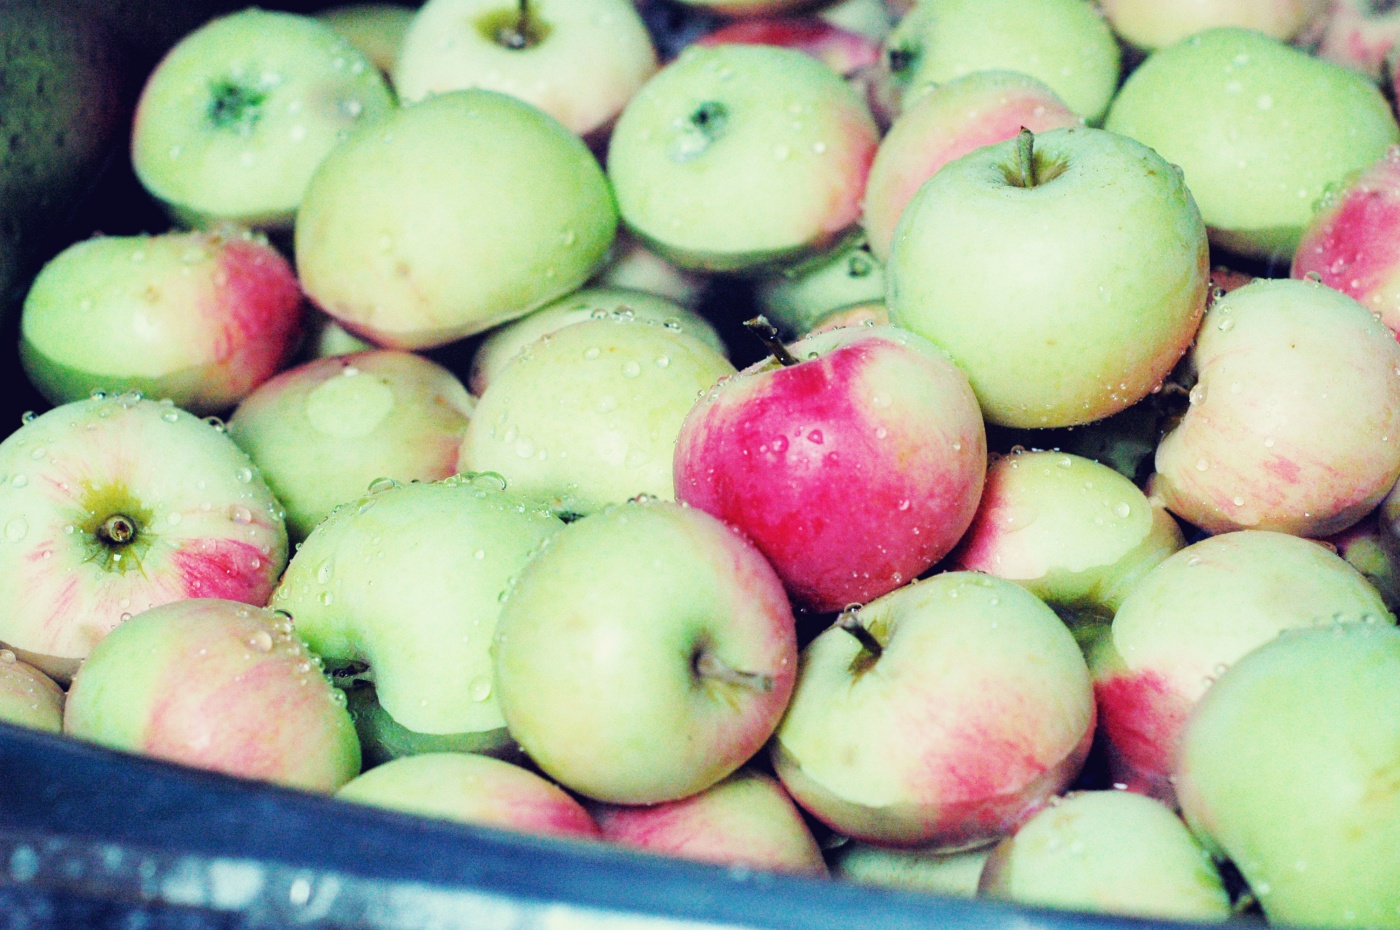
    Wash the apples in water and a splash of vinegar.

    apple bath

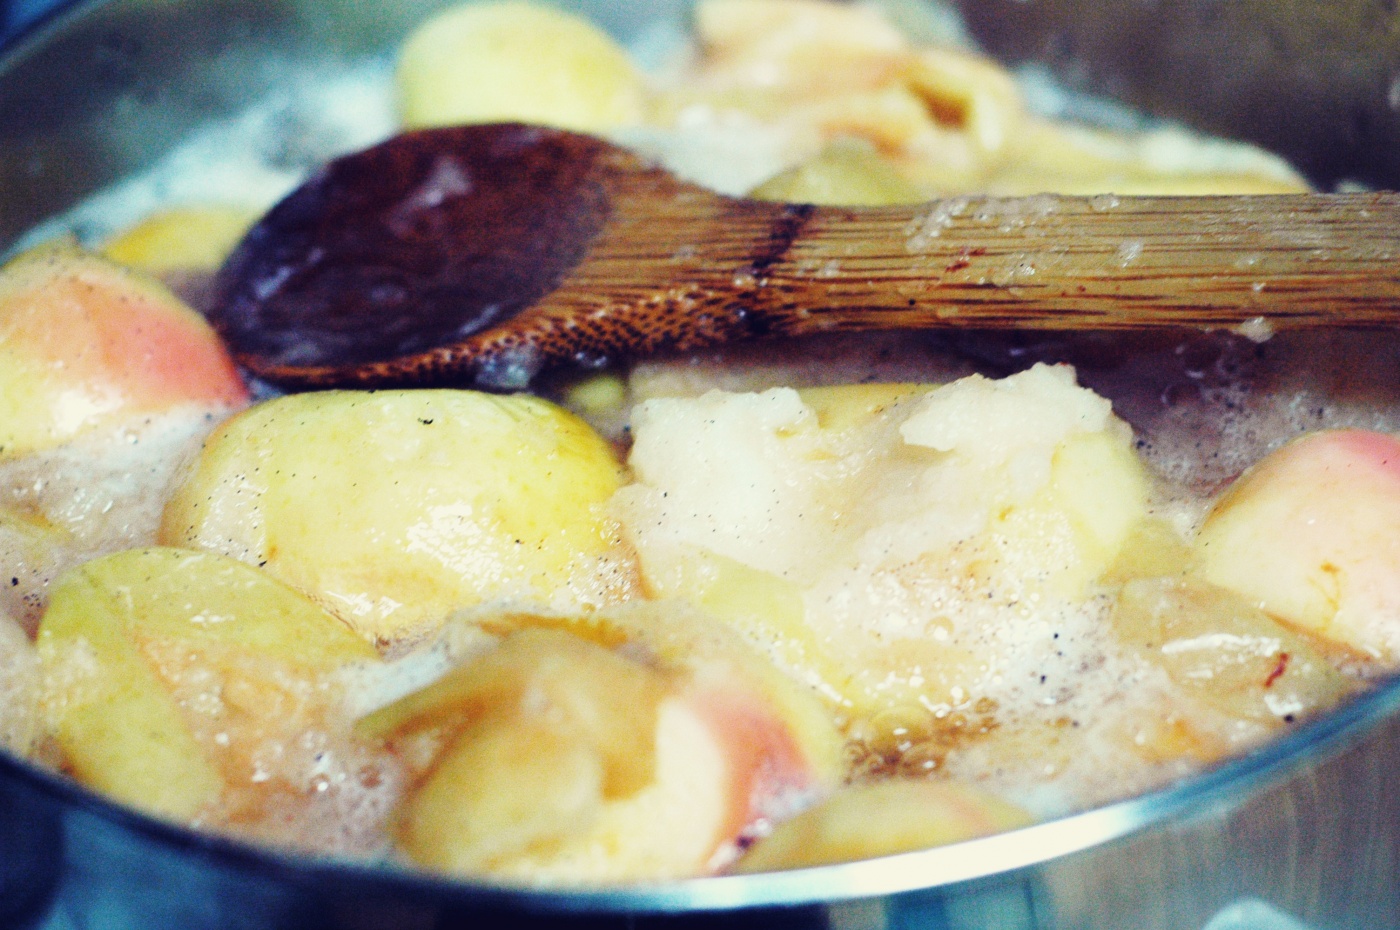
    We keep prep really simple and just cut off any bad spots, before tossing them in the pot. Add 1 cup of water for 6 lbs of apples, adjusting for how thick or thin you like your sauce. Toss in cinnamon and one vanilla bean, scored open to release the vanilla flecks.

    apples in pot new

    Cook down the apples on medium-low heat until they are soft enough to mill.

    apples cooked down

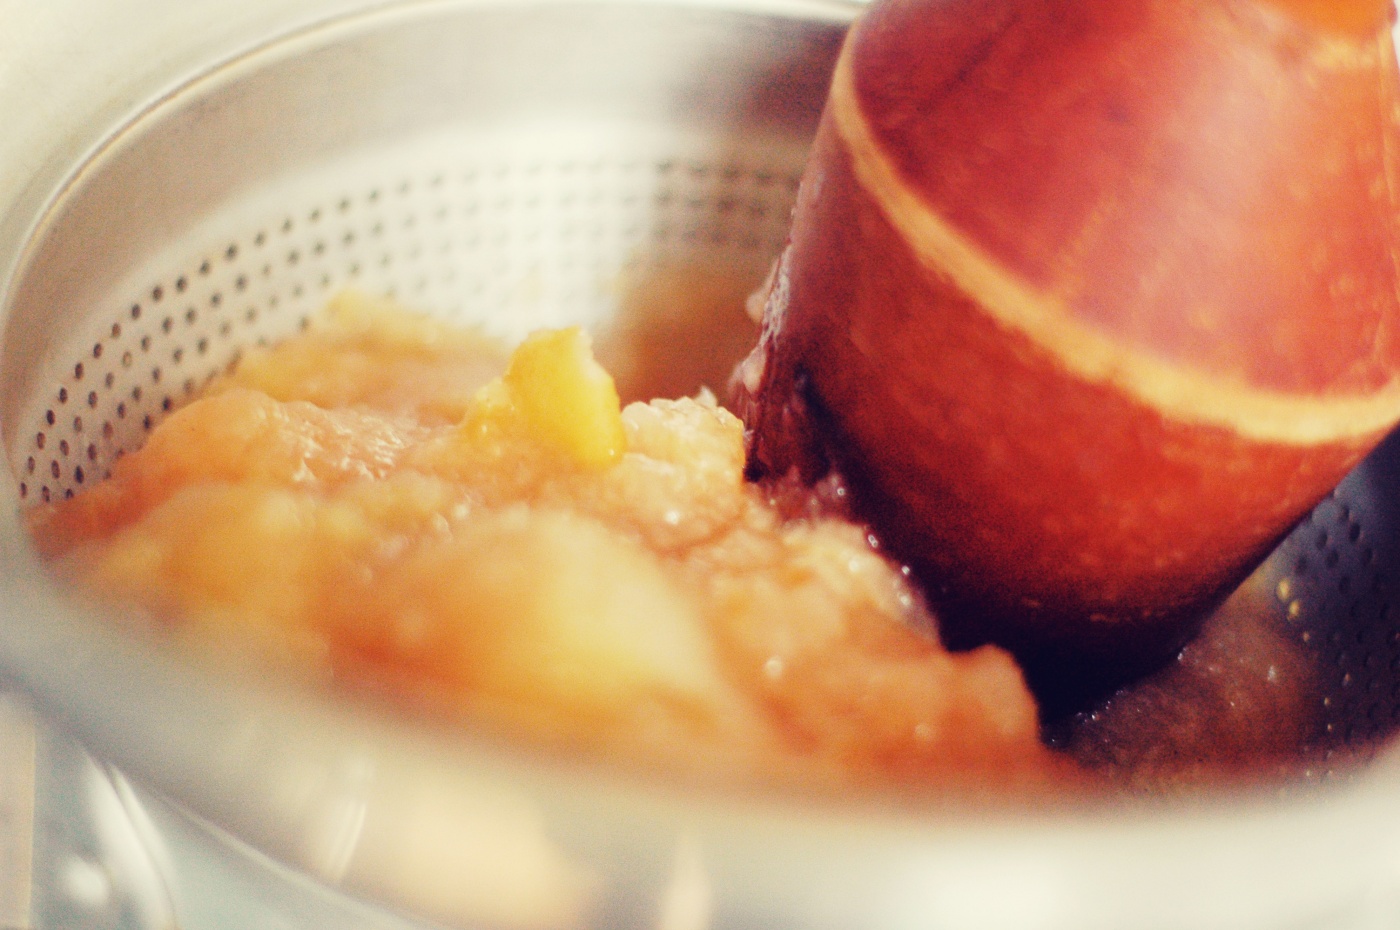
    Place the mill over a bowl or pot, scoop the apples in, and mill, getting out as much sauce as you can.

    applesauce maker copy

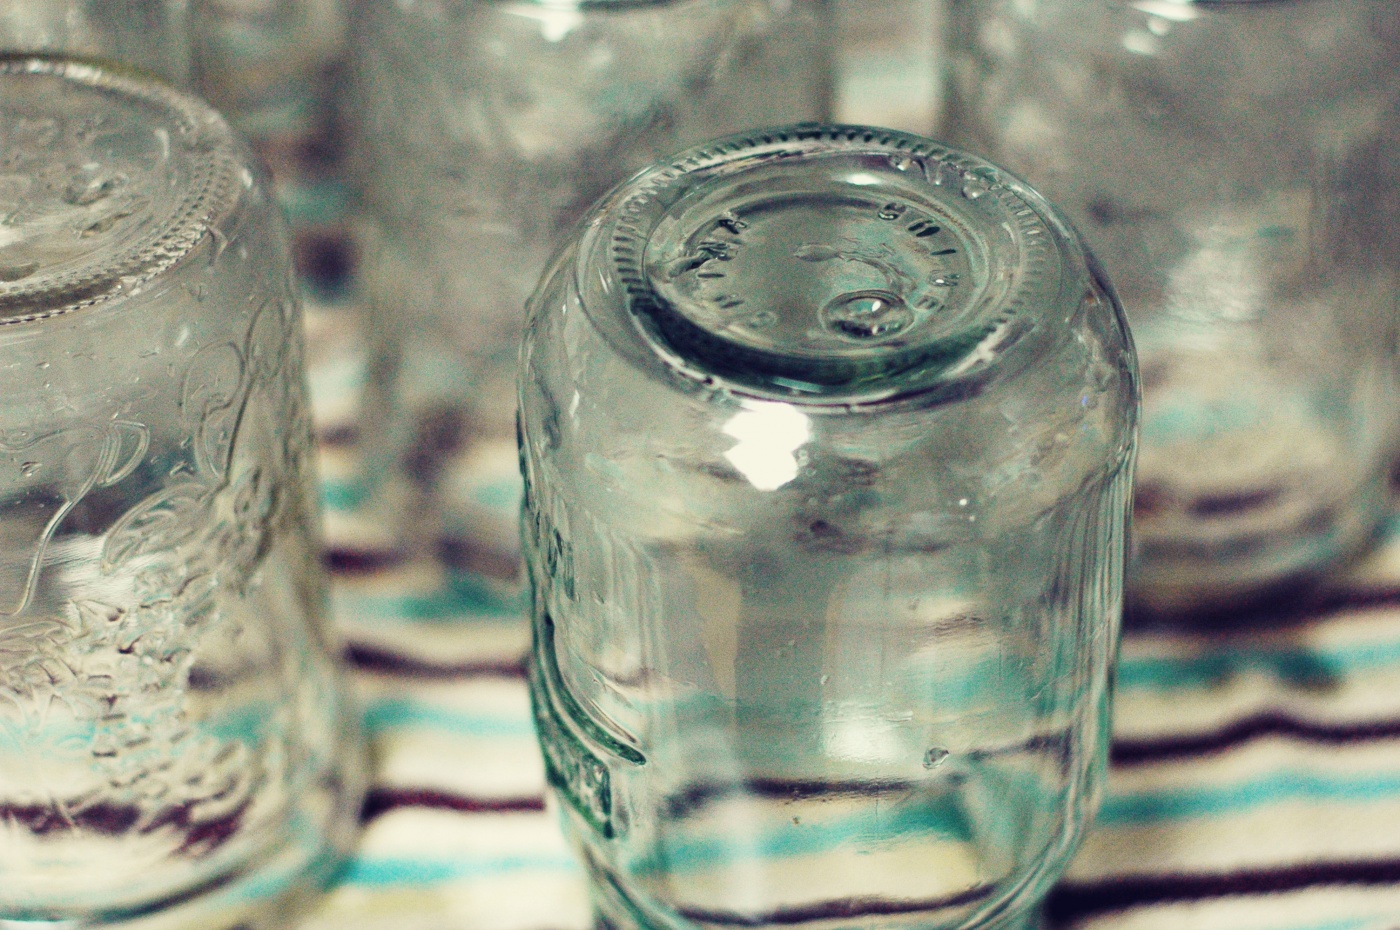
    Using a funnel, scoop the milled sauce into clean canning jars. We don’t actually can our sauce; in preference of keeping things simple, we freeze it and take out a jar the night before we want it.

    clean jars

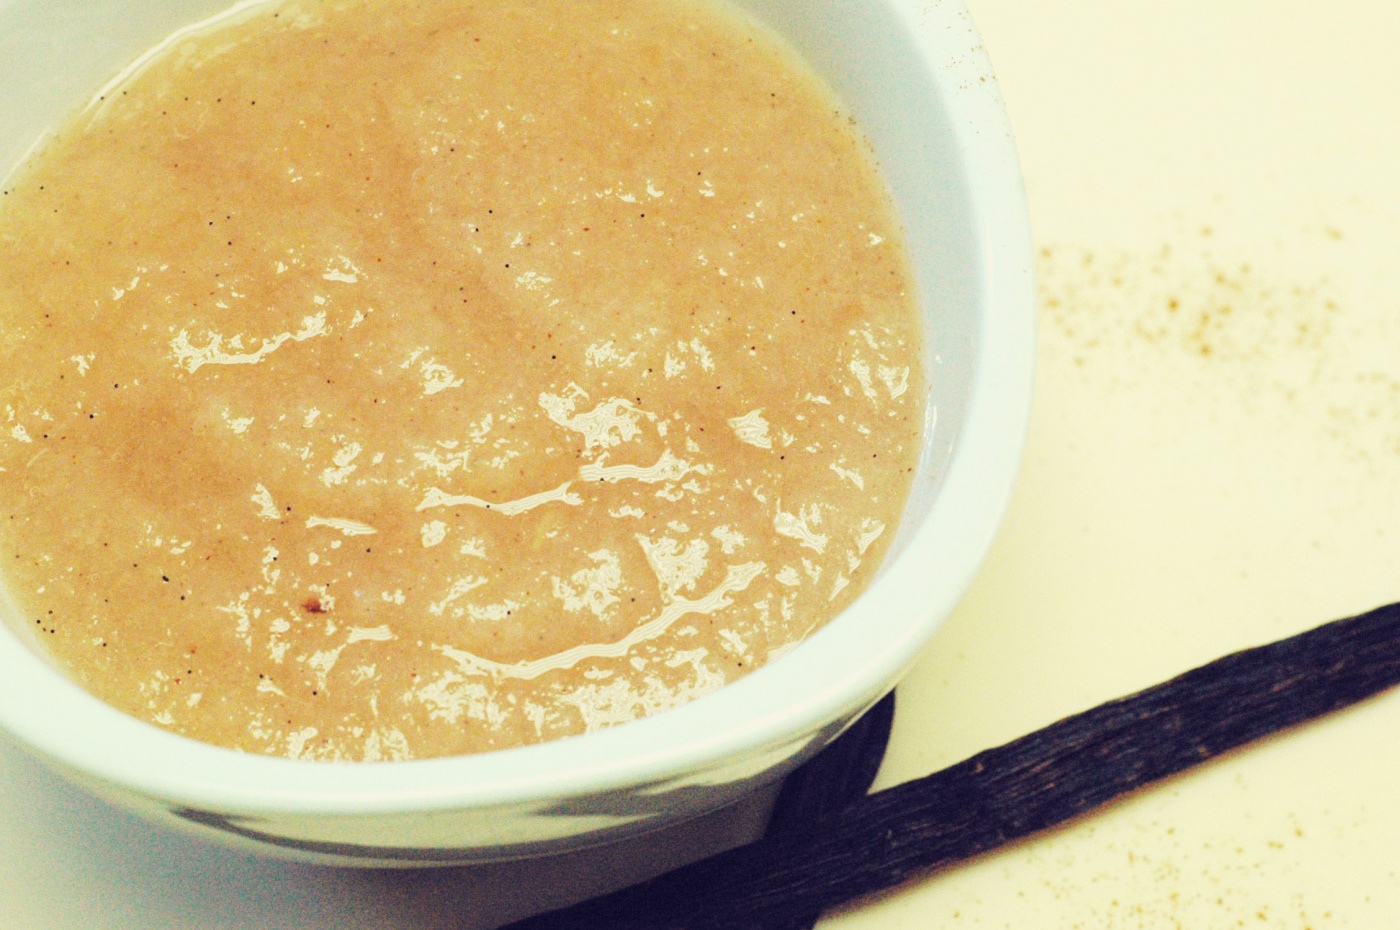
    Beautiful applesauce with vanilla bean flecks. We hope that the apple tree owner will enjoy a gratefully gifted jar or two of this sauce soon!

    vanilla applesauce copy


    This post was featured at Thank Goodness It’s Monday at Nourishing Joy and shared as a part of Unprocessed Fridays at Girl Meets Nourishment.