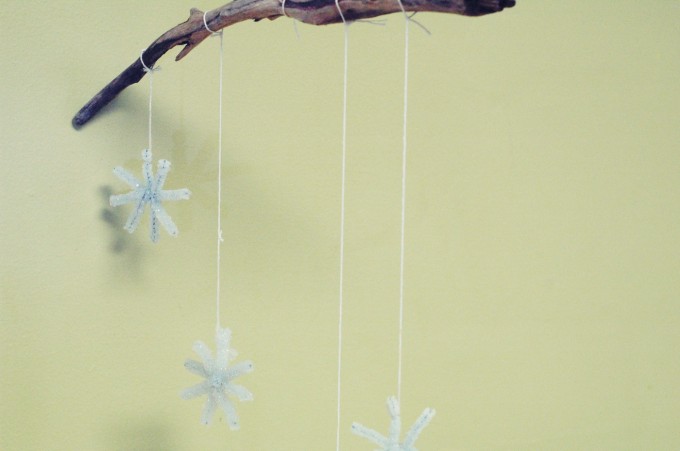
Tag: advent

  • Advent Week 4 :: The Light of Humankind

    Advent Week 4 :: The Light of Humankind

    This post is a part of our Tiny Advent series. All of the posts are housed over on this page for your convenience. We hope you follow along and enjoy the series.

    Welcome! Each week’s post contains the following:

    // Family Discussion Points      // Poster       // Memory Verse      // Centerpiece Decorating
    // Crafts      //Gift, Acvitity & Act of Kindness Ideas

    To see our advent calendar tutorial and download our gift/experience/acts of kindness lists, head over here.


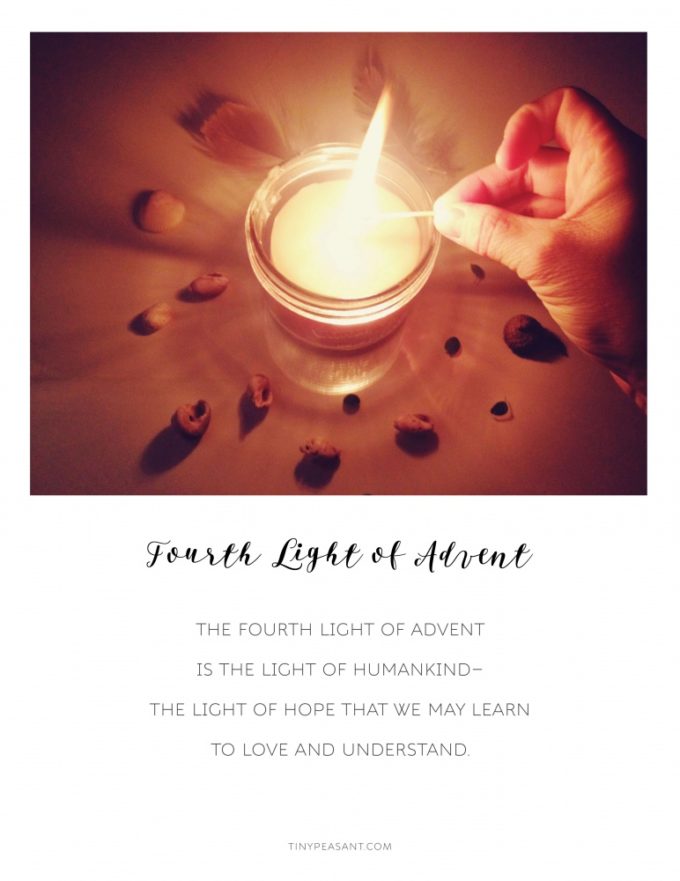
    THE FOURTH LIGHT OF ADVENT

    The fourth light of Advent is the light of humankind– The light of hope that we may learn to love and understand.

    DISCUSSION
    As we light the fourth candle on our Advent centrepiece, and add little photos of friends and family (What will you add? Share in the comments!), we will think of the light of humankind. What light does this, the human kingdom, offer up? How might people have participated in the journey of a father and mother with child?

    Brainstorm with your family. Some things we thought up:

    // May have provided companionship, nourishment, etc. along the way.
    // They would have celebrated and shared the good news!
    // They would have participated in inner preparation. If you haven’t checked them out yet, both We Will Wait and the 28 Day Inner Winter Celebration are wonderful guides to prepare the heart.  Many people would have celebrated and shared the news!


    POSTER
    Print out this free 8.5 x 11 Fourth Light of Advent Poster to rest on your mantle, piano, or hang on your wall, to remind you to think of these things this week. There are three more to add to your display over the coming weeks.
    MEMORY VERSE
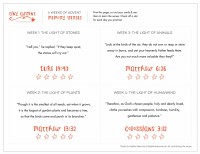
    Those who wish to add on some verses, you can download and print our Memory Verse Cards. Each week has one simple verse related to the week’s light. The verses were picked by the lovely Heather of heatherboersma.com, who is offering her own amazing Advent series for grown-ups called We Will Wait. Just cut out the cards, and work on the Week 4: Light of Humankind card.
    Tiny Advent Memory Verses Printable


    CRAFTS, GIFTS & ACTIVITIES
    Below are some of the ways that we will be exploring the human kingdom in our home this week, in addition to some of the other Advent ideas mentioned in the first post in this series.


    ADVENT CENTERPIECE
    For this fourth week, we add little cutout photos of friends and family to our centrepiece, along with the shells, stones, plants, and feathers. My husband was a little uncertain of what to think when he found a bunch of friend and family photos from year’s past lying on the counter with faces cut out – until he saw our centerpiece! We also add Mary and Joseph to the nativity scene – and baby Jesus (on Christmas eve while the kids are sleeping)!

    ADVENT CRAFT/RECIPE – HUMANKIND


    1. Homemade Fudge to Gift

    Try making this fudge, using fair trade chocolate and sharing it with others in the spirit of giving! Get the recipe here.

    candy cane fudge ingredients

    2. Write a Letter

    Grab some lovely pens, paper, an envelope and a stamp and write a letter to a friend or family member. This often forgotten practice is a great way to connect with others in a special way. And who doesn’t love getting mail? Check out our letter-writing resources for some inspiration!

    TP letter writing

    3. Give warmth.

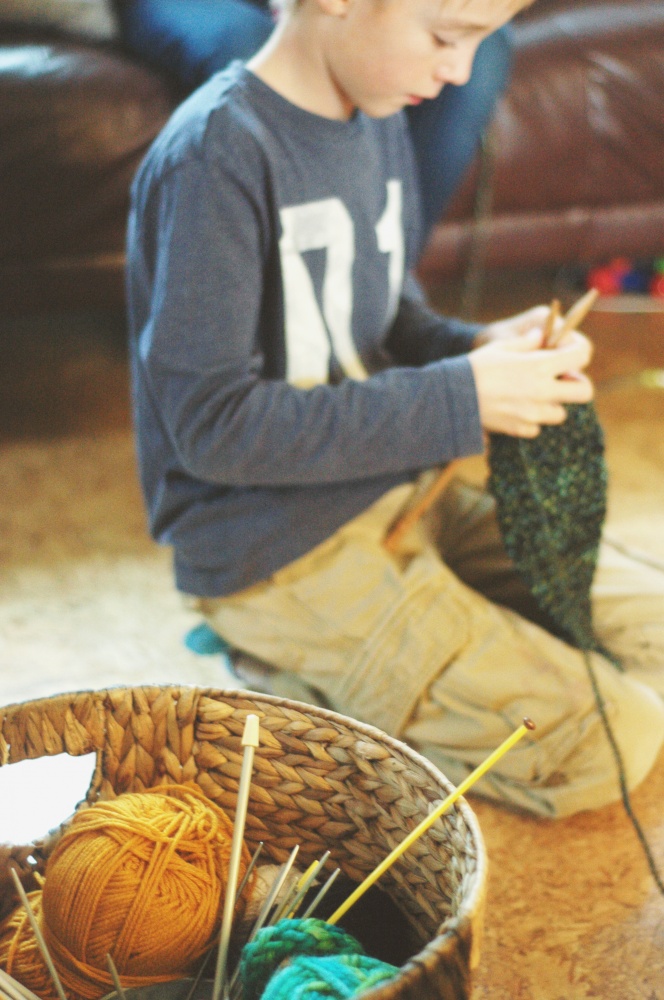
    Knit ear warmer or scarves to hang on trees for adults and children who are on the streets and in need of some warmth – physically and emotionally.

    ADVENT WEEK 3: GIFTS & ACTS of KINDNESS
    These are the items that are in our sock advent calendar – so some items will actually be in the socks. The others will be little notes that might lead the kids to find the supplies for the craft, or just telling them what we’ll be making for that day.


    Gifts:
    1. Book about fair trade, such as Roses for Isabella or Think Fair Trade First.
    2. Fair trade chocolate – we like these Cocoa Camino Mini chocolates – they are just perfect for leaving two or three on someone’s desk or to gift in other creative ways as acts of kindness.
    3. A note with a dollar amount that the kids can donate to an organization of their choice that helps people in need. Our kids love looking through online catalogues to choose what to spend their money on – animals, school supplies, sporting goods, trees, medicine, etc. This year, they might choose to donate the funds to the Dressember campaign. Note that this doesn’t have to be a large amount of money. Even $10 can help, and they can also choose to pool their funds to get something bigger.


    Activities:
    1. Visit Ten Thousand Villages or another fair trade shop to select a fair trade ornament and learn more about their products.
    2. Make something to give away, with the fair trade chocolate. Try this amazingly simple and delicious fudge.
    3. Watch a documentary about fair trade chocolate – check out the documentary Nothing Like Chocolate 


    Acts of Kindness:

    1. Give fair trade chocolates to strangers and neighbours.
    2. Acts of Kindness – add light to the lives of others through small acts of kindness – shovel a walk, bring over a meal, leave a couple quarters taped to a phone booth or dollars taped to the bus shelter (with a note), etc.


  • Advent Week 3 :: The Light of Animals

    Advent Week 3 :: The Light of Animals

    This post is a part of our Tiny Advent series. All of the posts are housed over on this page for your convenience. We hope you follow along and enjoy the series.

    Welcome! Each week’s post contains the following:

    // Family Discussion Points      // Poster       // Memory Verse      // Centerpiece Decorating
    // Crafts      //Gift, Acvitity & Act of Kindness Ideas

    To see our advent calendar tutorial and download our gift/experience/acts of kindness lists, head over here.


    THE THIRD LIGHT OF ADVENT

    The third light of Advent is the light of beasts– All await the birth from the hardest in the least.

    DISCUSSION
    As we light the third candle on our Advent centrepiece, and add feathers (What will you add? Share in the comments!), we will think of the light of animals. What light does this, the animal kingdom, offer up? How might the animals have participated in the journey of a father and mother with child?
    They would have provided transport. They might have provided nourishment to the weary travellers. Perhaps they provided companionship, and warmth.

    Brainstorm with your family. Some things we thought up:

    // They would have provided transport.
    // Provided companionship.
    // May have provided warmth and protection through fur and leather.


    PRINTABLE POSTER
    Print out this free 8.5 x 11 Third Light of Advent Poster to rest on your mantle, piano, or hang on your wall, to remind you to think of these things this week. There are three more to add to your display over the coming weeks.
    PRINTABLE MEMORY VERSE
    Those who wish to add on some verses, you can download and print our Memory Verse Cards. Each week has one simple verse related to the week’s light. The verses were picked by the lovely Heather of heatherboersma.com, who is offering her own amazing Advent series for grown-ups called We Will Wait. Just cut out the cards, and work on the Week 3: Light of Animals card.
    Tiny Advent Memory Verses Printable


    CRAFTS, GIFTS & ACTIVITIES
    Below are some of the ways that we will be exploring the animal kingdom in our home this week, in addition to some of the other Advent ideas mentioned in the first post in this series.


    ADVENT CENTERPIECE
    For this third week, we add feathers to our centrepiece, along with the shells, stones, and plants. We add the animals to our nativity scene!


    ADVENT CRAFTS & ACTIVITIES – ANIMALS

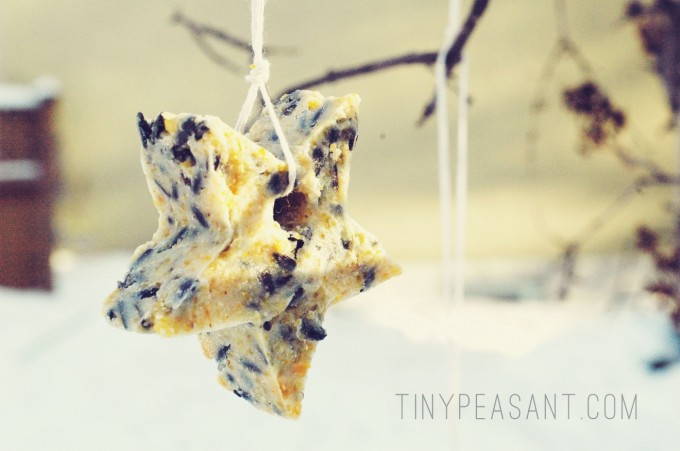
    1. Coconut Oil or Suet Bird Feeders
    A treat for the birds, and a lot of fun to make, these little feeders are simple to whip up and only require a few ingredients. Get the full tutorial here.
    coconut bird feeder star

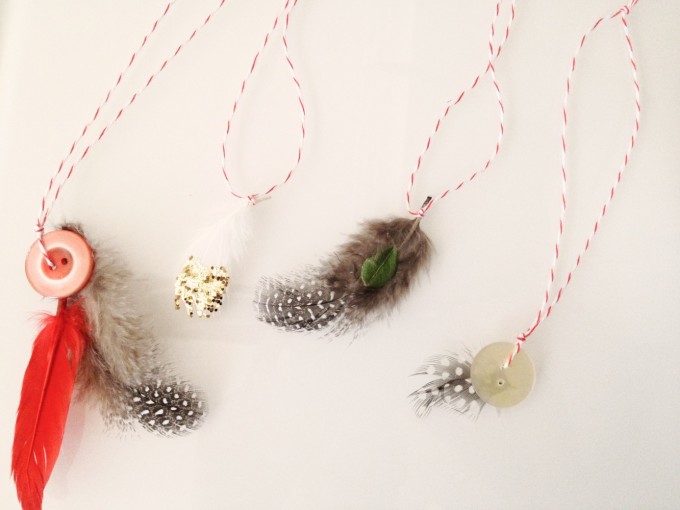
    2. Feather Ornaments

    This craft is lovely, as it combines items that relate to week two of the series as well as this week – animals. We made these little ornaments and angels using pine cones, acorns (with caps), feathers, and hot glue. Some of the pine cones were painted or glittered, depending on the child! Sadly, we had to use purchased feathers, but you might have your own collection handy or be able to find some nearby.
    TP feather ornaments 3

    pine cone angel on tree copy

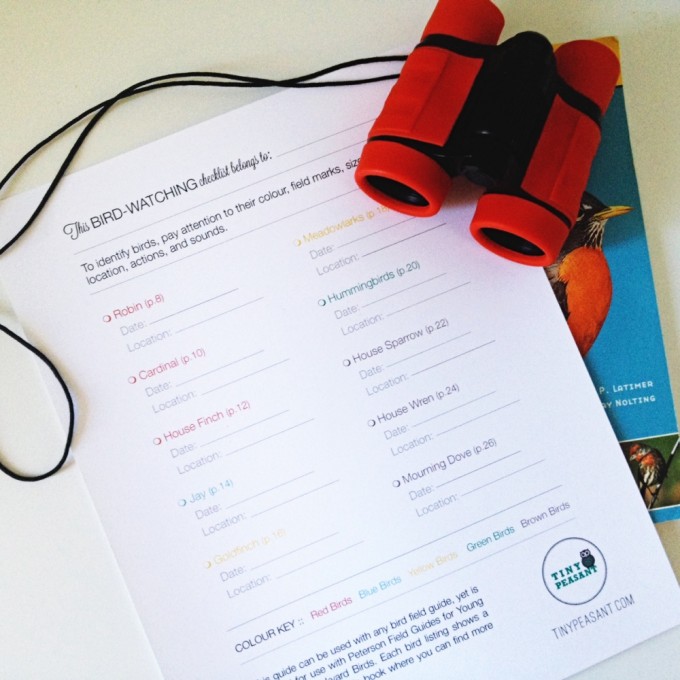
    3. Bird Watching Checklists & Sketches
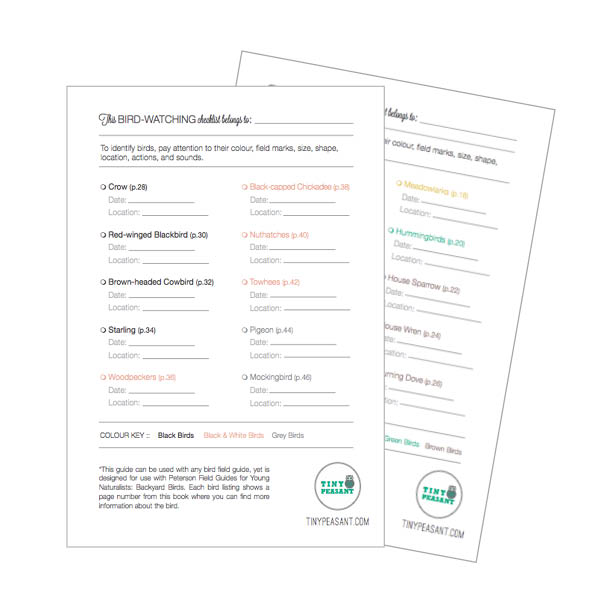
    Over in the shop, we have free done-for-you bird-watching checklists ready to print and use! Take these on a nature walk or set them in a basket by the window with a bird watching book, some binoculars, a sketch book, a pencil and some colored pencils and you have a lovely observation and drawing “craft” set up that can stay in your home long after the holidays!

    Read our post on bird-watching with kids here.
    Free Printables Bird Photo

    4. Felt Goodness! 
    If you didn’t get to do it in week 1, felted stones are a great option for week 3 since wool roving comes from sheep! You can also try felted soap, or make a felted ball garland (in whatever colours you love for the holidays), felted balls glued inside tiny acorn caps and made into ornaments…
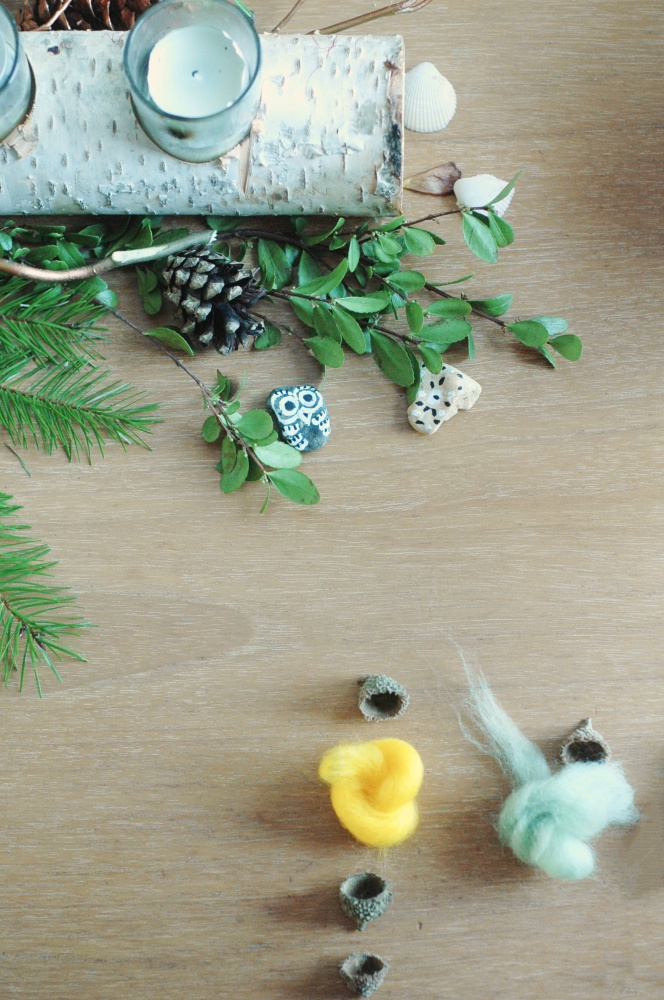
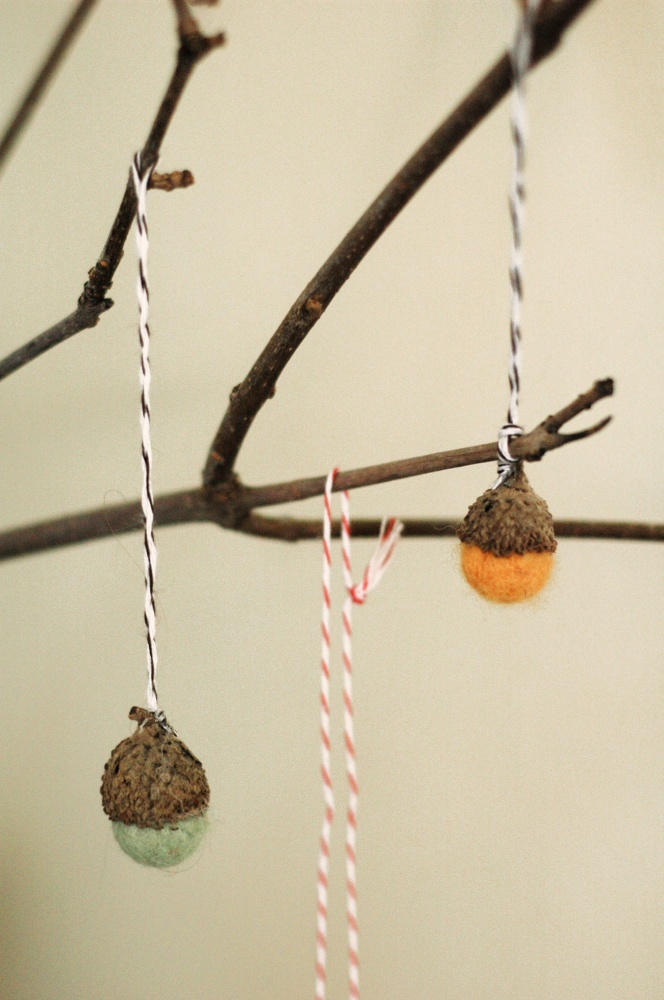
    Tiny Advent Felted AcornsTiny Peasant Acorn Felt Ornamentsfelted stones finished felted soap tiny peasant felted garland hanging fi

    ADVENT WEEK 3: GIFTS & ACTS of KINDNESS
    These are the items that are in our sock advent calendar – so some items such as the first three will actually be in the socks. The others will be little notes that might lead the kids to find the supplies for the craft, or just telling them what we’ll be making for that day.


    Gifts:
    1. Bird seed (check with a local society to find out which seed is best for your area – here in Manitoba, we’ve heard that black sunflower seed is great).
    2. Bird house (or feathers)
    3. Bird watching checklist and a notebook or book (our favourite so far)
    4. Wool Roving


    Activities:
    1. Make bird seed balls
    2. Membership for a local bird society – so you can participate in citizen science programs like Feeder Watch or the Christmas Bird Count
    3. (or) Make a feather craft

    Acts of Kindness:
    1. Volunteer at or donate to a local bird society
    2. Knit a wool hat or scarf to donate to a local shelter – or donate one if you don’t knit.
    3. Volunteer at an animal hospital or humane society.

    Bonus:
    Watch an Andy Goldsworthy video in which he uses sheep’s wool to create a beautiful work of art. Create your own wool or feather art, maybe as you think or pray about Advent. Note that Rivers and Tides features not only wool, but also stones, and plants, so I recommend showing just the parts that fit with each week of Advent. Definitely watch it as a whole as well, though. Truly a beautiful film that has been a family favourite for years.
    This post is shared as a part of Thank Goodness It’s Monday at Nourishing Joy.
  • Advent Week 1 :: The Light of Stones

    Advent Week 1 :: The Light of Stones

    This post is a part of our Tiny Advent series. All of the posts are housed over on this page for your convenience. We hope you follow along and enjoy the series. Come on over and share your photos on our Facebook page and tweet about it with #tinyadvent @tinypeasant. Thanks!

    Welcome! Each week’s post contains the following:

    // Family Discussion Points      // Poster       // Memory Verse      // Centerpiece Decorating
    // Crafts      // Gift, Acvitity & Act of Kindness Ideas

    To see our advent calendar tutorial and download our gift/experience/acts of kindness lists, head over here.


    THE FIRST LIGHT OF ADVENT

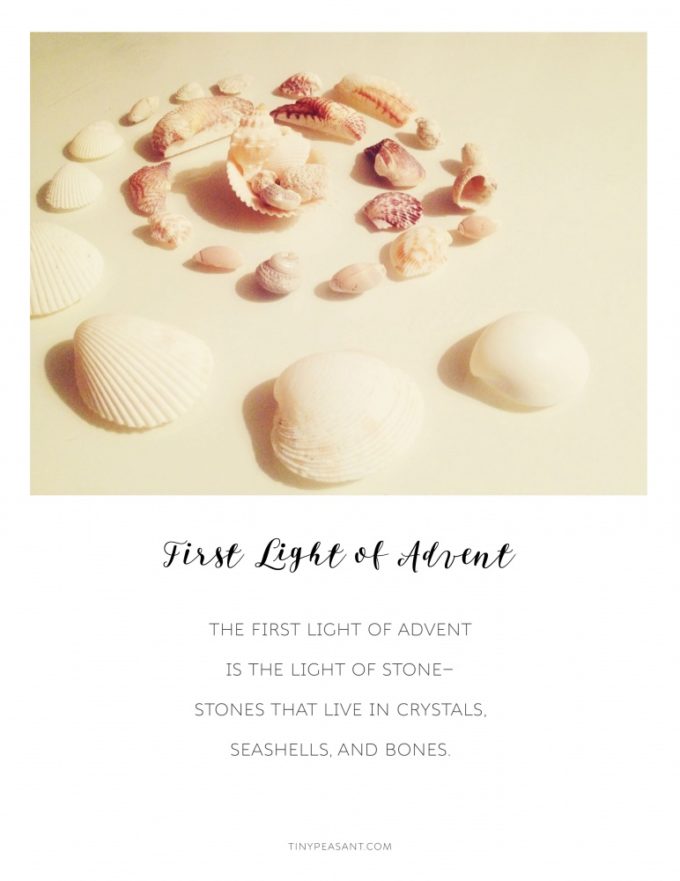
    The first light of Advent is the light of stone– Stones that live in crystals, seashells, and bones.

    DISCUSSION
    As we light the first candle on our Advent centrepiece, we will think of the light of  stones. What light does this, the mineral kingdom, offer up? How might the stones and crystals have participated in the journey of a father and mother with child?

    Brainstorm with your family. Some things we thought up:

    // They would have been the very foundation the couple walked upon.
    // Provided shelter to the weary travelers in the form of a cave.
    // Provided nourishment in the form of minerals like those found in salt.


    POSTER
    Print out this free 8.5 x 11 First Light of Advent Poster to rest on your mantle, piano, or hang on your wall, to remind you to think of these things this week. There are three more to add to your display over the coming weeks.


    MEMORY VERSE
    Those who wish to add on some verses, you can download and print our Memory Verse Cards. Each week has one simple verse related to the week’s light. The verses were picked by the lovely Heather of heatherboersma.com, who is offering her own amazing Advent series for grown-ups called We Will Wait.
    Just cut out the cards, and work on the Week 1: Light of Stones card.


    Tiny Advent Memory Verses Printable


    CRAFTS, GIFTS & ACTIVITIES
    Below are some of the ways that we will be exploring the mineral kingdom in our home this week, in addition to some of the other Advent ideas mentioned in the first post in this series.


    ADVENT CENTERPIECE
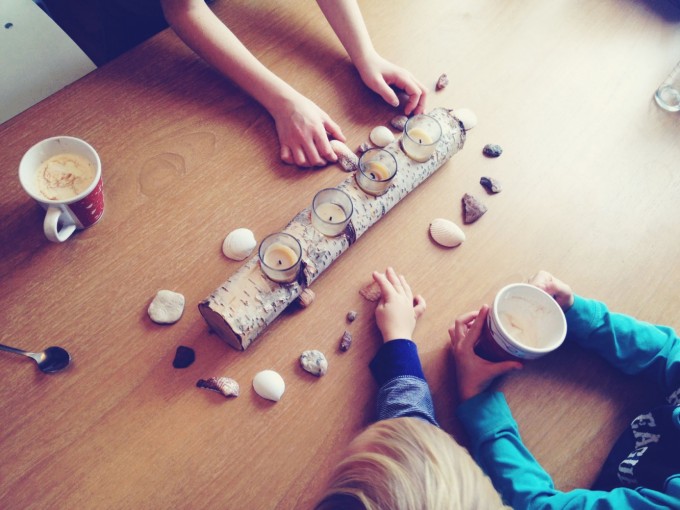
    Settle into your weekly Advent rhythm with a mug of something warm while you work on your Advent centerpiece. You might like to try our recipe for Nourishing Hot Cocoa. We decorate our centerpiece, from our lovely friend Krista of Birch & Brush, with seashells and stones in this first week.


    making the centerpiecesetting out shells and stones


    ADVENT CRAFT – STONES/MINERALS


    1. Mineral Crystals using simple household items. These make a beautiful seasonal decoration for your wall, window, or tree. Get the full how-to here.


    crystals - now we wait


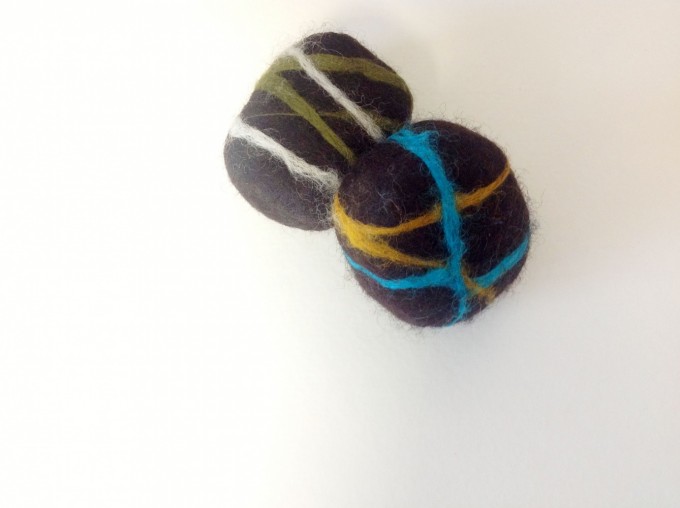
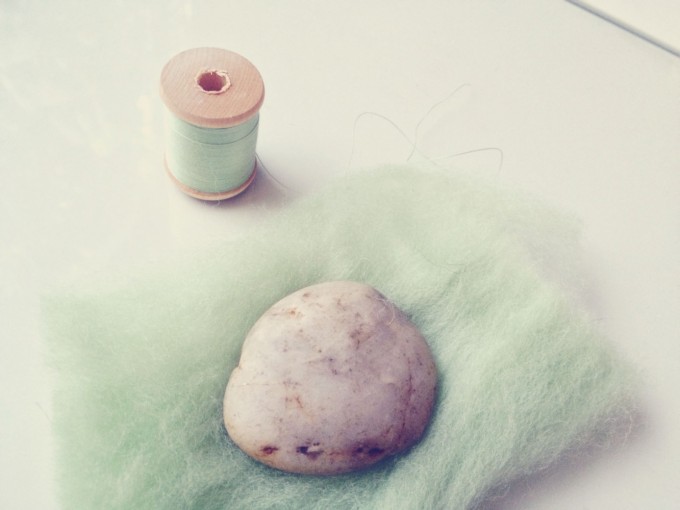
    2. Felted Stones using found stones and wool roving. This is a lovely sensory activity with warm water, bubbles, and fibre. The stones can be paper weights, or decorations. Get the how-to here.


    felted stones - wrap the stone

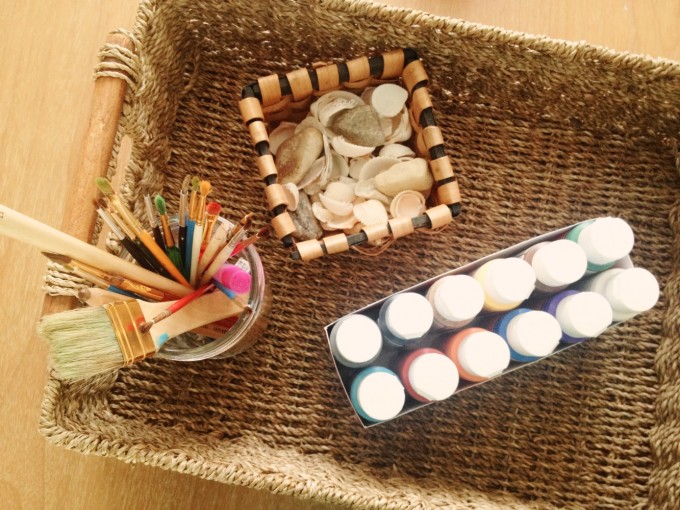
    3. Painted Shells & Stones – a super simple activity with few materials and little prep!


    TP painted shells rocksTP painting shells stones


    ADVENT WEEK 1: GIFTS & ACTS of KINDNESS
    These are the items that are in our sock advent calendar – so some items such as the first three will actually be in the socks. The others will be little notes that might lead the kids to find the supplies for the craft, or just telling them what we’ll be making for that day.


    Gifts
    1. Stones – set some aside for crafting and use others to fill about 2-4″ in a glass hurricane vase or glass bowl for an activity in week 2.
    2. Seashells
    3. Bone – found artifacts or jewelry made from found items such as sheds or teeth
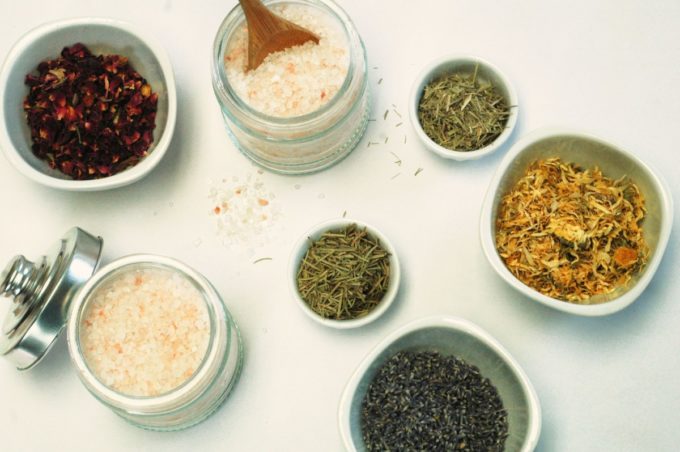
    4. Mineral bath salts – set these aside for next week when you can add herbs to make a beautiful gift!


    Acts of Kindness
    1. Volunteer at or donate to a shelter.
    2. Donate nourishing sea salt to a local food bank.

    3. Offer to shovel & salt the sidewalk of a neighbour.

    Please share your “the light of stone” kindness ideas on Instagram (tag @cityfolkfarm and #tinyadvent) or our Facebook page, or share in the comments below. Thank you!


    Bonus:
    Watch an Andy Goldsworthy video in which he uses stones to create beautiful works of art. Head outside and create your own stone art, as you think or pray about Advent. Note that Rivers and Tides features not only stone, but also plants and animals, so I recommend showing just the parts that fit with each week of Advent. Definitely watch it as a whole as well, though. Truly a beautiful film that has been a family favourite for years.

     

    This post is shared as a part of Simple Lives Thursday.
    Originally published December 2, 2013.
  • Tiny Advent // Sock Calendar + 25 Gifts

    Tiny Advent // Sock Calendar + 25 Gifts

    This post is a part of our Tiny Advent series. All of the posts are housed on this page for your convenience. We hope you follow along and enjoy the series.

    The Make:
    We have made this calendar our family tradition for a few years now. We get new socks for each family member, and make a pattern: one sock for each family member; repeat. Each day the person who fits the sock, takes it down from the calendar, and finds what is inside. It might be a note with an activity to do together, an act of kindness, or a small gift. We often include a Bible verse with a tiny gift that is related to what we read.  At the end of Advent, everyone has a couple new sets of socks, so this is a fun and practical investment!


    What you’ll need:
    / Socks
    / String or twine
    / Circle stickers in the colour of your choice to mark the days
    / Sharpie to write the numbers on the stickers
    / Clothes Pins


    The How:
    / Lay your string or twine out on the floor.
    / Create a pattern with your sets of socks, and attach them to the string with the clothes pins.
    / Add your numbered circle stickers to the clothes pins
    / Hang your sock calendar


    What to fill all those socks (or paper bags, boxes, pockets, etc.) with? 

    25 Gifts:
    To make this project extra easy on busy mamas, I made a list of 25 gift ideas, in checklist form. Just print off the list and collect the items. Follow, adapt, or scrap in favour of what you know will work best with your little ones and how you approach Advent in your home. Download your printable copy here.


    4 Lights Gifts:
    A slight adaptation of the previous list, this list is divided into the four weeks based on the light of stones, plants, animals, and humankind. If you’re following along with the weekly posts, this might be a really great option for you! Download your printable copy here.
     tinyadventactivitygiftlists
    Gifts from the Shop:


  • Advent Week 3 Activity :: Bird-Watching with Kids

    Advent Week 3 Activity :: Bird-Watching with Kids

    If you are following along with the Advent series, you can get to the original post here, and the Week 3 post here.


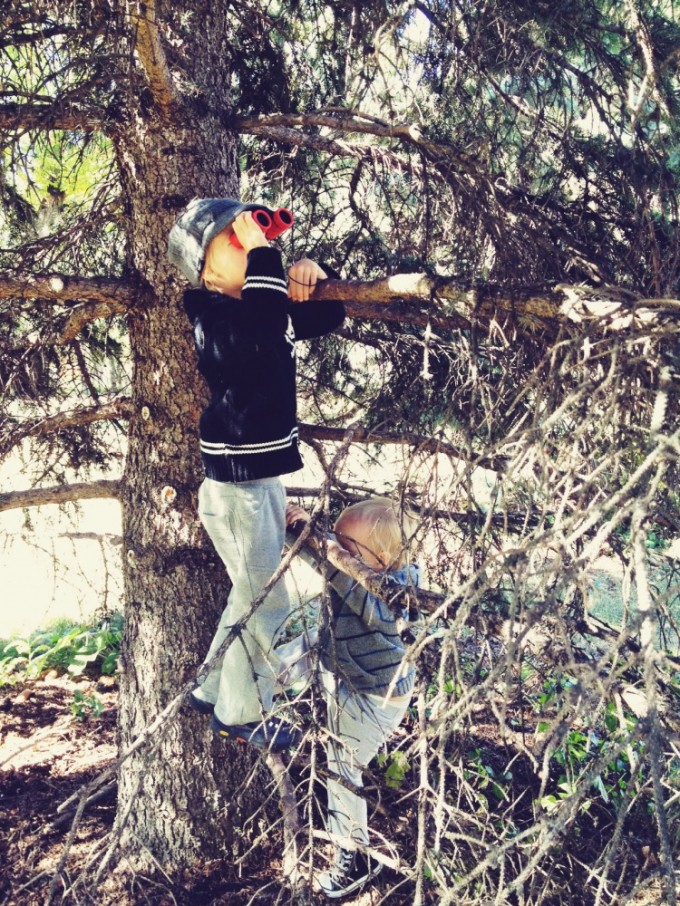
    One of the simplest and most rewarding ways to learn about animals in the winter is bird-watching. It can be done indoors or out, and is a great activity to engage little ones. For this reason, our week is going to focus on birds – feathers, crafting bird-seed feeders, painting tiny bird house ornaments, visiting a local animal shelter…

    Here you’ll find info about our two favourite bird books, as well as a printable bird-watching checklist that would make a great addition to your advent calendar, or a fun thing to share with your children any time of the year.

    tree bird watching new

    What do you need to start out?

    Binoculars
    A few years ago we purchased two basic bird identification books, and started a little basket with the books and a set of nice binoculars (which were very affordable at under ten dollars). The binoculars come with us on nature walks and have taken quite a beating over the past four years or so! Well worth the small investment.

    Books
    Strangely, both books are titled Backyard Birds. One is the Peterson Field Guides For Young Naturalists: Backyard Birds, and the other is Backyard Birds: An Introduction. The first is a fantastic resource with colour coded sections according to the main colour of the bird. It is easy for kids to navigate and has a digestible amount of information for beginners. The second one we love for its beautiful paintings of birds by Robert Bateman.
    Either (or both) of these books would make a lovely advent or Christmas gift.

    Checklist
    I created a mini ‘life list’ for the kids back when we first created our bird basket, and the kids check off birds they spot and identify using our books. It turned out to be a really fun pastime for the whole family.
    Recently, I updated our bird-watching checklist to share with all of you, and I truly hope you and your little ones will enjoy it as much as we do. There are two versions available – one is designed to work in partnership with the Peterson guide and the other can be used on its own or with another book. Print if off and keep it in your own birding basket, or in your backpack to go along on nature walks. You can download it here.

    tiny peasant bird-watching checklist preview


    This post was featured at Thank Goodness It’s Monday, and shared as a part of Thank Goodness It’s Monday, and Montessori Monday.

  • Advent Week 2 Activity :: Plant Based Decorations

    Advent Week 2 Activity :: Plant Based Decorations

    If you are following along with the Advent series, you can get to the original post here, and the Week 2 post here.


    While I’m not a big fan of crafts made out of food, I do love the simplicity of popcorn garlands. We love to mix popcorn and cranberries and then rather than hanging the garland on our tree indoors, we hang them outside as a gift to the animals in our neighbourhood.

    Materials:

    • popcorn
    • fresh cranberries
    • thread
    • needles
    • scissors

    Just thread the needles with quite a long thread and tie at the end. Thread the popcorn and cranberries on – a fun way for little ones to practice making patterns! These photos are from last year’s garland making adventure.

    cran pop making

    For another plant based garland idea, gather a basket of pine cones, small sticks, seed heads, seed pods, etc. and thread them with a needle or tie them onto twine. For the third week of Advent, the light of animals, I have a basket of feathers ready to go that might work their way onto a garland or two, or another decoration depending on what the kids dream up. Yesterday, a friend of ours set up a fun craft to paint pine cones with glitter paint – these are beautiful and would make a lovely garland or Christmas tree decoration.

    glitter pine cones

    Other ideas – dip the bottoms of the pine cones in non-toxic paint to coordinate with your Christmas decorations or home, or, try this gorgeous and warm idea to wrap pinecones in yarn (idea and photo from Teal & Lime). This might be happening over here this week, as it’s just too good to pass up – a trip to our local wool shop is in order as I think our stash is low! I’m seeing deep red, teal green, grey, mustard yellow…

    Does your family craft any natural decorations over the holidays? Share about them in the comments!

    yarn-wrapped-pinecone-garland-on-banister


    This post has been shared as a part of Simple Lives Thursday and Montessori Monday.

  • Advent Week 2 Activity :: How to Make Vanilla

    Advent Week 2 Activity :: How to Make Vanilla

    If you’re following along with our Advent series, you can find the original post here, and the Week 2 overview here.


    Making vanilla is worth it just for the smell alone. I had a pile of little ones on my lap after I wrapped up, just because my hands carried the sweet scent of fresh vanilla beans.

    This is one of the easiest kitchen projects you’ll come across and you reap the reward of a high quality product at a fraction of the cost of store-bought organic vanilla. This made great a great gift for friends and teachers last year and would make a lovely hostess gift.

    Let’s look at the cost breakdown.
    I purchased a 1.14 L (1140 ml) bottle of vodka for $31.25. This works out to 11.4 bottles, if using 100 ml bottles like I was. Since the vanilla beans displace some of the liquid, let’s say we can get 13 bottles from 1.14 L. That works out to $2.40 per bottle for the vodka. My vanilla beans cost about .55 per bottle, plus my bottle cost which was about $1.30 each. This brings me to $4.25. I’ll add on .25 for the labels, for a grand total of $4.50 for vanilla made with organic beans (though not organic vodka). Great. Now some of you know how much your Christmas gift cost. ; )

    You really don’t need to use the amber bottles, and can use whatever you have on hand. In fact, if you’re making it just for yourself, you can go ahead and toss the correct ratio of vanilla beans right into your vodka bottle. Take off the $1.30 per bottle, and you are down to $3.20 for 100ml.

    Here in Manitoba, a local supplier carries organic vanilla at over $15 for 118 ml. Wow. On Amazon, I could only find 59 ml bottles, which retailed for over $10.

    If you’re doing this activity with children, try working with them (or if they are old enough they can do it on their own) to figure out your costs of production…

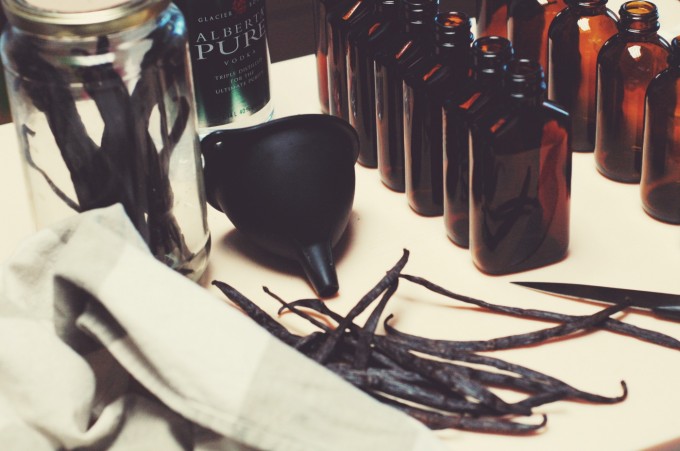
    Ingredients

    • High quality vanilla beans (we use organic beans from Real Raw)
    • Vodka – you can use any vodka – organic would be nice to avoid gmo ingredients, but use whatever you can get your hands on. You can also use other alcohols such as rum, brand, or bourbon.
    • Bottles – we use 100ml amber bottles, as I like to give these as gifts over the holidays. You can use almost any kind of jar you have on hand, as long as it is clean and seals well.
    • Funnel
    • Knife and cutting board

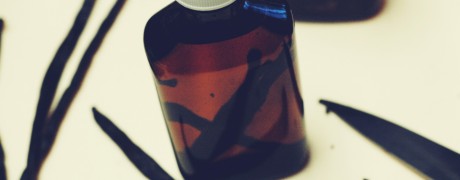
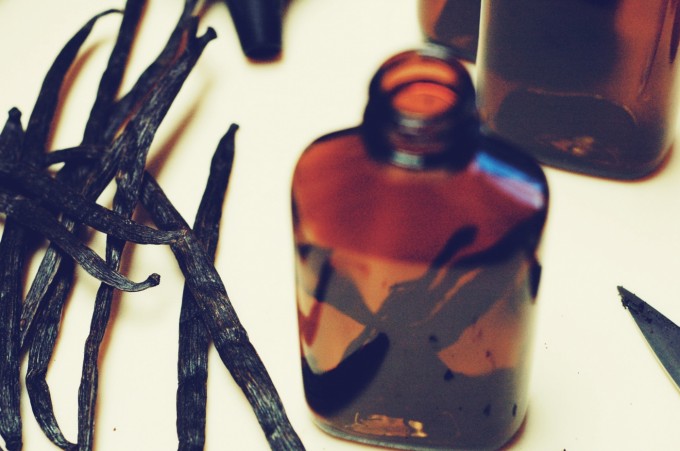
    vanilla supplies

    Instructions

    1. The ratio for vanilla is 6 vanilla beans per cup of alcohol (though I’ve heard as few as 3 per cup and as many as 8 per cup). I used 2.5 beans for each 100ml bottle.

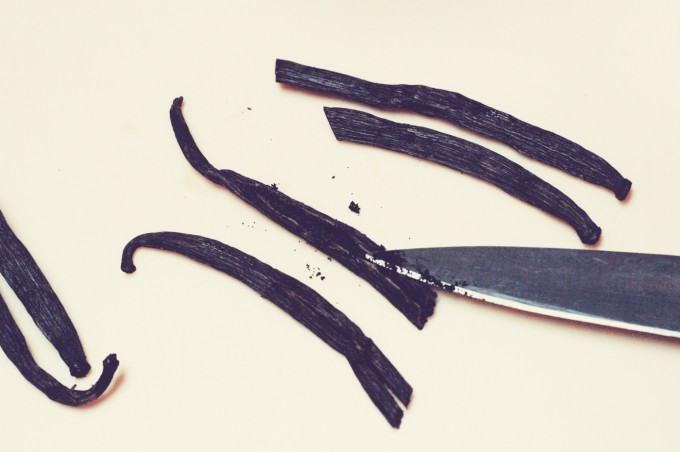
    2. Slice the beans lengthwise, just enough to open them up – not to slice them in half. This allows the vanilla flecks to get out and mingle with your alcohol.

    3. Slice the beans in half if necessary to fit into your jars or bottles.

    split the bean

    4. Place the beans in your jars or bottles.beans in the bottle

    5. Using a funnel, fill the jar, leaving some air space, and seal.add the alcohol

    Place in a dark cupboard for 6 – 8 weeks, giving it a shake each day, if you think of it. Sampling is allowed. Ahem.

    Once you’ve used up your vanilla, you can add more vodka to the bottle, and add scraps of vanilla beans if you collect them while baking – or just add another whole bean.

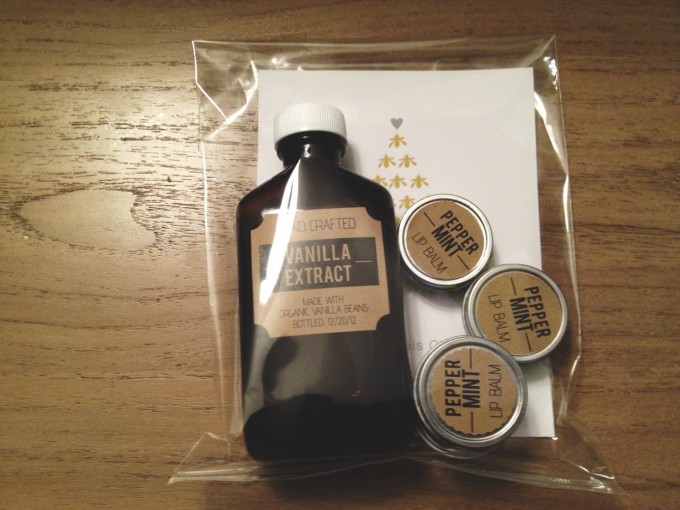
    Vanilla makes a great gift. With a simple raffia ribbon or popped into a nice package, the bottles of vanilla themselves make a beautiful gift and require no fancy gift wrap. Print out our labels to make your bottles extra special. The front label has basic info, and the back has instructions for the person receiving the vanilla, so they will know how long to let it sit, and how to replenish it once it is used up.

    vanilla packaged


    This post was featured over at Real Food Forager and Girl Meets Nourishment, and shared as a part of Thank Goodness It’s Monday, Natural Living Monday,  Fat Tuesday, Simple Lives Thursday, Fight Back Friday, and Unprocessed Fridays.

  • Advent Week 1 Activity :: Felted Stones

    Advent Week 1 Activity :: Felted Stones

    A great sensory activity to do as part of Advent Week 1 :: The Light of Stones and the whole Tiny Advent series.
     
    Materials

    • smooth stones
    • wool roving in desired colours
    • sewing thread in same colours as roving (optional)
    • large bowl or pot
    • warm water
    • natural dish soap
    • nylons/pantyhose

    felted stones- roving stones

    Instructions:

    1. Wrap stone in roving.

    2. Optional: Hold roving in place by wrapping thread around it in many directions and tie.

    felted stones - thread

    3. If you used the thread, add a final layer of roving to cover it.felted stones - wrap again

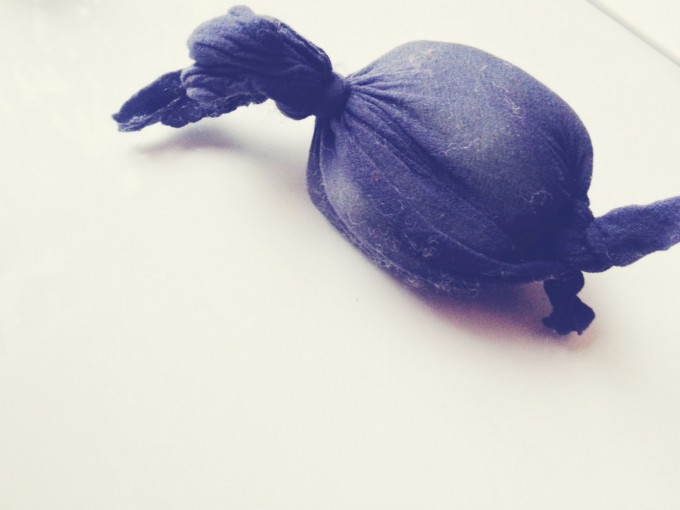
    4. Place the stone with roving in a piece of pantyhose, tying both ends carefully so as not to catch any roving in the knot.felted stones - nylons

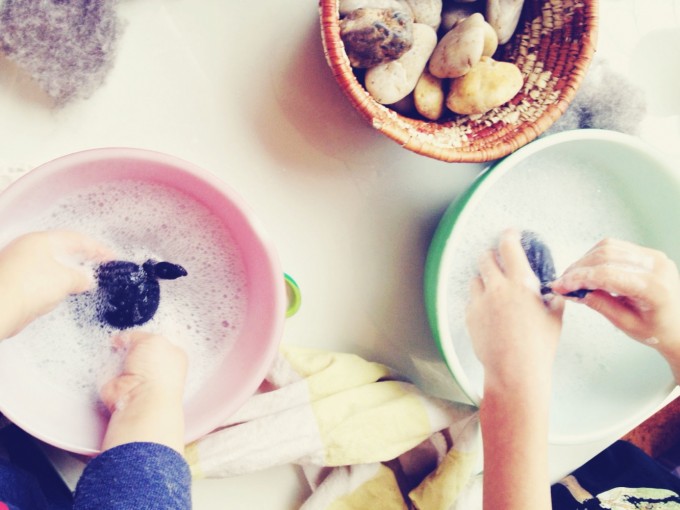
    5. Dip the package in the warm, soapy water and give it a squeeze, repeating a few times. Then gently rub it on your hand on all sides for about 10 minutes. When the felt starts to feel less squishy and loose, you can open one end and check on it. Once it is almost ready, you can take it out of the nylon and rub some more.felted stones - rubbing

    6. Use as a decoration or a paper weight.

    felted stones finished

    We also did some rocks and minerals learning to go along with this week of advent. We watched a Brain Pop video, as well as some you tube videos about rocks and minerals in the home. The kids collected some items from around the house and had a great time.  I’d like to have an actual rock set with the scratch test and a basket of books on rocks and minerals, to go along with our activities for the first week of advent.

    things of minerals


    This post was shared as a part of Simply Natural Saturdays.

  • Advent Week 1 Activity :: Growing Crystals

    Advent Week 1 Activity :: Growing Crystals

    A fun activity to learn about crystals as part of Advent Week 1 :: The Light of Stones and the whole Tiny Advent series. I love how this activity mirrors the anticipation of Advent. How the children carefully prepare, and then wait, and watch for transformation and beauty.

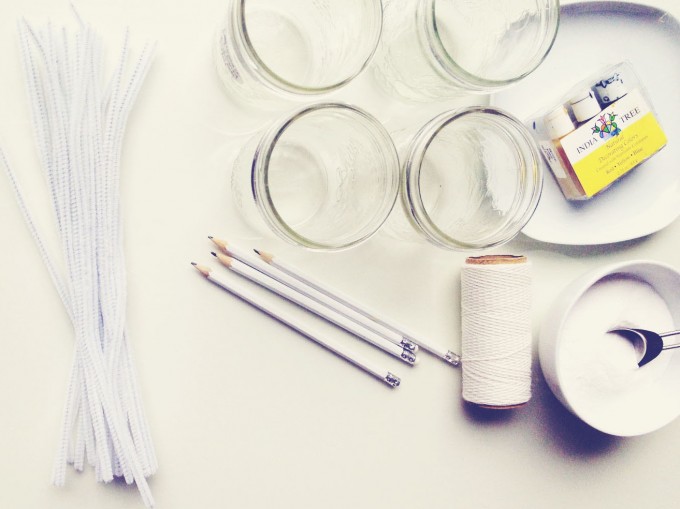
    Materials

    • wide mouth canning jar
    • string
    • pipe cleaners (we used white this time, but later this week, we’ll try other colours)
    • pencil
    • borax, salt, or sugar
    • boiling water
    • food colouring, if desired

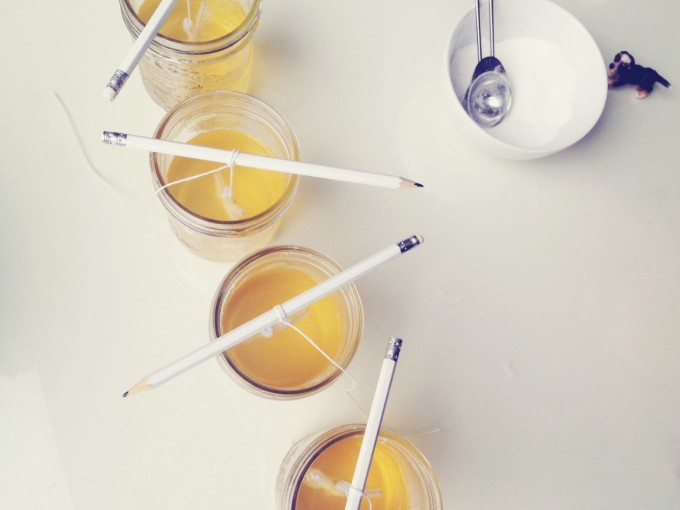
    growing crystals supplies2

    Directions

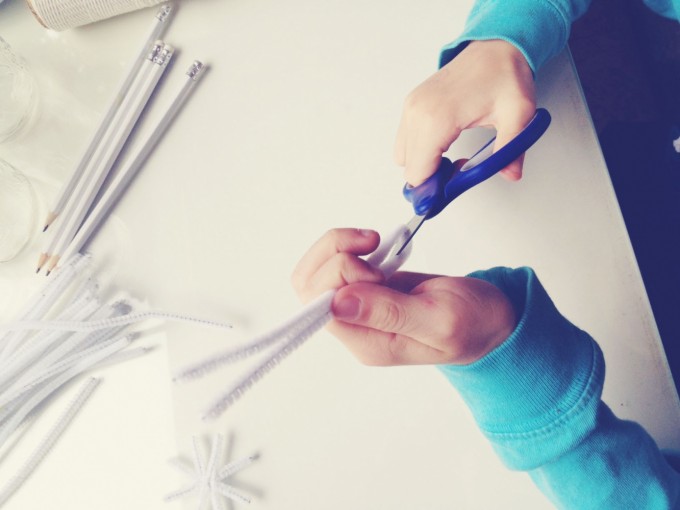
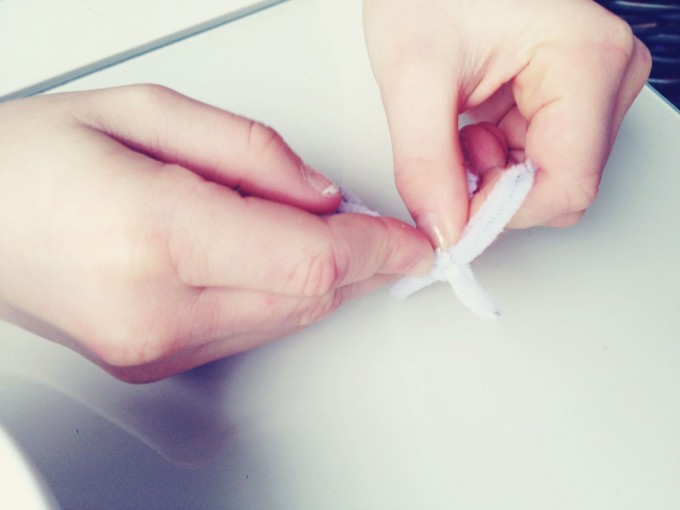
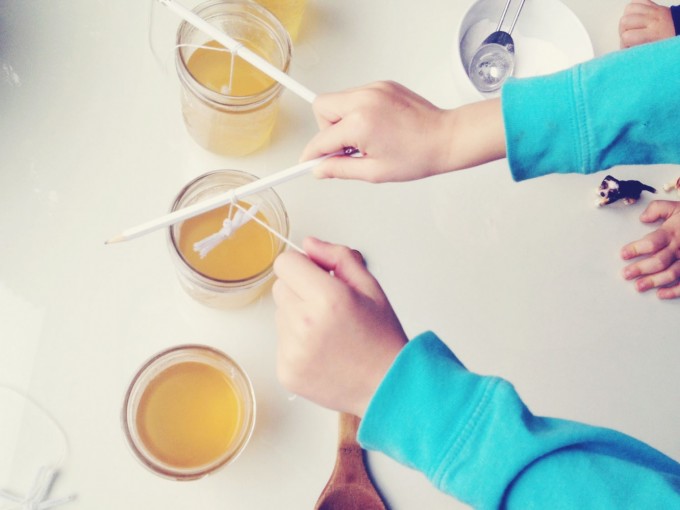
    1. Make a shape out of the pipe cleaner – this could be a snowflake shape, a star, a cross, or whatever your child would like.
    crystals - cuttingcrystals -make a shapecrystals - cut pipe cleaners

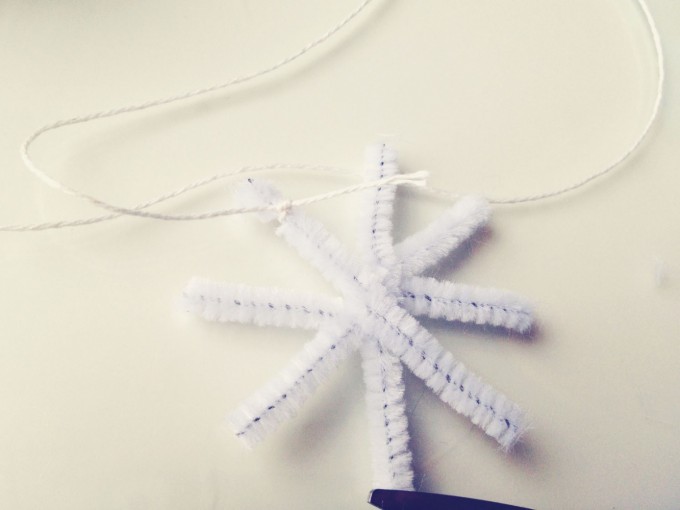
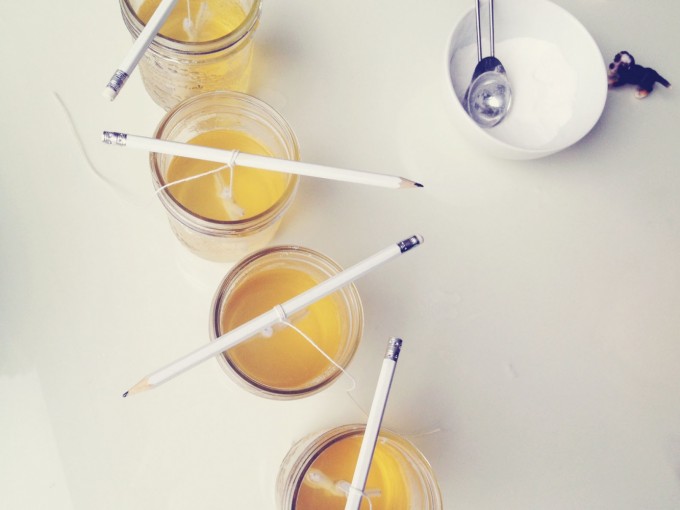
    2. Tie the shape onto one end of the string, and tie the other end of the string around the pencilcrystals - snowflake

    3. Pour 1 – 1.5 cups of boiling water into the jar, and stir in food colouring, if using (we tried to make ours yellow, but we only had a few drops of colour left).

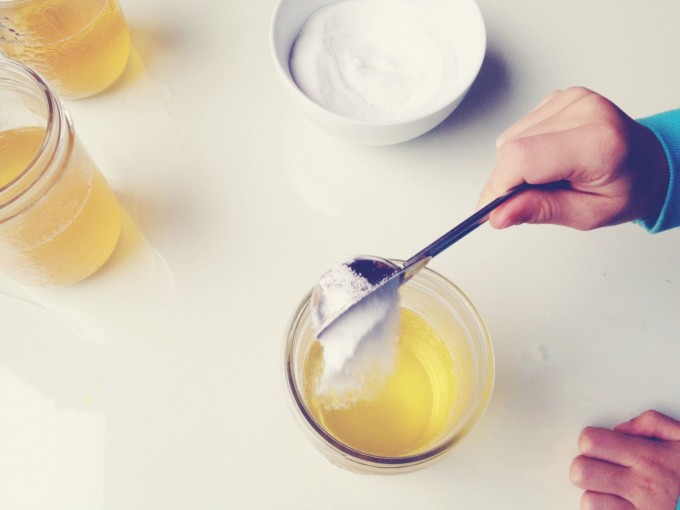
    4. Add 1 tablespoon of borax (or salt or sugar) at a time and stir to dissolve, until you have added 3-4 tablespoons. Update: Though our experiment worked okay with this amount, others have mentioned that it wasn’t as good for them. I have done a bit more research and have read up to 2/3 cup of salt or borax per cup of water. Experiment away, friends!

    crystals - borax

    5. Lower the pipe cleaner shape into the jar of solution, taking care to ensure it isn’t touching the sides or bottom of the jar.

    crystals - lower in snowflakescrystals - now we wait

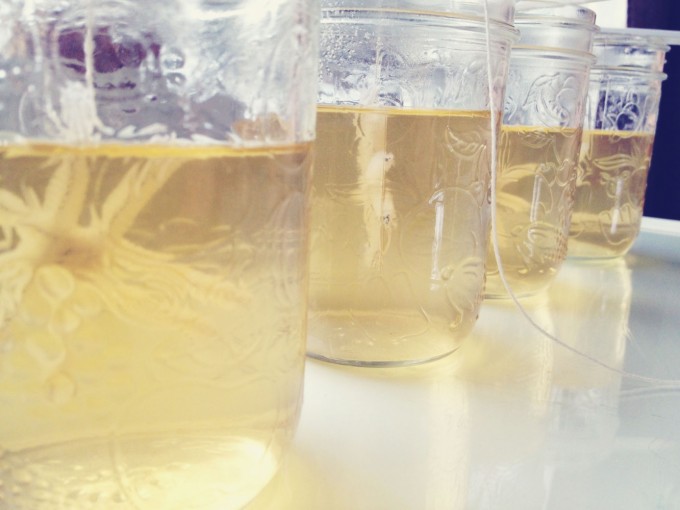
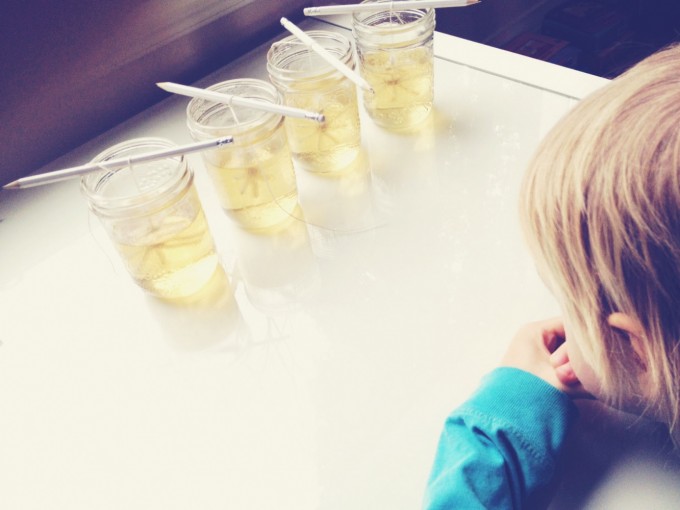
    6. Set the jar aside and set a timer to check on it now and then so you can watch the process of the crystals forming.crystals - now we wait 2crystals - and we watch

    7. Once your crystals are big enough, remove the string and shape from the jar, dry, and hang in a window to catch the light. I couldn’t get a decent photo in the window, but they are hanging there now as per Milo’s specific instructions regarding which window, and how high they should hang!

    branch crystals


    This post was shared as a part of Simple Lives Thursday, Simply Natural Saturdays, and Montessori Mondays.