Category: Activities

  • Confier & Beeswax Fire Starters

    Confier & Beeswax Fire Starters

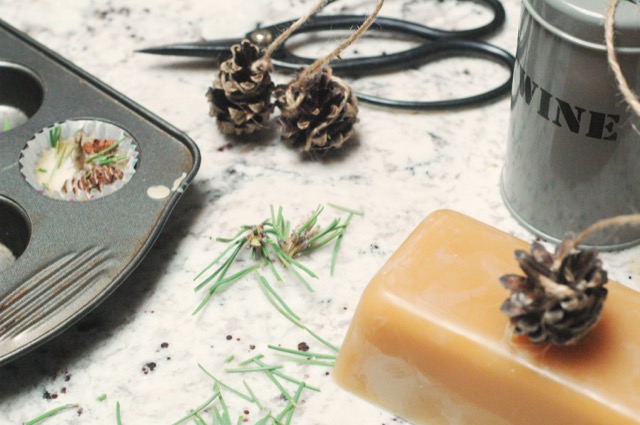
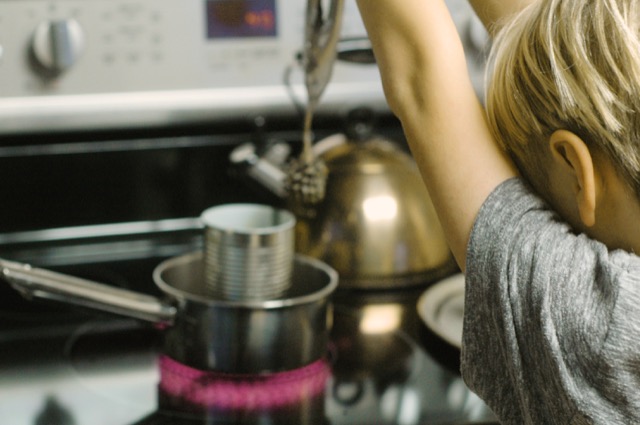
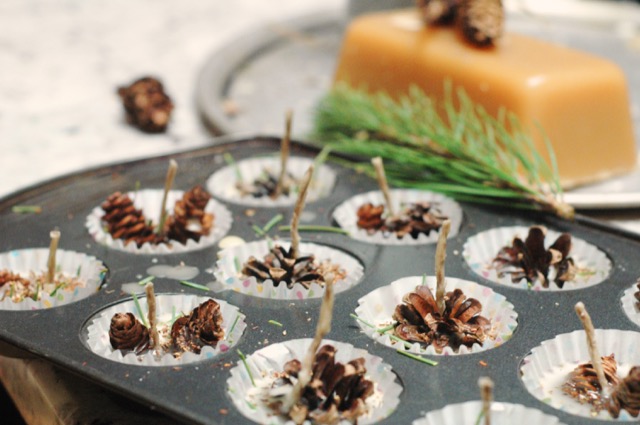
    Next time you head into the woods or a nearby park for a nature walk, (check out this post for ideas for your walk) bring a pail or pouch and collect some conifer cones to bring back to your craft table. Below is one of the many crafts you can create with your littles in the warmth of your home after your walk. In fact, you can also bring these fire starters with you on your next walk and enjoy a beautiful fire.

    Get the full tutorial over at EcoParent Magazine and add some warmth and crazy good aroma to your winter!

    TP fire startersTP fire starter melt waxTP dip the cones TP fire starter cakes

  • spinning a yarn

    spinning a yarn


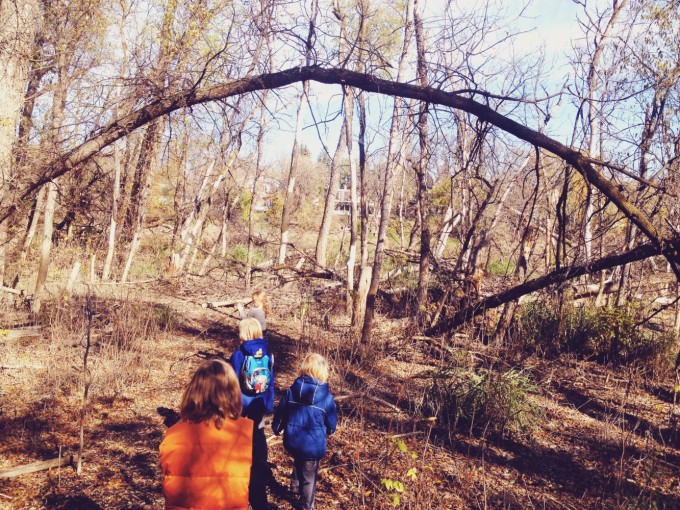
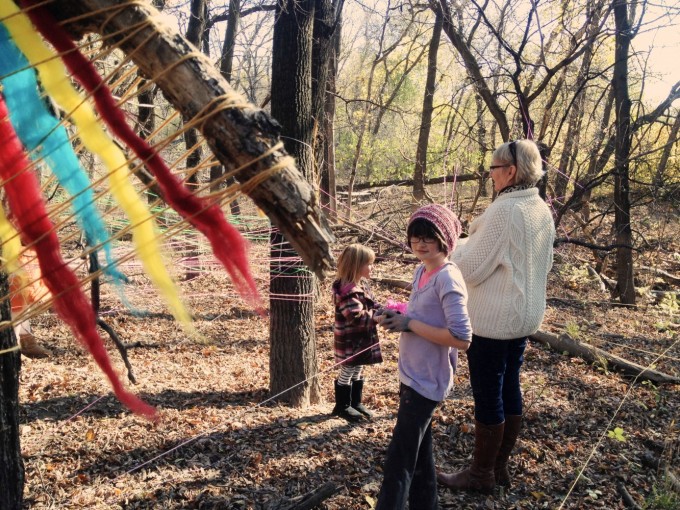
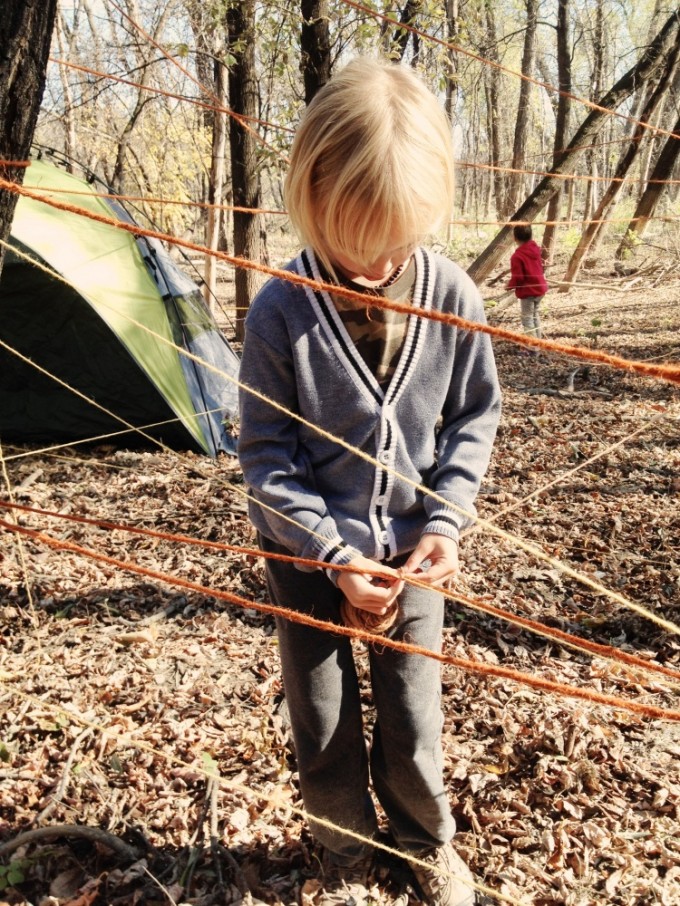
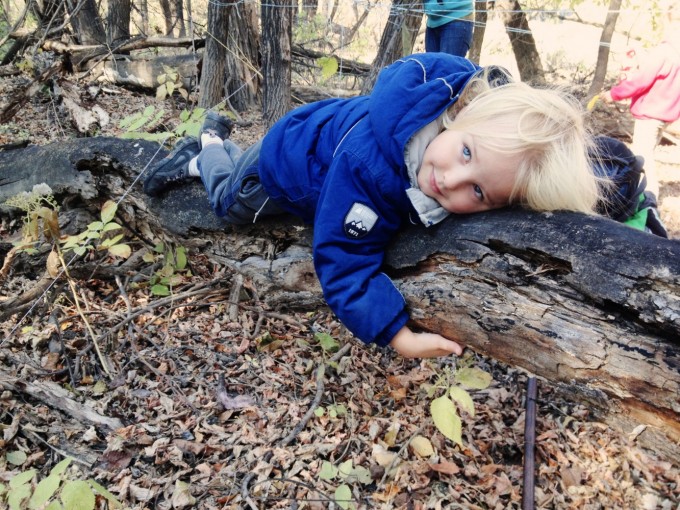
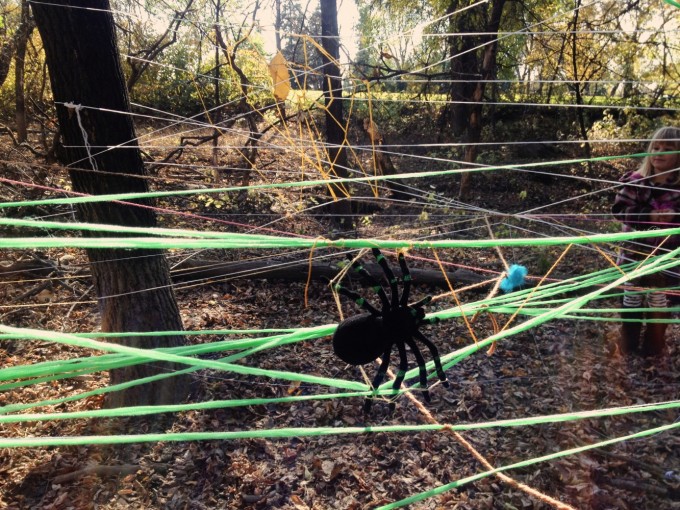
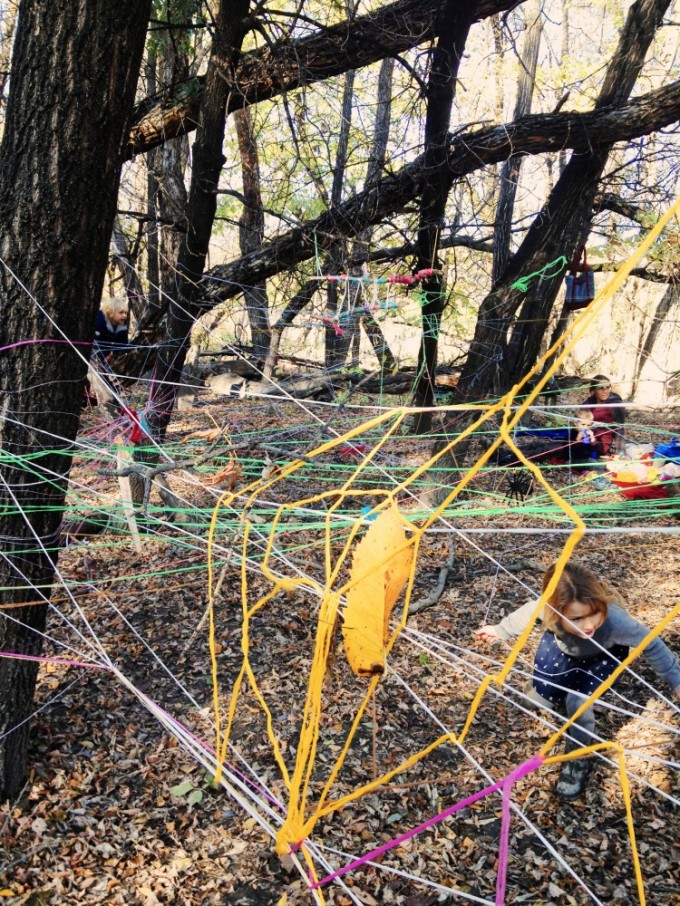
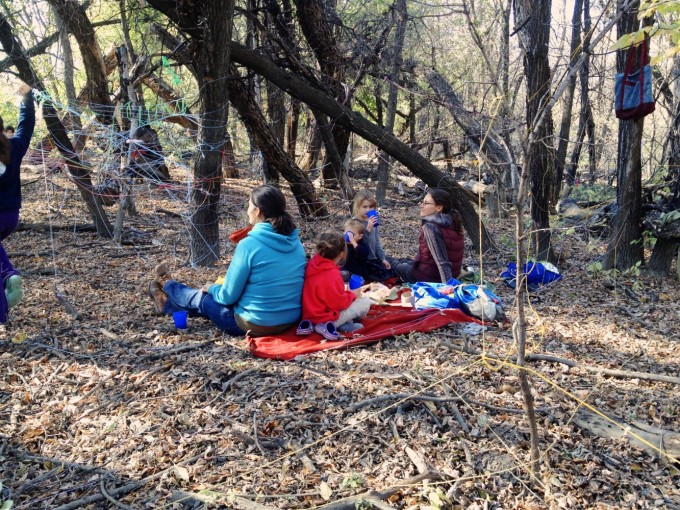
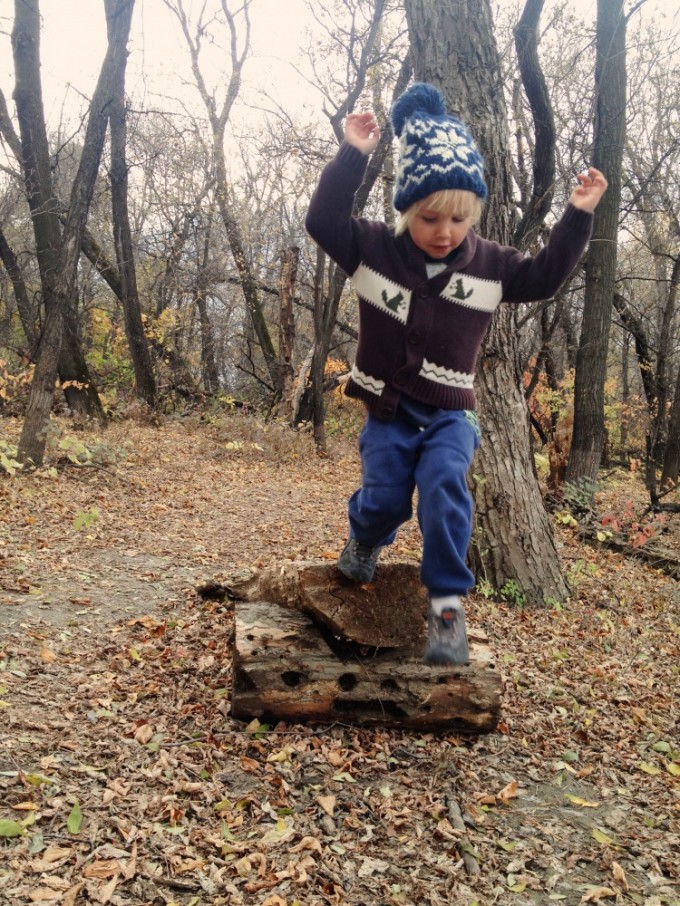
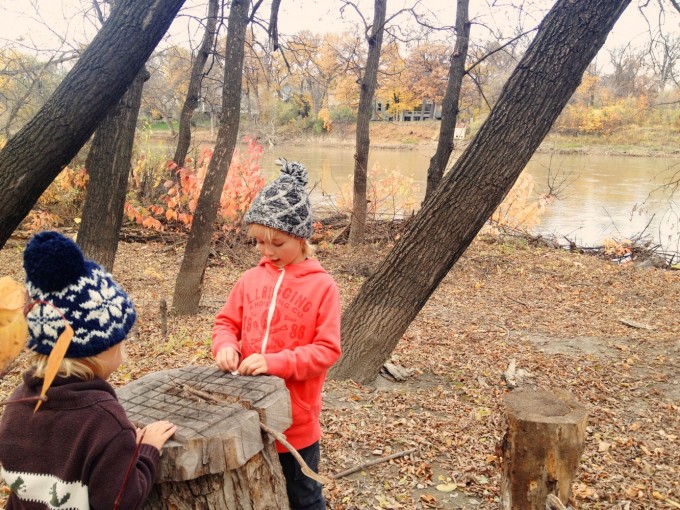
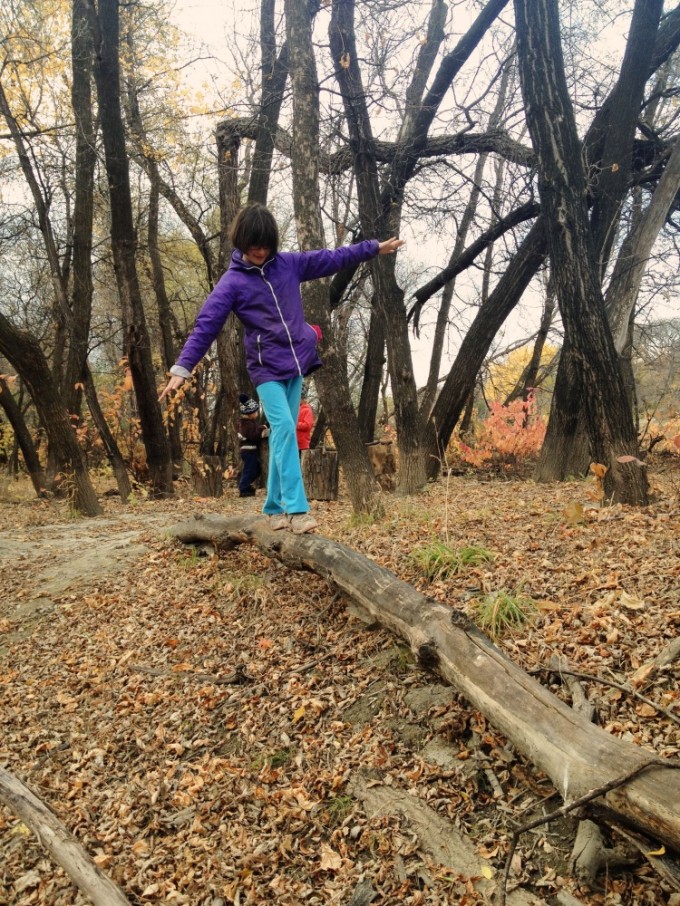
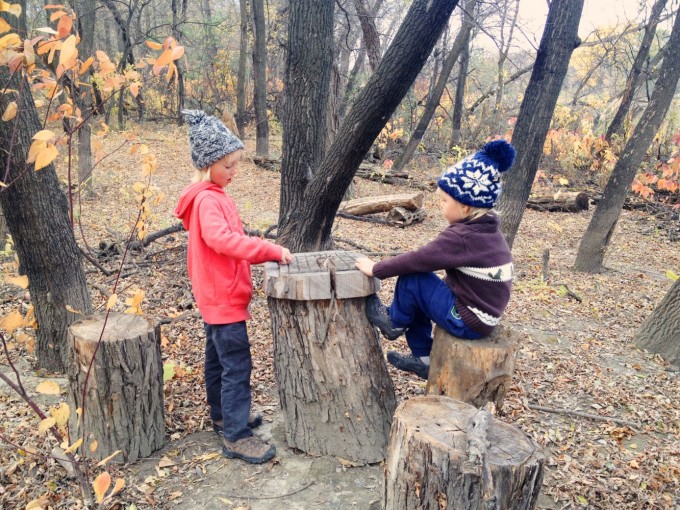
    As I looked at these photos of our time in the woods with friends, weaving yarn among the trees, I couldn’t help but think of how it tells a story of our learning journey. Of all the facets of learning – the people we connect with and learn from – friends, grandparents, neighbors, shop owners, guides. Books, time in nature, hands-on projects. Such a beautiful, diverse – and often messy – experience. Connected.


    Into the forest…

    Forest Yarn Blast 1

    Tiny weavers…

    Forest Yarn Blast 3 Forest Yarn Blast 4 Forest Yarn Blast 5 Forest Yarn Blast 6 Forest Yarn Blast 7 Forest Yarn Blast 8

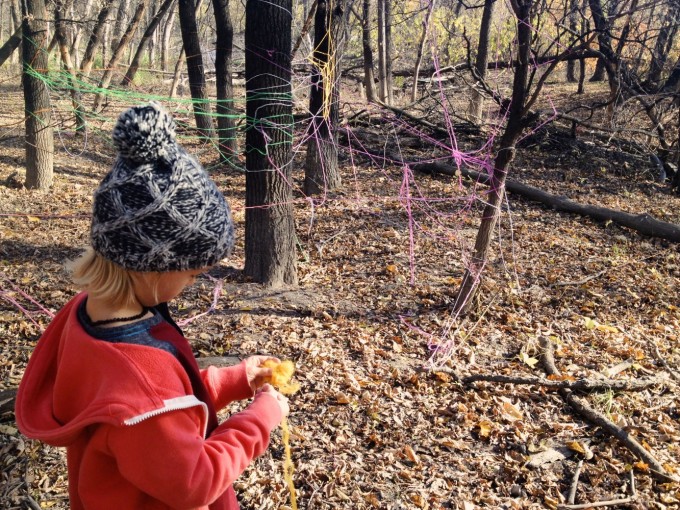
    A second trip about a week later, to remove all the yarn. This trip was just as long, and quite tedious. This little guy said that it was super fun to trace back the patterns that had been made as he wound up the yarn. We wound as much as we could, and cut some of the rest. With nail clippers. Yep. Just another thing to add to our unique story. A mom who forgot the scissors.

    Forest Yarn Blast Clean Up

    A much needed nature adventure after deconstructing our fibre art installation.

    Forest Yarn Blast Clean Up 2 Forest Yarn Blast Clean Up 3 Forest Yarn Blast Clean Up 4 Forest Yarn Blast Clean Up 5


    This post was shared as a part of Link&Learn at No Time for Flashcards.

  • Edibles Scavenger Hunt

    Edibles Scavenger Hunt

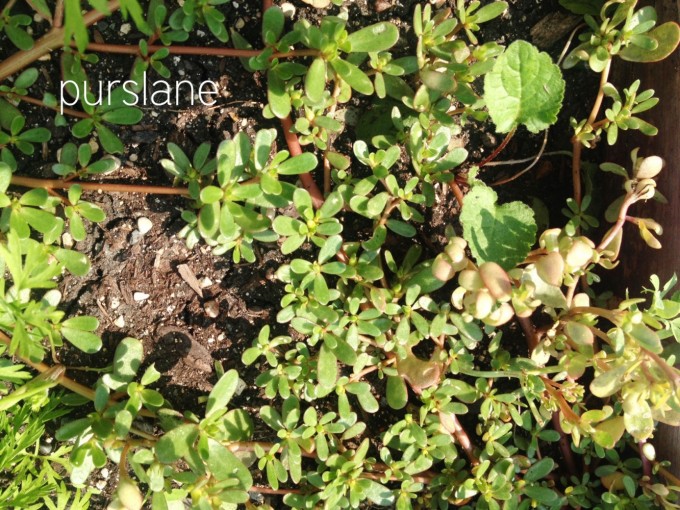
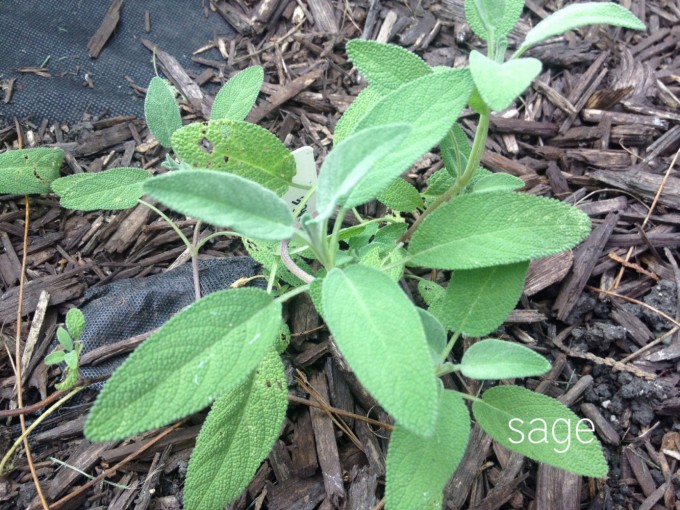
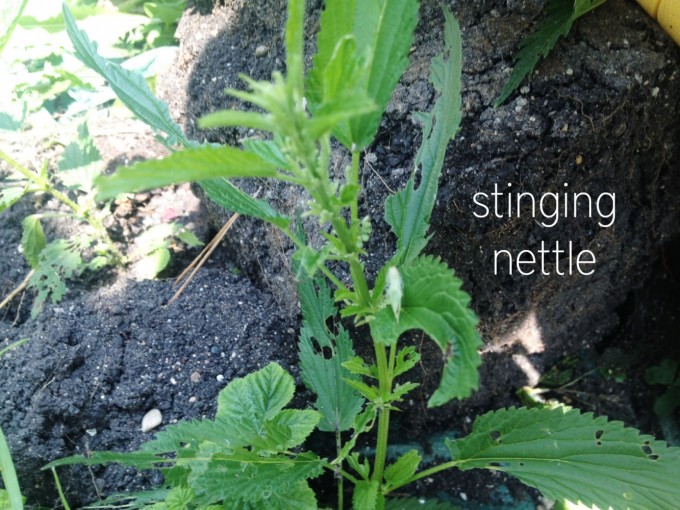
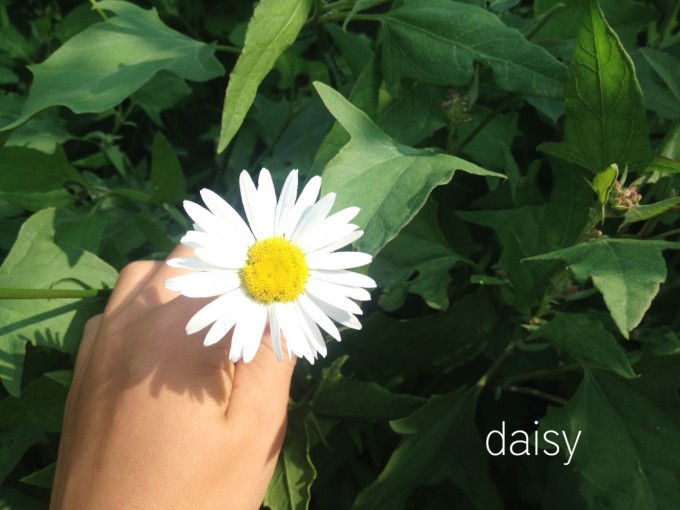
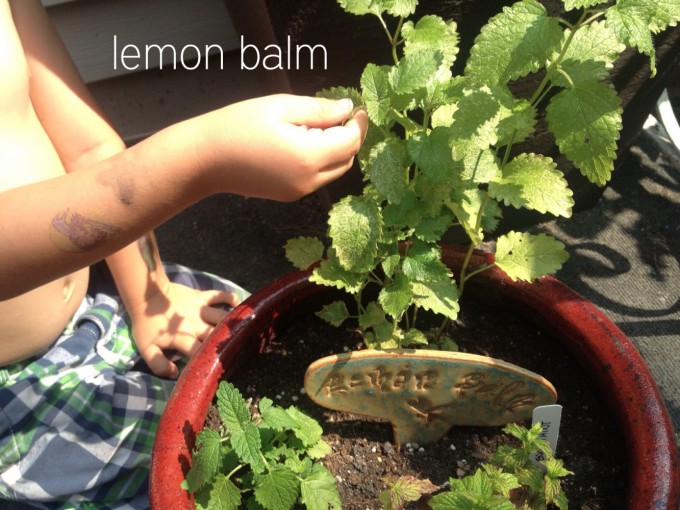
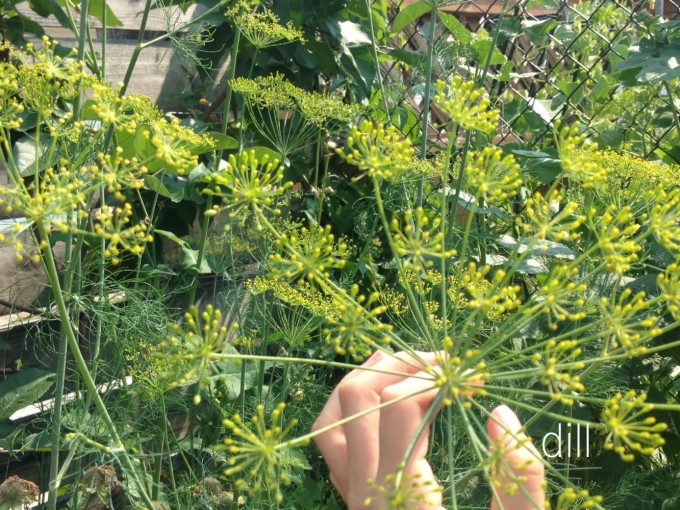
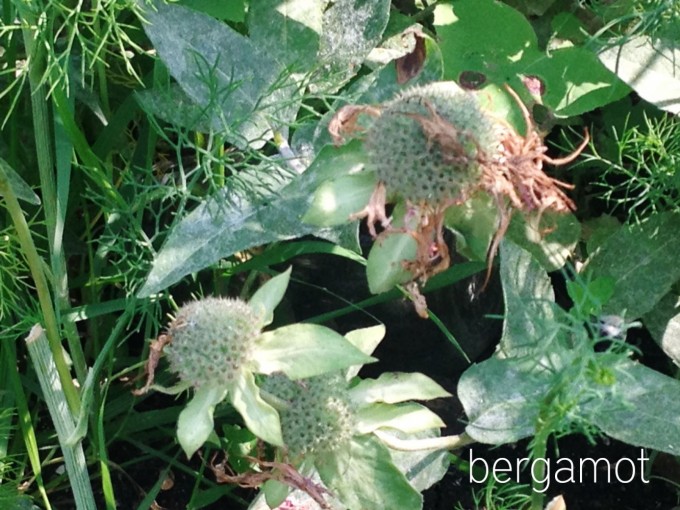
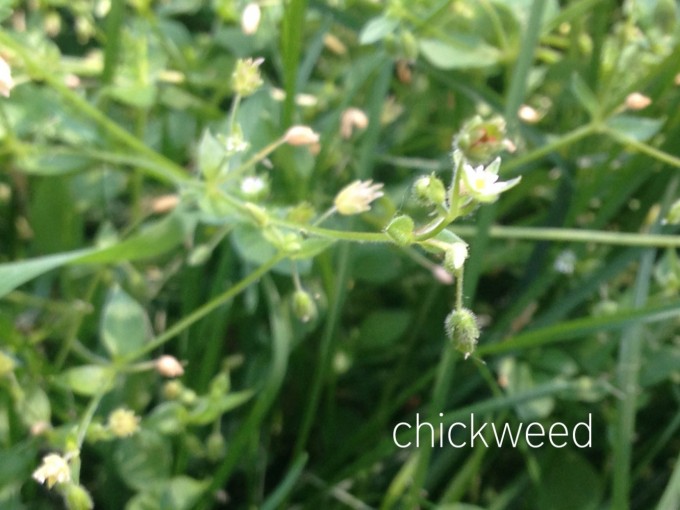
    The other day the kids seemed like they needed a mission. We had read through the pages of Walking the World in Wonder: A Children’s Herbal (aff link) for the plants that we have in our yard a couple nights before. I put sticky notes on those pages and sent the kids into the yard with the phone to find the plants and photograph them. They had a blast and ended up finding quite a few all on their own. All the photos here other than the team photo were taken by them. Definitely a recommended summertime activity!


    edibles hunt team edibles hunt purslane edibles hunt sage edibles raspberries copy edibles hunt nettle edibles hunt plantain edibles hunt daisy  edibles hunt lemon balm edibles hunt dill edibles hunt bergamot edibles hunt chickweed edibles raspberries


    This post was shared as a part of Simply Natural Saturdays,  Montessori Mondays, and Fat Tuesday.

  • Scattering Seeds

    Scattering Seeds

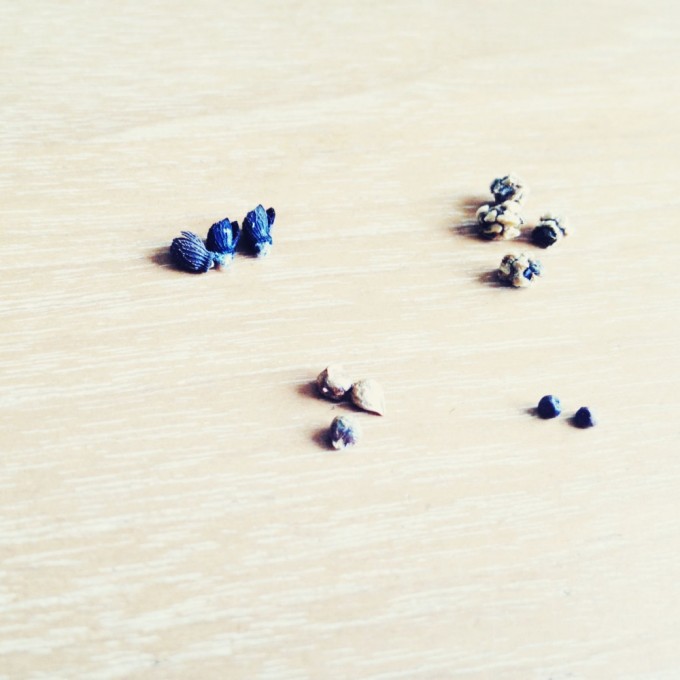
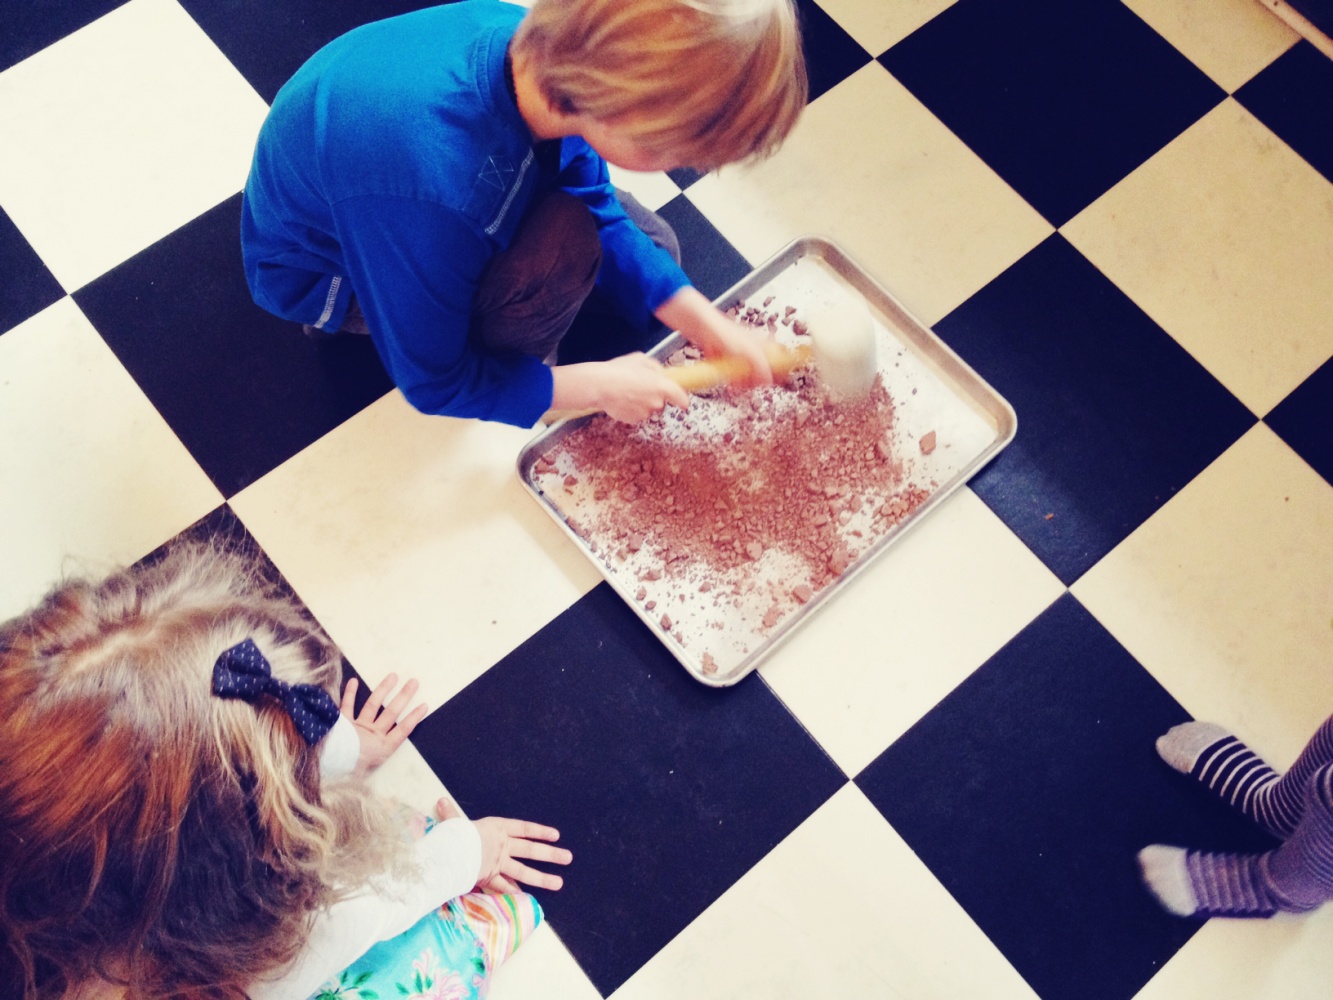
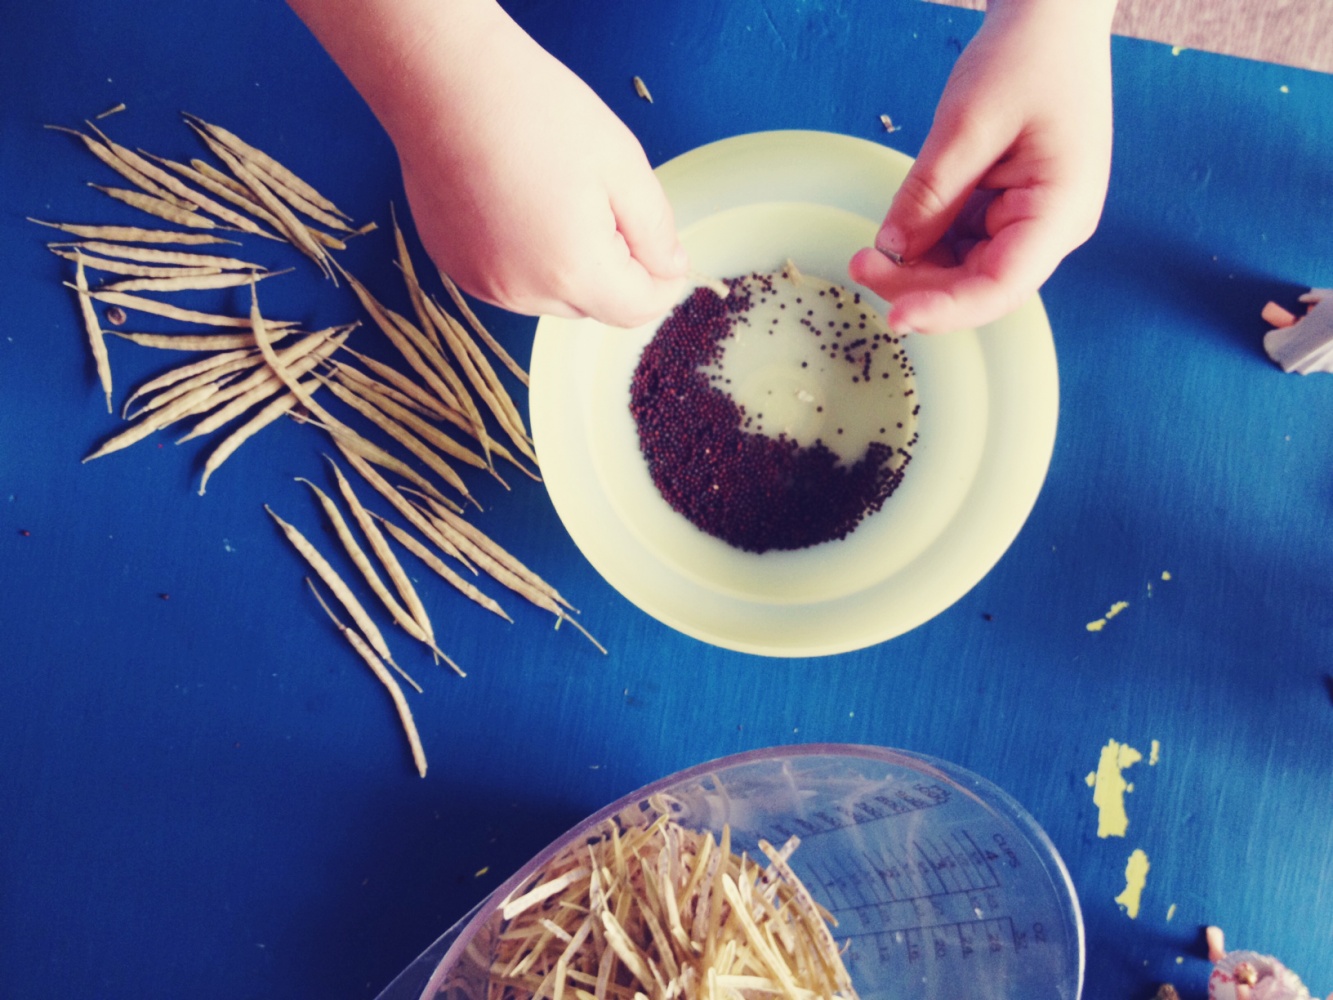
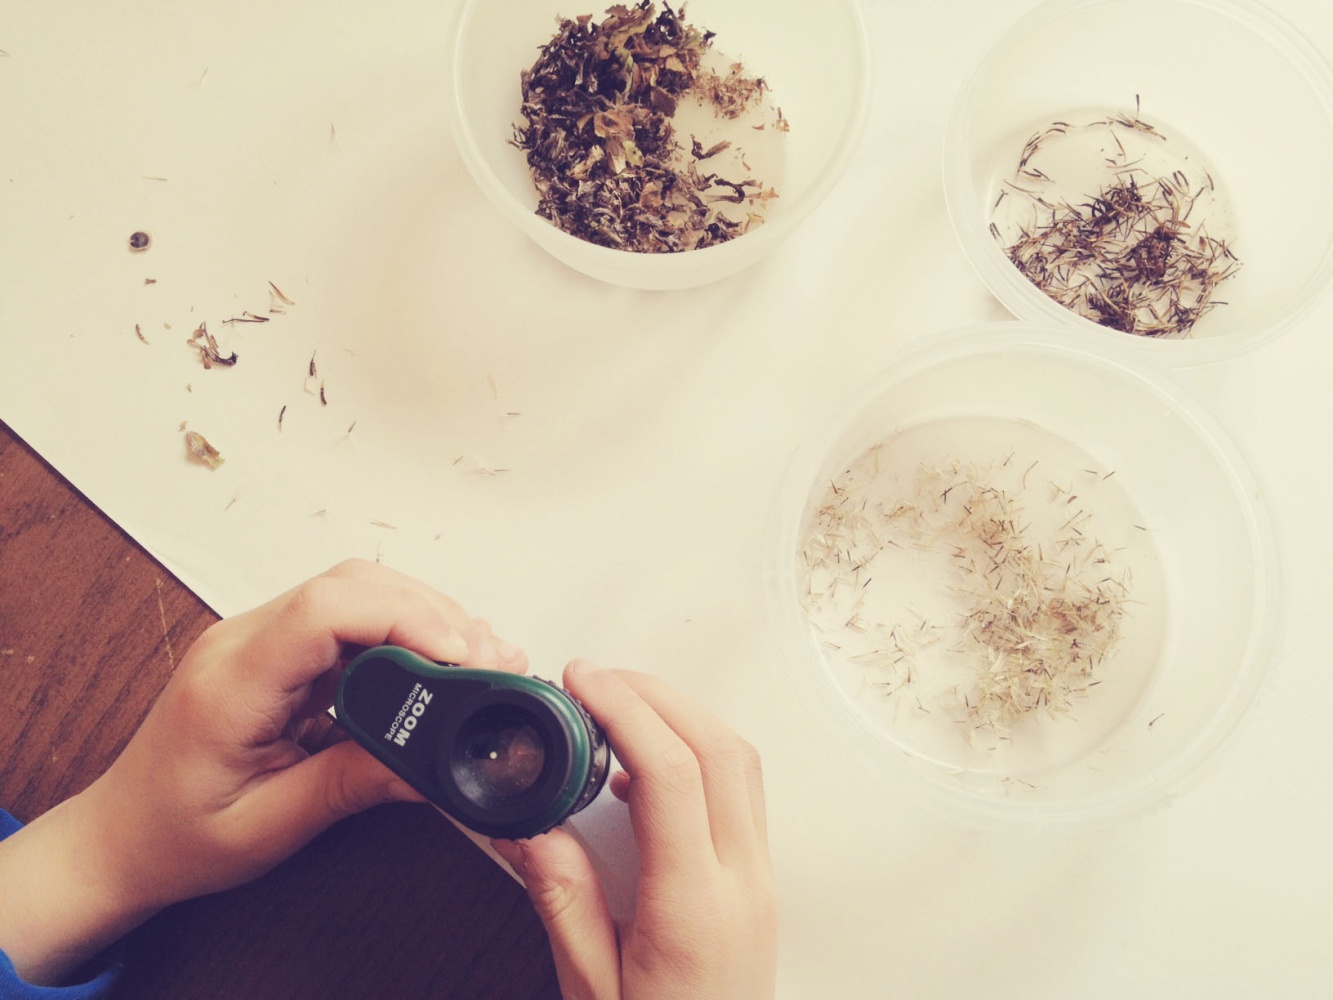
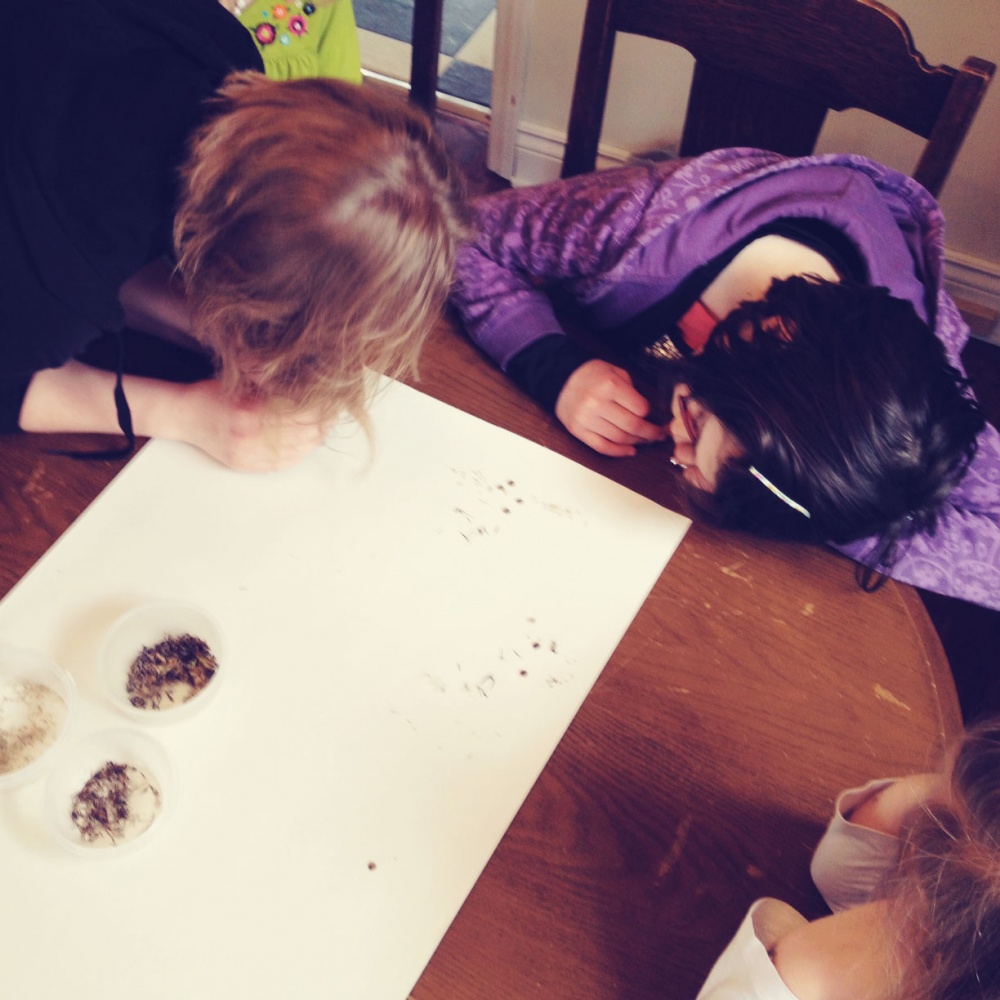
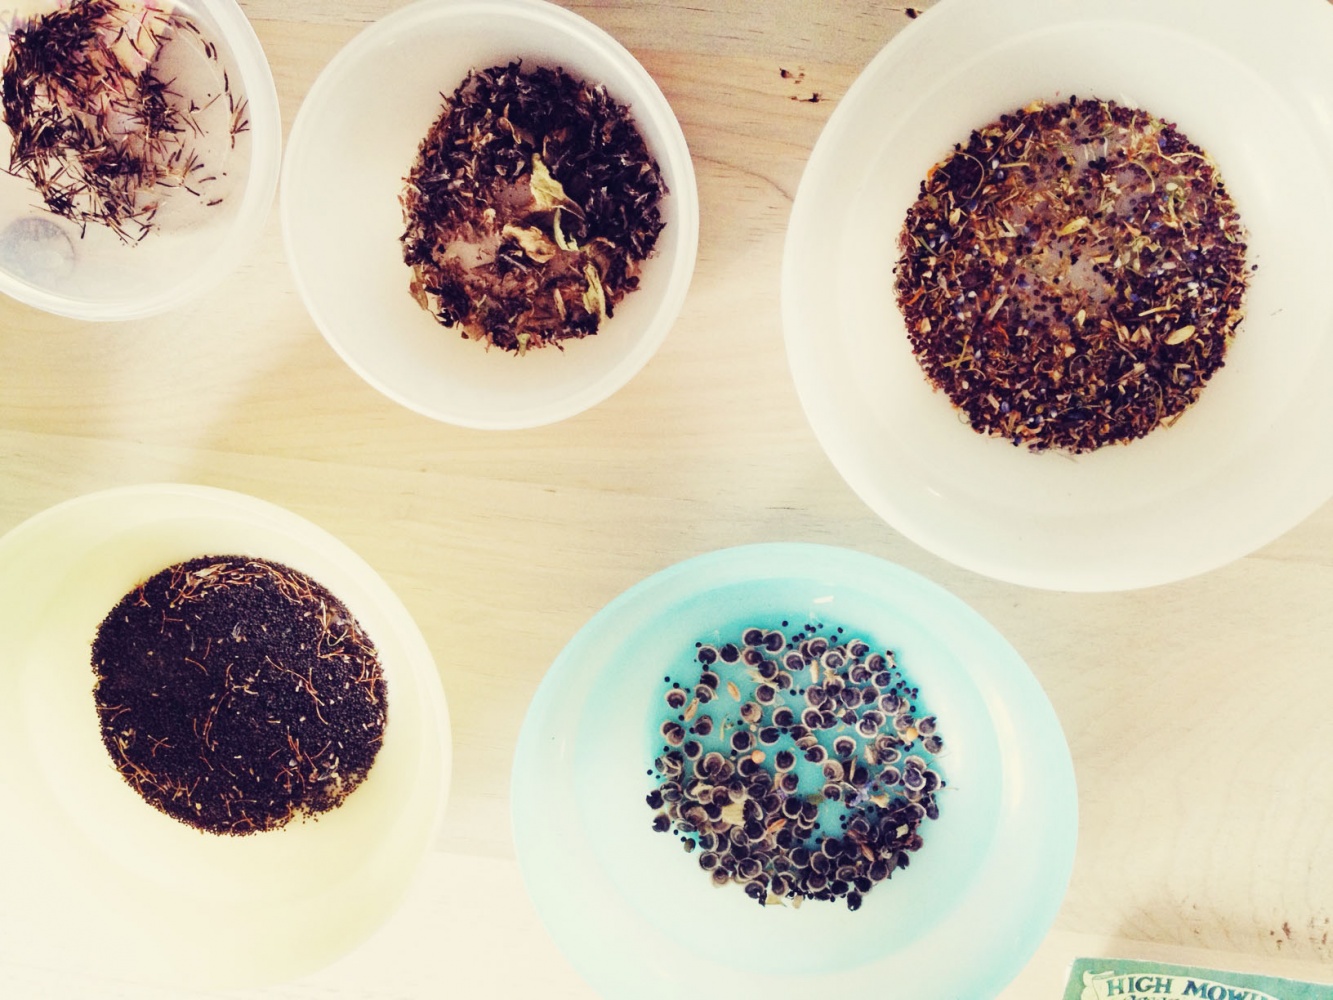
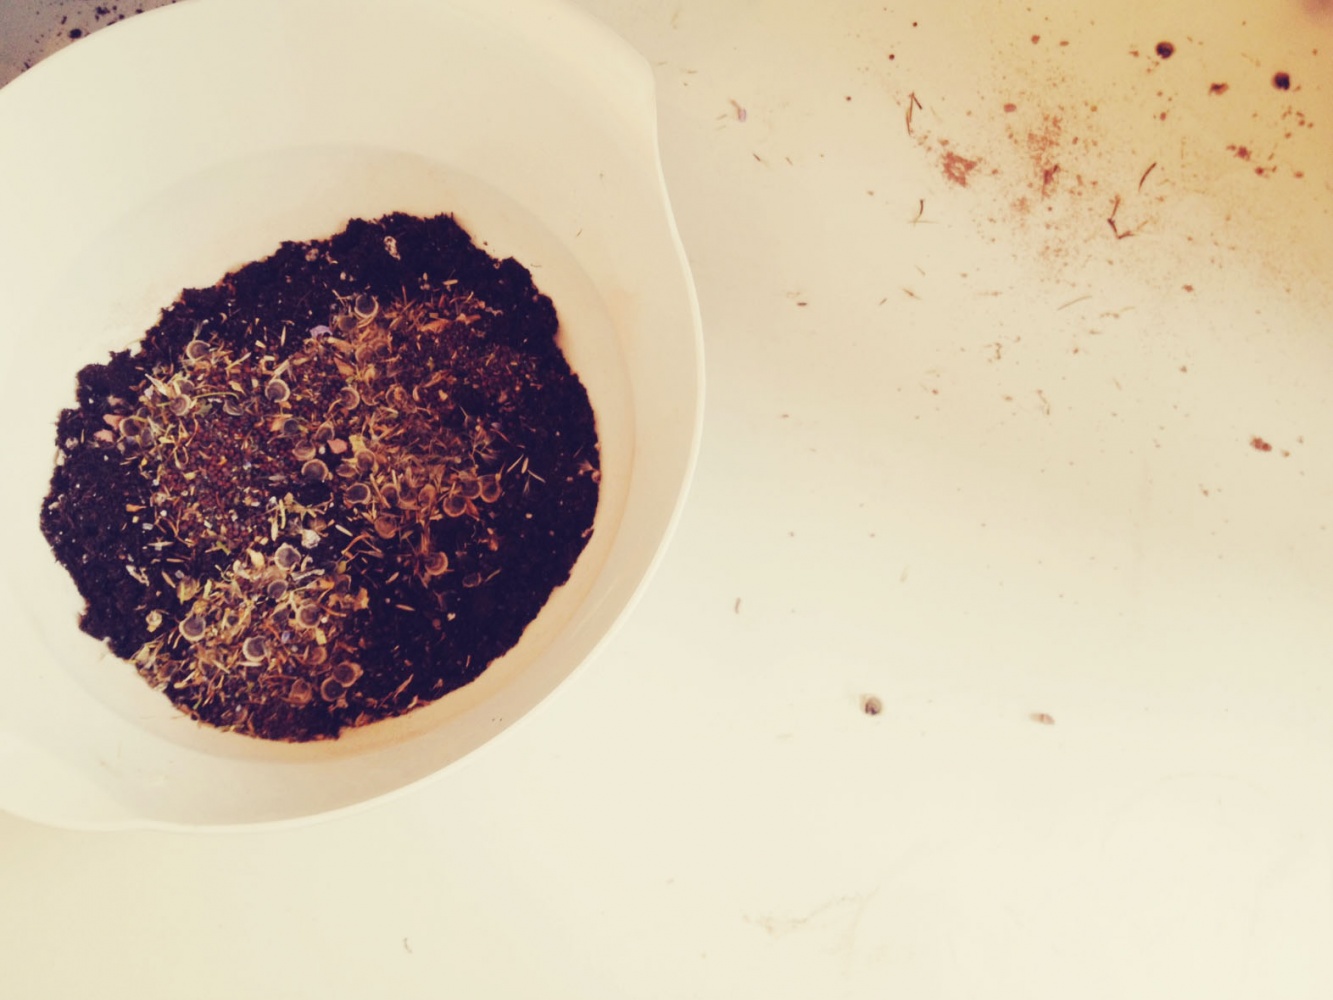
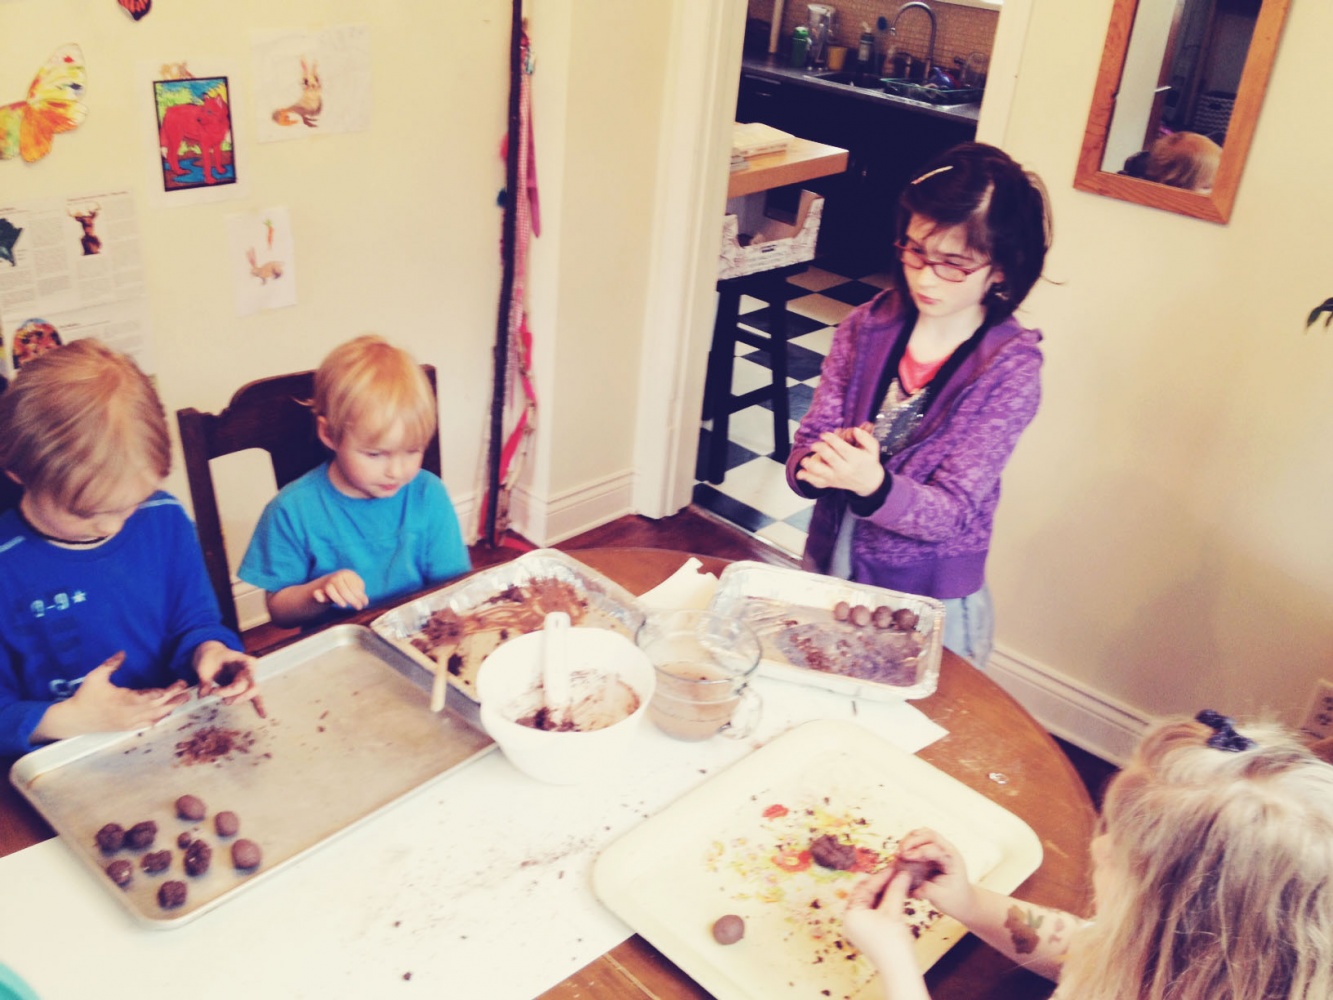
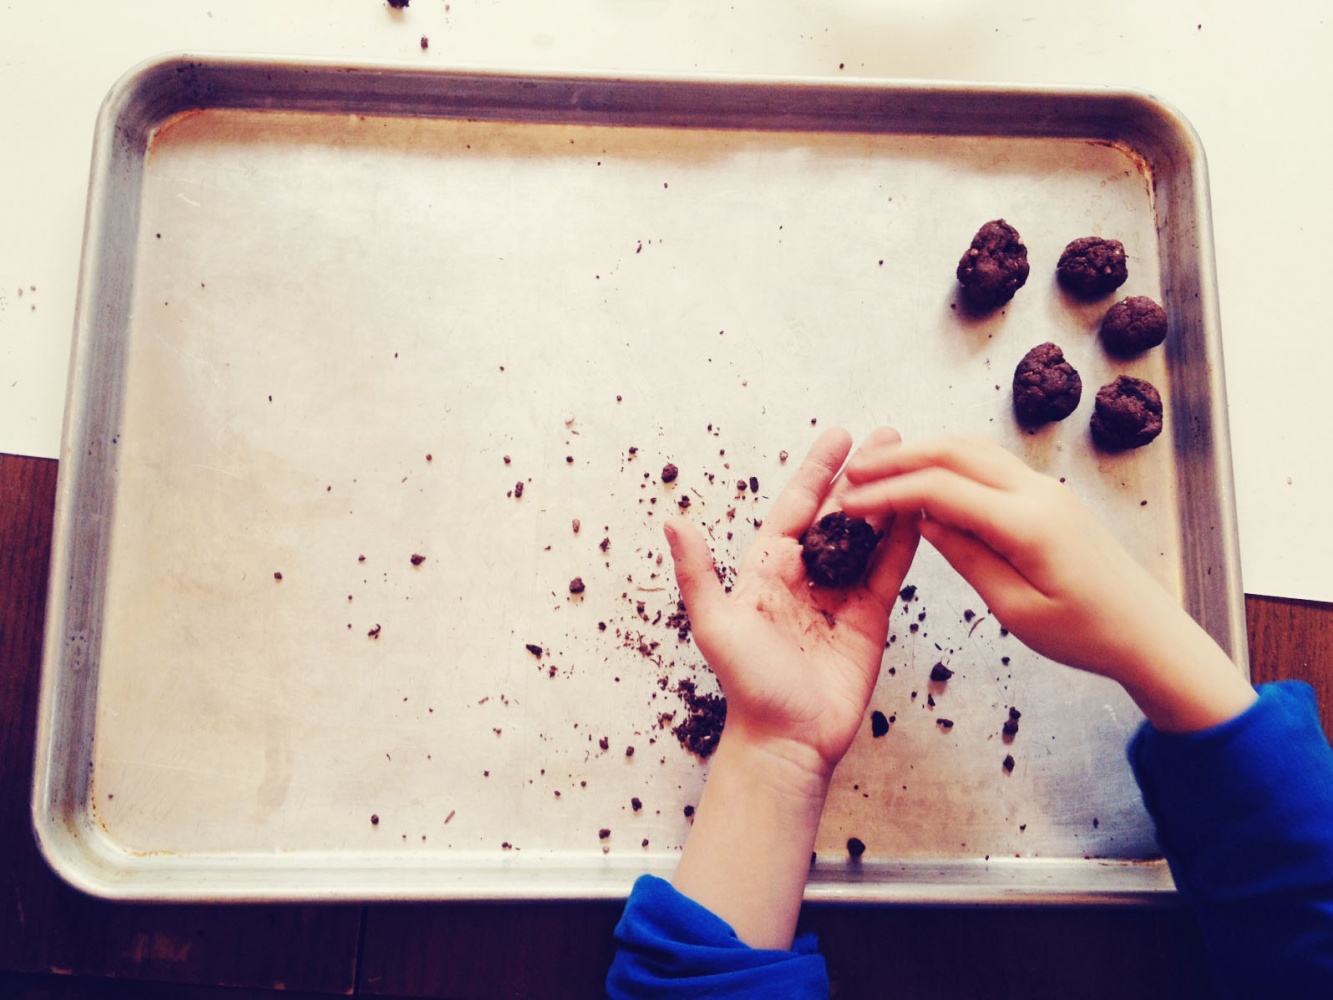
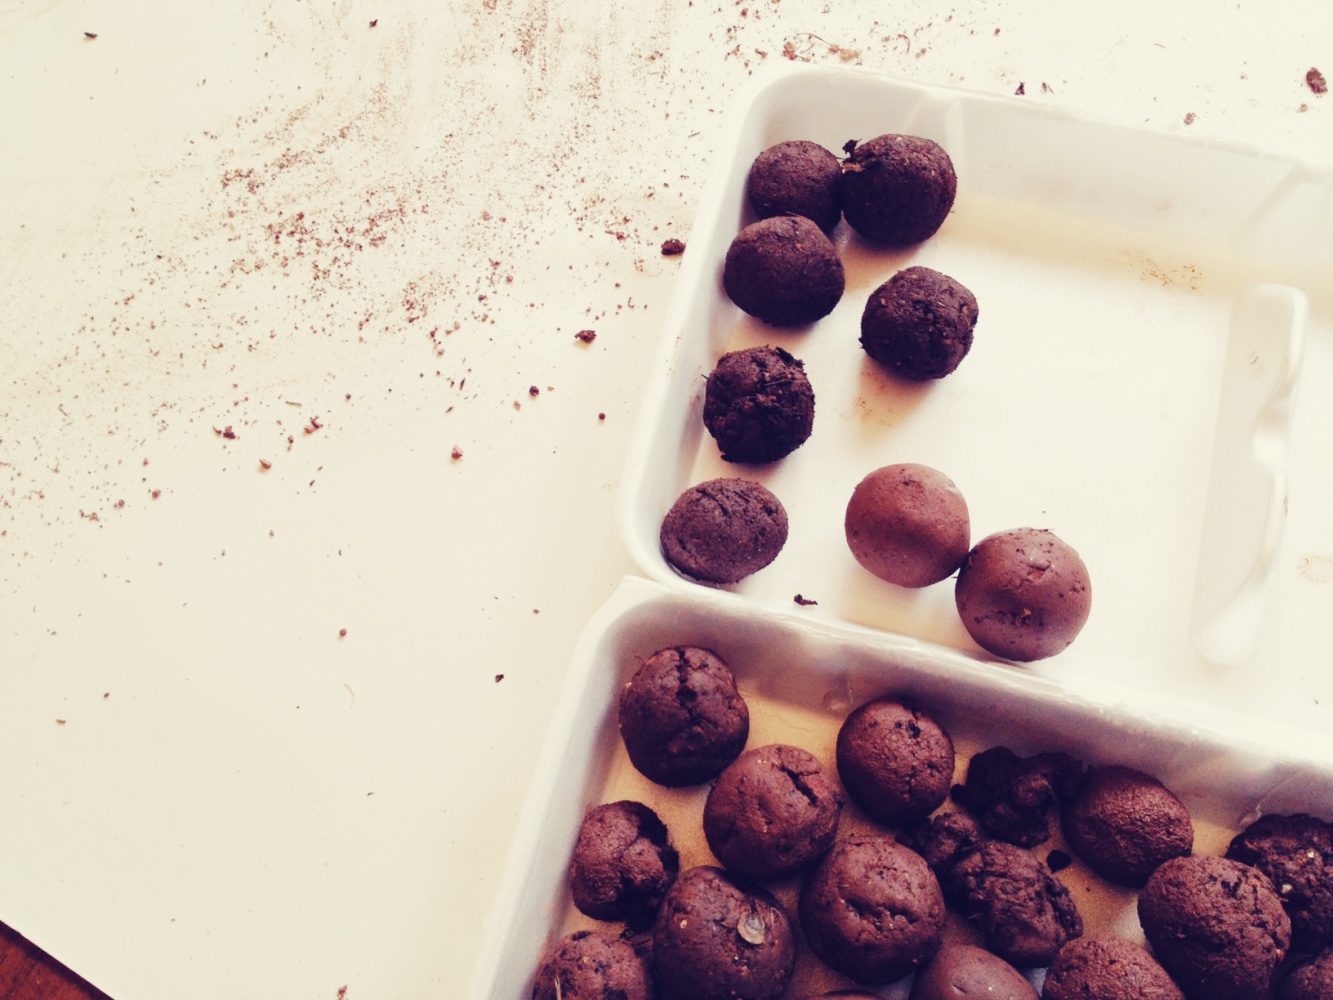
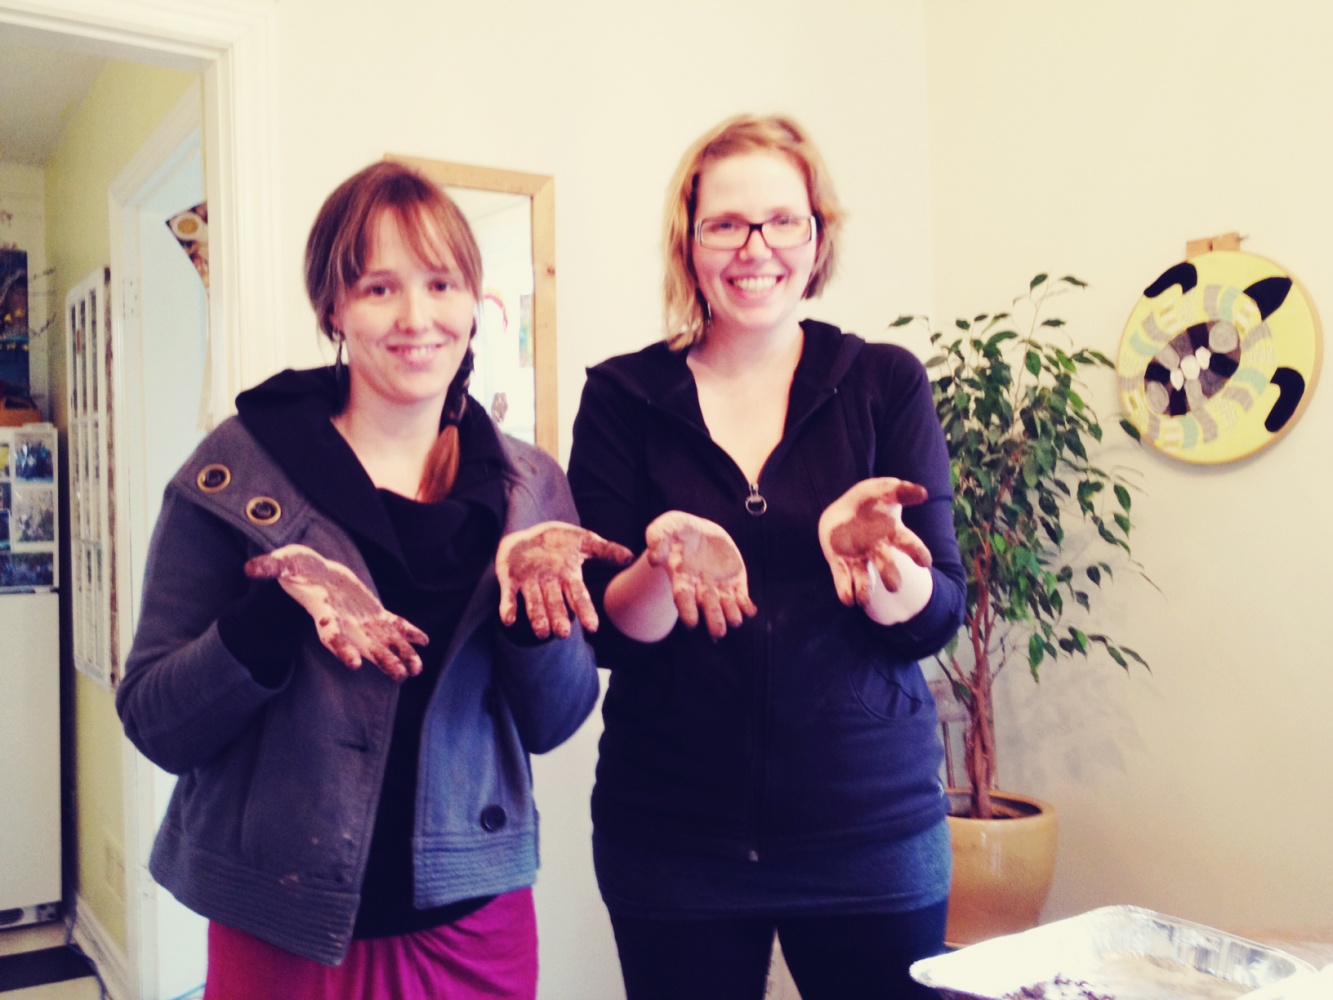
    Getting our hands dirty in the mud. Indoors. So much fun. Making seed bombs with great friends a couple weeks ago was a joyful activity – the kids had a blast studying the seeds with our amazingly effective pocket microscope, and then mixing them together with the clay, soil, and water. I was having such a good time, that I kept having to dash to capture moments to share, and the result is unfortunately several blurry photos – but better than nothing at all!

    Our kiddos took some of their creations to their grandparents’ place and scattered them around when they went for a walk, spreading beauty as they went. What a positive, uplifting thing for kids to do and such a simple way for them to contribute to their communities.

    To make your own seed bombs, mix 5 parts soil, to 3 parts dry powdered clay, to 1 part seeds, and then add enough water to hold it together to form balls. If you’re someone who likes to do things more by the book, you can find slightly more in-depth instructions here. Let them dry out, and then toss them around – a rainy day or the day before rain is a great time! Try using one of these fun creations to spread your seed love! There are two simple and fun long-weekend projects for you to enjoy!


    Smashing the ClaySeparating SeedsTiny Peasant Microscope SeedsTiny Peasant Examining SeedsTiny Peasant Seed Bomb Seed SelectionTiny Peasant Seed Bomb MixTiny Peasant Mixing Seed Bomb StuffTiny Peasant Seed Bomb Crew Tiny Peasant Rolling SeedsFinished Seed Bombs Muddy Mamas

    This post was shared as a part of Unprocessed Fridays, Simply Natural Saturdays and Montessori Monday.


    Please note that we are a part of the Amazon associates program. If you visit Amazon.ca through a link on Tiny Peasant and make a purchase, our family will receive a small percentage of the sale. The products that I specifically recommend in blog posts are products that we love in our home – if they aren’t they are on my wish list and I will note that. Our bookshop (coming soon) has a mixture of tried and true, and wish list items. If you ever have any questions about a product we link to, please don’t hesitate to ask! Thank you for your support! 

  • Gardening with Kids: Bean Tipi

    Gardening with Kids: Bean Tipi

    Whether you’re in a postage stamp sized yard, or a pastoral acreage, creating outdoor nooks and play spaces is a simple and affordable way to add some magic to your children’s time in the yard.

    bean tipi 5

    You’ll need:
    • 6 bamboo poles, 6 feet tall (or other type of tall poles)
    • twine
    • bean seeds or plants (or those of another type of plant such as morning glory or black eyed susan vine)
    How to make the bean tipi:
    • Choose a place in the yard where there won’t be a lot of competition from grass, or dig up some grass and save yourself from a bit of mowing. Push the poles into the ground, angling them up toward the centre. Leave a bit more space between two of the poles to use as an entry way. Note that our tipi is not a traditional tipi shape – we were growing beans on the fence behind, and wanted to use that as the back wall, so only used four poles this year.
    • Once all the poles are in, gather the tops and use the twine to tie them together.
    • Tie a piece of twine to the top, and then zig zag around the poles, creating more surface area for the vines to grow up. The kids can help decide on a pattern and get involved in the action.
    • Plant your bean seeds or seedlings at the base of the poles, amending with compost. Mark with plant markers or popsicle sticks to keep them safe as they grow.
    • Now and then it can speed things along a bit to help the plants find the next ‘rung’ on the path up the tipi.


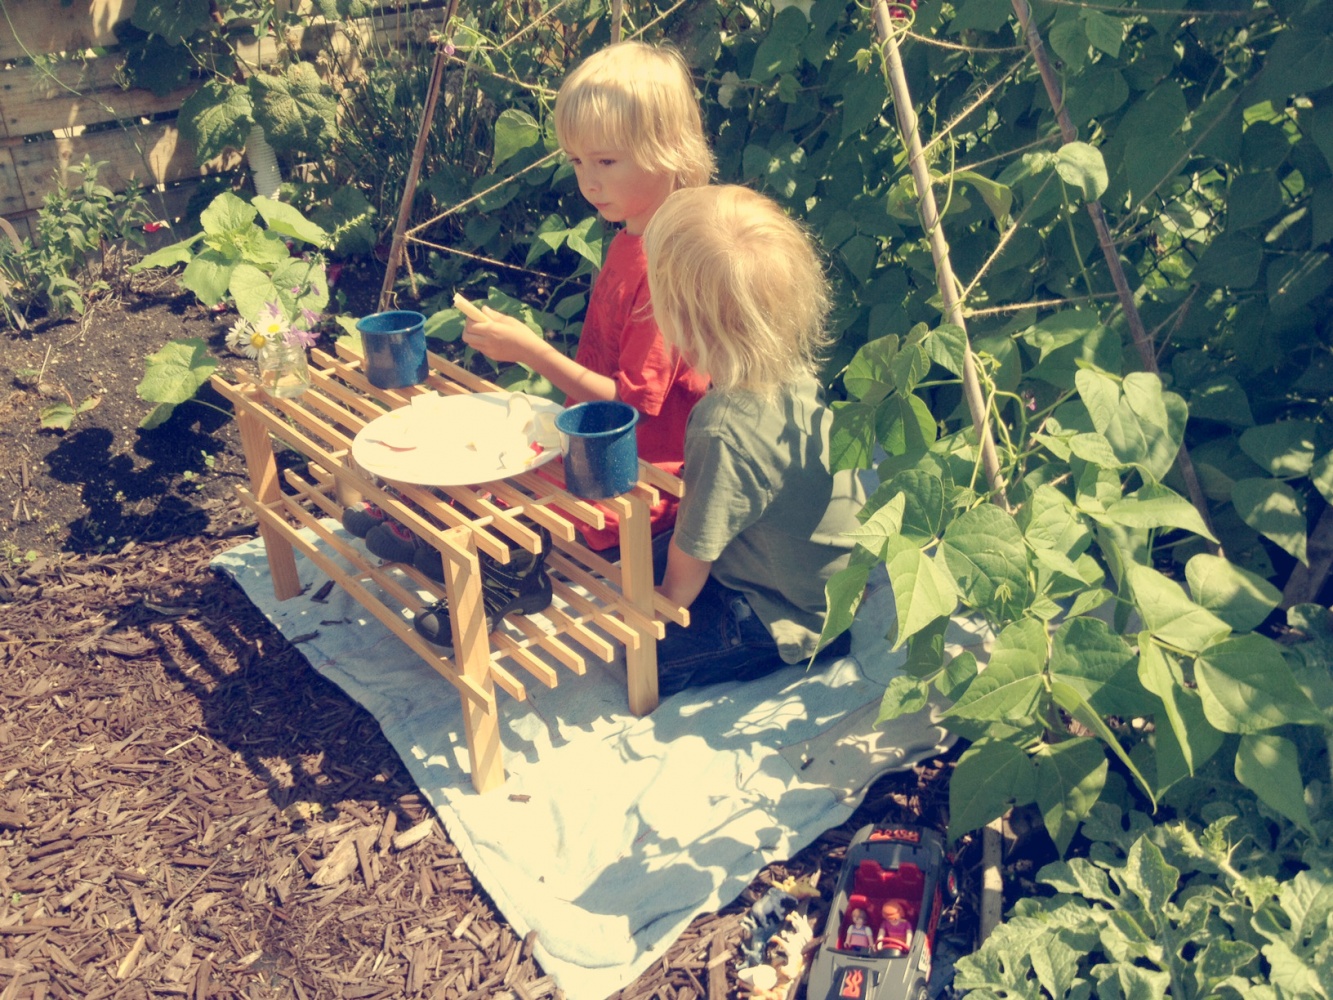
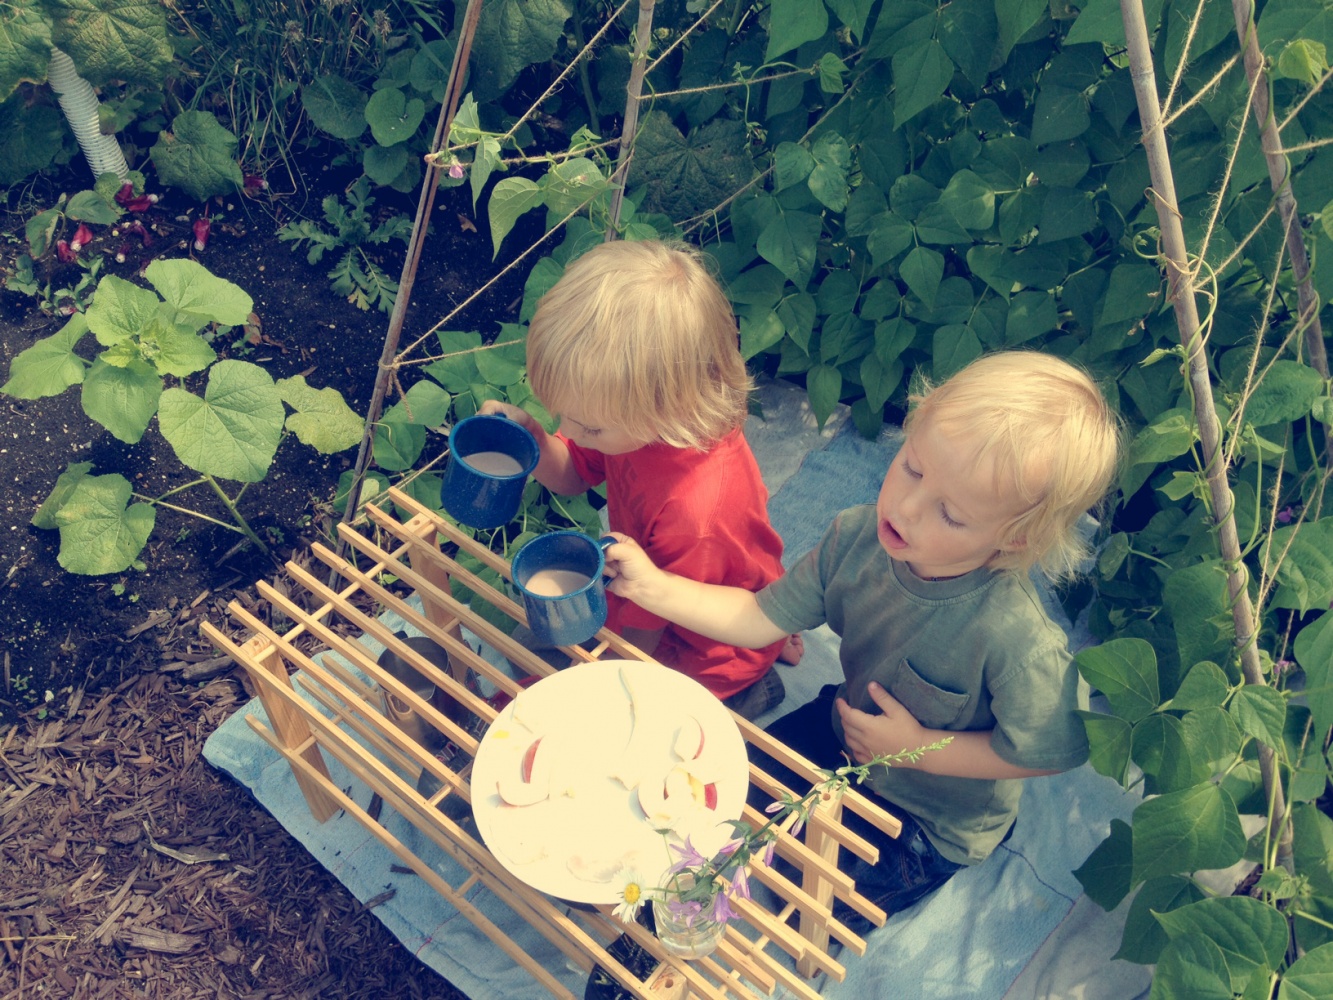
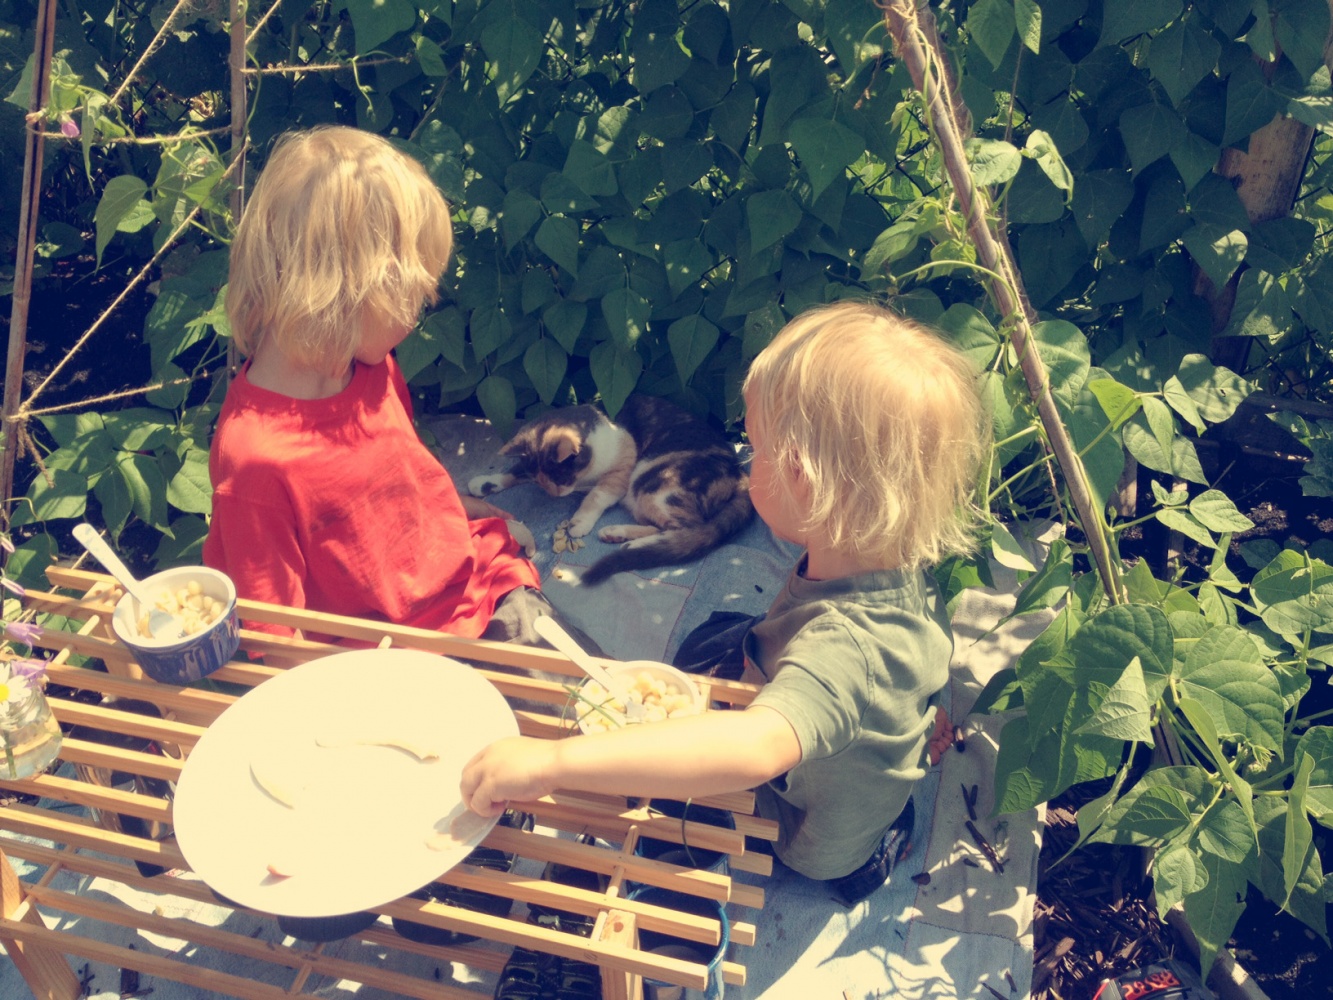
    Our kids spend literally hours in their tipi, with a blanket laid out nicely on the ground to sit on, a small table (old shoe rack – I love how they realized that and happily tucked their shoes on the bottom shelf) for snacking on, and a handful of toys. Even the cat couldn’t resist this cozy little nook in the yard…

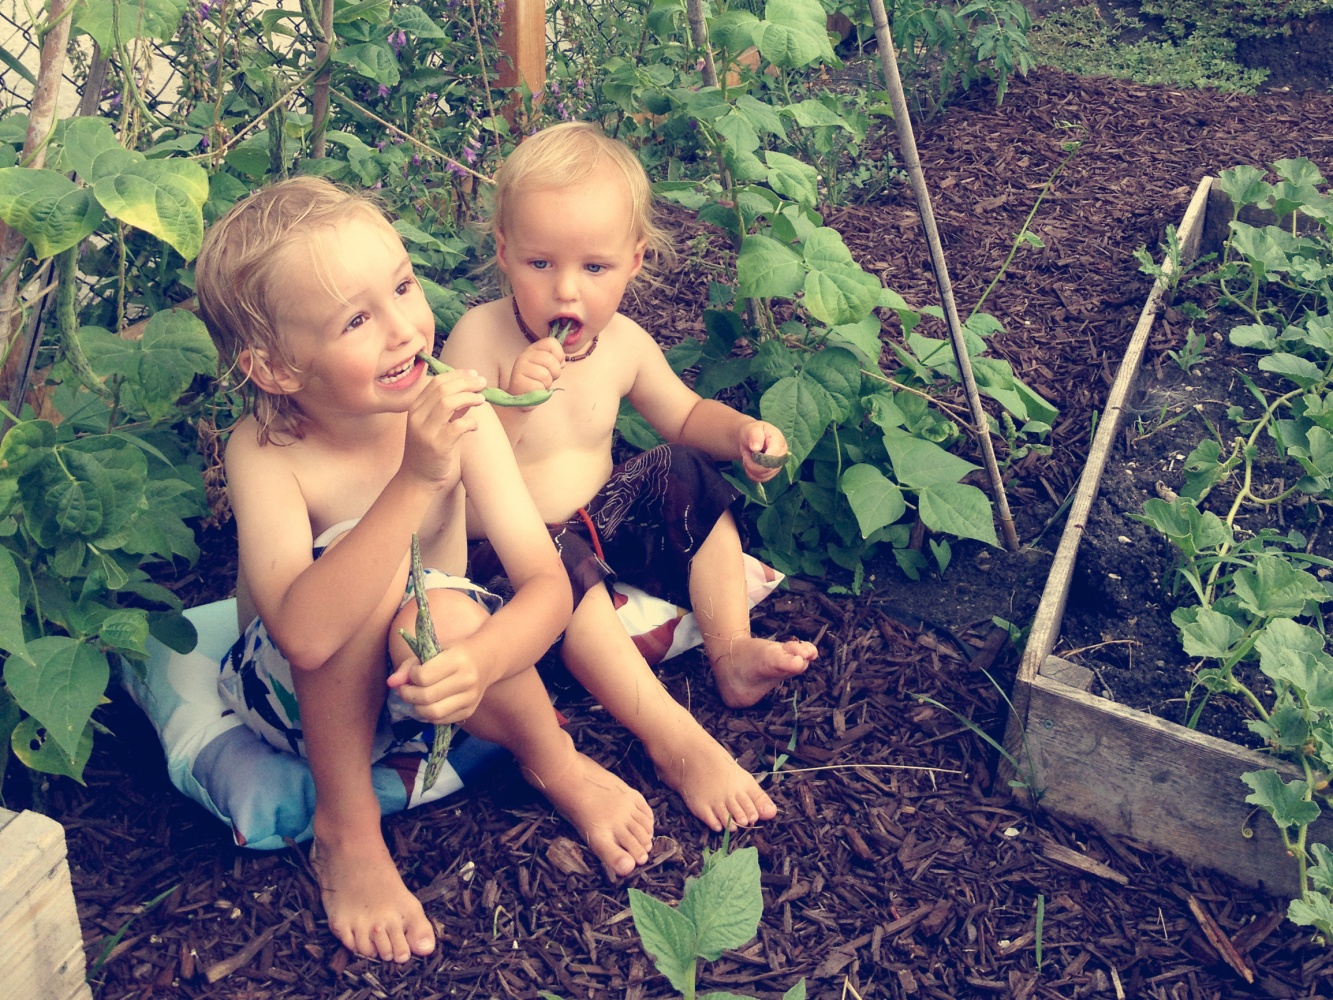
    An added bonus: built in healthy snacks dangling right in front of the kids!

    We’d love to see photos of your bean tipi or other special garden play nook. Attach a link in the comments!

    bean tipi 7bean-tipi-snack-time

    bean tipi 6


    This post was shared as a part of Thank Goodness Its Monday.


  • Seedlings

    Seedlings

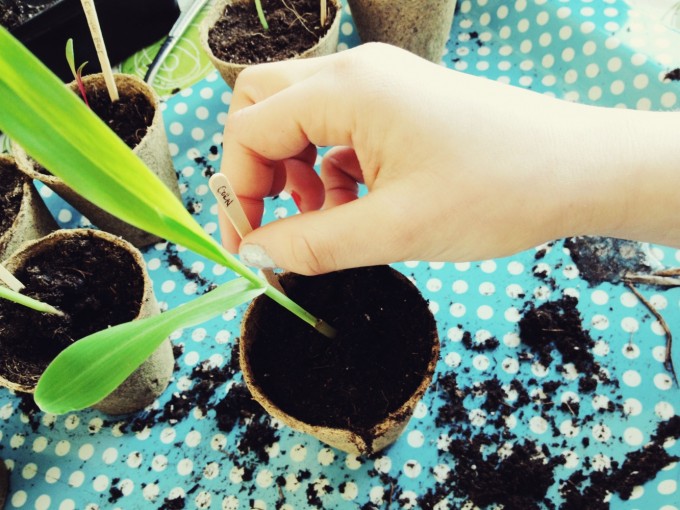
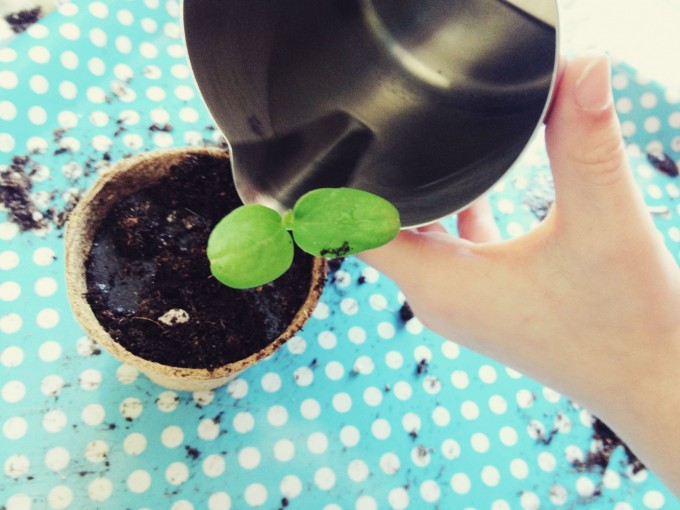
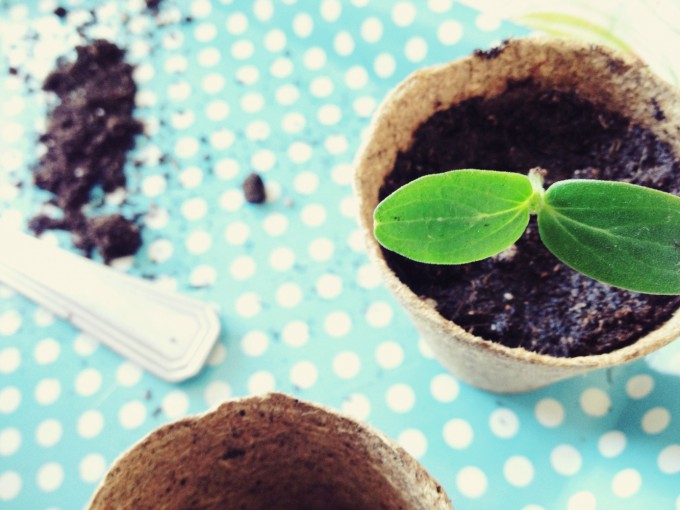
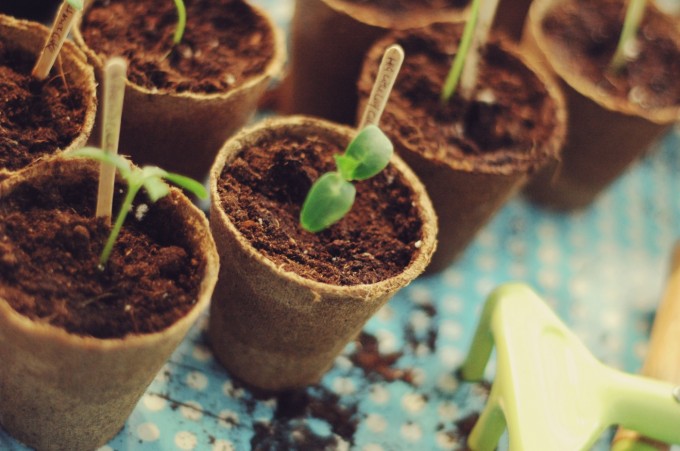
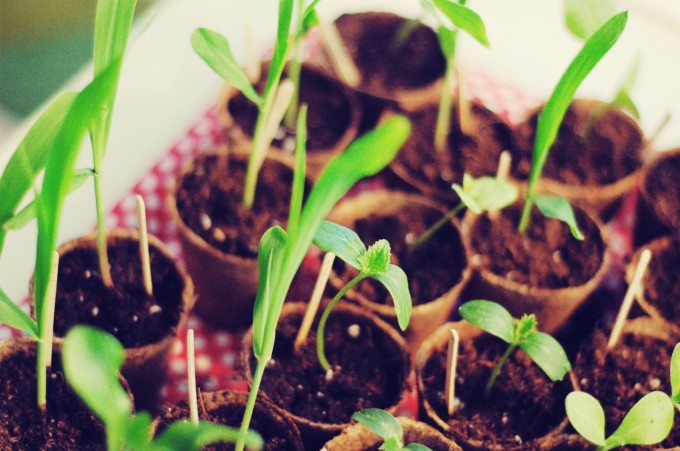
    The seedlings from our germination experiment are coming along well! They’re likely much too early, so I’m not sure what we’ll do with them, but for now we’re enjoying the green that is adding some life to our living room. It’s lovely – if you can get past our ghetto grow light set-up! We have a hanging light rigged up along our curtain rod, with a grow-light in it. Not the prettiest contraption, but it works, and it’s another reminder that you truly don’t need high tech equipment and a lot of financial input – start where you are with what you have!

    The exciting thing has been to see the first true leaves emerge. The sad part was waking up to corn leaves that had been gnawed on by our cat, Luz. I guess it’s good that someone is getting an early taste of spring!

    tiny peasant transplants4 tiny peasant transplants3 tiny peasant transplantstiny peasant growing seedlingstiny peasant growing seedlings3

  • Gardening with Kids :: Germination Test + Printable

    Gardening with Kids :: Germination Test + Printable

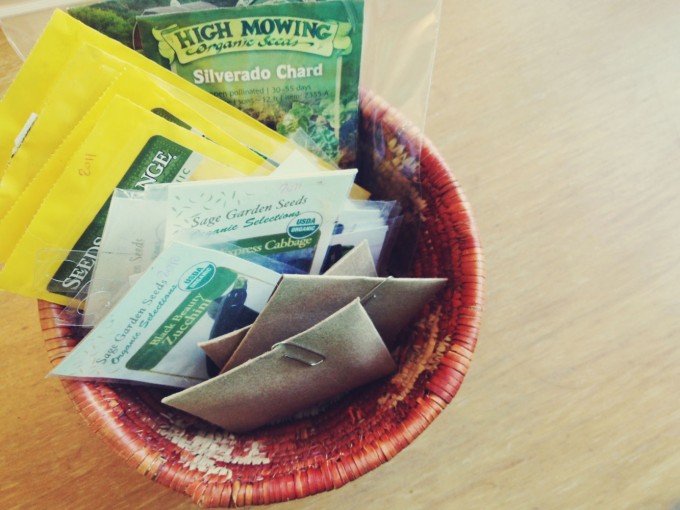
    I won’t tell you how many weeks ago our go-to gardening book said to test seeds. Ahem. That said, this is the very first year we have tested for germination, so we’re doing okay in my book.

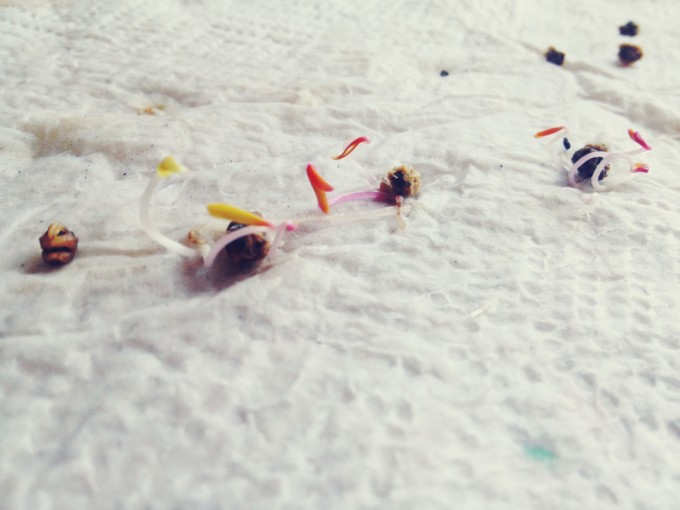
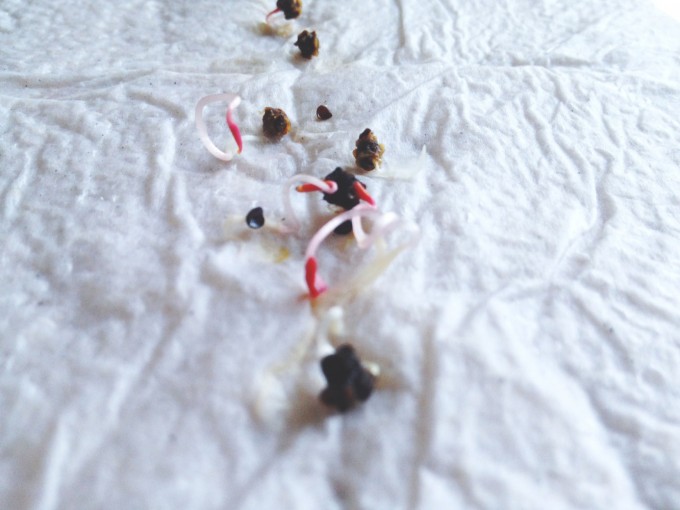
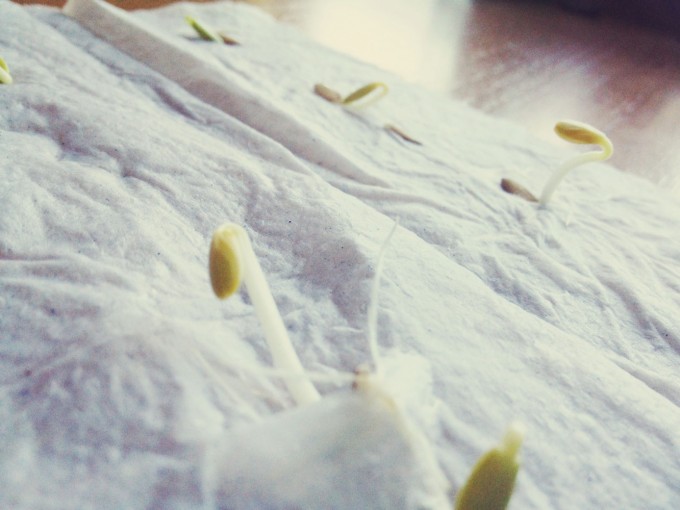
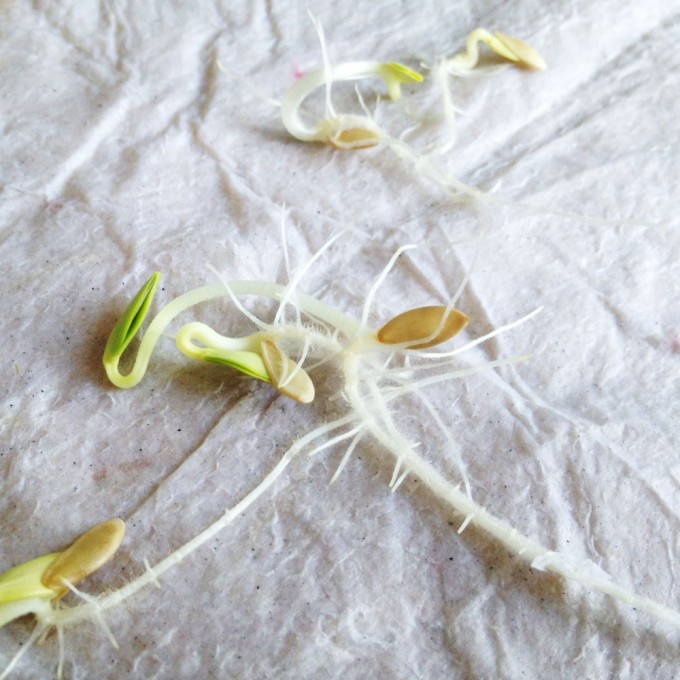
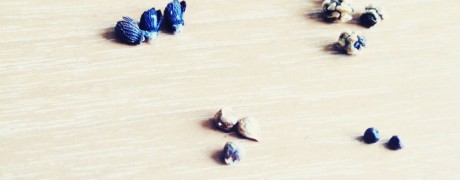
    This is a really fun experiment for kids to help with (or take lead on) and depending on how many seeds you have will take an hour or so to start. I think the best part, other than the vibrant red in the beet sprouts, was the wash of cucumber scent that was released as we checked on the cucumber seeds. It was seriously intense, and like a little burst of summer.

    Don’t let those seed pods go to waste – use them for an art project or collection!

    You can download the free printable photo tutorial and chart over in the shop, or at the bottom of this post.

    Here’s how it works:

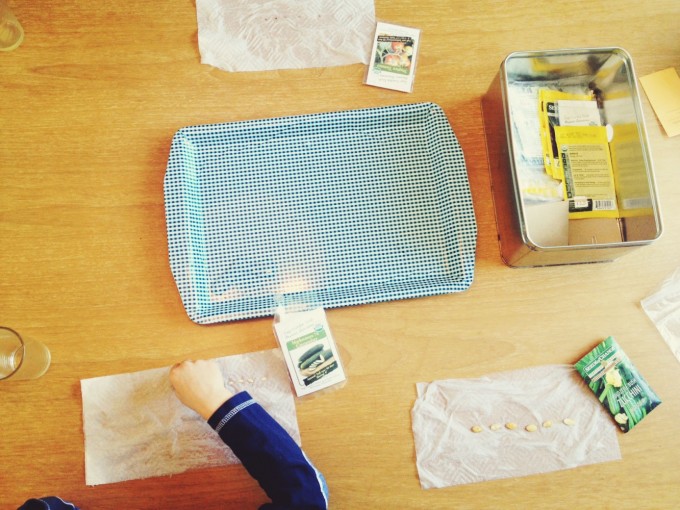
    1. Set yourself up with seeds, sharpies, ziploc bags, paper towels, a tray, and water.

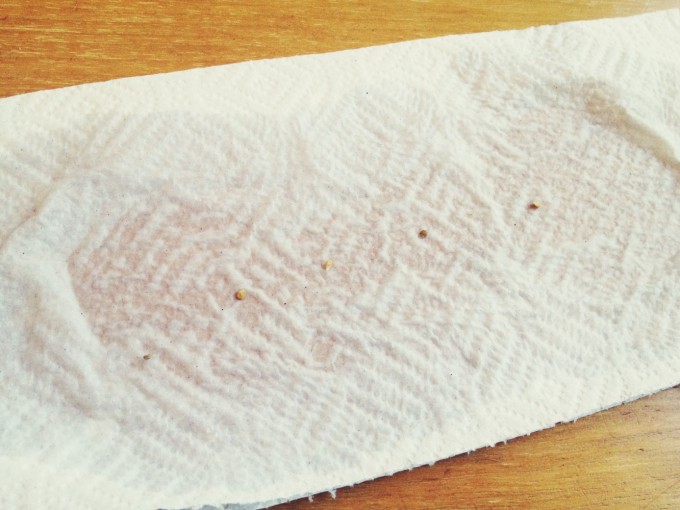
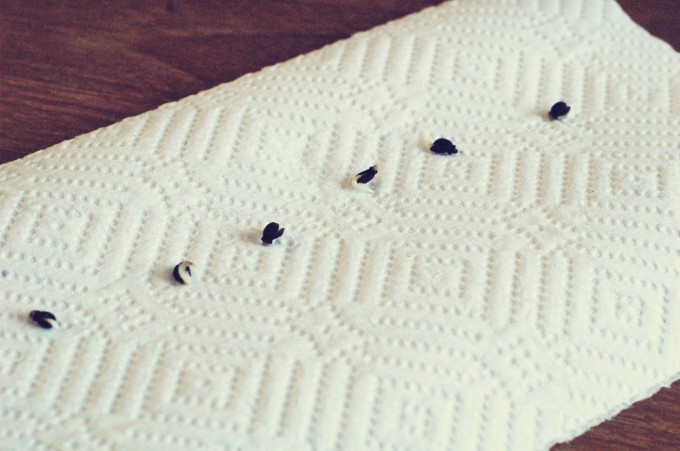
    2. Fold a paper towel in half and dip it in the water, just leaving it long enough to get a couple blotches, as the water will soak into the rest of the towel in a few seconds.

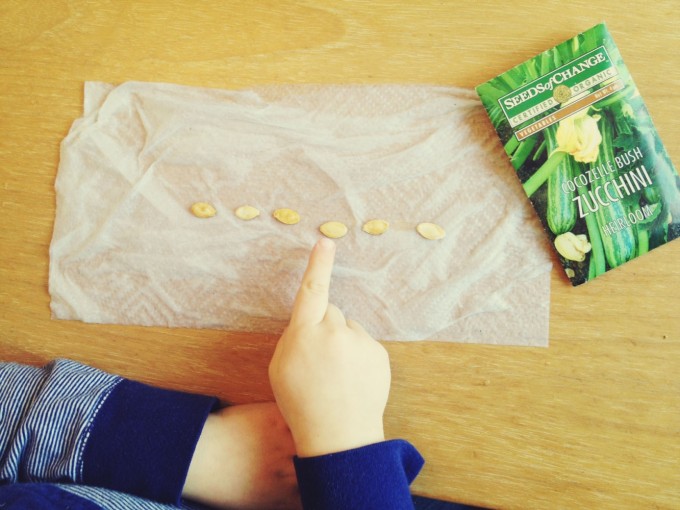
    3. Place ten seeds of one variety (or five if you don’t have many left) along the paper towel.

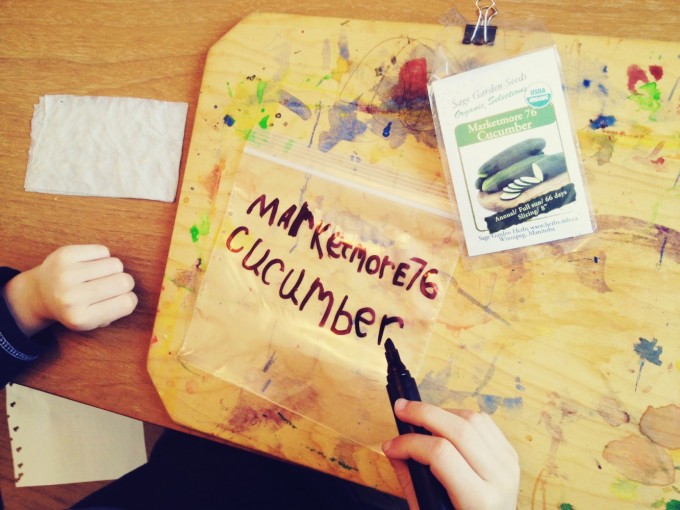
    4. Fold the paper towel over, and then again, place it in the bag, and label with the seed name.

    5. Repeat steps 1 to 4 for each seed. If you want to save bags, you can label a popsicle stick or other garden label and place it in the paper towel, allowing you to place multiple seed sets in each bag.

    6. Set the finished test seeds in a warm, dark location for three days.

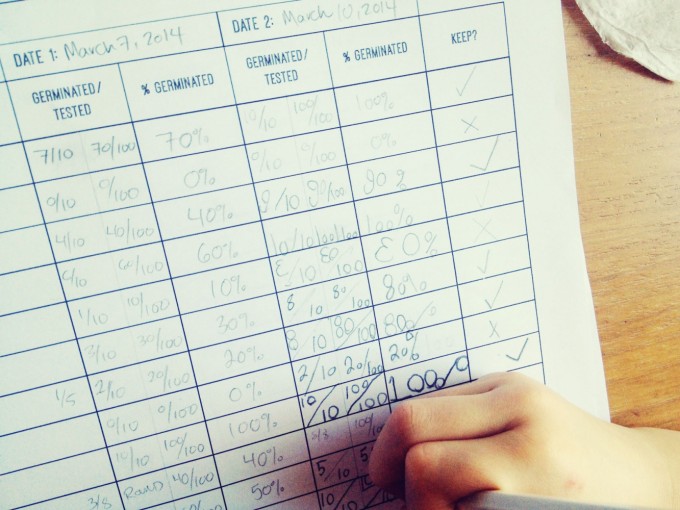
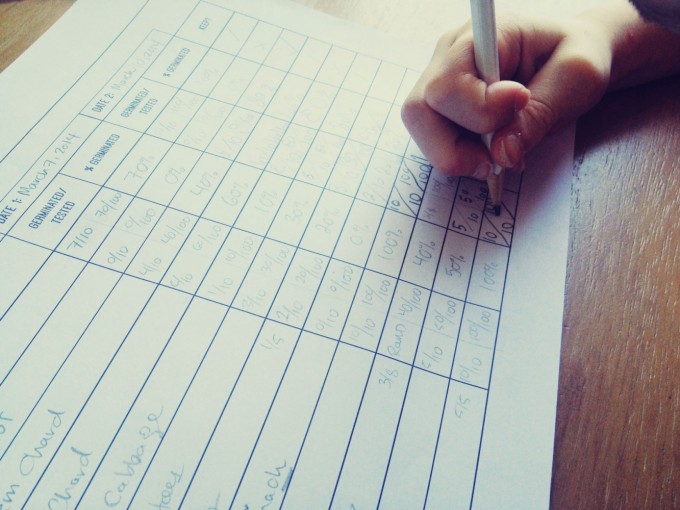
    7. After three days, open up the paper towels and record your results. To add some math fun to our project, we recorded the number of seeds that had germinated out of ten, and then translated that into percentages. This will help us determine which seeds are viable enough to actually plant this year.

    8. If you have a number of seeds that don’t germinate, you can put them back for another few days and check them again to see if they just needed a bit more time, of if they have called it quits. If there are one or more mouldy seeds, remove them, and put the remaining seeds on a new dampened paper towel.

    Interested in testing your own seeds? Download our free printable Germination Chart!
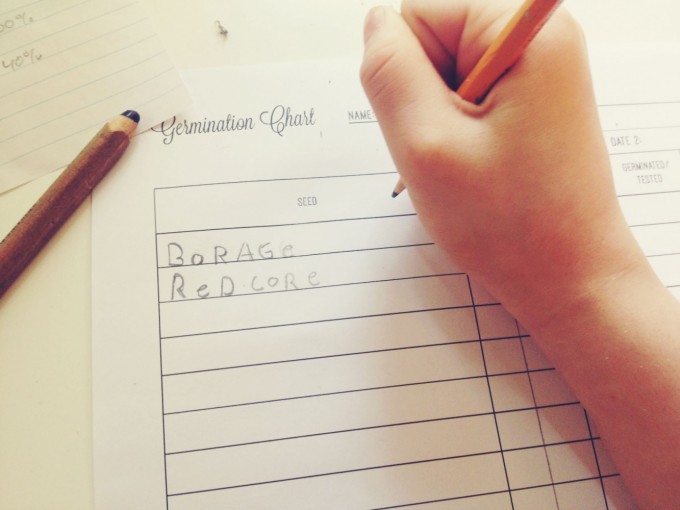
    tiny peasant seed baskettiny peasant seeds on wet paper towel tiny peasant germination testzucchini seedstiny peasant germination test basket label the bagtiny peasant label the bag germination chart bregerminating boragechard seeds 2 chard sprouts sprouts germination chart kids 2 germination chart kids  cucumber sproutsseed collector


    This post was featured at My Humble Kitchen, The Lunch Hour Gardener, Nourishing Joy, and Living Montessori Now.

    This post was shared as a part of Thank Goodness It’s Monday, Montessori Monday, Fat Tuesday, Simple Lives Thursday, and Unprocessed Fridays.

    Please note that we are a part of the Amazon associates program. If you visit Amazon.ca through a link on Tiny Peasant and make a purchase, our family will receive a small percentage of the sale. The products that I specifically recommend in blog posts are products that we love in our home – if they aren’t they are on my wish list and I will note that. Our bookshop (coming soon) has a mixture of tried and true, and wish list items. If you ever have any questions about a product we link to, please don’t hesitate to ask! Thank you for your support! 

  • Coconut Oil Bird Feeders

    Coconut Oil Bird Feeders

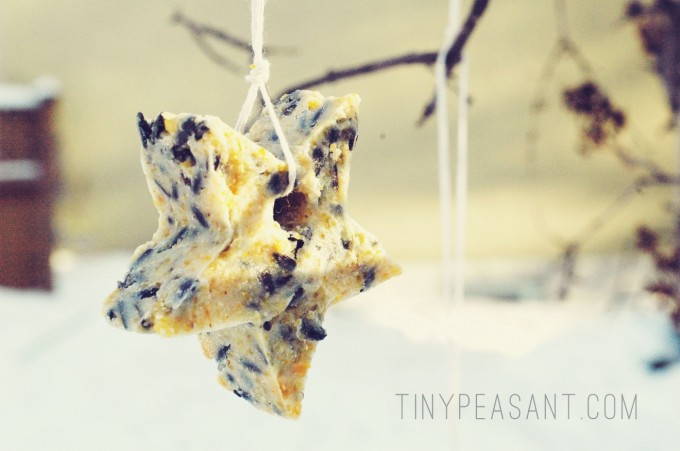
    coconut oil feedercoconut oil feeder seed coconut oil feeder scoopingcoconut oil feeder spreading  coconut oil feeders fridge readyheart coconut bird feeder singlecoconut bird feeder star

    We’re crafting some bird-watching goodness over here, in preparation for The Great Backyard Bird Count, starting on February 14th.

    The kids have been working hard on Woodworking Wednesdays with their dad to design and make some wooden bird feeders for our yard. Plans to come. Sign up for our newsletter (top of this page) to be sure you don’t miss out on the bird feeder plans and other bird love.

    With Valentine’s Day also creeping up on us, we thought we’d make something sweet for our feathery friends.

    Suet bird feeders have been on our to-do list for a while. Since we generally don’t have suet lying around, I decided to use coconut oil (not our really pure one, but a slightly refined version). A lot of the recipes that we found included things like corn syrup and we really just wanted to keep it simple for our feathery friends.

     ** Parents of little ones with a peanut allergies (or those crafting with children who aren’t your own and might have an allergy) please note that almost all the birdseed I looked at had peanuts or ‘may contain nuts or peanuts’ warnings. 

    Coconut Oil Birdseed Feeders

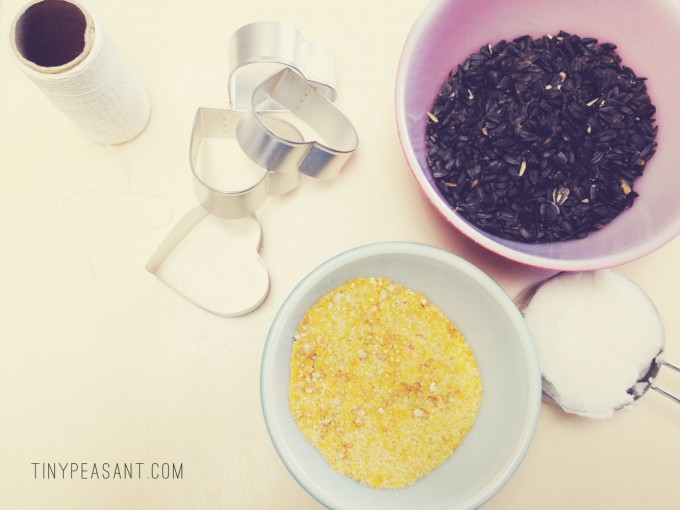
    Ingredients + Materials

    :: 2 cups coconut oil

    :: 1. 5 cups black oil sunflower seed

    :: 1/2 cup organic cracked corn

    :: cookie cutters

    :: spoon

    :: tray

    :: string


    Directions

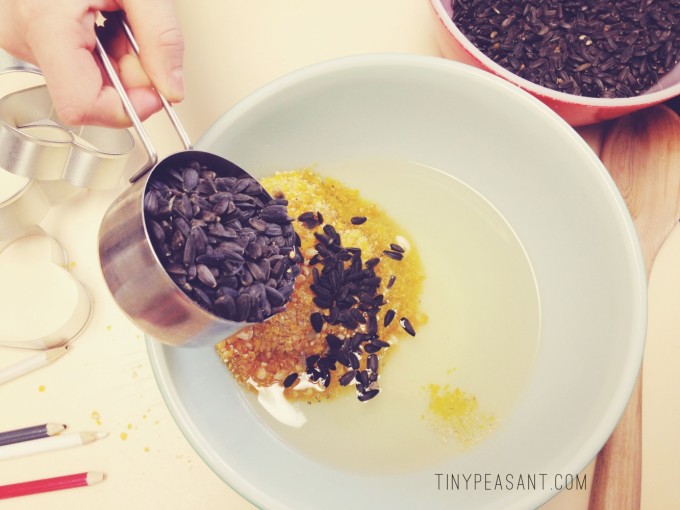
    1. Mix all ingredients together in a bowl.

    2. Refrigerate mixture for 30-60 minutes to partially solidify the oil.

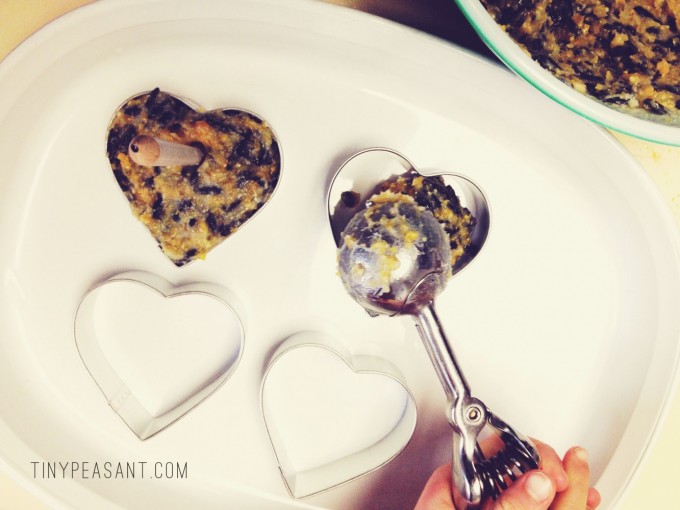
    3. Stir the mixture and scoop into cookie cutters, smoothing out on top.

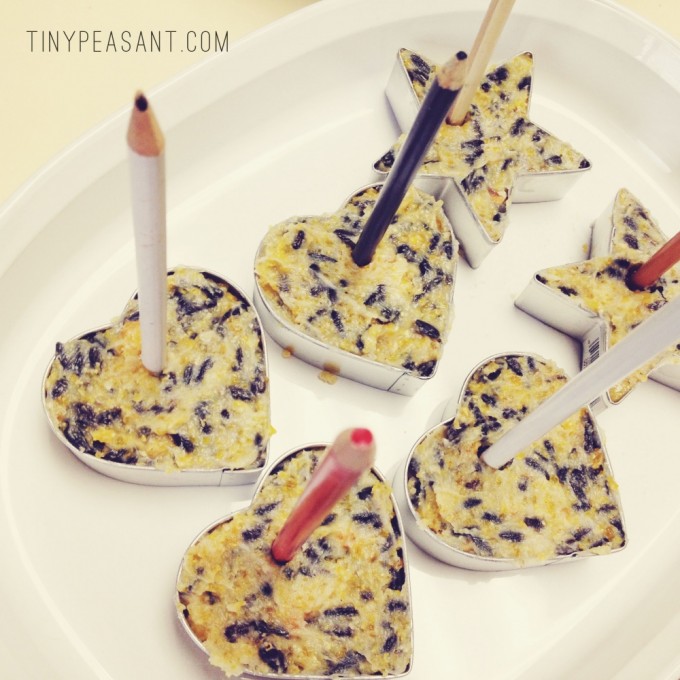
    4. Place a pencil crayon, pencil, or stick in the feeder to create a hole that will be used to hang the feeder.

    5. Set in the fridge for another hour before add the string and hanging outside.


    This post was shared as a part of Thank Goodness It’s Monday at Nourishing Joy, Natural Living Monday at Natural Living Mama, Montessori Monday at Living Montessori Now, and Fat Tuesday at Real Food Forager, and Link&Learn at No Time for Flash Cards.

  • Winter Snow Sensory Bin

    Winter Snow Sensory Bin

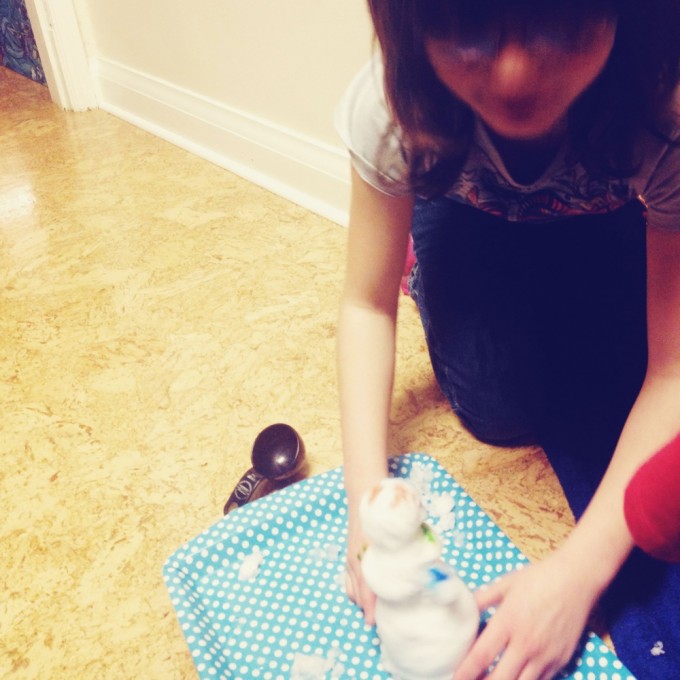
    It is -43C today with the windchill in these parts. We do try to get outside in most weather, but I think we’ll be having a snow day today.  The little ones will likely spend some time playing in the snow – inside. This is something we have done several times throughout the winter season for the past few years. In the summer, we do a water bin.

    winter snow sensory binsnow bin inside

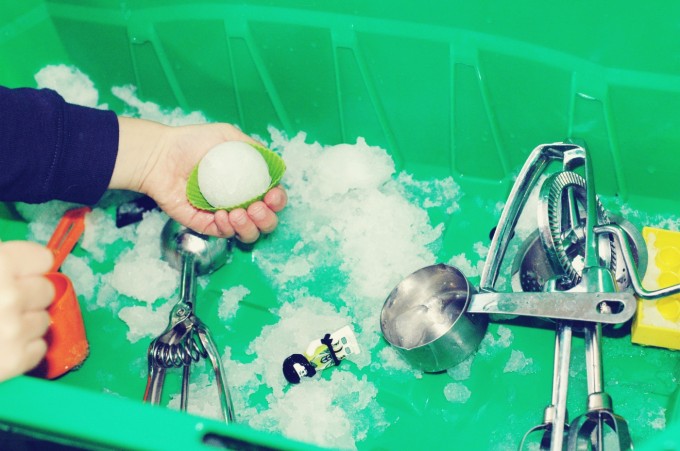
    For cold winter days, fill a rubbermaid bin with the cleanest snow you can find. Lay a large towel under the bin. Then try any of these ideas with your new snow sensory bin:

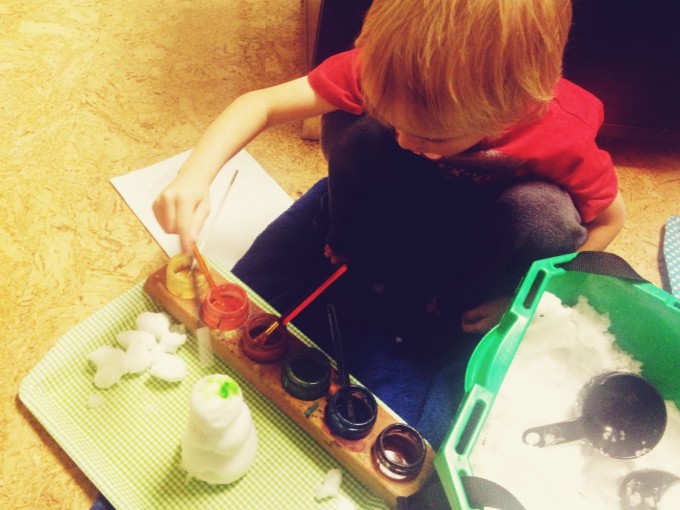
    • Make snow people – paint them with watercolour paints! Rounded measuring cups or an ice cream scoop work well to make body of the snow person.
    • Add animals – add some toy animals to the bin and the kids can make mountains and valleys to play on.
    • Treasure hunt – hide some animals, stones, gems, or other small items in the snow and have the kids find them with chopsticks or a small shovel.
    • Fill the bin with cooking and baking tools – a garlic press, measuring spoons, measuring cups, muffin tins, etc. Think of it as a mud kitchen, but with snow!
    • Provide a basket of natural items such as sticks, stones, leaves, pine cones, etc. and let their imaginations run wild.

    Please share your ideas for a fun snow sensory bin in the comments!

    snow bin snow person


    This post was shared as a part of Montessori Monday and Hip Homeschool Moms.

  • Advent Week 3 Activity :: Bird-Watching with Kids

    Advent Week 3 Activity :: Bird-Watching with Kids

    If you are following along with the Advent series, you can get to the original post here, and the Week 3 post here.


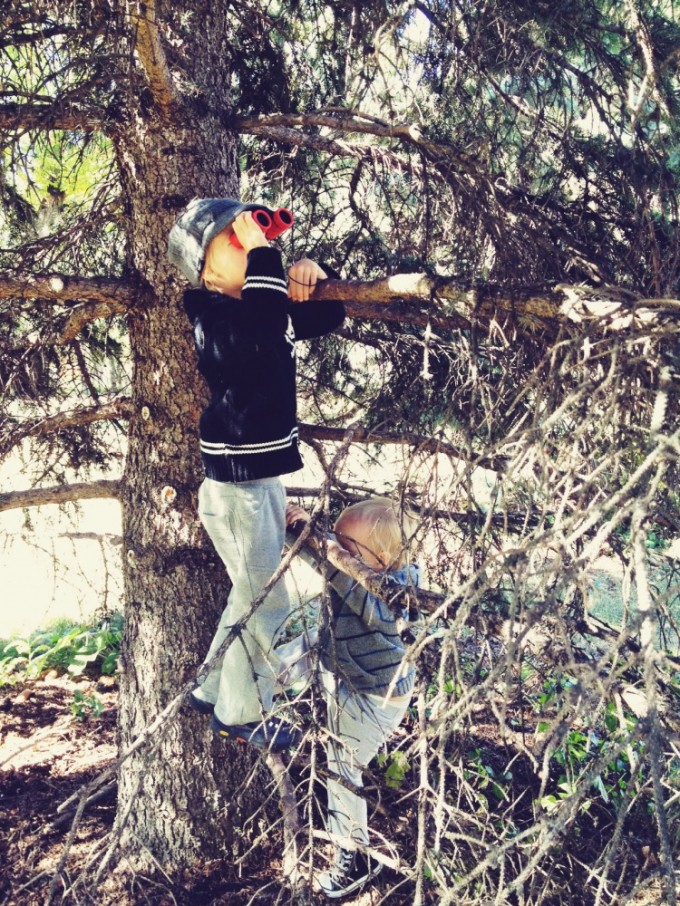
    One of the simplest and most rewarding ways to learn about animals in the winter is bird-watching. It can be done indoors or out, and is a great activity to engage little ones. For this reason, our week is going to focus on birds – feathers, crafting bird-seed feeders, painting tiny bird house ornaments, visiting a local animal shelter…

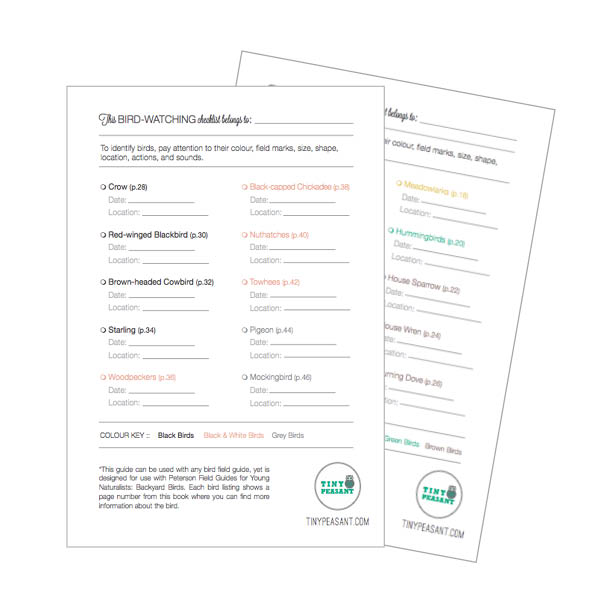
    Here you’ll find info about our two favourite bird books, as well as a printable bird-watching checklist that would make a great addition to your advent calendar, or a fun thing to share with your children any time of the year.

    tree bird watching new

    What do you need to start out?

    Binoculars
    A few years ago we purchased two basic bird identification books, and started a little basket with the books and a set of nice binoculars (which were very affordable at under ten dollars). The binoculars come with us on nature walks and have taken quite a beating over the past four years or so! Well worth the small investment.

    Books
    Strangely, both books are titled Backyard Birds. One is the Peterson Field Guides For Young Naturalists: Backyard Birds, and the other is Backyard Birds: An Introduction. The first is a fantastic resource with colour coded sections according to the main colour of the bird. It is easy for kids to navigate and has a digestible amount of information for beginners. The second one we love for its beautiful paintings of birds by Robert Bateman.

    Either (or both) of these books would make a lovely advent or Christmas gift.

    Checklist
    I created a mini ‘life list’ for the kids back when we first created our bird basket, and the kids check off birds they spot and identify using our books. It turned out to be a really fun pastime for the whole family.

    Recently, I updated our bird-watching checklist to share with all of you, and I truly hope you and your little ones will enjoy it as much as we do. There are two versions available – one is designed to work in partnership with the Peterson guide and the other can be used on its own or with another book. Print if off and keep it in your own birding basket, or in your backpack to go along on nature walks. You can download it here.

    tiny peasant bird-watching checklist preview


    This post was featured at Thank Goodness It’s Monday, and shared as a part of Thank Goodness It’s Monday, and Montessori Monday.