This post was originally published on June 27, 2013. Reposting now as the chives will be flowering in a while, and I don’t want you to miss out on homemade chive flower butter…
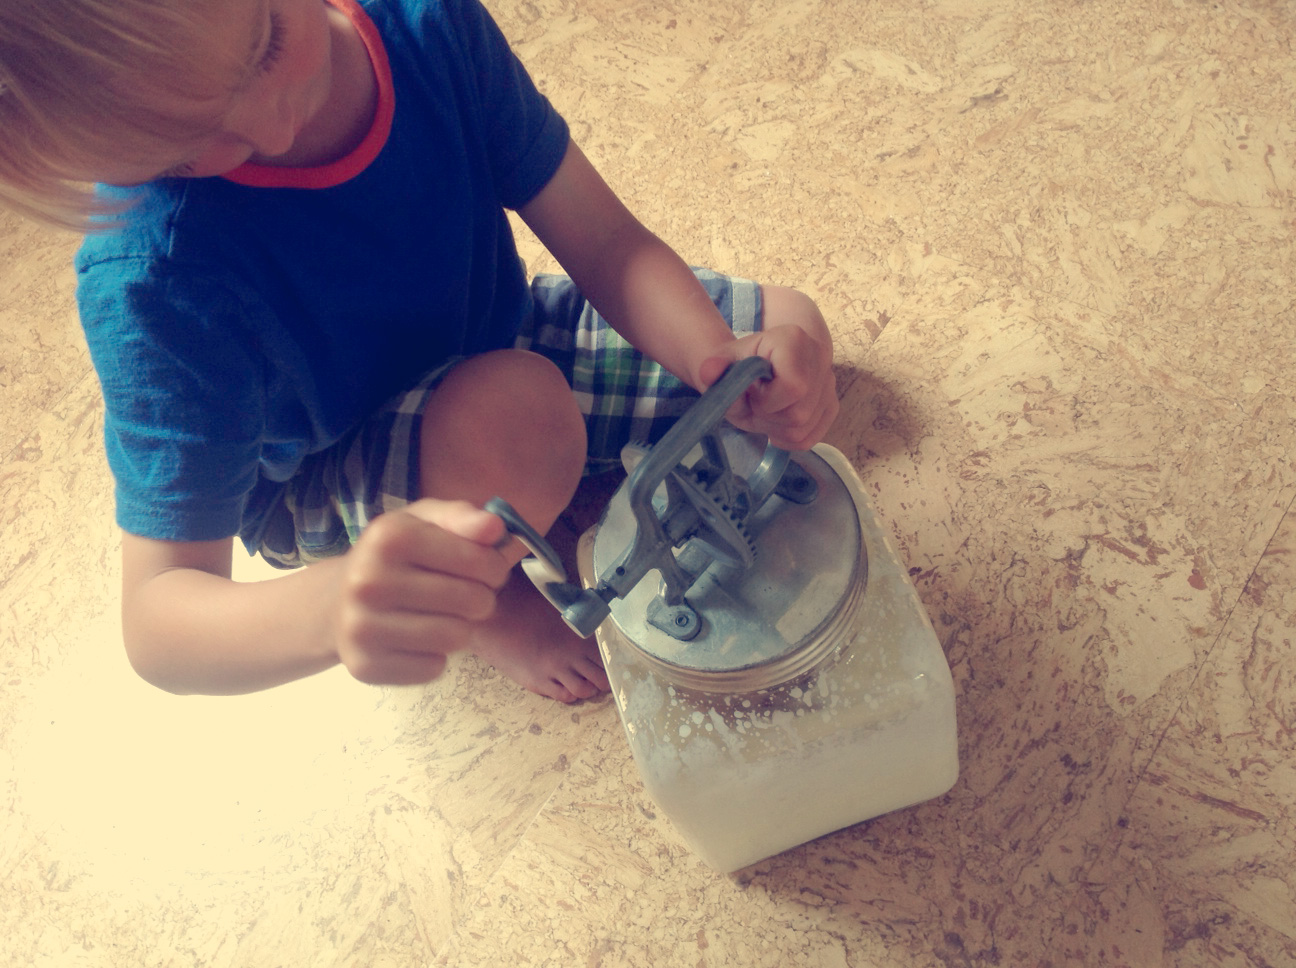
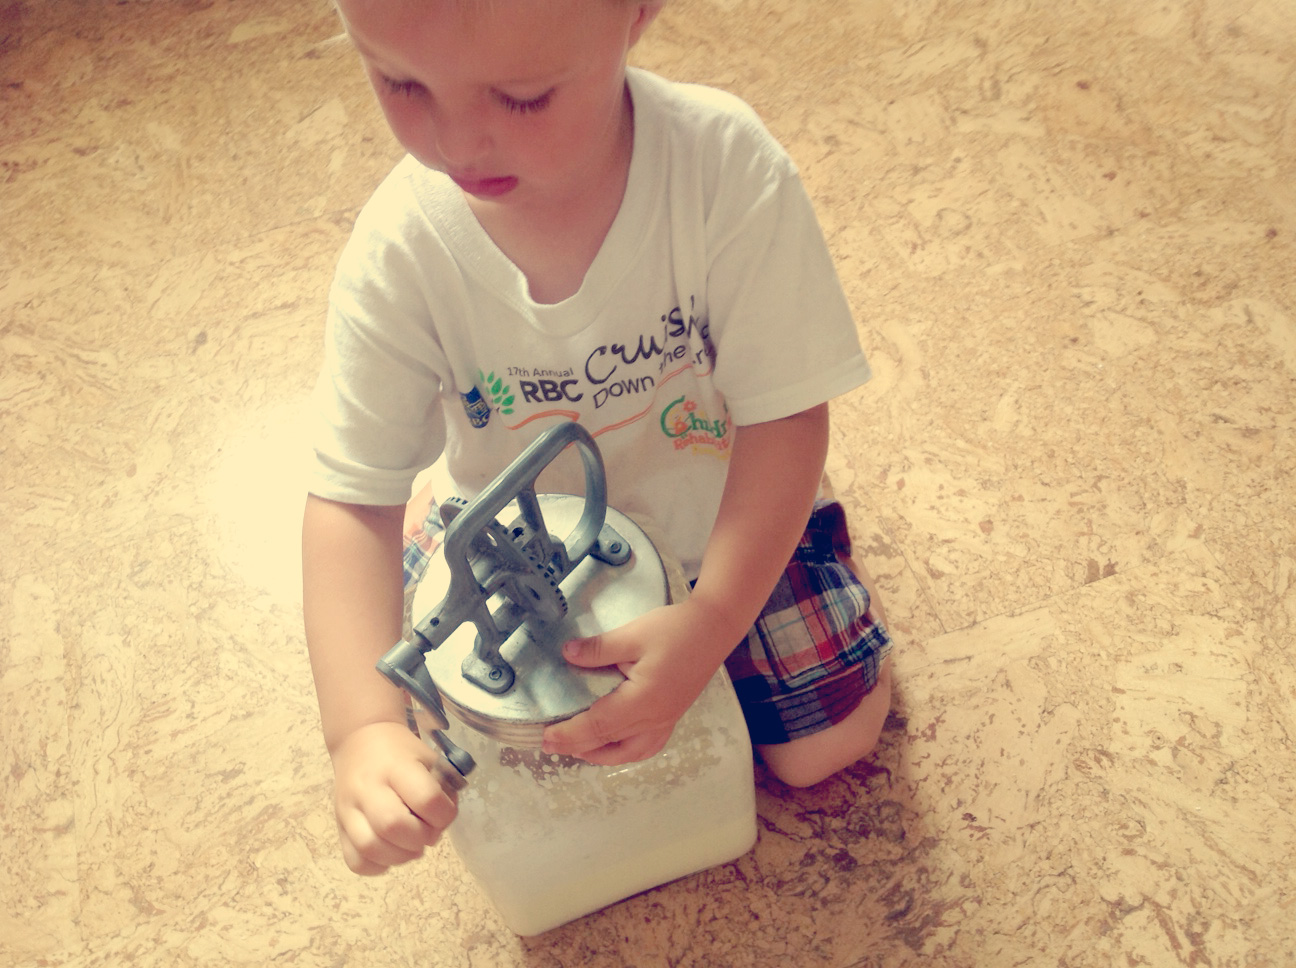
Empowering ourselves and our children to grow and make our own nourishing foods is a high priority for our family. This is why I was over the moon with a birthday gift from my mom of a vintage glass butter churn.
Yes, making butter is time consuming. Yes, it’s really not less expensive as far as I can tell than buying organic butter (I haven’t done the math yet). And yes, it is a ton of fun and super rewarding.
Today we busted out the churn and got to work making homemade butter. Here is a simple breakdown of the steps we took to make delicious, creamy wholesome butter…
1. Pour heavy cream (whipping cream) into the clean butter churn.
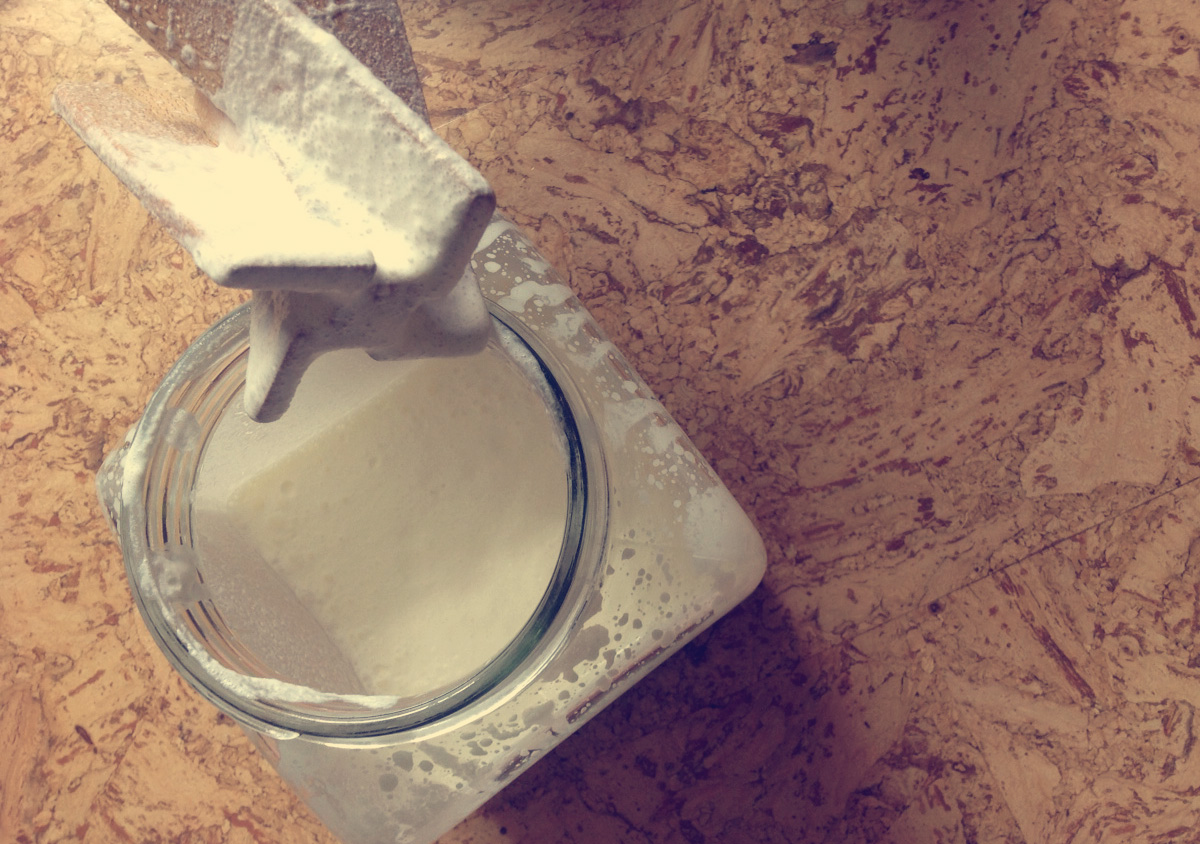
2. Churn, churn, churn. And churn some more. Making butter is a great group activity and little ones love this step!
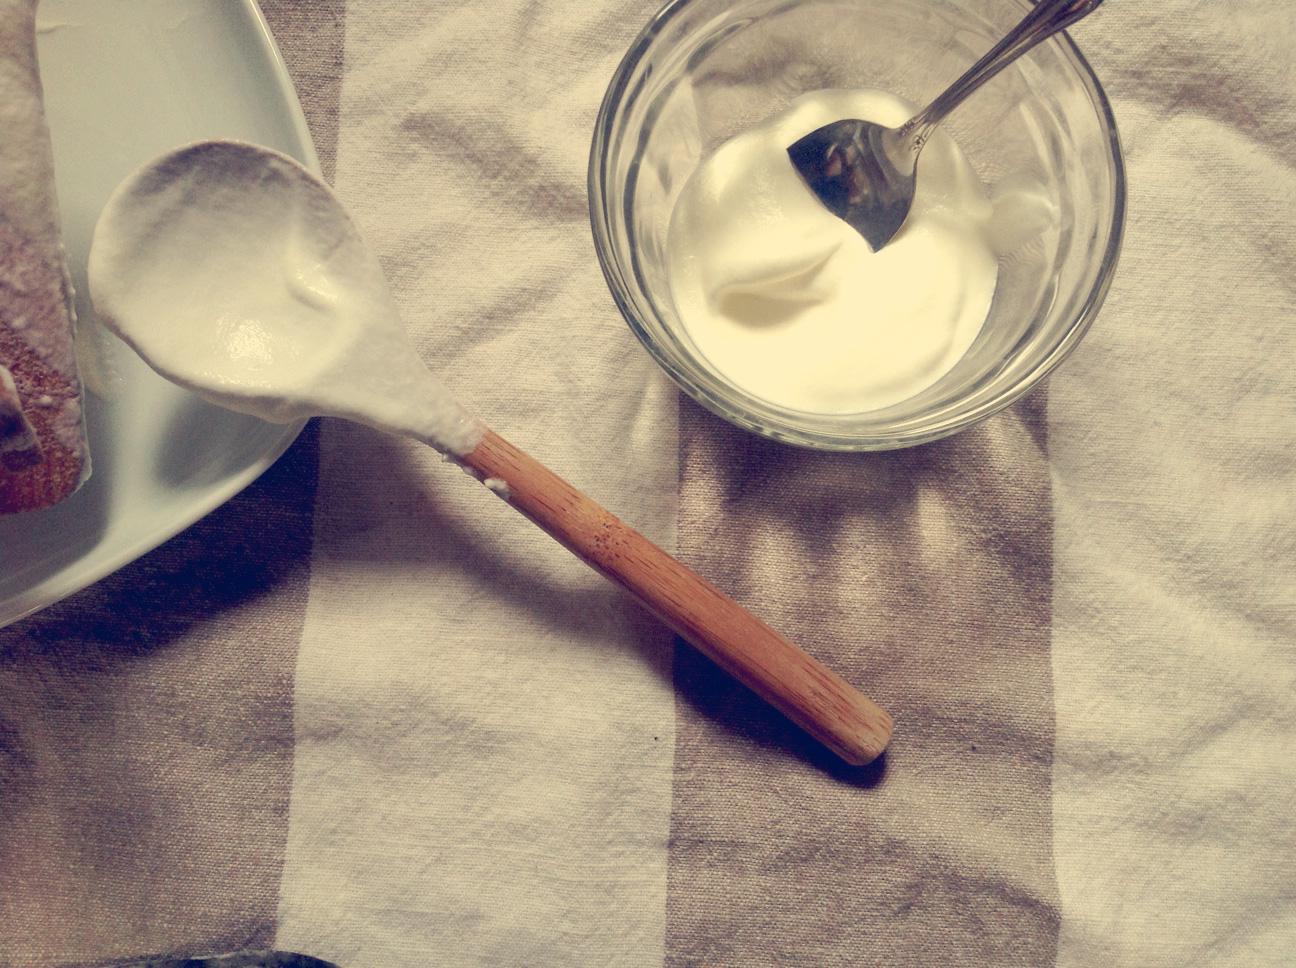
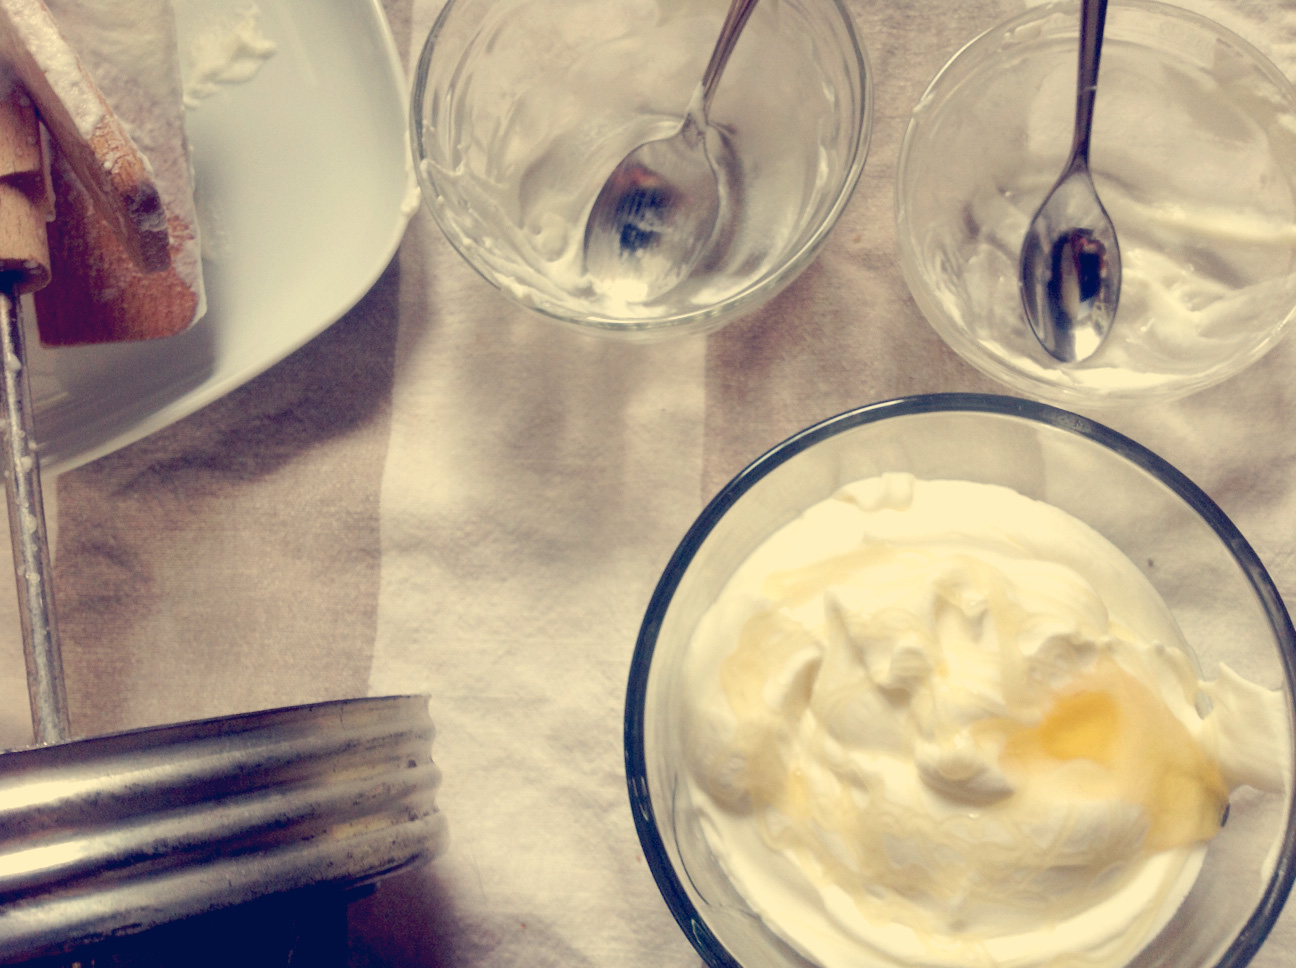
3. You might want to make a brief pit stop at the whipping cream stage for a taste test. Ahem. Perhaps even save some for later. We enjoyed ours with a drizzle of local honey.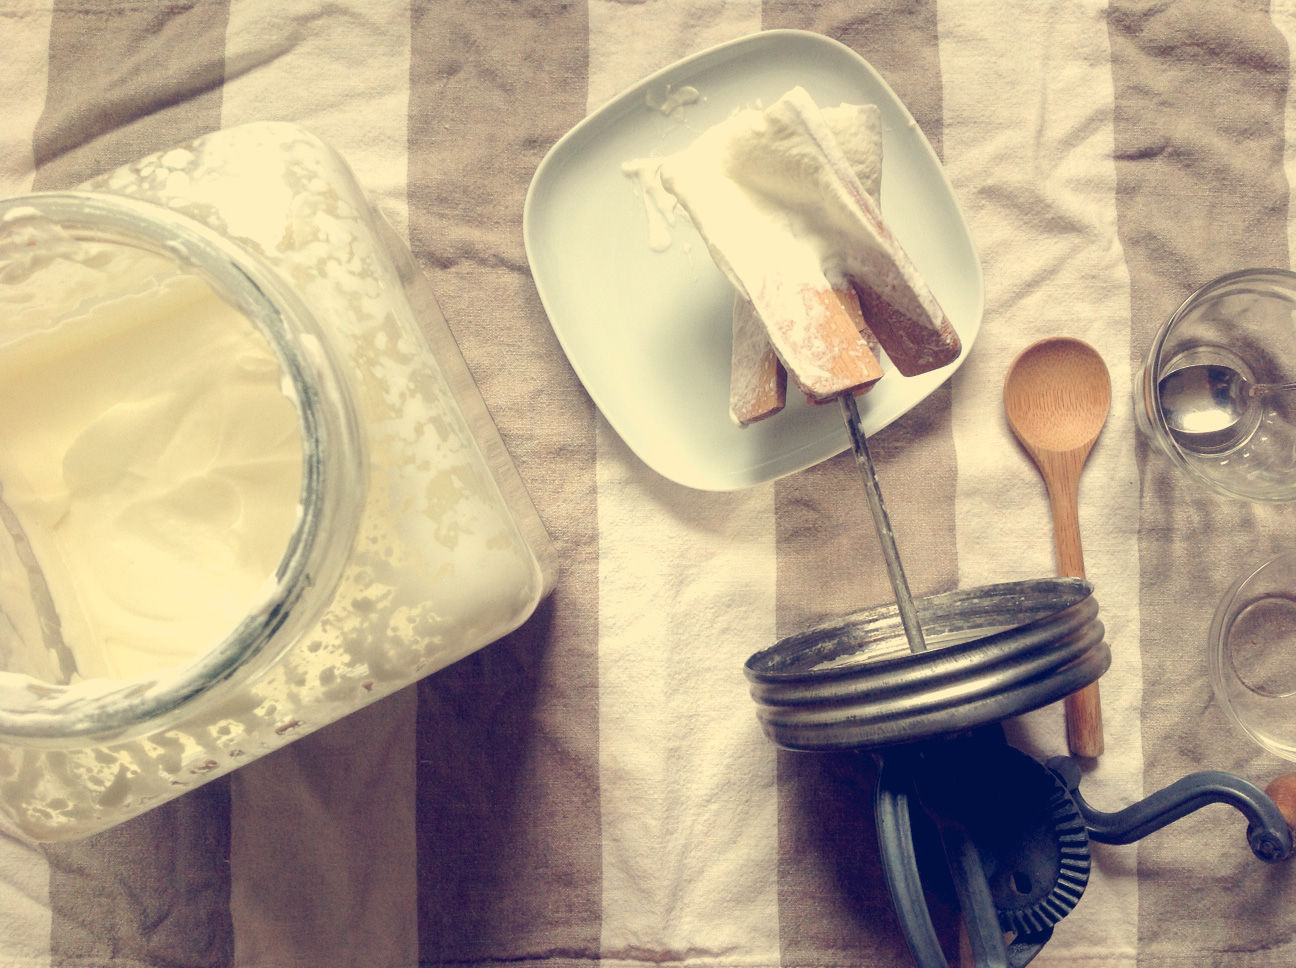
4. The fats will start forming into little chunks. Stop when you hear sloshing – this means that the butter and buttermilk have separated. Use a strainer to pour off the buttermilk.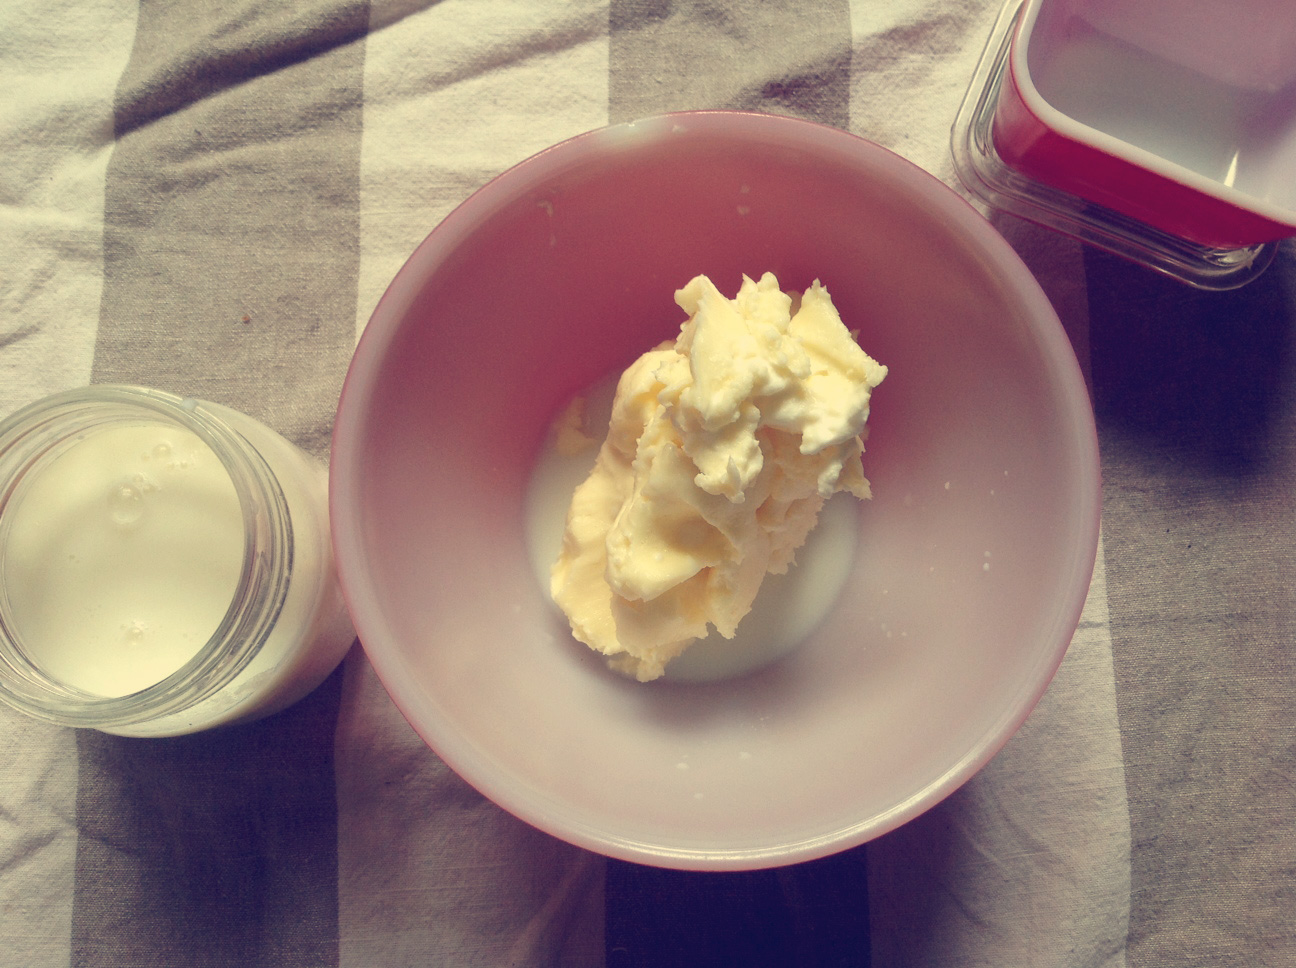
5. Knead the butter to get as much buttermilk out as possible. Drain into buttermilk jar. Cover and store in the fridge for up to a week.
6. Wash the butter by adding ice cold water and mashing with a wooden spoon. Drain. Repeat.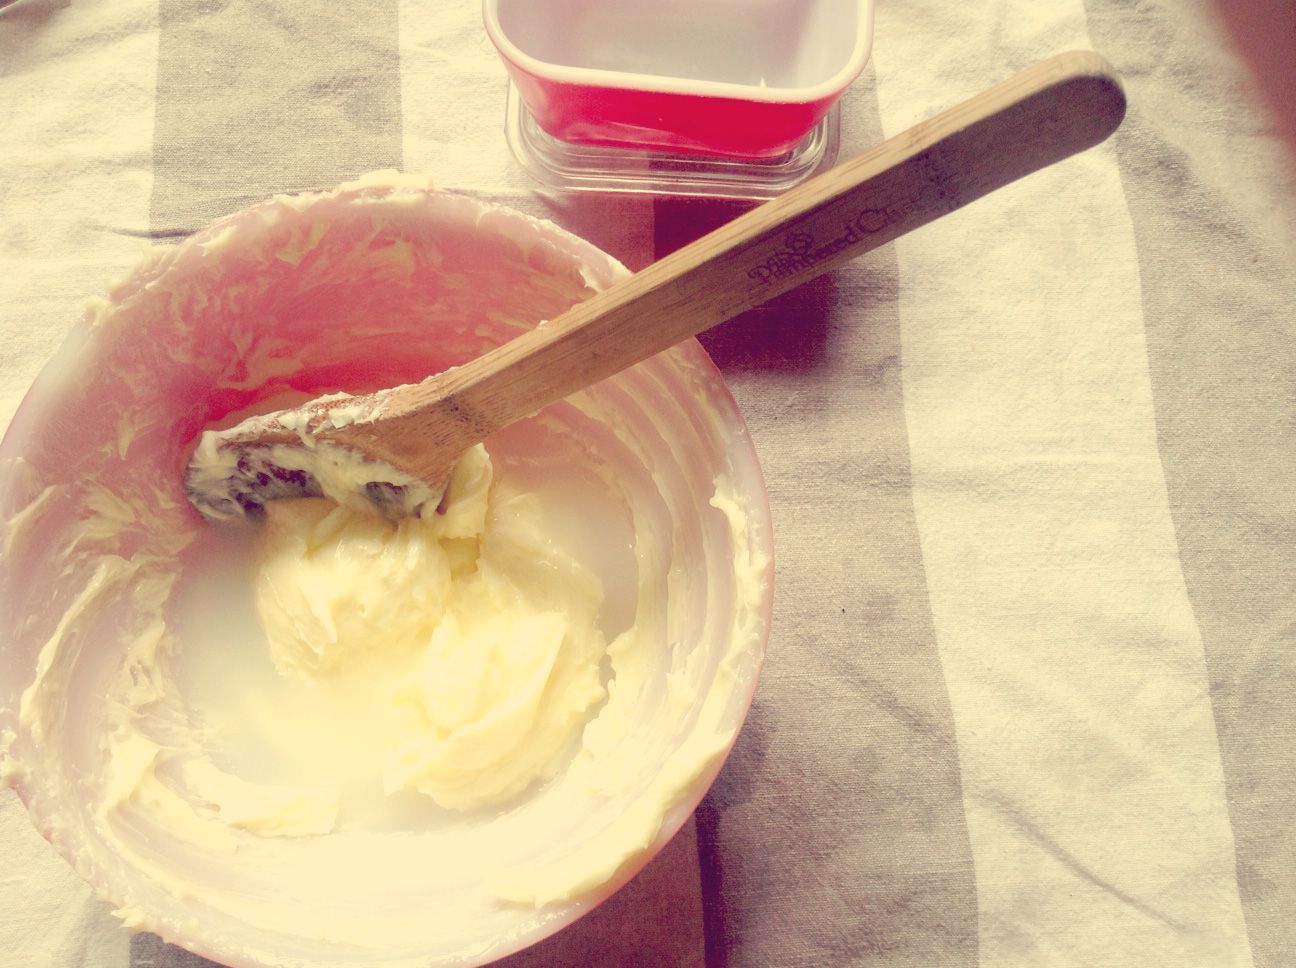
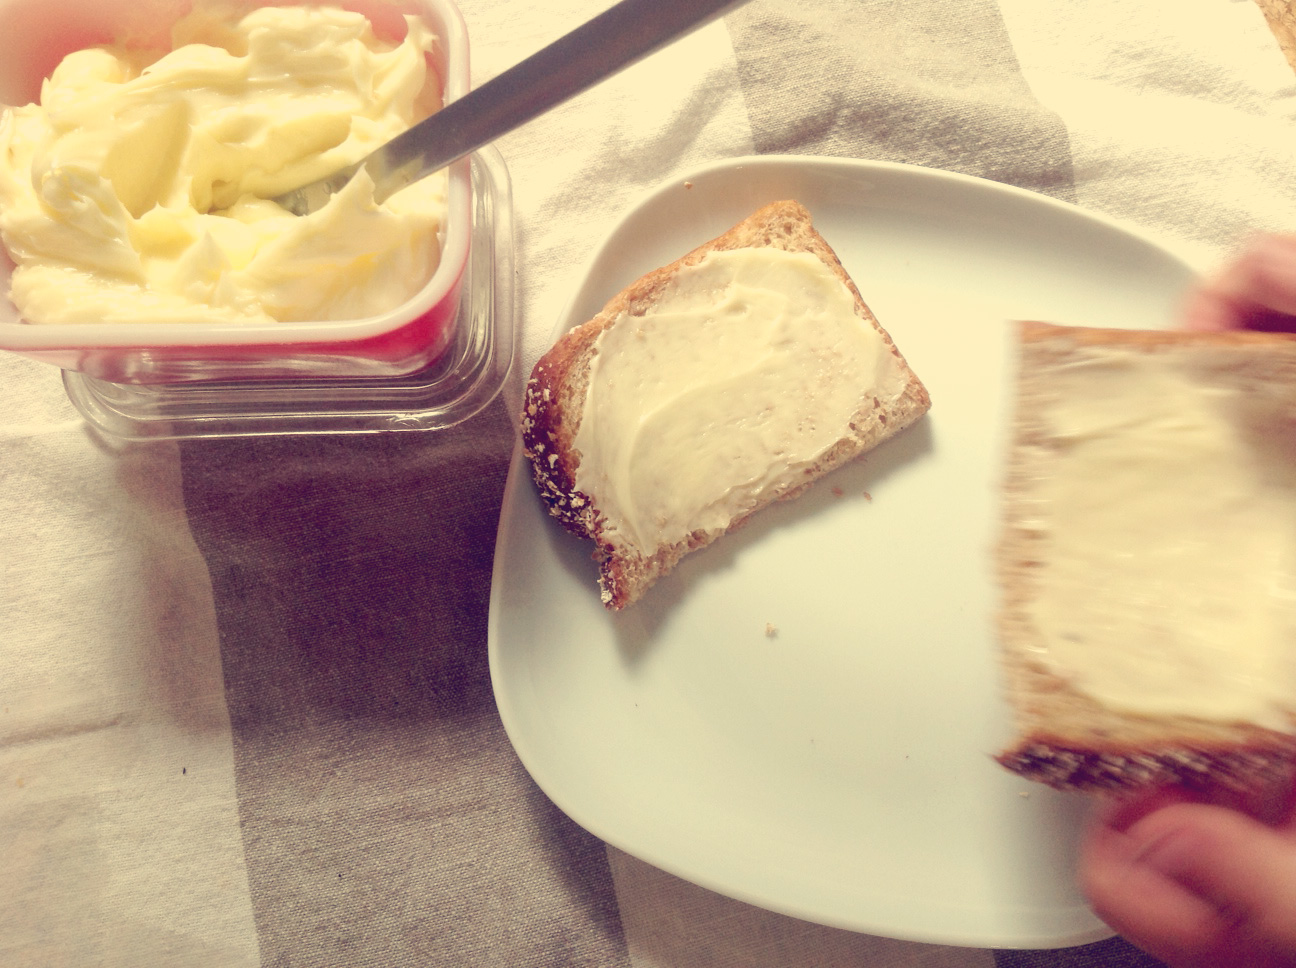
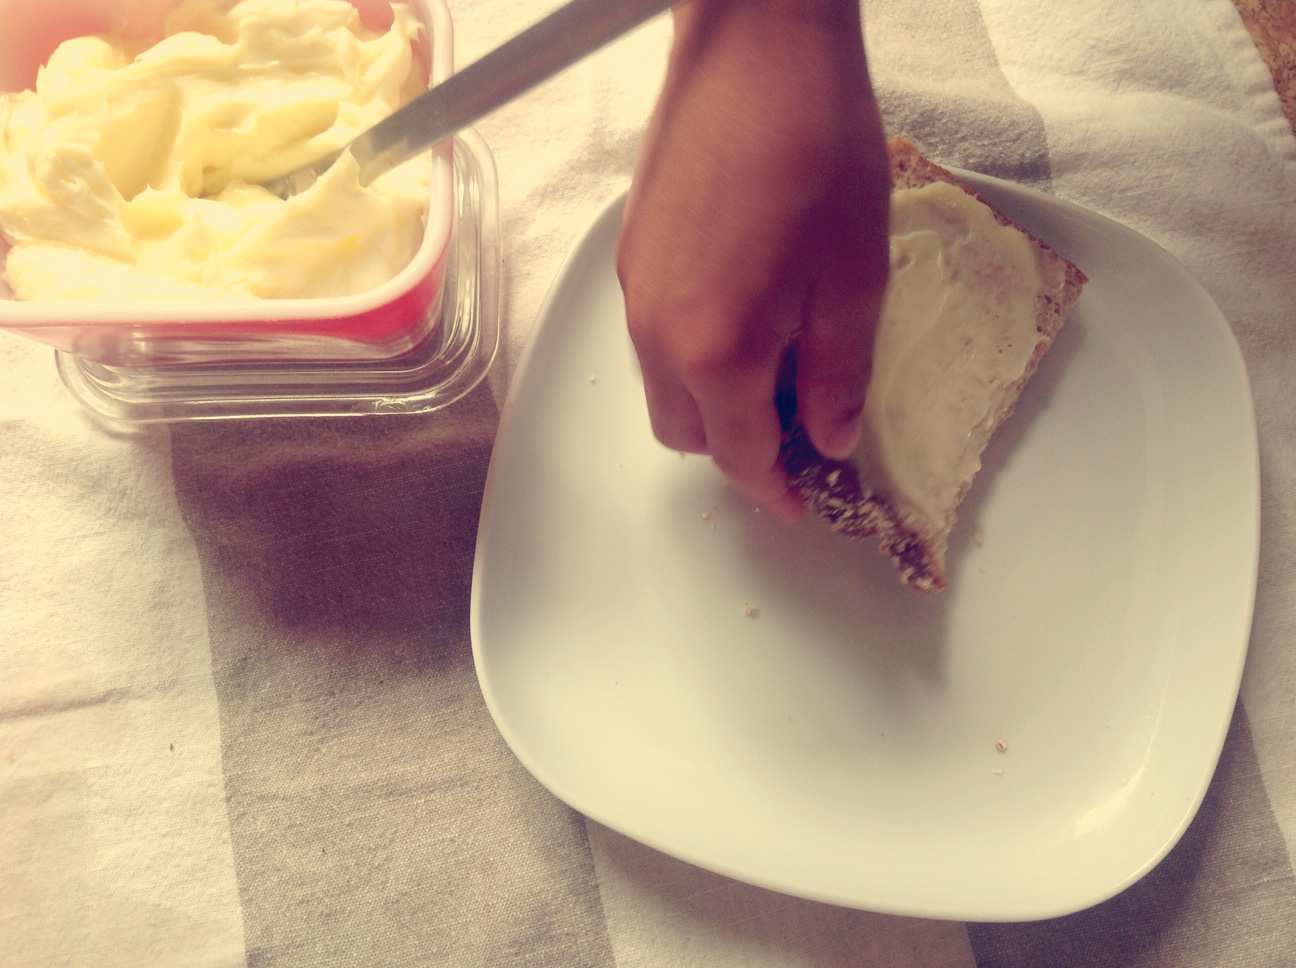
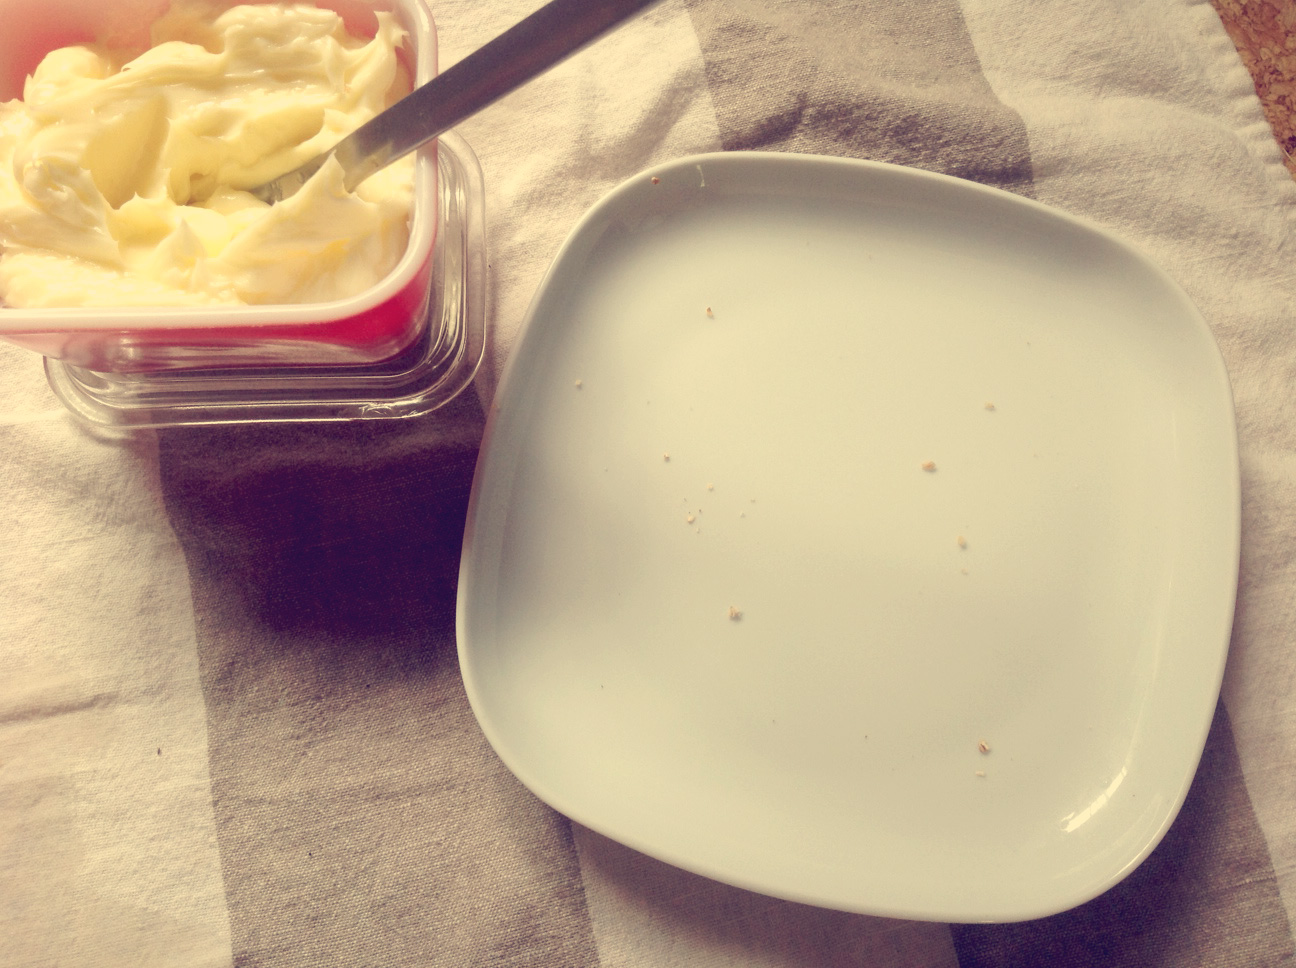
7. Have a taste and then store butter in the fridge for up to two weeks (as if it will last that long!). At this step you can also add various flavours – chive flowers, citrus, fruit, herbs, garlic, roasted peppers, etc. What’s your favourite flavoured butter?
This post is part of a link up at Thank Goodness It’s Monday, Natural Living Mondays, and Unprocessed Fridays on Girl Meets Nourishment.

WOW It Worked Glad you enjoyed the gift
Thanks! You’ll have to come by to try some of the butter : )