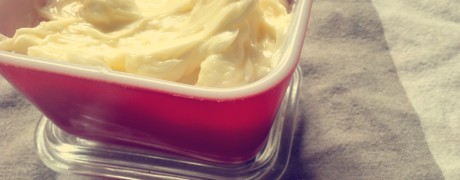
Tag: cooking with kids

  • How to Make Homemade Butter

    How to Make Homemade Butter

    This post was originally published on June 27, 2013. Reposting now as the chives will be flowering in a while, and I don’t want you to miss out on homemade chive flower butter…

    Empowering ourselves and our children to grow and make our own nourishing foods is a high priority for our family. This is why I was over the moon with a birthday gift from my mom of a vintage glass butter churn.

    Yes, making butter is time consuming. Yes, it’s really not less expensive as far as I can tell than buying organic butter (I haven’t done the math yet). And yes, it is a ton of fun and super rewarding.

    Today we busted out the churn and got to work making homemade butter. Here is a simple breakdown of the steps we took to make delicious, creamy wholesome butter…
    1. Pour heavy cream (whipping cream) into the clean butter churn.
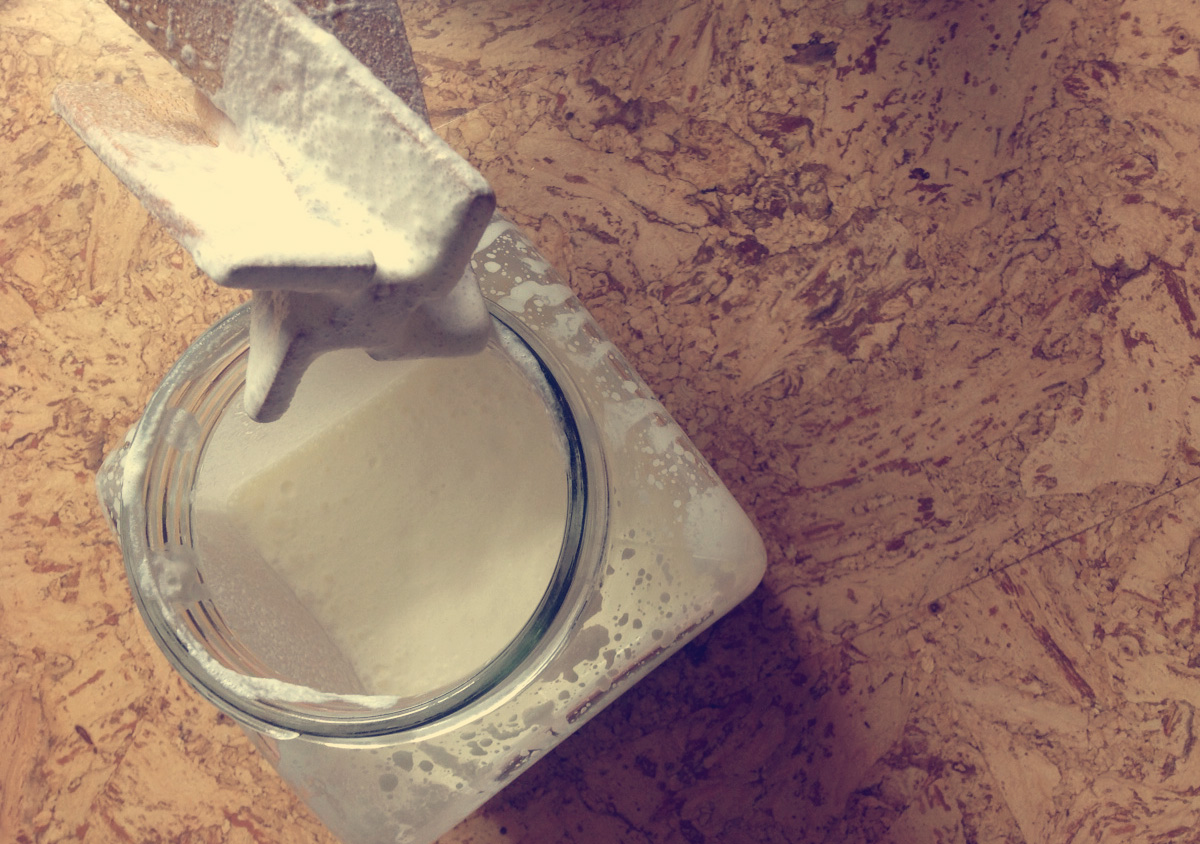
    getting-thicker
    2. Churn, churn, churn. And churn some more. Making butter is a great group activity and little ones love this step!
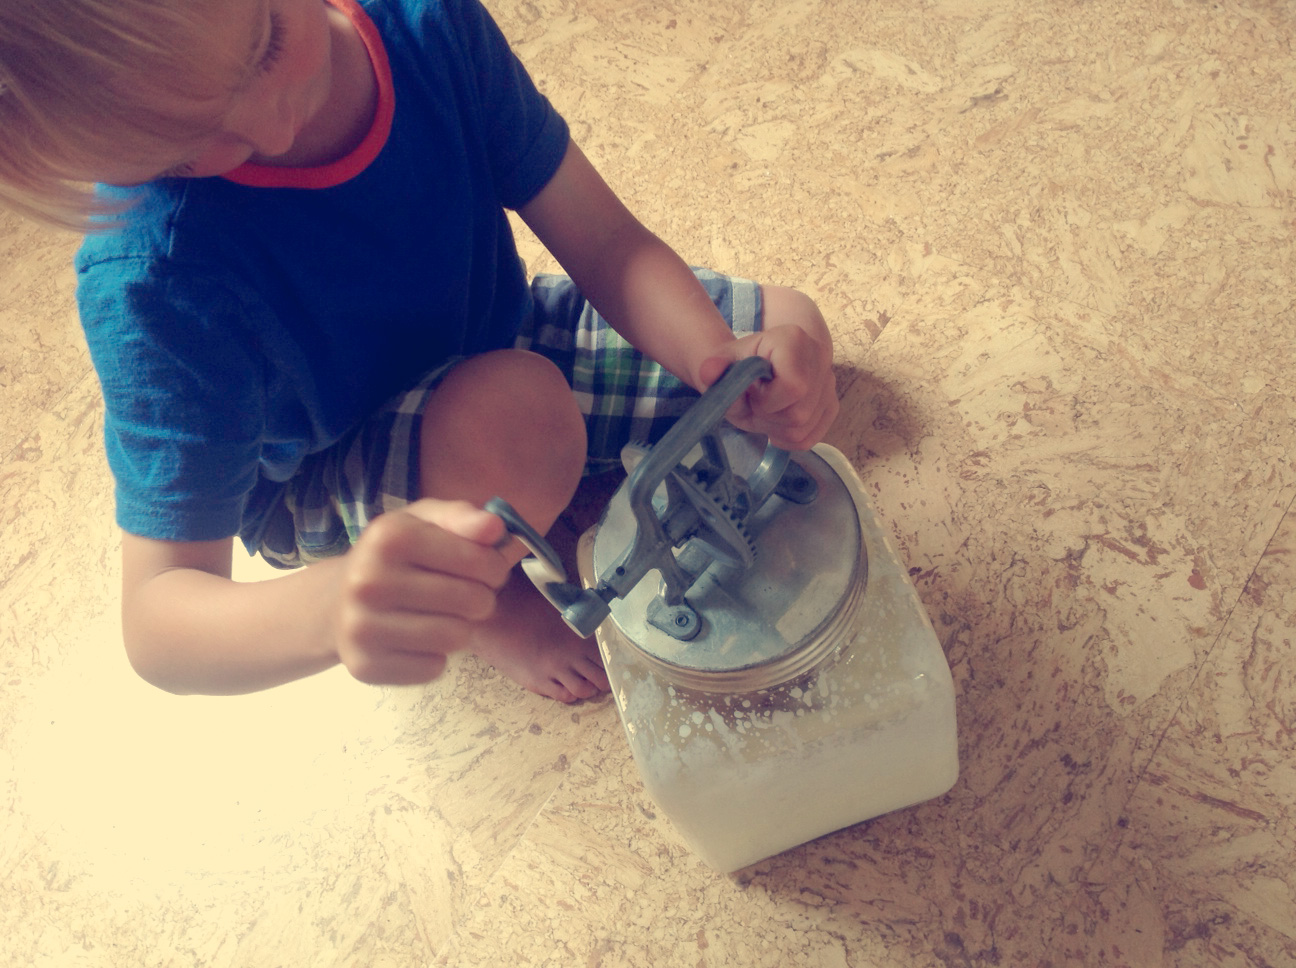
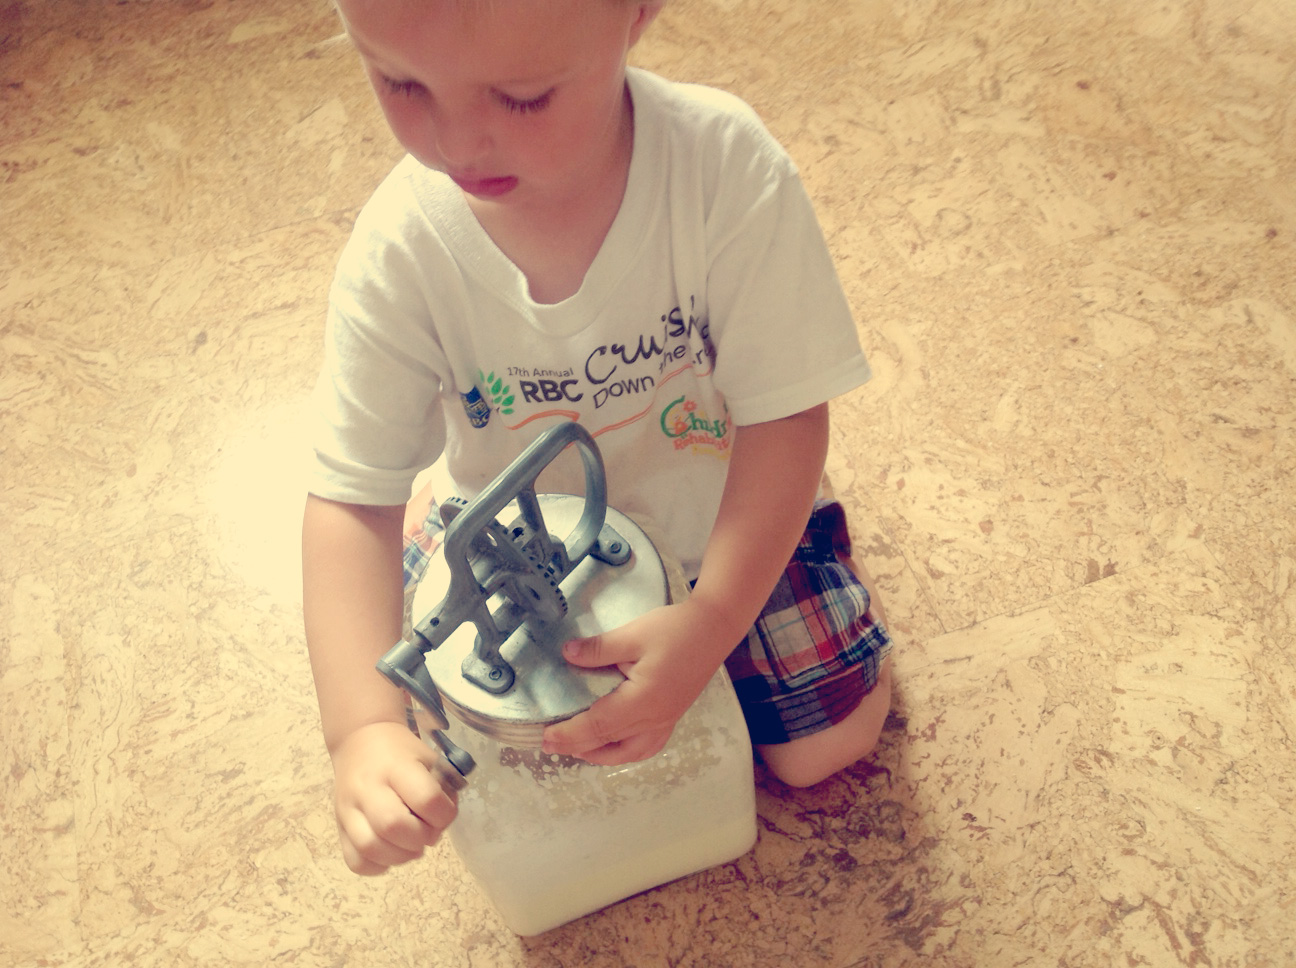
    cohen-churning-buttermilo-churning

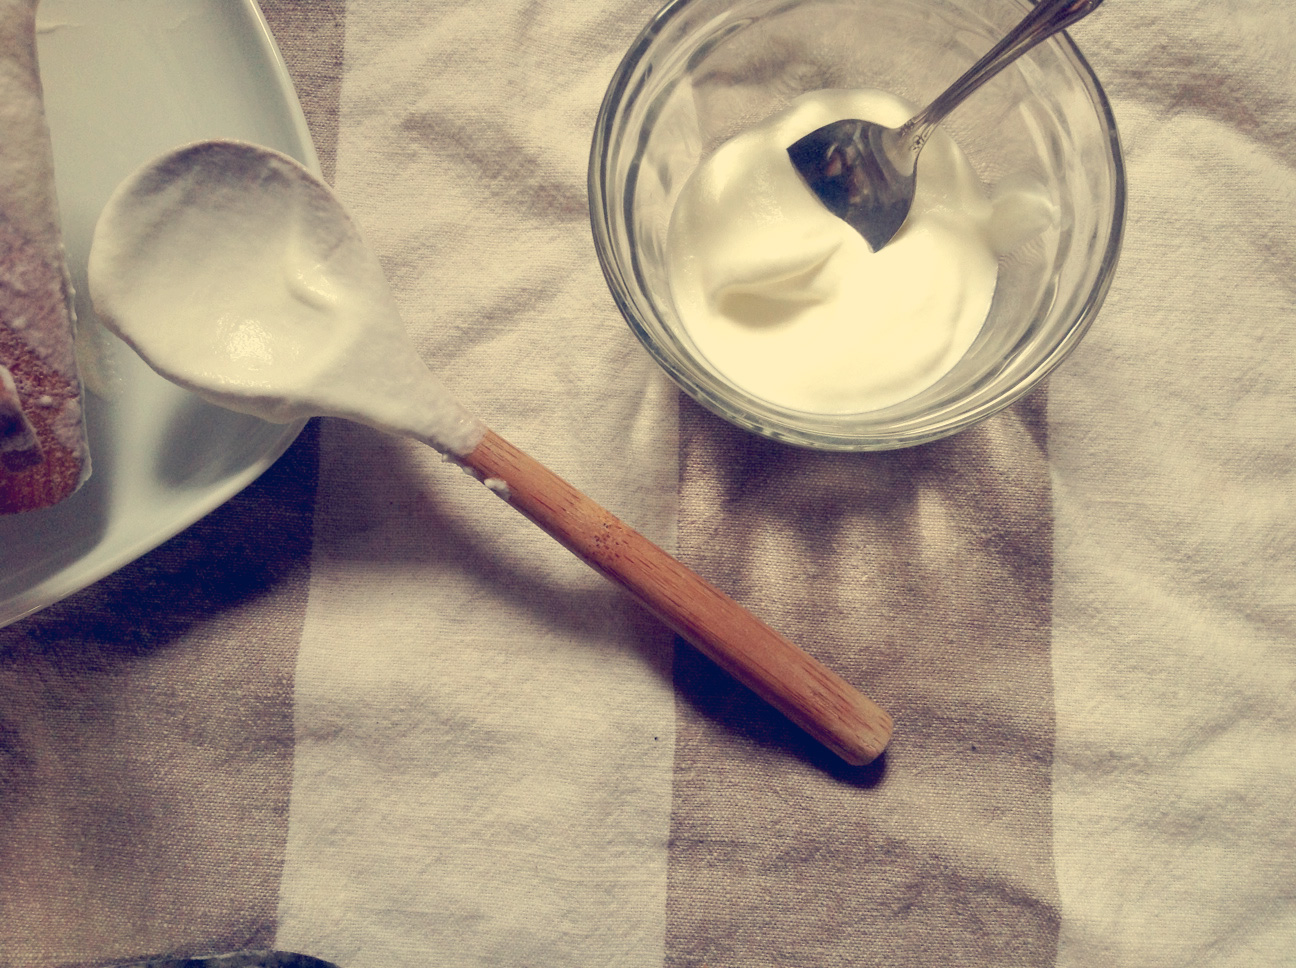
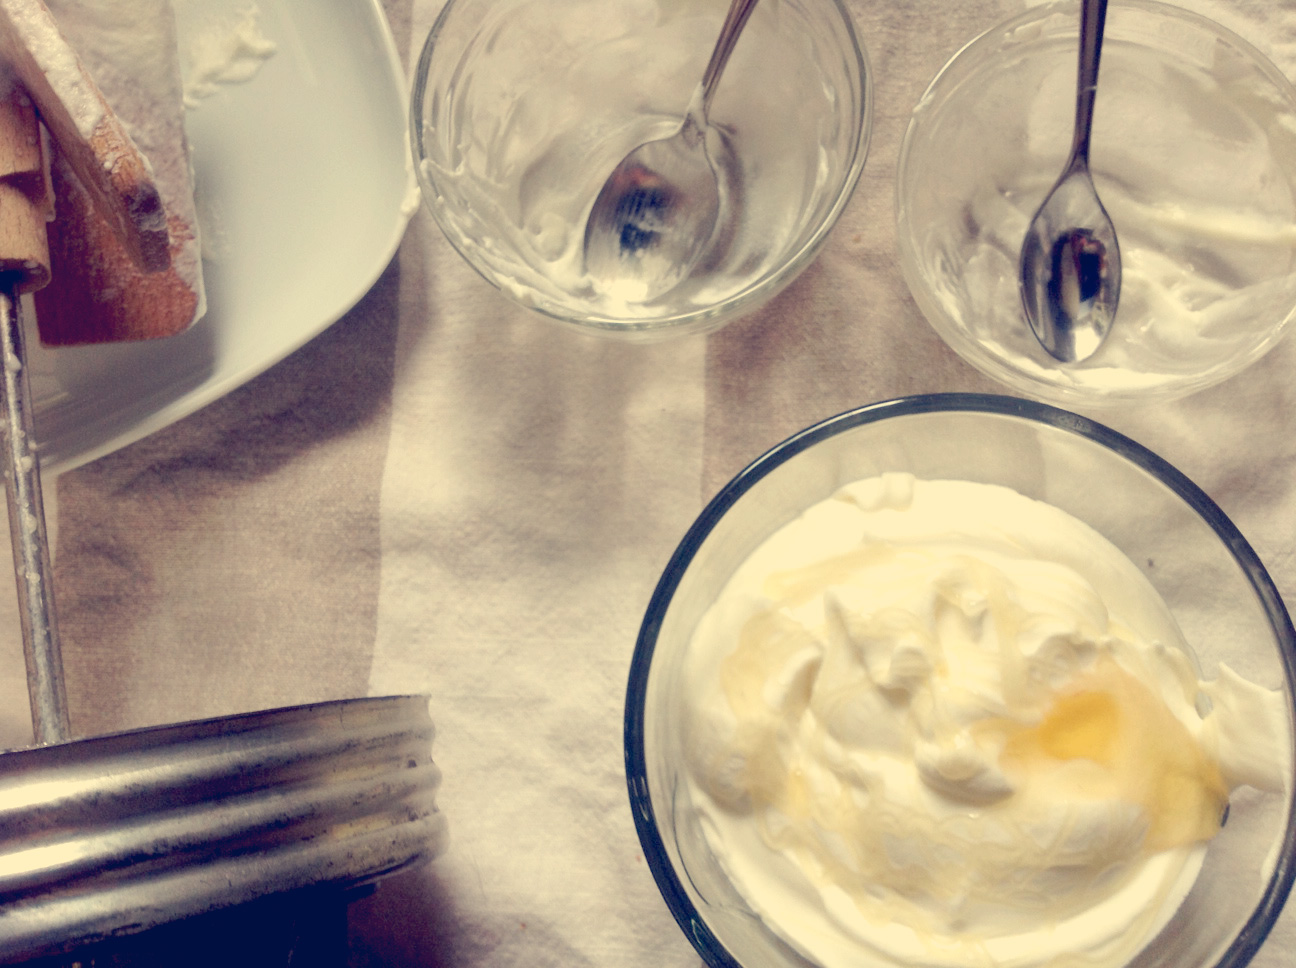
    3. You might want to make a brief pit stop at the whipping cream stage for a taste test. Ahem. Perhaps even save some for later. We enjoyed ours with a drizzle of local honey.whipping-creamtasting-whipping-creamsaving-whipping-cream
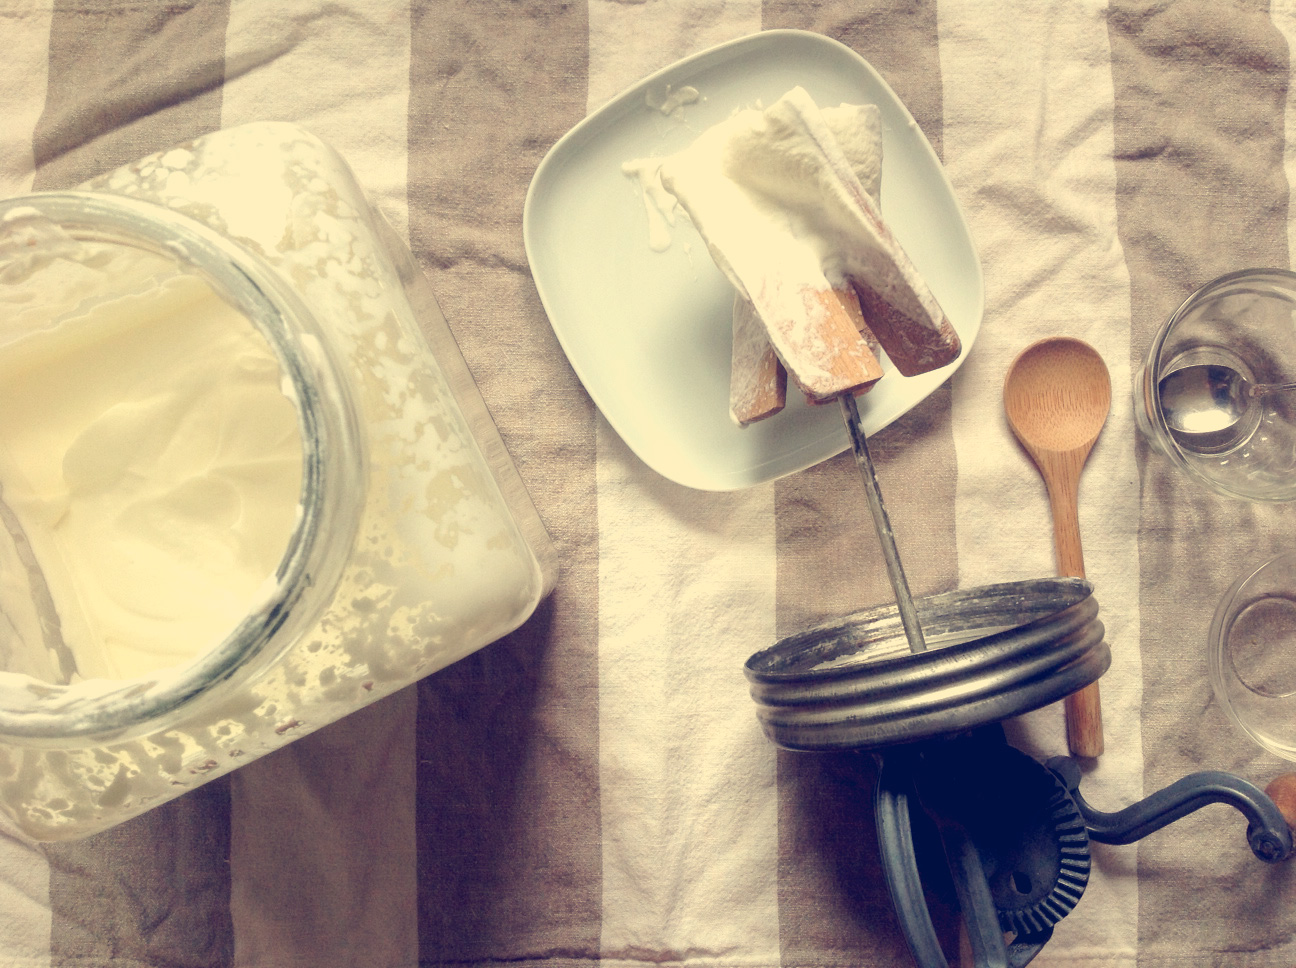
    4. The fats will start forming into little chunks. Stop when you hear sloshing – this means that the butter and buttermilk have separated. Use a strainer to pour off the buttermilk.butter-and-buttermilk
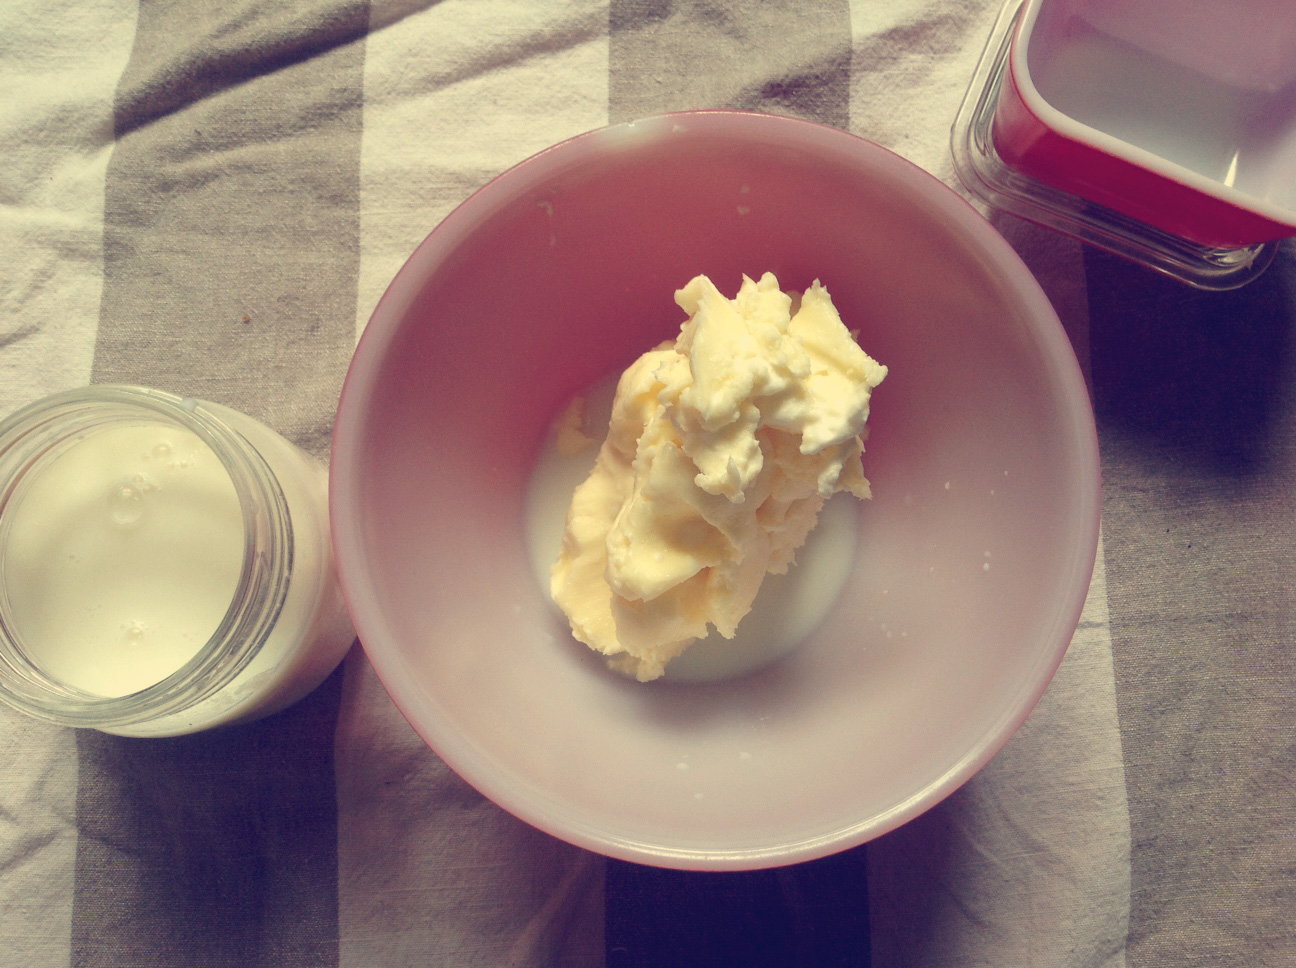
    5. Knead the butter to get as much buttermilk out as possible. Drain into buttermilk jar. Cover and store in the fridge for up to a week.squishing-out-buttermilk

    6. Wash the butter by adding ice cold water and mashing with a wooden spoon. Drain. Repeat.washing-butter
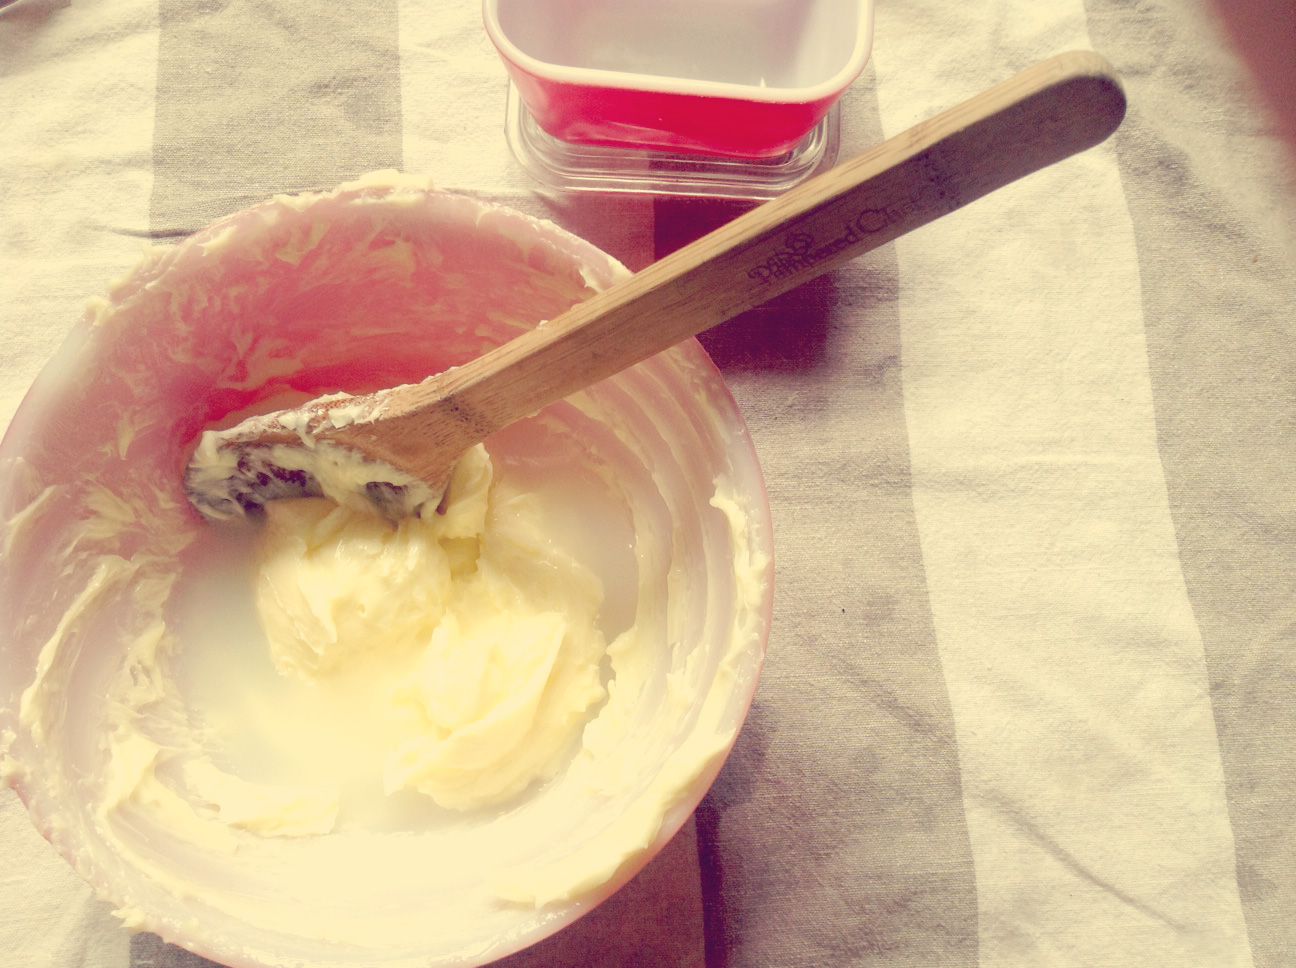
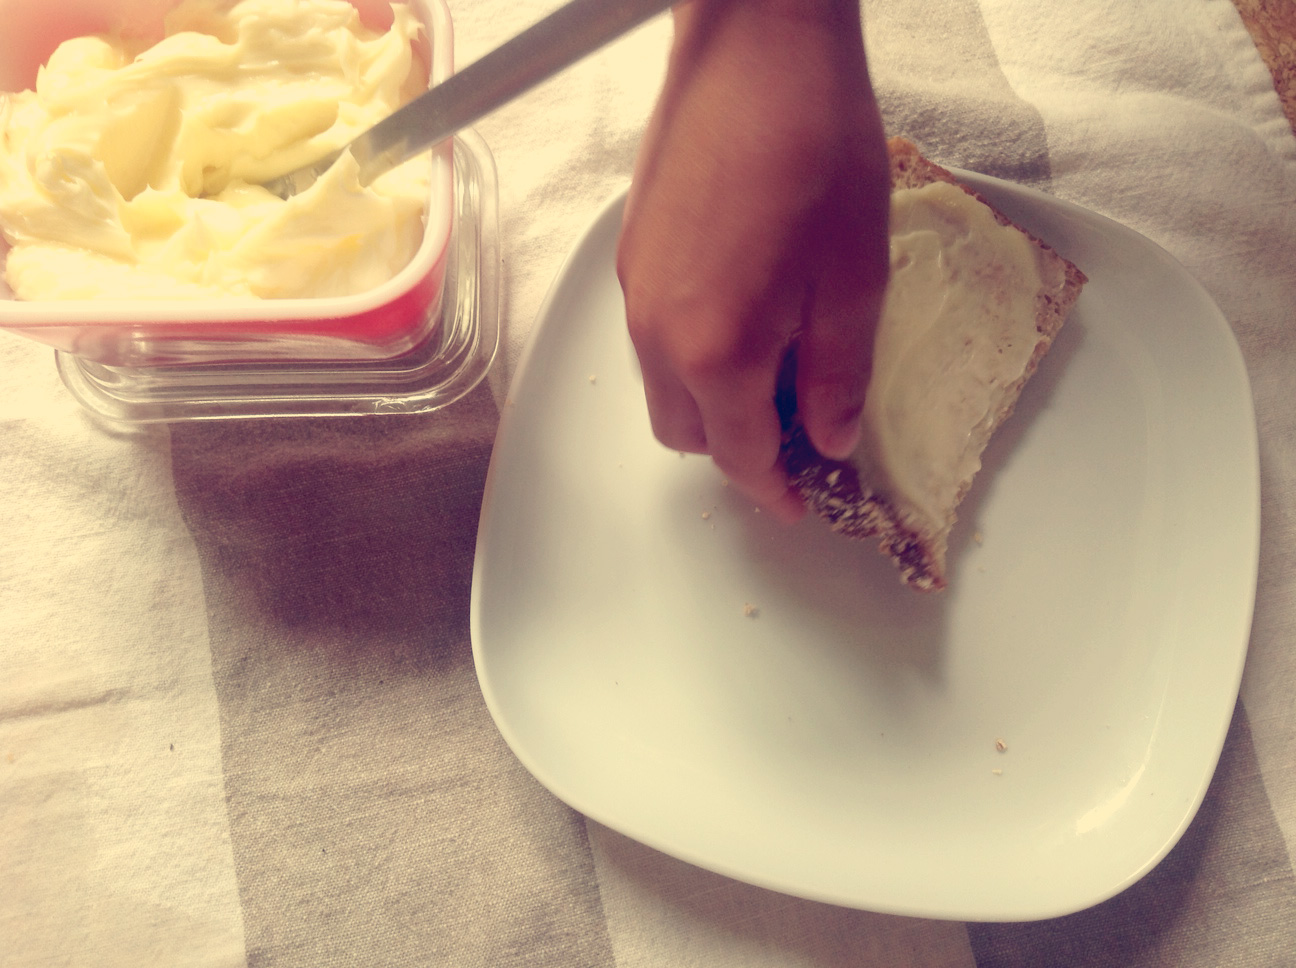
    7. Have a taste and then store butter in the fridge for up to two weeks (as if it will last that long!). At this step you can also add various flavours – chive flowers, citrus, fruit, herbs, garlic, roasted peppers, etc. What’s your favourite flavoured butter?
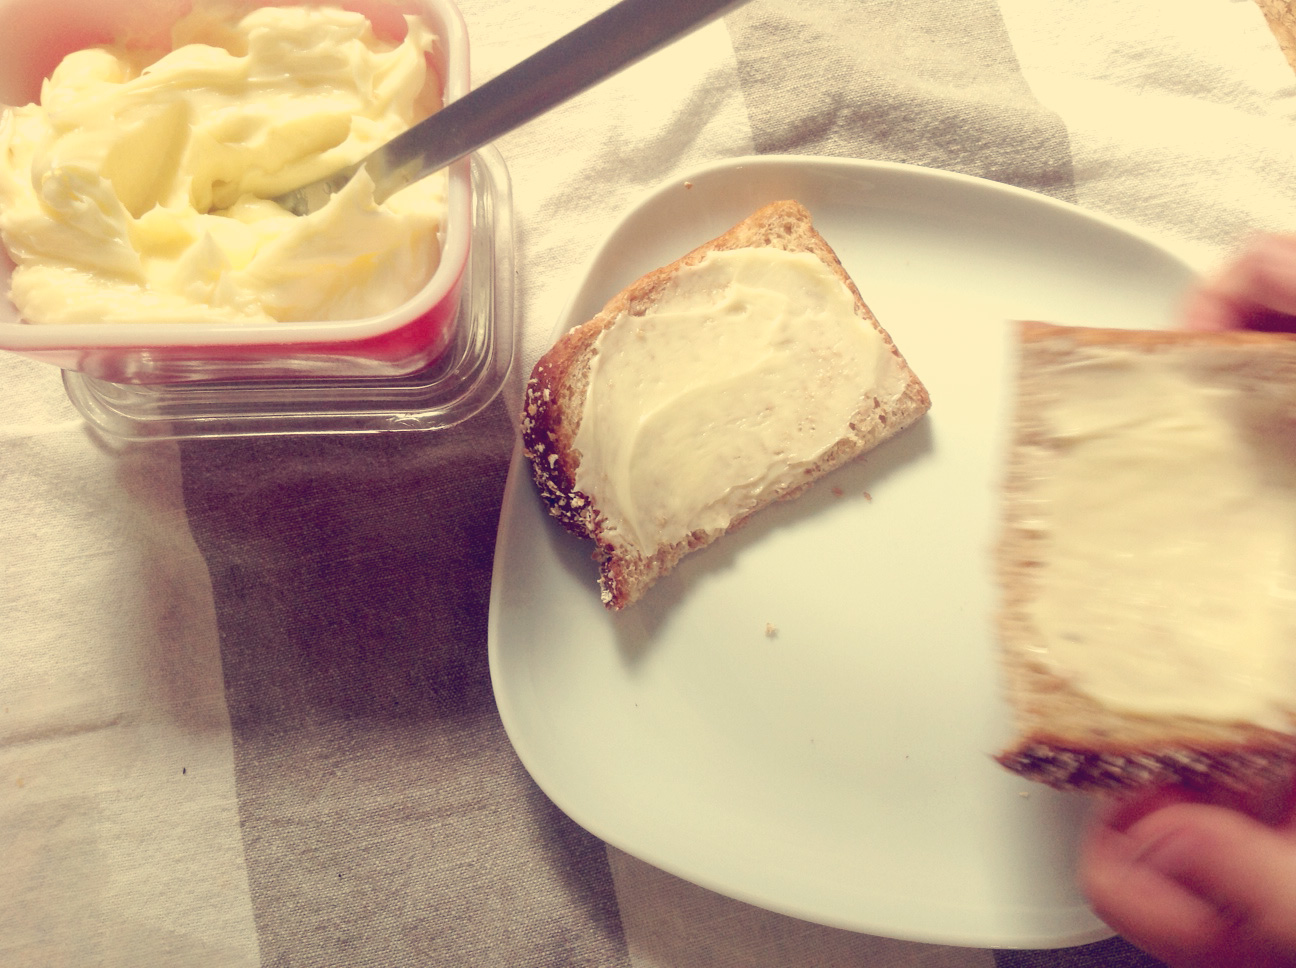
    eating-buttereating-butter-2eating-butter-3


    This post is part of a link up at Thank Goodness It’s Monday,  Natural Living Mondays, and Unprocessed Fridays on Girl Meets Nourishment.

  • Simply Healthy Fudge

    Simply Healthy Fudge

    This is some seriously simple fudge! With some nourishing ingredients, and no added sugars, I’m thinking it is going to make an appearance several times in 2014! We made this our official December recipe for our 10 year old’s baking program, which means we *had* to make it three times. Ahem.

    We  decided to make it a candy cane fudge, by adding some crushed candy cane and peppermint to the mixture and more crushed candy cane on top. Of course, this isn’t a super healthy fudge anymore, but the basic recipe is sugar free and you can easily keep it that way! There are a lot of suggestions at the end of the post for other flavours, many of which sound so good, and good for you.

    BASIC RECIPE

    Ingredients:

    • 2 cups dark, fair trade chocolate (we used cocoa camino baker’s chocolate and topped off with enjoy life chocolate chunks because we didn’t have enough cocoa camino left to make 2 cups – note that the chunks have sugar, so I recommend the straight dark chocolate)
    • 1 cup coconut milk (the thicker part from the top of the can)
    • pinch of sea salt

    candy cane fudge ingredientscandy cane fudge crushed

    Instructions:

    1. Break up chocolate, if necessary.

    2. Add all ingredients to a double boiler and melt over low heat.

    fudge heating up

    3. Add any optional ingredients.

    adding extras - fudge

    4. Pour into a square baking dish lined with wax paper.

    fudge finished

    5. Add any optional toppings.

    6. Set in the fridge.


    FLAVOURS TO TRY:

    I am super excited to try some of these in the near future. Particularly, maple walnut, toffee + salt, and orange + macadamia. Yum.

    • candy cane / peppermint
    • vanilla
    • maple walnut (maple syrup + walnuts)
    • pumpkin
    • toffee + salt
    • peanut butter (or sunflower butter, etc.)
    • coconut
    • orange zest + macadamia nut
    • white chocolate + cranberry

    What is your favourite kind of fudge? Share in the comments!


    This post was featured at Thank Goodness It’s Monday and Simply Natural Saturday, and shared as a part of Natural Living Monday,  Fat Tuesday,  Simple Lives Thursday, Fight Back Friday, Unprocessed Fridays, and Simply Natural Saturdays.

  • Celebrating Good Food at Home

    Celebrating Good Food at Home

    World Food Day was October 16th, and today is Food Day (October 24) in the United States.  How can families truly embrace the heart behind these celebrations in our everyday?  Here are a few quick ideas:

    Mealtime

    • Involve the whole family in choosing and cooking dinner – get everyone involved in washing, peeling, chopping, and cooking.
    • During dinner, talk about where the ingredients came from. Are the carrots from a farm nearby? Maybe your family has met the person who raised the chicken.
    • Draw or print out a map of your province and map your meal. Put a symbol on the map for each farm that supplied food for your meal – don’t forget your own garden!

    Activities

    • Watch a documentary that focuses on food and talk about one of the issues.
    • Volunteer at a food bank
    • Take a cooking class with a friend or family member
    • If you’re in the United States, there are many organized activities over at foodday.org. Even if you’re outside the U.S., you’ll find transferable ideas on the Food Day site.
    • Visit a local farm.
    • Grow some herbs in your home.
    • Read books about food – growing it, foraging for it, cooking it, eating it…

    Crafts

    • Make a collage using foods cut out from flyers – group the foods according to origin, main vitamins, whether they are nutritious or not, etc. To strike up a conversation about local food, group the images according to whether they are available right in your province or state.


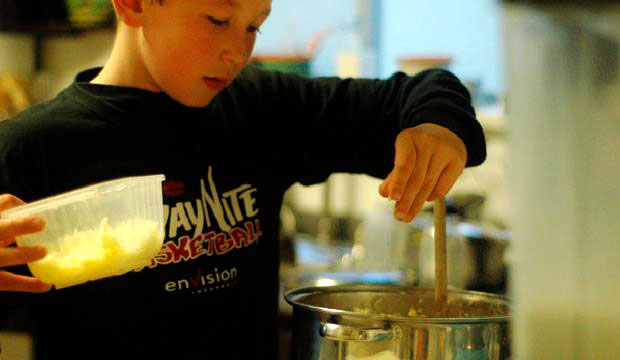
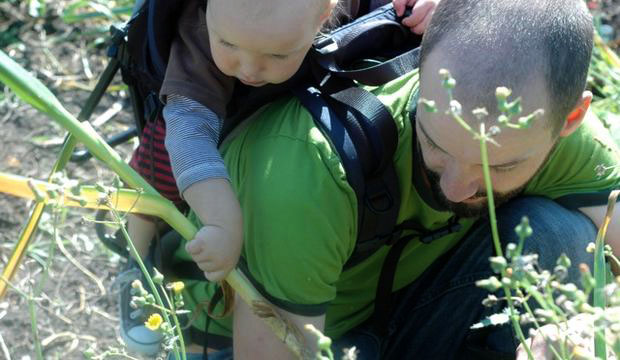
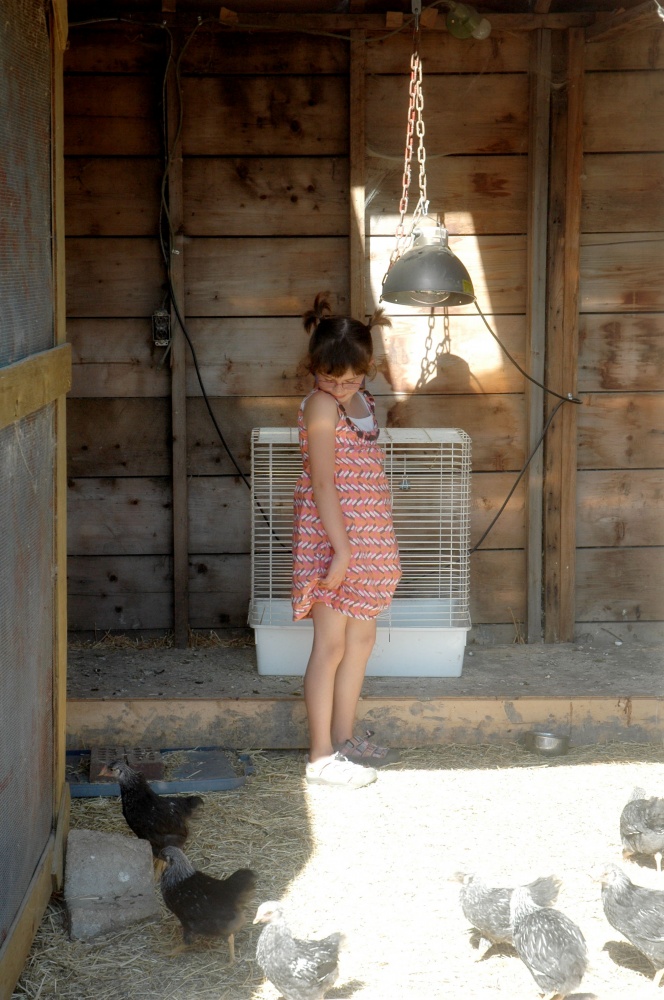
    • bran cookingmi garlicbre chickens

     
    Tiny Peasant Pantry is a fantastic resource for your home or homeschool. Whether your children already love to spend time in the kitchen, or have the meal-time ‘blahs’, they will love this engaging food skills program that equips them with the skills to nourish themselves and those around them. Parents will love the section on age-appropriate ways to involve kids in the kitchen as well as the sanity-saving menu planning resources (also available separately).

    Tiny Peasant Pantry fb

    In our Menu Planning Resources package, you will find everything you need to get your family on track with menu planning. Forget about the 4pm overwhelm once you start using this system. There are handouts with tips to get you started, as well as actual menu planners that you can print out and keep in a binder, or laminate and use on the fridge.  Seriously save a ton of time, money, and your sanity!

    Tiny Peasant Pantry Menu Planners Badge


     This post was shared as a part of Simple Lives Thursday at My Humble Kitchen, Fight Back Friday at Food Renegade, and Unprocessed Fridays at Girl Meets Nourishment,  Simply Natural Saturdays at The Pistachio Project, Thank Goodness It’s Monday at Nourishing Joy, and Natural Living Monday at Modern Alternative Health.