Tag: halloween

  • Enchanted Halloween

    Enchanted Halloween

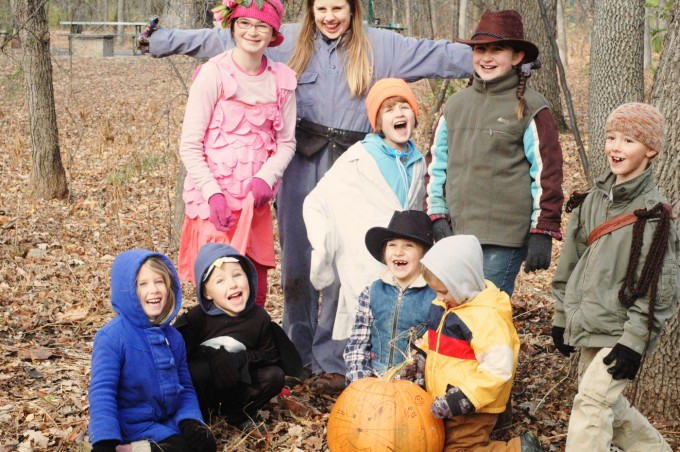
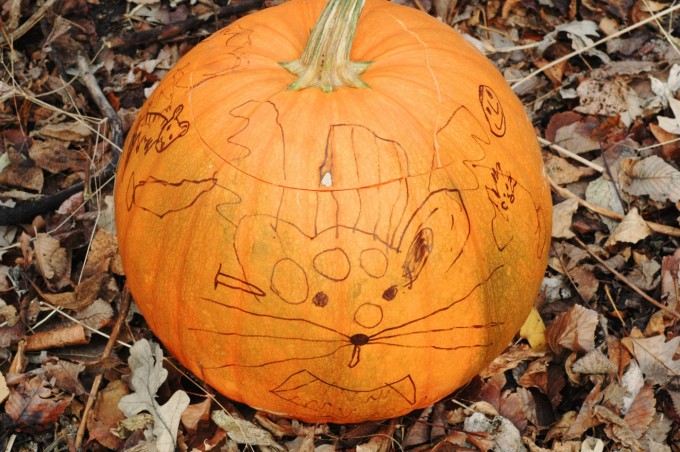
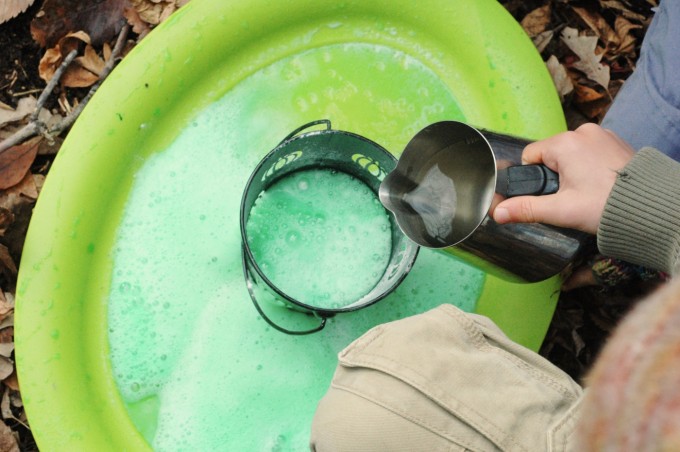
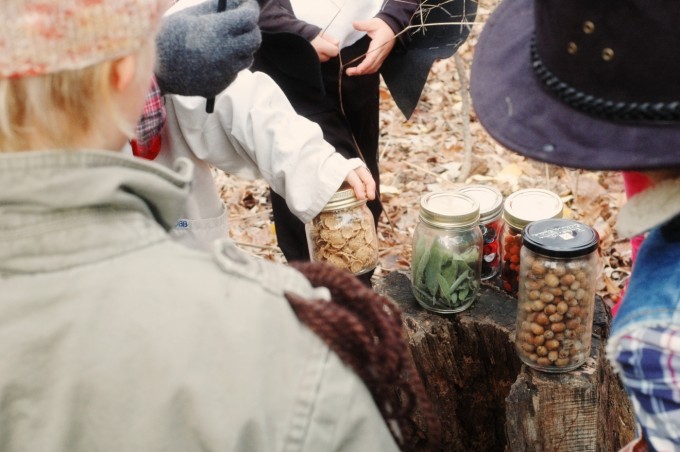
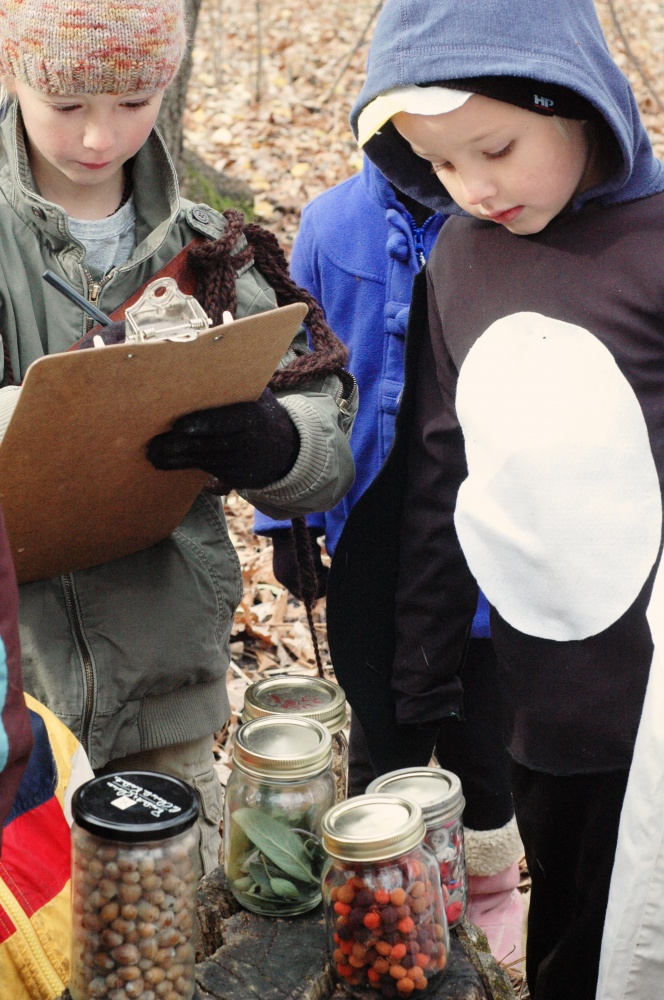
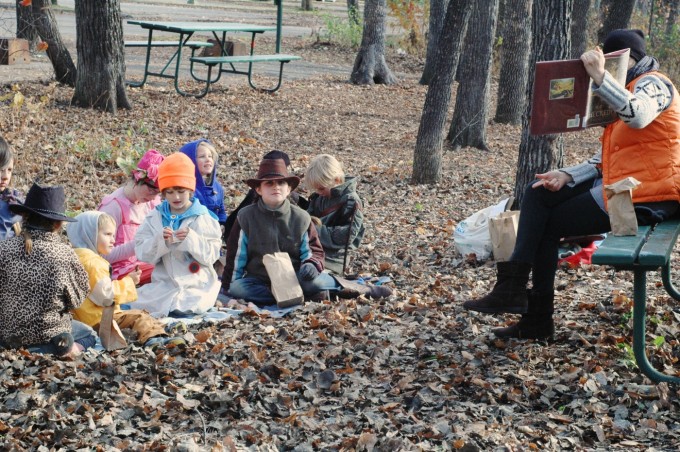
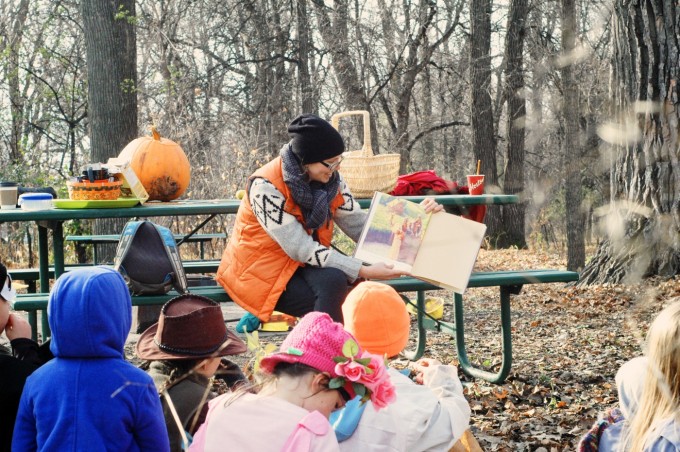
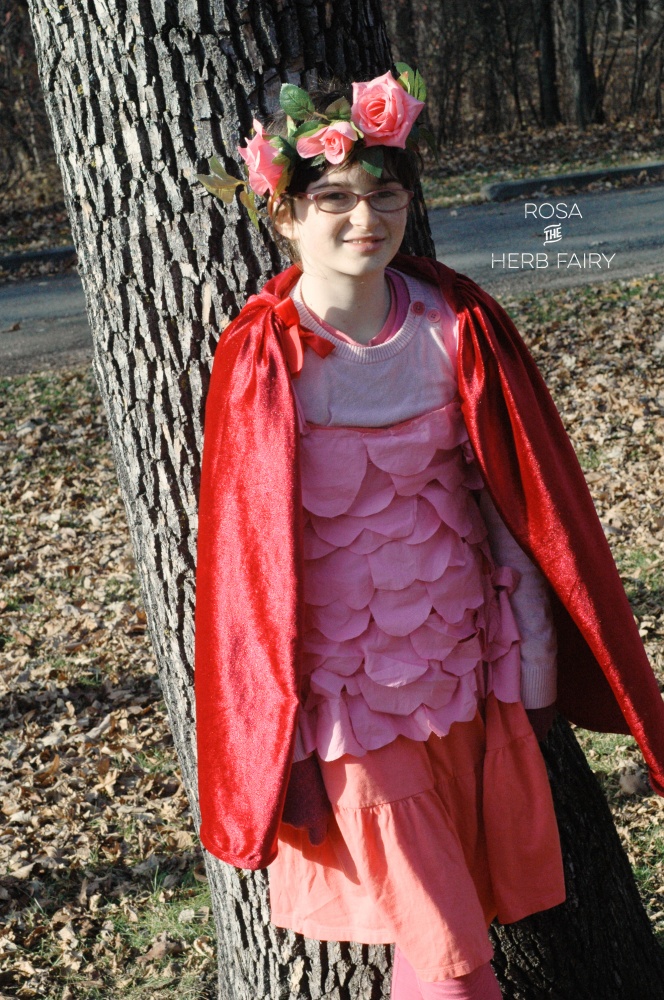
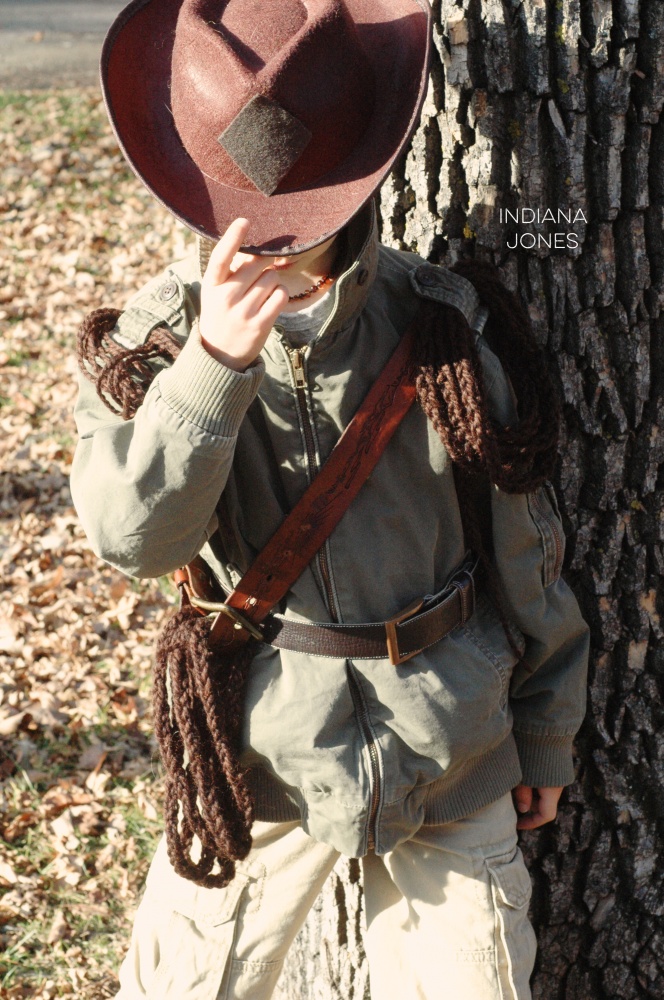
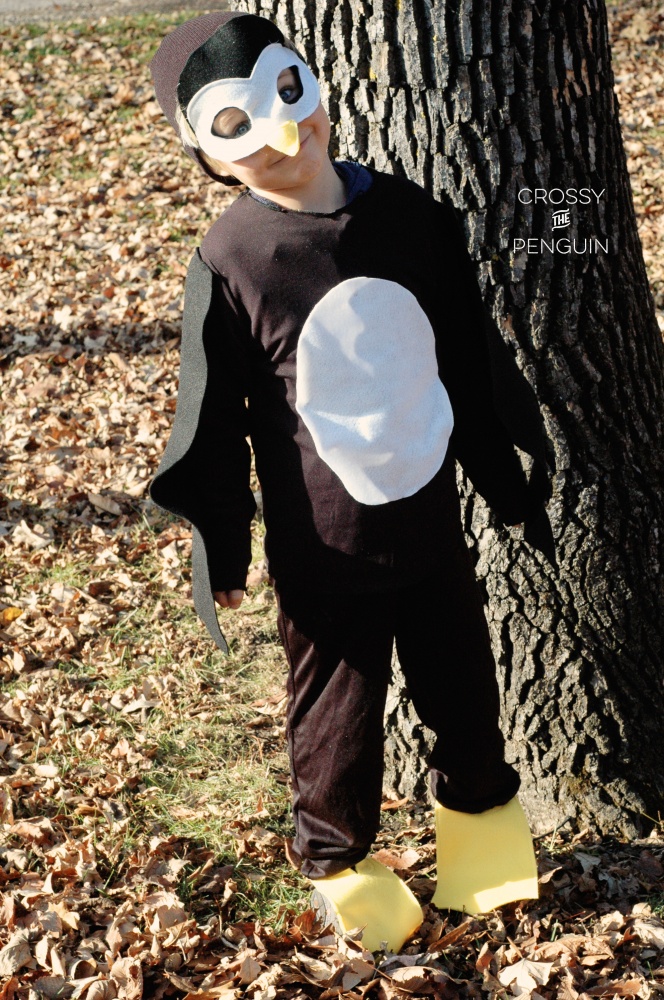
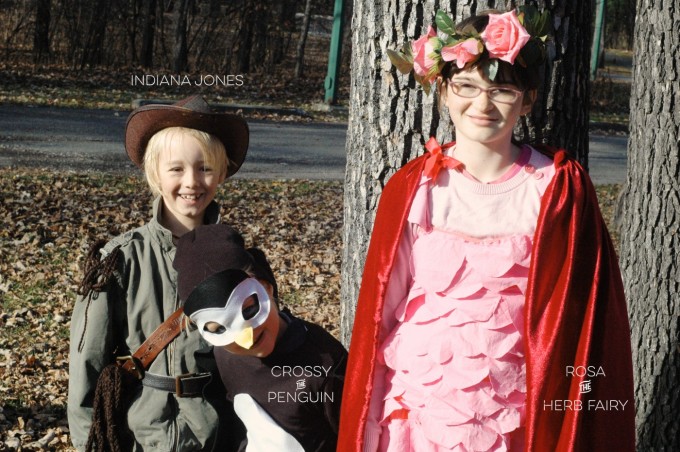
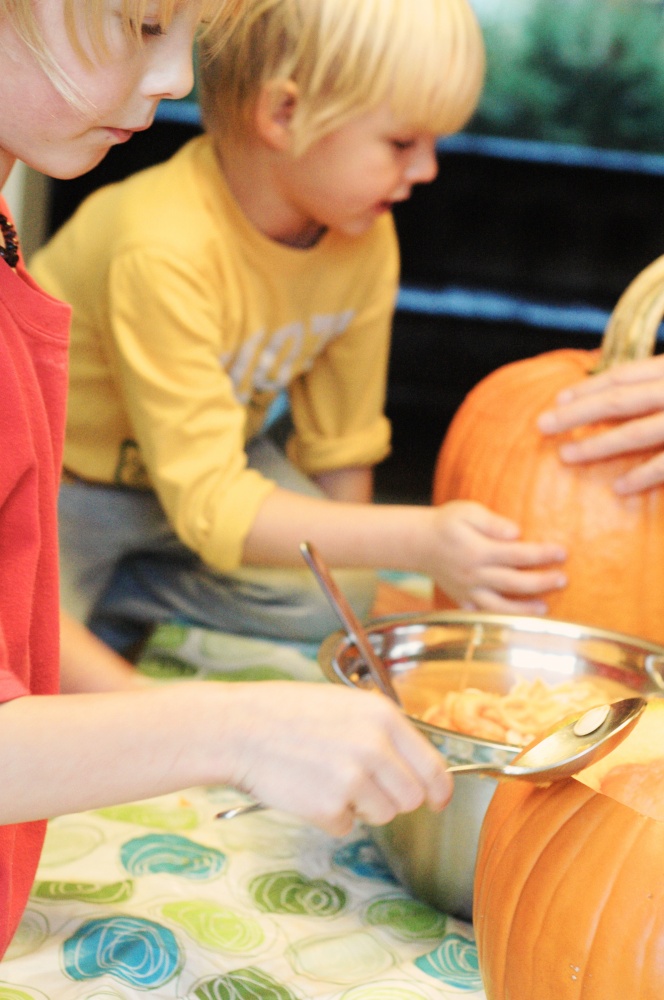
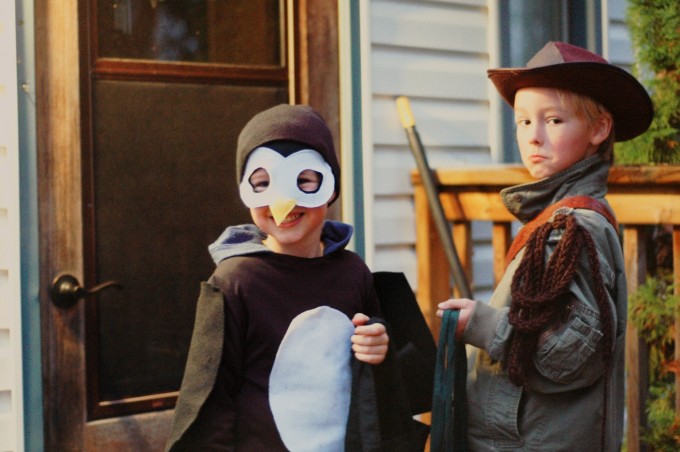
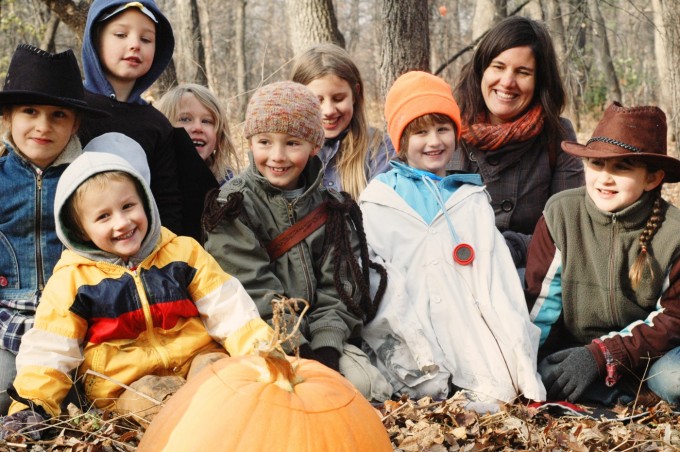
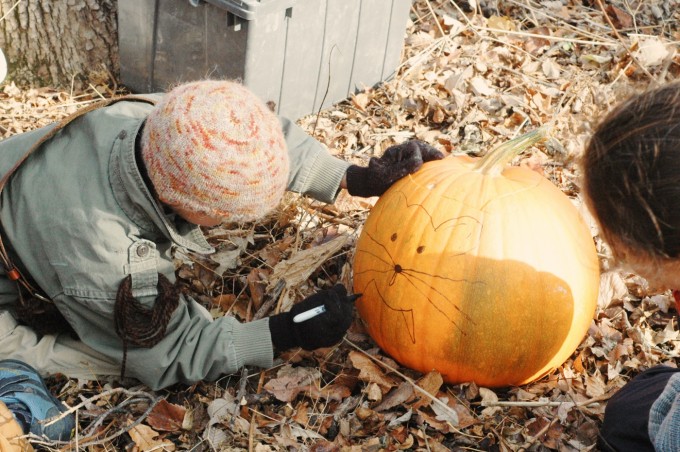
    This year marked one of our best halloween celebrations yet, thanks to the amazing group of families in our weekly learning cooperative. The whole crew of us gathered in the forest, the kids dressed up in their Halloween costumes, and the parents ready with simple yet engaging activities. After sharing some warm apple cider, the kids made their way through the enchanted forest over to a giant pumpkin for some collaborative story-telling and pumpkin decorating, then ran over to what they dubbed the “pumpkin-snot-cano” station (baking soda, green food colouring, and vinegar). Some very careful estimations took place at the next station, followed by a story as they munched on honey-butter popcorn and chocolate.

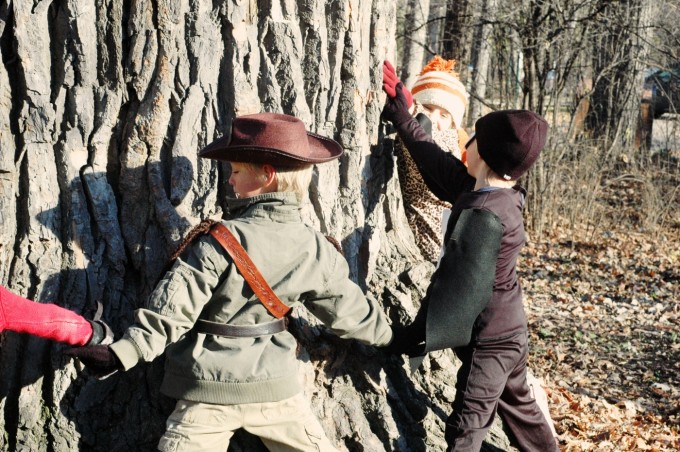
    As with almost every gathering of this group, there was a whirlwind of free play. Also, a quick experiment to see if they could wrap around the one giant old tree that stood in the centre of our gathering place. At the end of our time together, Milo said to me in a dreamy voice, “Mama, I love our homeschool co-op.”

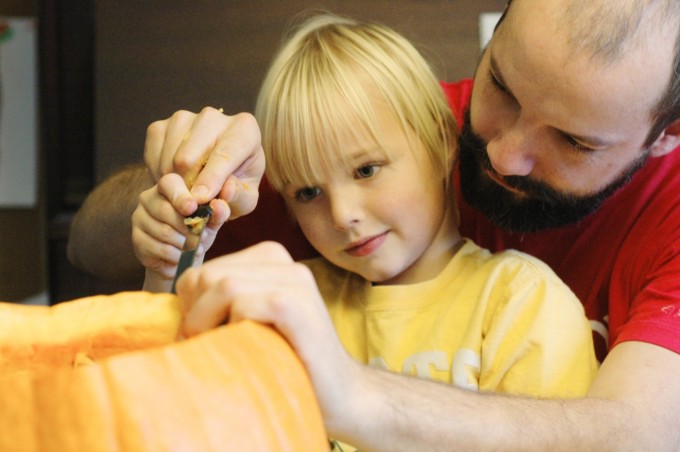
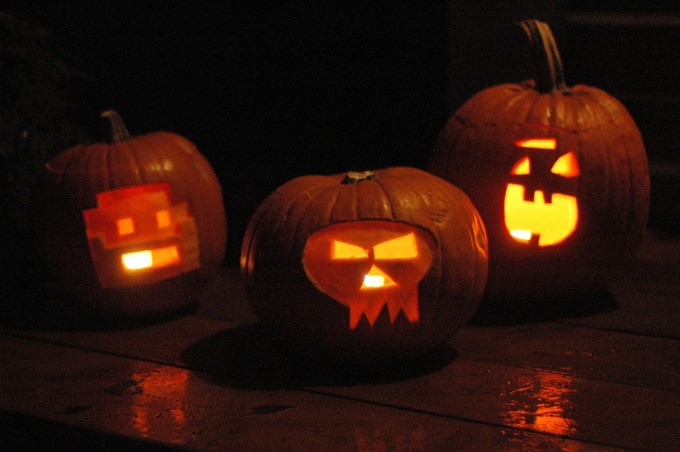
    The magic didn’t stop there – at home, we carved pumpkins, crafted costumes, and baked delicious pumpkin donut holes. To be honest, the pumpkin carving was done a bit reluctantly on my end, as I have reservations about using food for decorating. Thankfully, a local farmer is accepting jack-o-lanterns for her pumpkin-loving pigs to eat! We had a great time visiting with neighbours on halloween night and we’re all looking forward to next year, when we’d love to have a fire outside and share warm apple cider with visitors. We had the cider and donuts to share this year, but didn’t find a good balance between trick-or-treating and being home handing out candy!
     

    TP Co-op Halloween TP Co-op Halloween9 TP Co-op Halloween14TP Co-op Halloween2TP Co-op Halloween3 TP Co-op Halloween4 TP Co-op Halloween6 TP Co-op Halloween7 TP Co-op Halloween8TP Co-op Halloween13 Bre Halloween 2015Co Halloween 2015Milo Halloween 2015Halloween-2015 TP carving with daddy  TP pumpkin carving brosTP jack trioTP trick or treat 2 2015TP trick or treat 2015

  • Celebrating Halloween Mindfully :: Mini Pumpkin Candles

    Celebrating Halloween Mindfully :: Mini Pumpkin Candles

    I want our children’s memories of Halloween to be positive, festive, and warm. We choose to minimally participate (early evening trick-or-treating on our block and to grandparent’s homes, in fun rather than scary costumes), while aiming to create positive and gentle memories for them to carry with them as they grow.

    Part of this memory making involves crafts. Below are instructions for a craft loved by the whole family.


    Mini Pumpkin Beeswax Candles

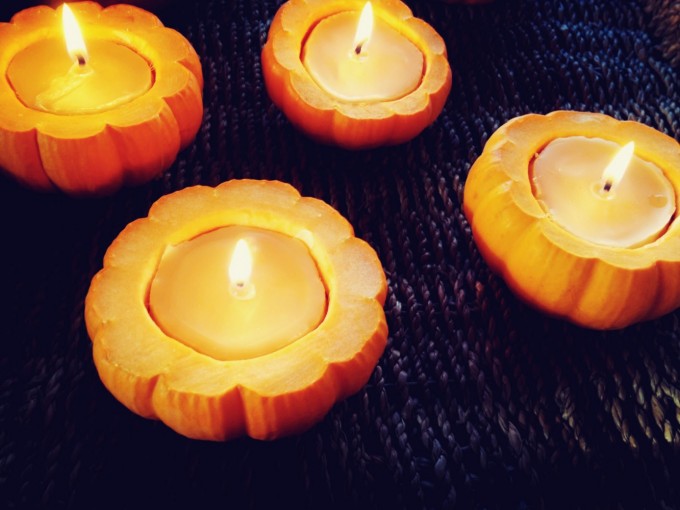
    lit mini pumpkins

    This project was so much fun, the favourite part being scooping out the ‘guts’ of the pumpkins. For some reason, the cool factor of this task was upped a notch due to these being tiny pumpkins. We were so thankful to receive beeswax from a friend who operates an amazing candle company, Candles for Hope.  Marlese donates all proceeds to a free birthing centre in the Philippines.

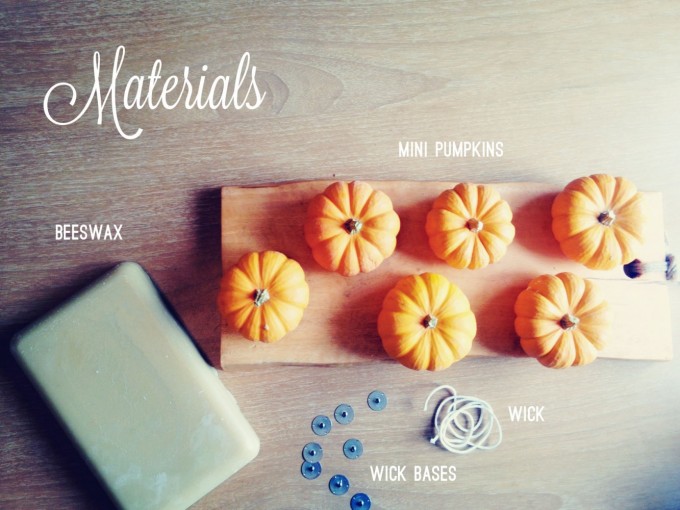
    Materials

    • beeswax
    • wick
    • metal plates for the base of the wick
    • scissors
    • mini pumpkins or gourds
    • lighter or matches
    • double-boiler
    • ladle
    • spoons
    • pliers
    • baking tray or other tray to contain beeswax drips

    mini pumpkin candles materials

    Instructions

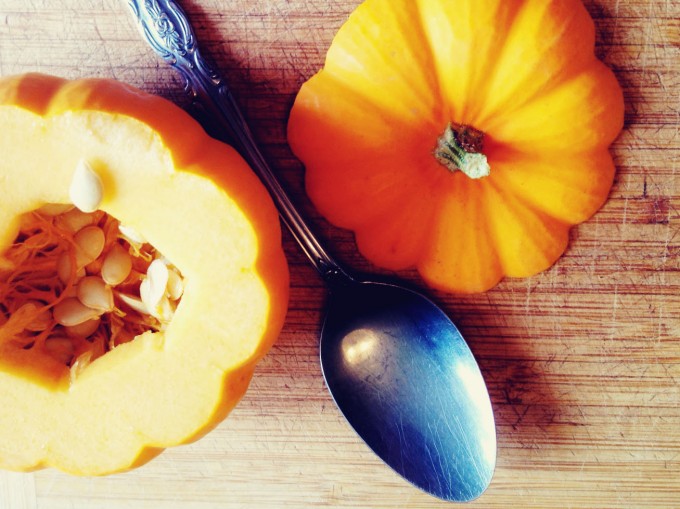
    1. Cut the tops off the mini pumpkins.mini pumpkin and spoon

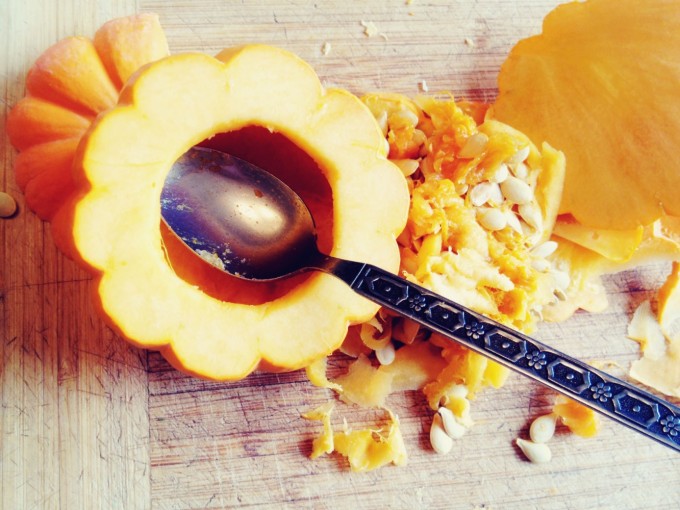
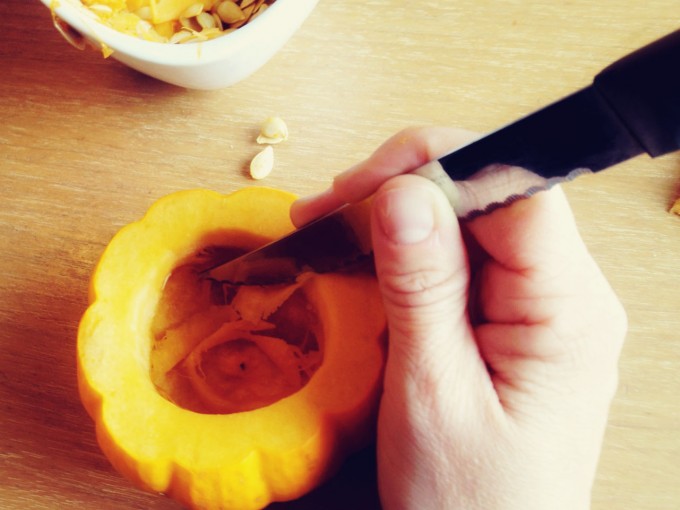
    2. Cut a hole in the top, and scoop out the insides. Use a knife to clean up the opening after.scoop out the gutsclean up the opening pumpkin

    3. Melt the beeswax in the double-boiler (you really don’t have to grate it, just cut it into chunks – ours were in roughly 2″x3″x1″ chunks)

    4. Place the wick in the pumpkin to figure out where to cut it – allow for extra and then trim later on.

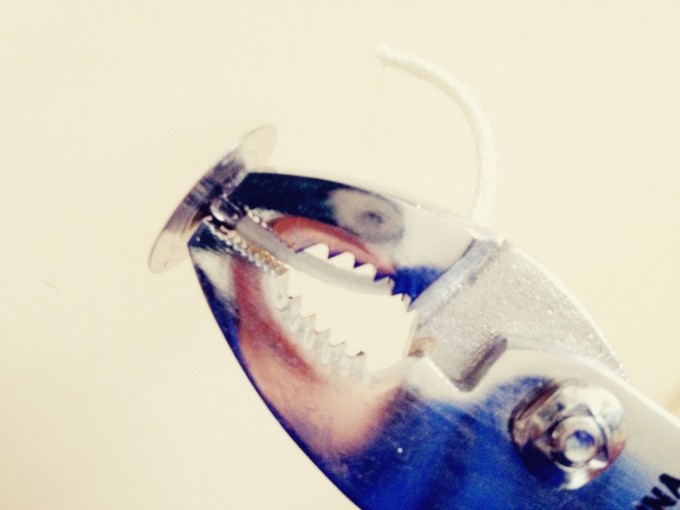
    5. Thread the wick through the metal base and then use the pliers to clamp it tight. clamp the wick base

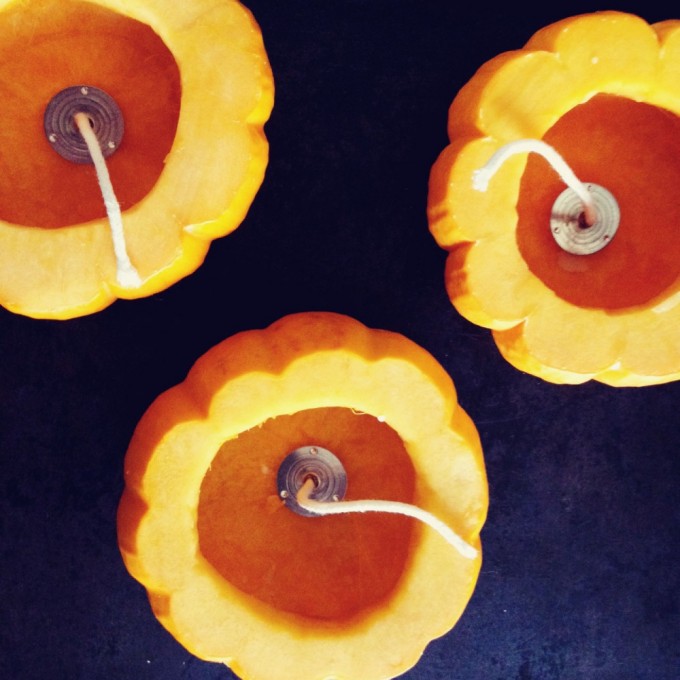
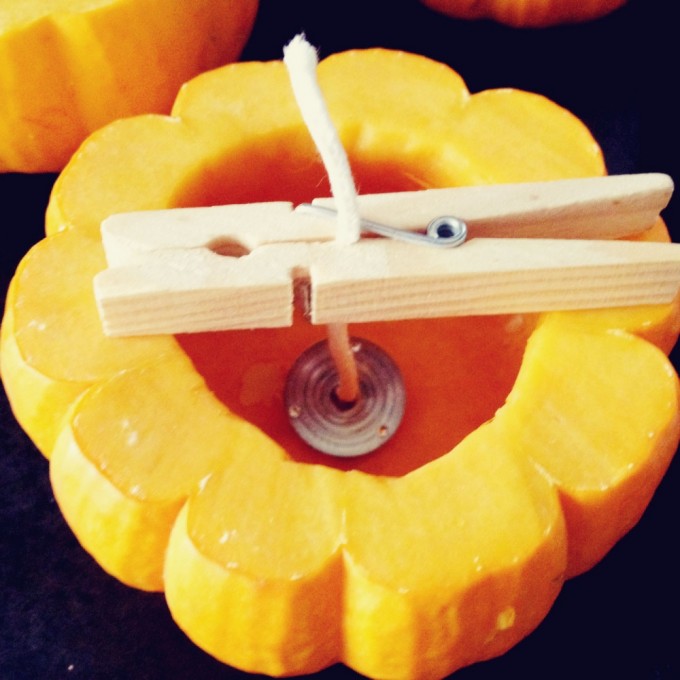
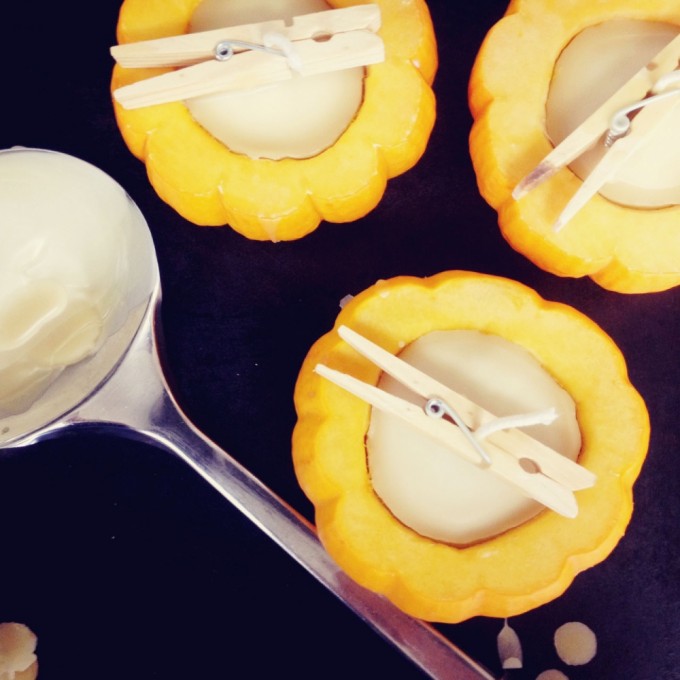
    6. Place the wick and base in the pumpkin and secure in the centre by using a clothespin (thanks to my genius husband for this idea – he is the logical-sequential brain behind my crafting operation!).place the wickpumpkin clothes pin

    7. Using a ladle, scoop and pour the melted beeswax into the pumpkin, right up to the top. poured wax pumpkins

    8. Once cooled, remove the clothes pins. To make these more halloween inspired, add a jack-o-lantern face using a permanent marker.  Light and enjoy!
    one mini pumpkin candle


    Don’t miss our latest FREE resource: Pumpkin Mini Inspiration Pack PDF: Fun pumpkin activities, recipes, poems, and recommended stories for your book basket.

    Screen Shot 2014-10-17 at 9.07.05 AM


    This post was shared as a part of Simply Natural Saturdays at The Pistachio Project, Thank Goodness It’s Monday at Nourishing Joy, and Natural Living Monday at Modern Alternative Health,  Simple Lives Thursdays at Real Food for Less Money, and Unprocessed Fridays at Girl Meets Nourishment.