I won’t tell you how many weeks ago our go-to gardening book said to test seeds. Ahem. That said, this is the very first year we have tested for germination, so we’re doing okay in my book.
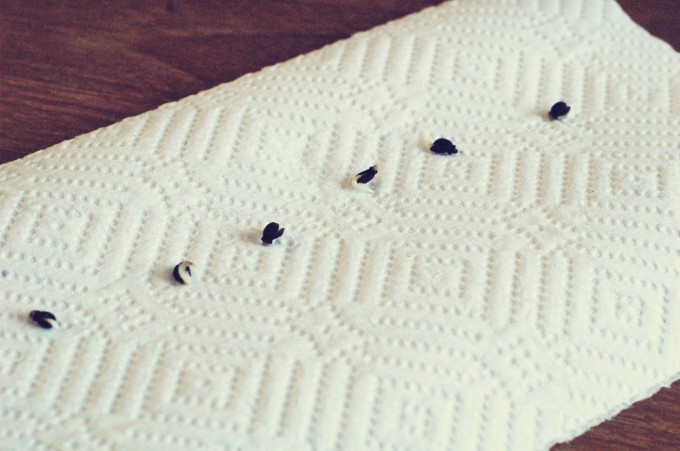
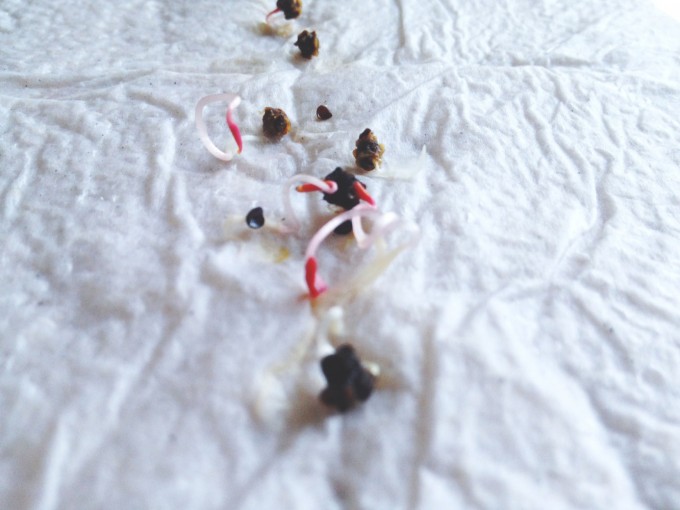
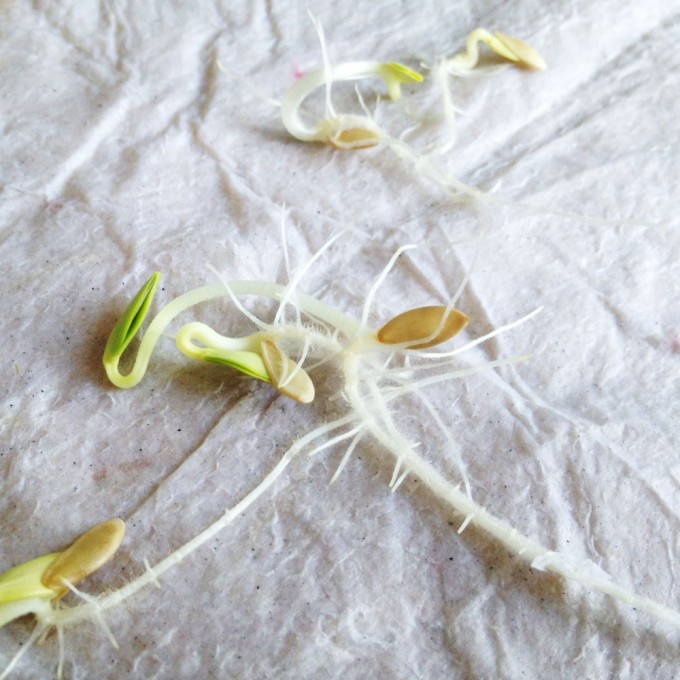
This is a really fun experiment for kids to help with (or take lead on) and depending on how many seeds you have will take an hour or so to start. I think the best part, other than the vibrant red in the beet sprouts, was the wash of cucumber scent that was released as we checked on the cucumber seeds. It was seriously intense, and like a little burst of summer.
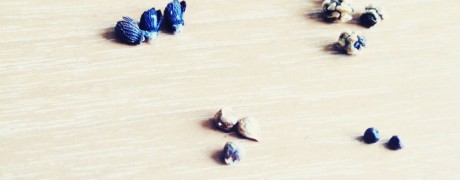
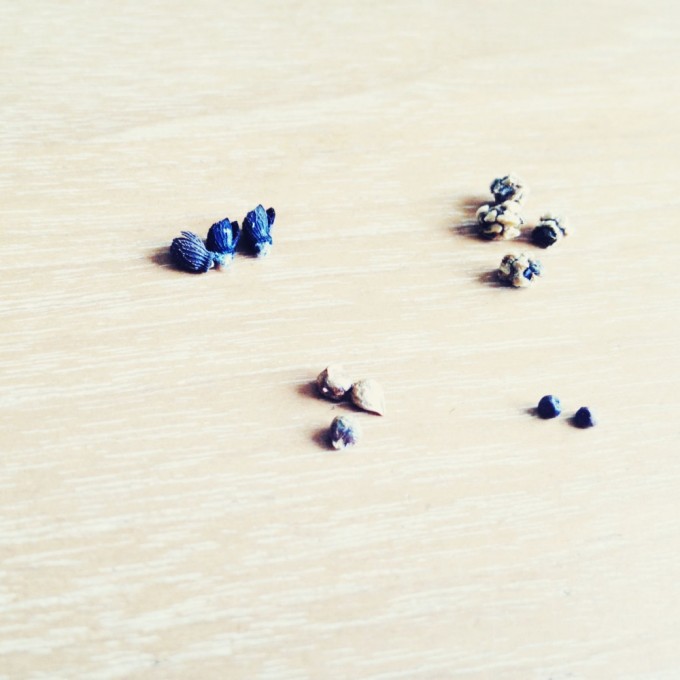
Don’t let those seed pods go to waste – use them for an art project or collection!
You can download the free printable photo tutorial and chart over in the shop, or at the bottom of this post.
Here’s how it works:
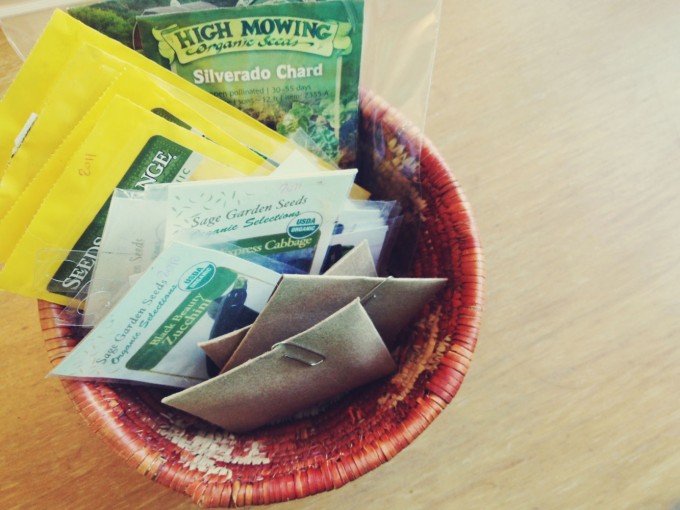
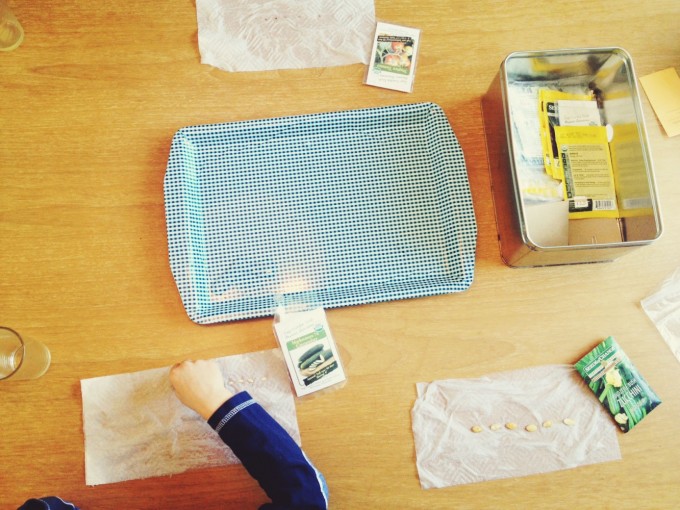
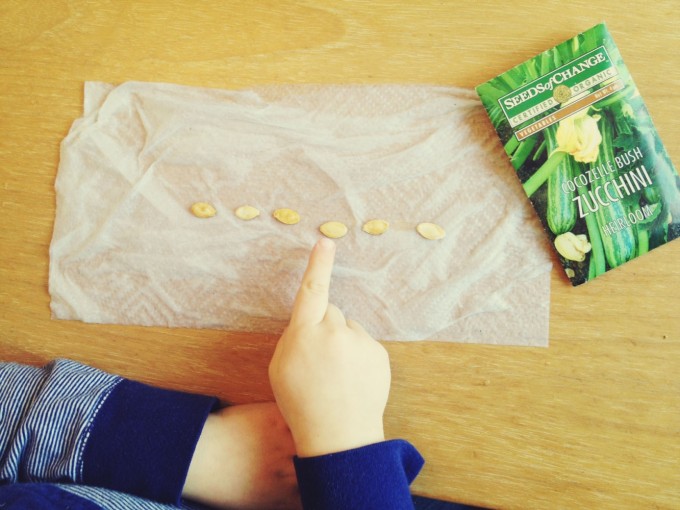
1. Set yourself up with seeds, sharpies, ziploc bags, paper towels, a tray, and water.
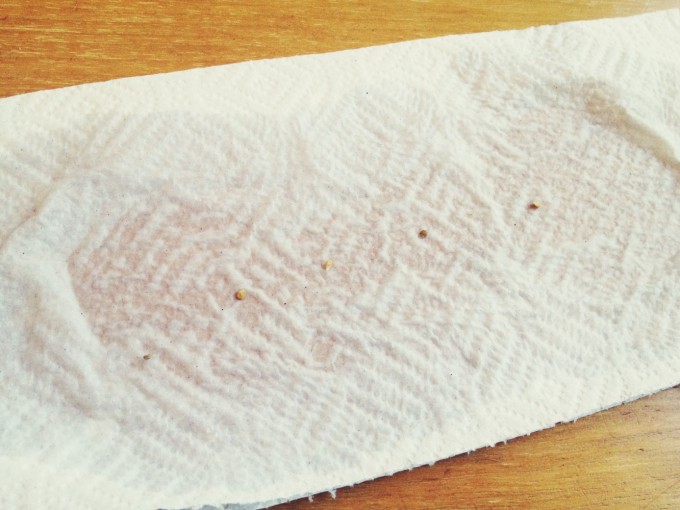
2. Fold a paper towel in half and dip it in the water, just leaving it long enough to get a couple blotches, as the water will soak into the rest of the towel in a few seconds.
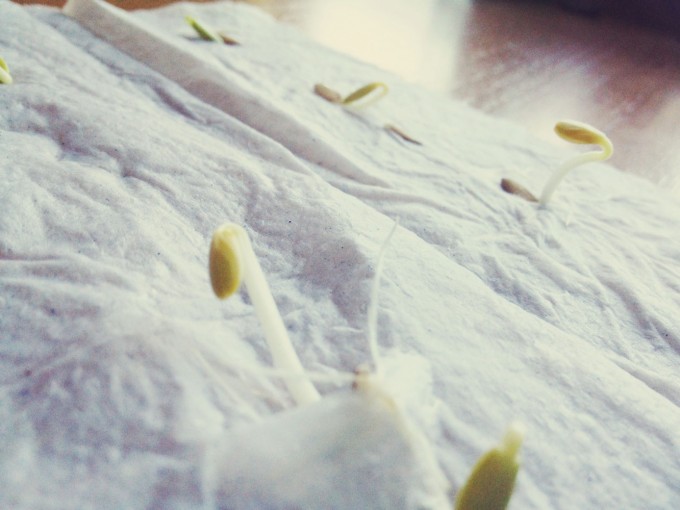
3. Place ten seeds of one variety (or five if you don’t have many left) along the paper towel.
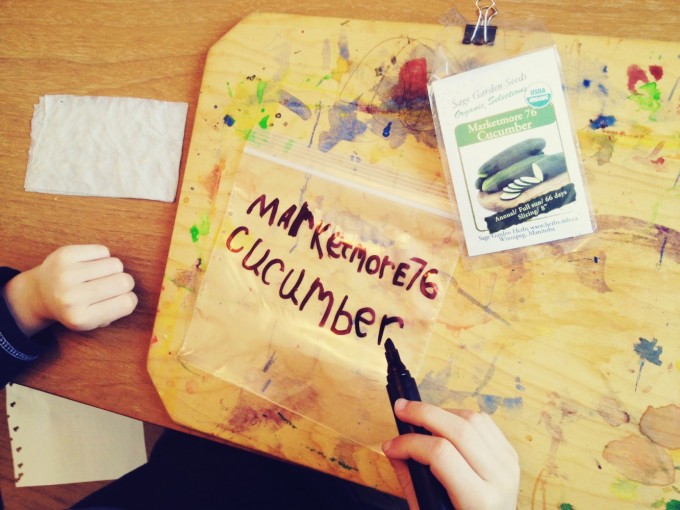
4. Fold the paper towel over, and then again, place it in the bag, and label with the seed name.
5. Repeat steps 1 to 4 for each seed. If you want to save bags, you can label a popsicle stick or other garden label and place it in the paper towel, allowing you to place multiple seed sets in each bag.
6. Set the finished test seeds in a warm, dark location for three days.
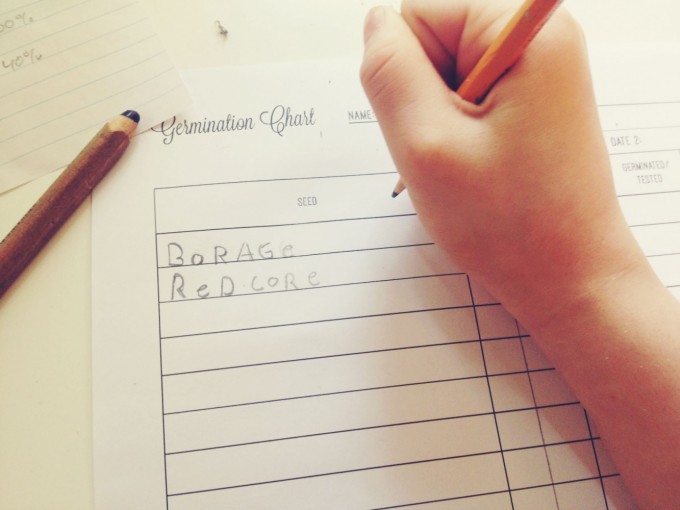
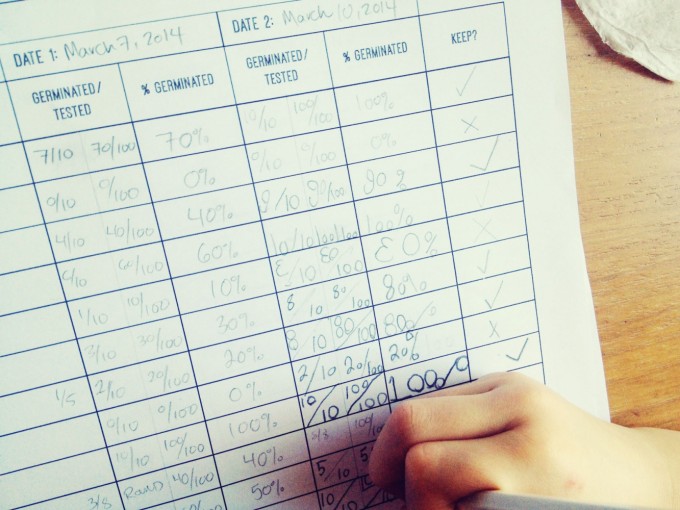
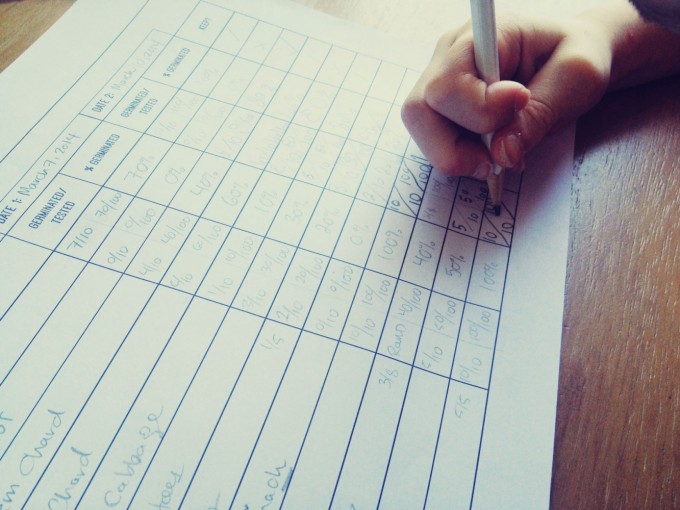
7. After three days, open up the paper towels and record your results. To add some math fun to our project, we recorded the number of seeds that had germinated out of ten, and then translated that into percentages. This will help us determine which seeds are viable enough to actually plant this year.
8. If you have a number of seeds that don’t germinate, you can put them back for another few days and check them again to see if they just needed a bit more time, of if they have called it quits. If there are one or more mouldy seeds, remove them, and put the remaining seeds on a new dampened paper towel.
Interested in testing your own seeds? Download our free printable Germination Chart!


This post was featured at My Humble Kitchen, The Lunch Hour Gardener, Nourishing Joy, and Living Montessori Now.
This post was shared as a part of Thank Goodness It’s Monday, Montessori Monday, Fat Tuesday, Simple Lives Thursday, and Unprocessed Fridays.
Please note that we are a part of the Amazon associates program. If you visit Amazon.ca through a link on Tiny Peasant and make a purchase, our family will receive a small percentage of the sale. The products that I specifically recommend in blog posts are products that we love in our home – if they aren’t they are on my wish list and I will note that. Our bookshop (coming soon) has a mixture of tried and true, and wish list items. If you ever have any questions about a product we link to, please don’t hesitate to ask! Thank you for your support!
Great experiment, Kris! Thanks so much for linking up with Montessori Monday. I featured your germination chart as a Free Printable of the Day at the Living Montessori Now Facebook page and on Pinterest. 🙂
Thanks for sharing, Deb! I hope your readers enjoy the germination test with their little ones, either in the classroom or at home!
Love this – thanks for the printable! You rock, btw – I hardly ever get around to actually testing viability!
Thanks, Tessa! Trust me, for every small accomplishment like this one, there is one huge mess not being cleaned up! Thanks for stopping by – I love your post on homemade marshmallows – and agree wholeheartedly with your encouragement to say YES! to our children – and just make those marshmallows : )
What’s up everyone, it’s my first pay a visit at this web page, and article is truly fruitful designed for me, keep up posting these content.