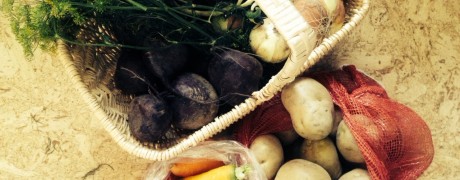
A few years ago, as I stared at mounds of produce from the garden and farmers’ market, mentally preparing myself for the work of making pot after pot of soup to freeze for the winter, my husband asked why I was going to actually cook all the soup then, rather than just freeze the ingredients. Genius.
Since that day, I no longer cook soups and freeze them at harvest time. Instead, I create freezer packs of soup ingredients to cook as needed, which significantly cuts down on time during the busy season of harvest and preservation.
Our family follows a rhythm for meal planning where each day of the week we prepare a certain category of food. This helps us avoid dinner time panic since we have a framework, and gives the kids a sense of rhythm to our week so they know what to expect. Monday is soup night (this changes to sandwich or wrap and salad in the summer), Tuesday is pasta/rice/quinoa night, Wednesday is fritatta night, Thursdays we are blessed with a meal with grandparents, and Friday is movie night with nachos and veggies or homemade pizza. Having a stack of “instant soup” in the freezer for soup nights that are busy with sports or lessons really decreases 4pm ‘what’s for dinner’ stress!
How to Make Simple Frozen Soup Packs
Supplies
• vegetables
• herbs
• chopping board and knife
• large freezer ziploc bags
• sharpie or labels
Directions
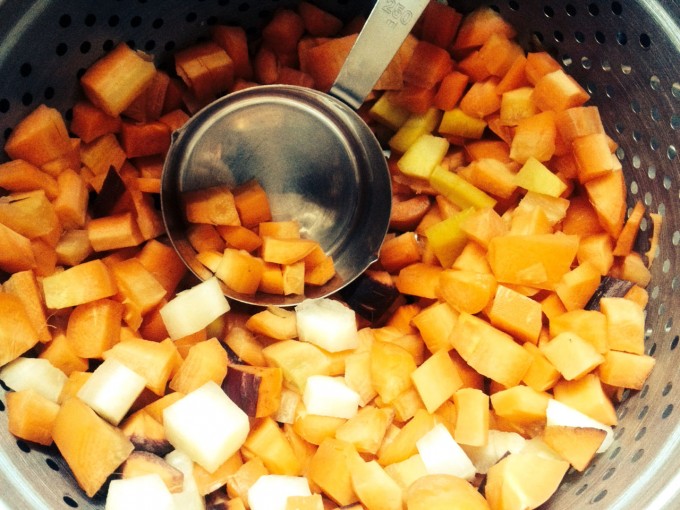
1. Chop up all the vegetables you’d like to include in your soup. You can work on several types of soup at once, or tackle one kind at a time. Since I put carrots and potatoes in my vegetable soup, minestrone, and borscht, I just chop up a bunch of everything and then assemble the bags as I go.
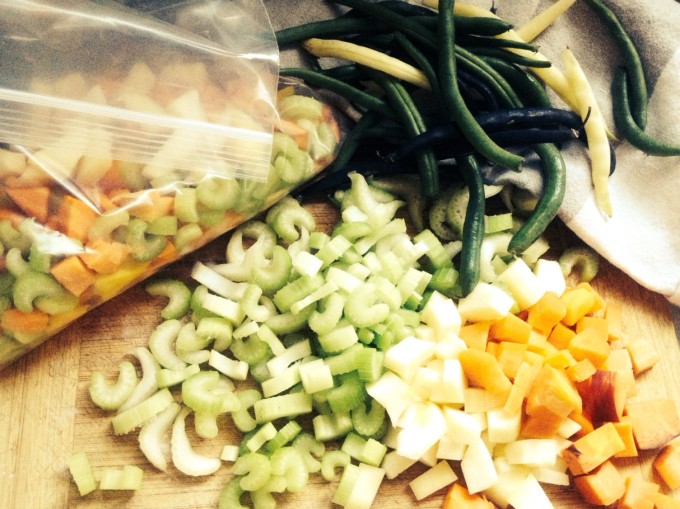
2. Place soup ingredients, including vegetables and herbs, into a large freezer ziploc bag.
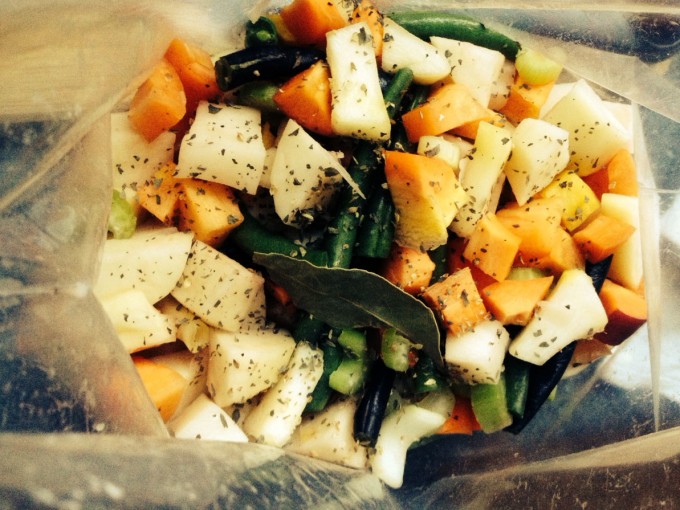
3. Seal the bag and label. We like to include the following things on our label:
• Name of the Soup
• Where we got the main ingredient – this makes for a great dinner conversation especially if you visited a farm to harvest or pick up the ingredient. It really solidifies the farm to table experience for children and adults alike.
• Month and year of packaging
• If helpful, the amount of stock or water to add to the pot when cooking
Example:
Potato Corn Chowder
Garden Potatoes + Boundary Creek Farm Corn
October, 2013
4. Lay the soup packs flat in the freezer, stacked on top of each other.
5. When ready to make soup, choose the one you’d like, empty the pack into a pot with stock or water and heat until ready, adding any other fresh ingredients required (such as cream) along the way.
Tips for Gathering Produce
We are fortunate to have some carrots, beans, corn, and potatoes in our own garden, though not enough for over the winter. This is why we are grateful for our local farmers! Each year we try to buy in bulk from our farmers – 25lbs of potatoes for soup and homemade frozen fries, for example.
• Talk to your farmer about purchasing in bulk during preservation time, which can mean significant savings. Where we are, we can buy potatoes in 10lb bags at the market for $1/lb. This year we found the same price per pound for a 25lb bag of organic potatoes sized perfectly for cutting into french fries.
• Ask about culls – we regularly purchase beautiful organic carrots that are sold as culls, or seconds, at a discount just because they have a crack, a funny shape or a dent.
For more tips on eating well affordably, check out this post: Fitting Real Foods into the Budget – tips from myself on eating REAL food on a budget and links to some of my favourite posts on this topic.

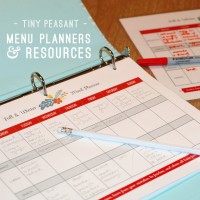
For time and sanity saving menu planning help, grab our Tiny Peasant Menu Planners & Resources!
This post was a Featured Post for Thank Goodness It’s Monday at Nourishing Joy, the Featured Post for Simply Natural Saturdays at The Pistachio Project, a Featured Post at Simple Lives Thursday at My Humble Kitchen/Real Food for Less Money, and a featured post for Fat Tuesday at Real Food Forager.
This post was shared as a part of Natural Living Monday at Modern Alternative Health, Simple Lives Thursday at My Humble Kitchen, Unprocessed Fridays at Girl Meets Nourishment, and Fight Back Fridays at Food Renegade.