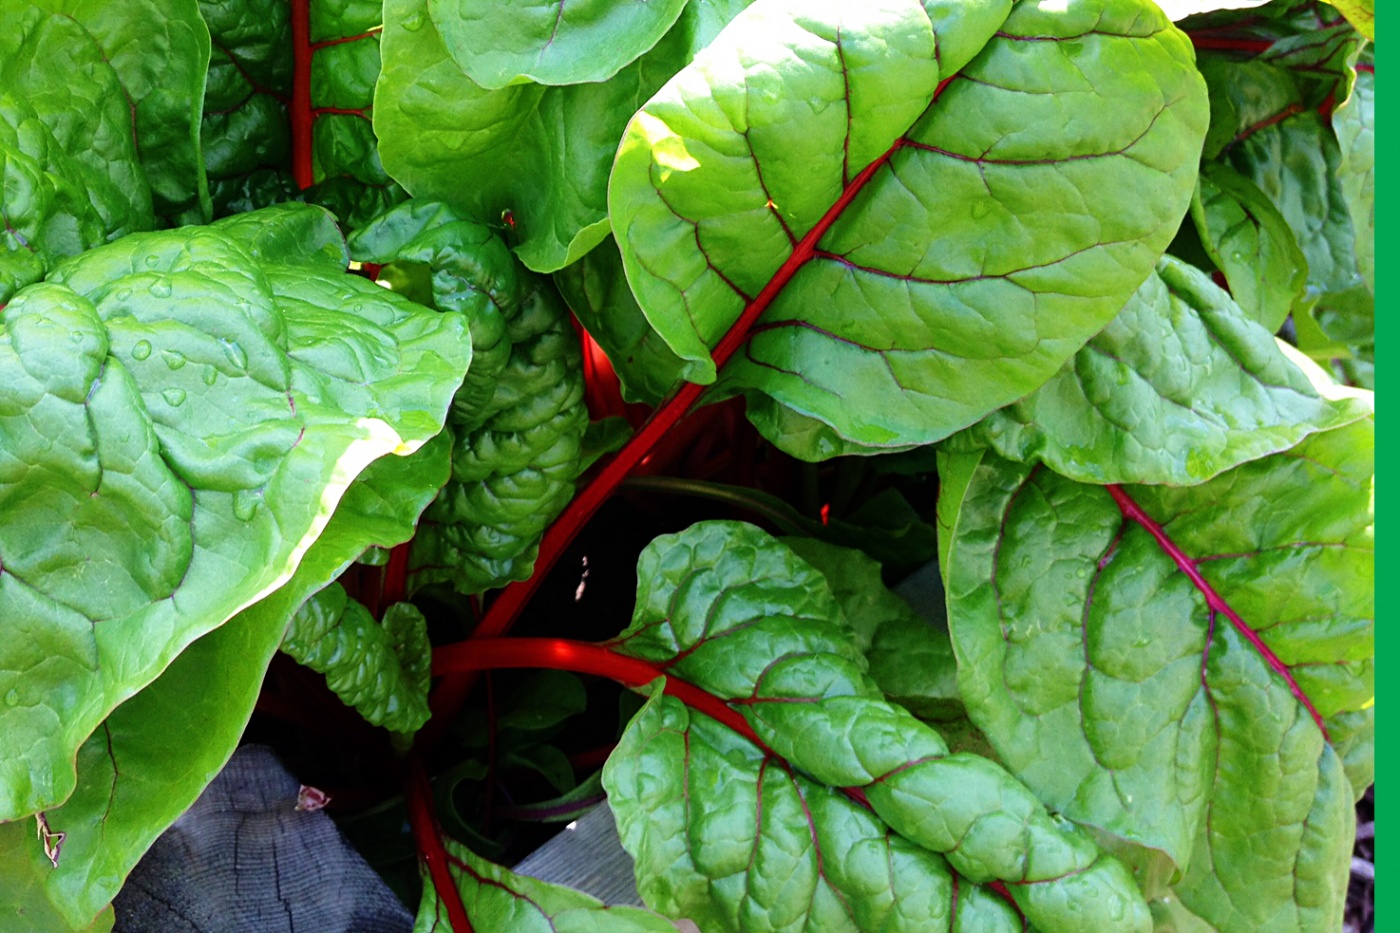
Today as I was harvesting swiss chard from the garden, the idea to pickle the stalks struck me. Thanks to the wisdom of my dear friend, Adrienne, I remembered that you can really ferment just about anything. I cut off the stalks and set aside the leaves to freeze for smoothies, omelettes and casseroles, and set to work experimenting with my first jar of fermented chard stalks.
How to Make Fermented Chard Stalks
1. Wash and cut the stalks so they will fit into your clean 500ml (2 cup) canning jar.
2. Toss some garlic, dill, and a bay leaf into the jar. You can play around with seasonings and add really any flavours that you and your family enjoy.
3. Stuff the chard stalks into the jar. Pack them in. One of Adrienne’s tricks is to reserve some pieces to lay across the top to keep the other pieces from floating up and out of the brine (I ran out of stalks, or this jar would be way more packed than it is).
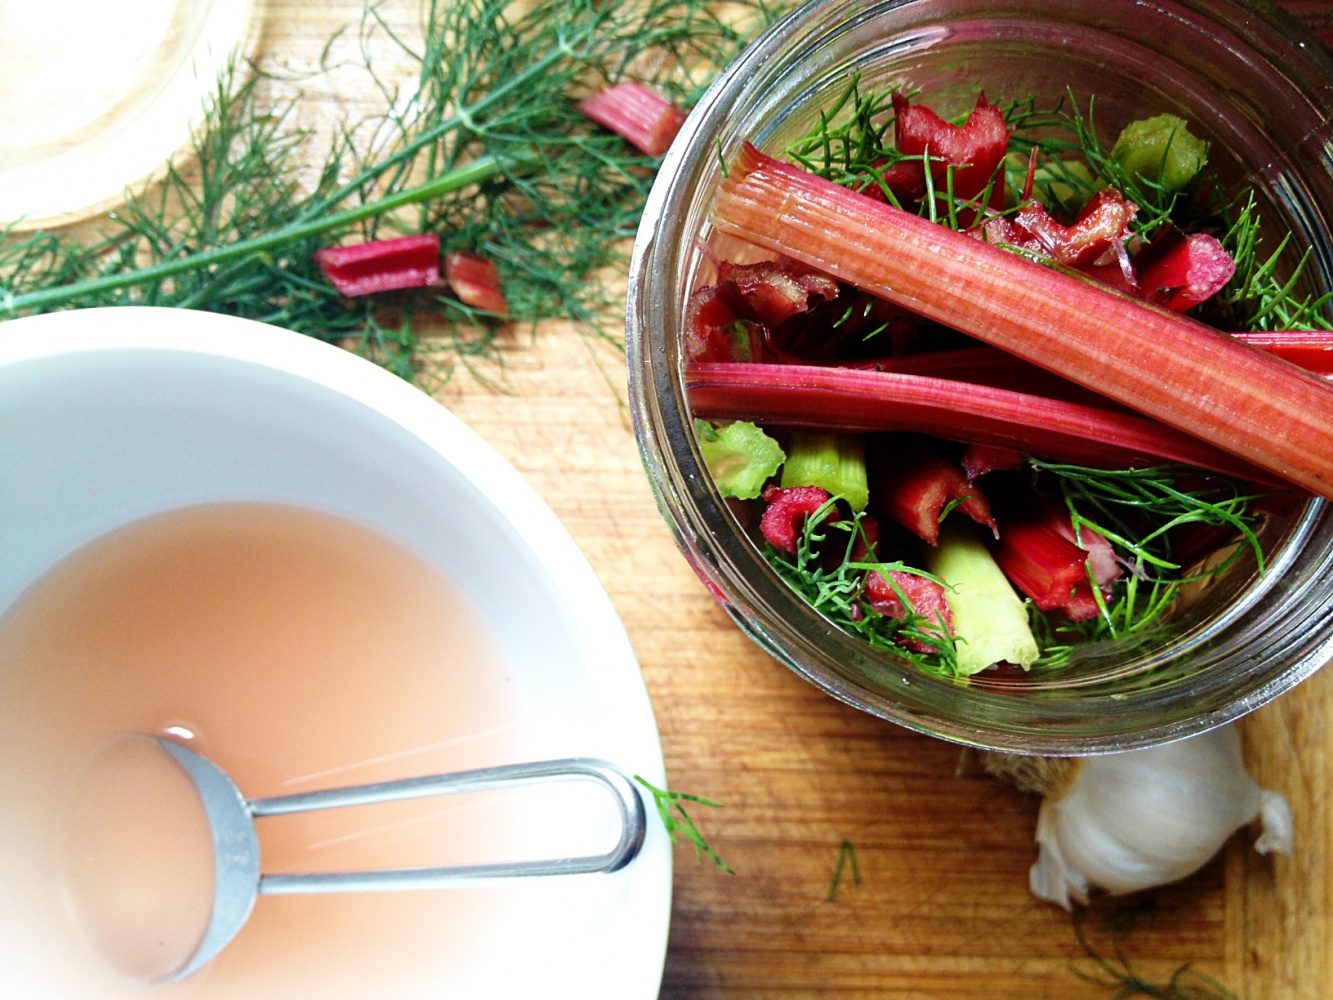
4. I made a whey-free version, simply because I didn’t have whey on hand. To do this, mix 2 tbsp sea salt with 1/2C water. Pour over the stalks. Add water to cover, leaving one inch of air space at the top of the jar.
5. Screw the lid on tightly and set aside for 3-7 days. I like to put a tray with a lip underneath to collect any potential leaks.
6. After 3-7 days, place into cold storage. Whey free ferments are saltier, so Adrienne recommends leaving them in cold storage for as long as four to six weeks to develop tasty flavours and diminish the saltiness.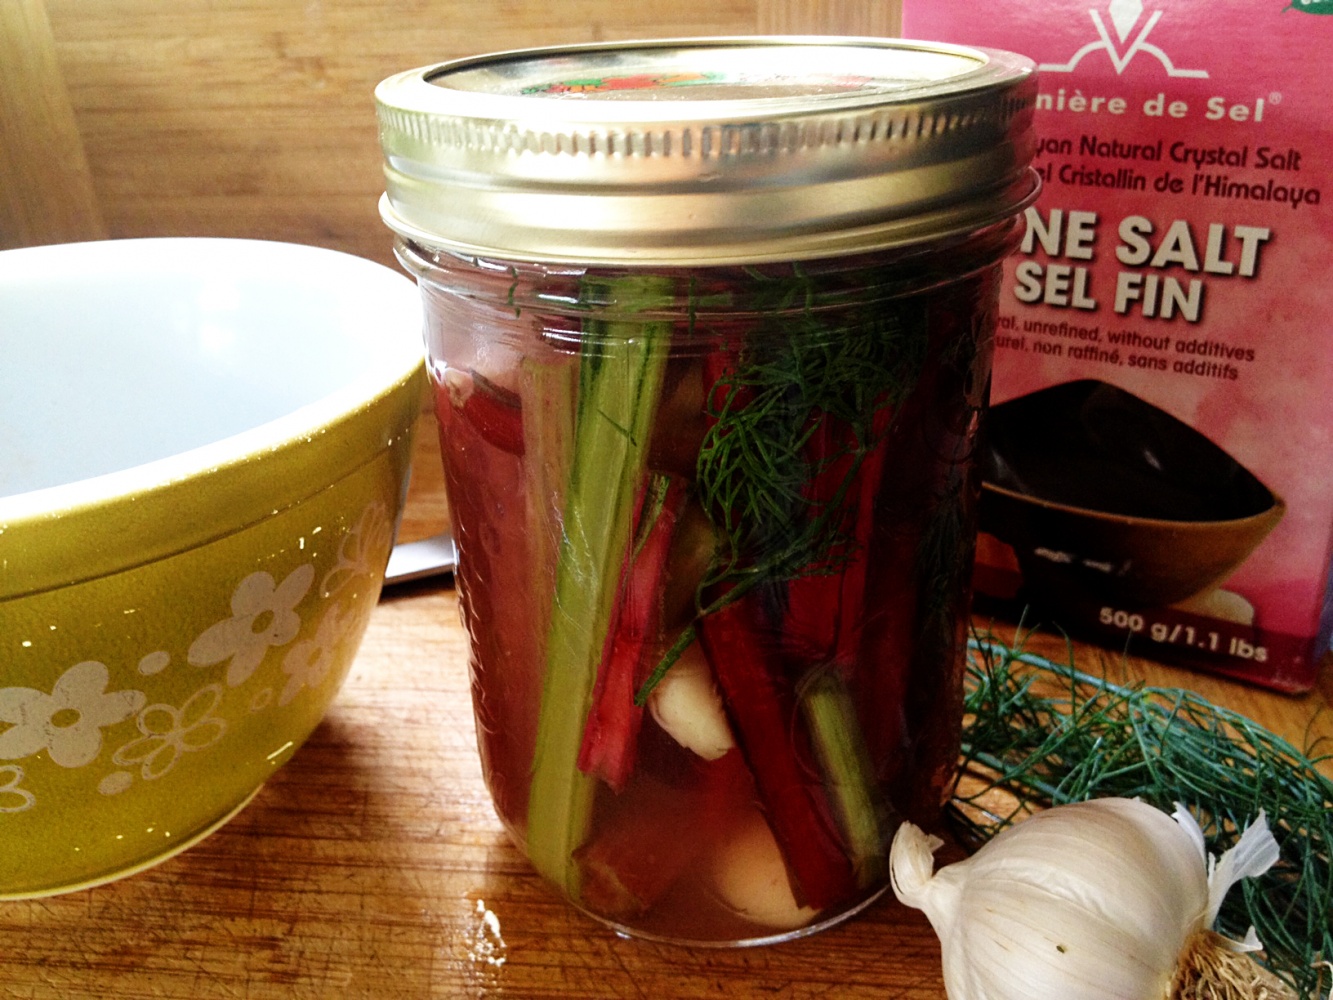
To learn more about fermentation (and how to make whey based vegetable ferments, among many other things), check out Adrienne’s latest course, Traditional Wisdom Modern Kitchen. It’s a game changer.
This post is a part of Natural Living Monday Natural Link Up at Modern Alternative Health, Thank Goodness It’s Monday at Nourishing Joy, Fight Back Fridays at Food Renegade and Unprocessed Fridays at Girl Meets Nourishement.