Category: Activities

  • Advent Week 1 Activity :: Felted Stones

    Advent Week 1 Activity :: Felted Stones

    A great sensory activity to do as part of Advent Week 1 :: The Light of Stones and the whole Tiny Advent series.
     
    Materials

    • smooth stones
    • wool roving in desired colours
    • sewing thread in same colours as roving (optional)
    • large bowl or pot
    • warm water
    • natural dish soap
    • nylons/pantyhose

    felted stones- roving stones

    Instructions:

    1. Wrap stone in roving.

    2. Optional: Hold roving in place by wrapping thread around it in many directions and tie.

    felted stones - thread

    3. If you used the thread, add a final layer of roving to cover it.felted stones - wrap again
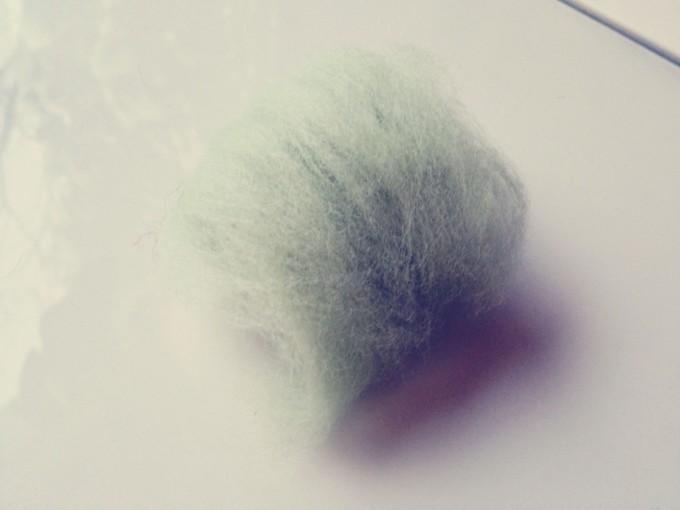
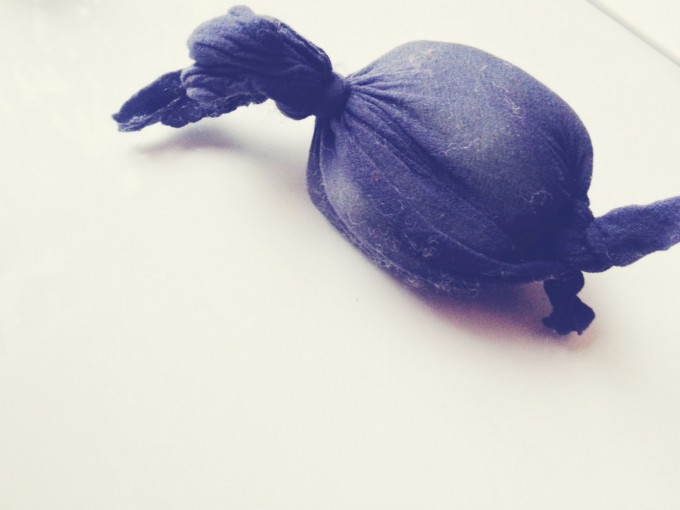
    4. Place the stone with roving in a piece of pantyhose, tying both ends carefully so as not to catch any roving in the knot.felted stones - nylons
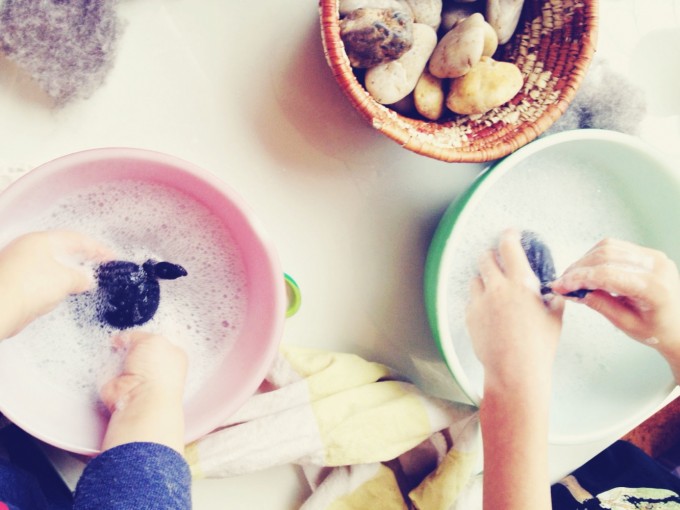
    5. Dip the package in the warm, soapy water and give it a squeeze, repeating a few times. Then gently rub it on your hand on all sides for about 10 minutes. When the felt starts to feel less squishy and loose, you can open one end and check on it. Once it is almost ready, you can take it out of the nylon and rub some more.felted stones - rubbing
    6. Use as a decoration or a paper weight.

    felted stones finished

    We also did some rocks and minerals learning to go along with this week of advent. We watched a Brain Pop video, as well as some you tube videos about rocks and minerals in the home. The kids collected some items from around the house and had a great time.  I’d like to have an actual rock set with the scratch test and a basket of books on rocks and minerals, to go along with our activities for the first week of advent.

    things of minerals


    This post was shared as a part of Simply Natural Saturdays.
  • Advent Week 1 Activity :: Growing Crystals

    Advent Week 1 Activity :: Growing Crystals

    A fun activity to learn about crystals as part of Advent Week 1 :: The Light of Stones and the whole Tiny Advent series. I love how this activity mirrors the anticipation of Advent. How the children carefully prepare, and then wait, and watch for transformation and beauty.

    Materials

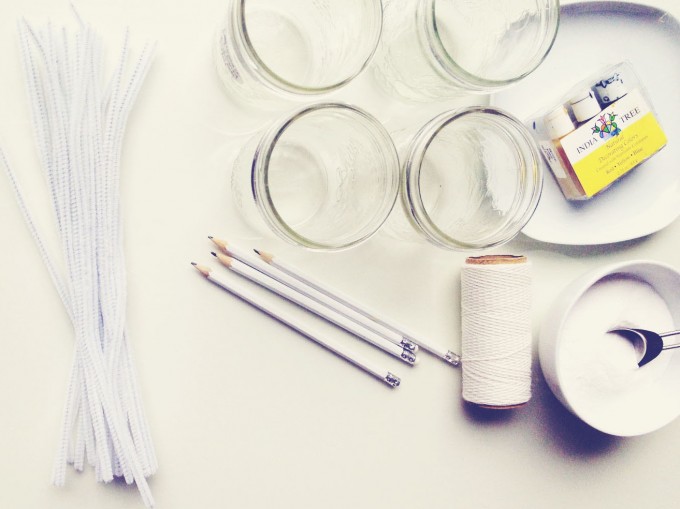
    • wide mouth canning jar
    • string
    • pipe cleaners (we used white this time, but later this week, we’ll try other colours)
    • pencil
    • borax, salt, or sugar
    • boiling water
    • food colouring, if desired

    growing crystals supplies2

    Directions

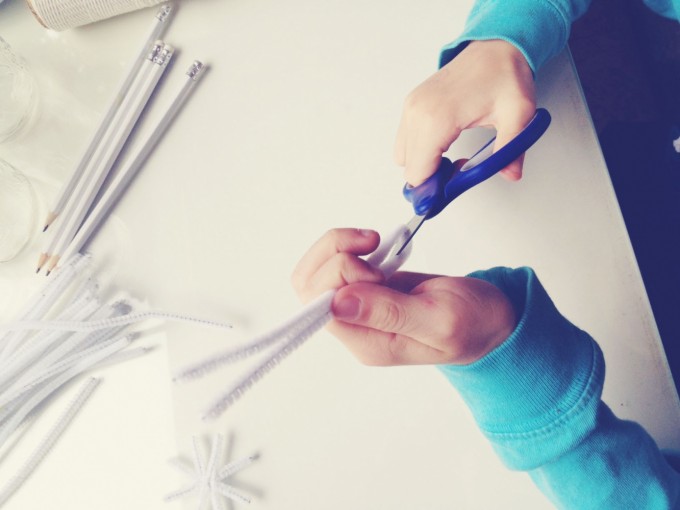
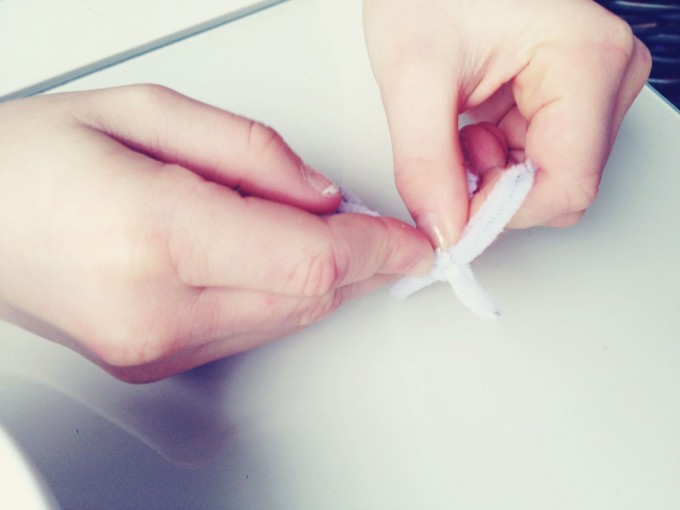
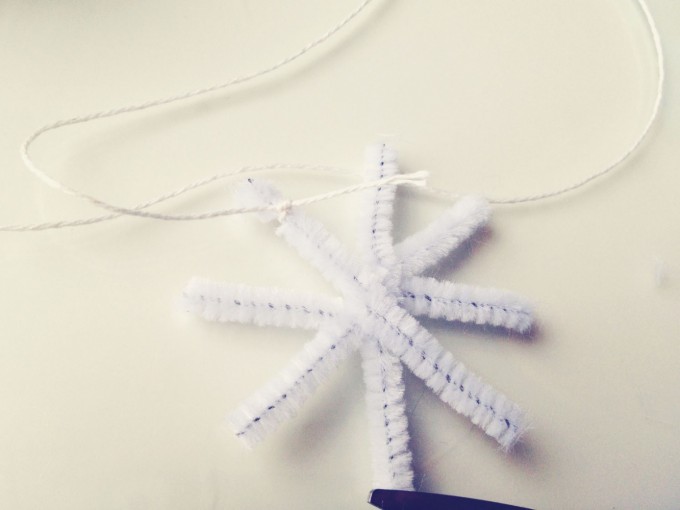
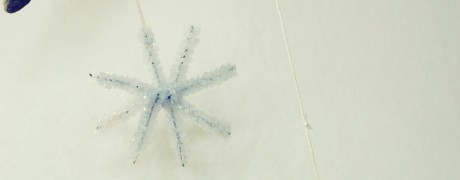
    1. Make a shape out of the pipe cleaner – this could be a snowflake shape, a star, a cross, or whatever your child would like.
    crystals - cuttingcrystals -make a shapecrystals - cut pipe cleaners

    2. Tie the shape onto one end of the string, and tie the other end of the string around the pencilcrystals - snowflake

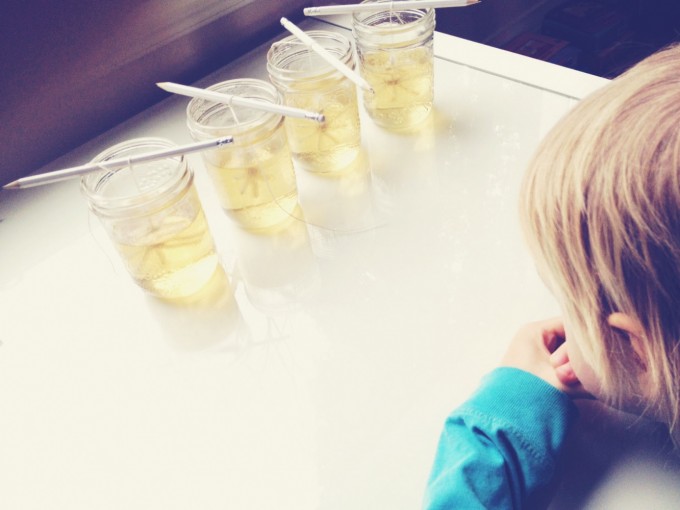
    3. Pour 1 – 1.5 cups of boiling water into the jar, and stir in food colouring, if using (we tried to make ours yellow, but we only had a few drops of colour left).

    4. Add 1 tablespoon of borax (or salt or sugar) at a time and stir to dissolve, until you have added 3-4 tablespoons. Update: Though our experiment worked okay with this amount, others have mentioned that it wasn’t as good for them. I have done a bit more research and have read up to 2/3 cup of salt or borax per cup of water. Experiment away, friends!

    crystals - borax

    5. Lower the pipe cleaner shape into the jar of solution, taking care to ensure it isn’t touching the sides or bottom of the jar.

    crystals - lower in snowflakescrystals - now we wait

    6. Set the jar aside and set a timer to check on it now and then so you can watch the process of the crystals forming.crystals - now we wait 2crystals - and we watch

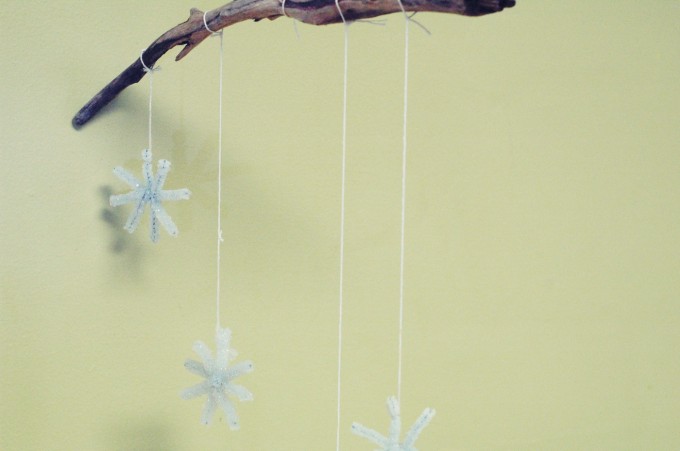
    7. Once your crystals are big enough, remove the string and shape from the jar, dry, and hang in a window to catch the light. I couldn’t get a decent photo in the window, but they are hanging there now as per Milo’s specific instructions regarding which window, and how high they should hang!

    branch crystals


    This post was shared as a part of Simple Lives Thursday, Simply Natural Saturdays, and Montessori Mondays.

  • Egg Carton Nature Collections

    Egg Carton Nature Collections

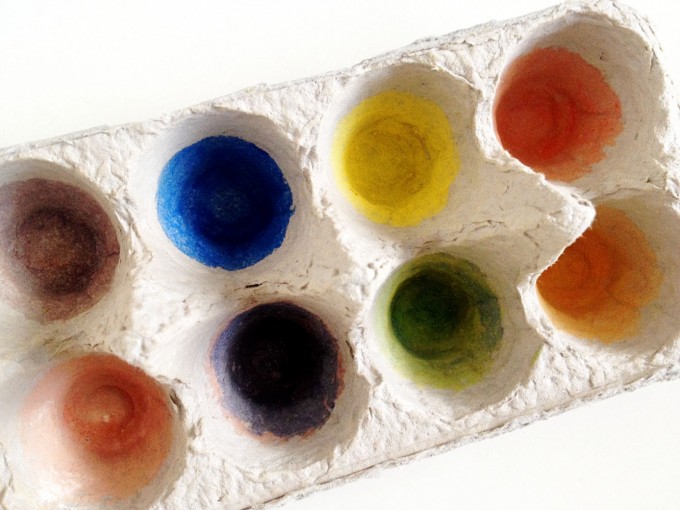
    Several years ago when we started taking regular nature walks, I found this activity online. The whole family will go for a walk and try to find natural items to fill in each section of the egg carton. The photo above shows what the kids found this week on one of their walks, just in our own neighbourhood. I was surprised at how much colour is still out there this far into fall, when we’ve already had snow. If we took the carton out on one of our forest adventures, the findings would be quite different -fewer domestic flowers, but likely more wild berries, seeds, and things like prickly wild cucumbers!

    To make your own egg carton nature collection, simply paint or colour in each section of the carton in a different colour. Enjoy your walk as usual, and look for flowers, leaves, stones, seeds, sticks, and other items to fill in the sections.

    If you don’t already have a nature table, you can use your egg carton as a mini nature collection to display somewhere special.

    egg carton colours


    This post was shared as a part of Montessori Monday at Living Montessori Now.

  • Celebrating Halloween Mindfully :: Mini Pumpkin Candles

    Celebrating Halloween Mindfully :: Mini Pumpkin Candles

    I want our children’s memories of Halloween to be positive, festive, and warm. We choose to minimally participate (early evening trick-or-treating on our block and to grandparent’s homes, in fun rather than scary costumes), while aiming to create positive and gentle memories for them to carry with them as they grow.

    Part of this memory making involves crafts. Below are instructions for a craft loved by the whole family.


    Mini Pumpkin Beeswax Candles

    lit mini pumpkins

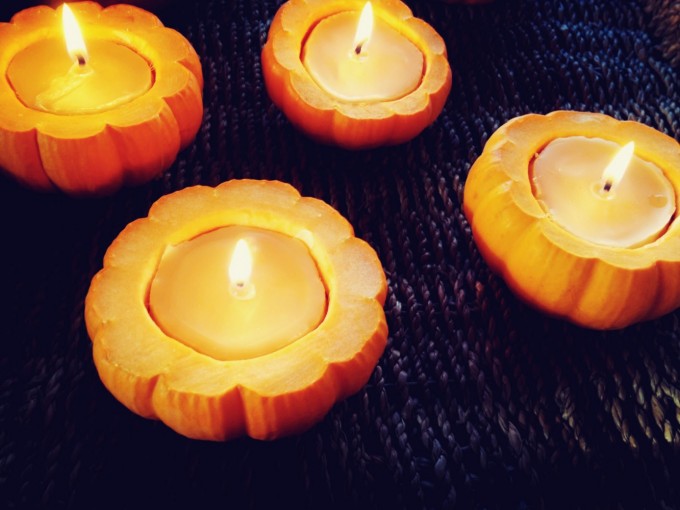
    This project was so much fun, the favourite part being scooping out the ‘guts’ of the pumpkins. For some reason, the cool factor of this task was upped a notch due to these being tiny pumpkins. We were so thankful to receive beeswax from a friend who operates an amazing candle company, Candles for Hope.  Marlese donates all proceeds to a free birthing centre in the Philippines.

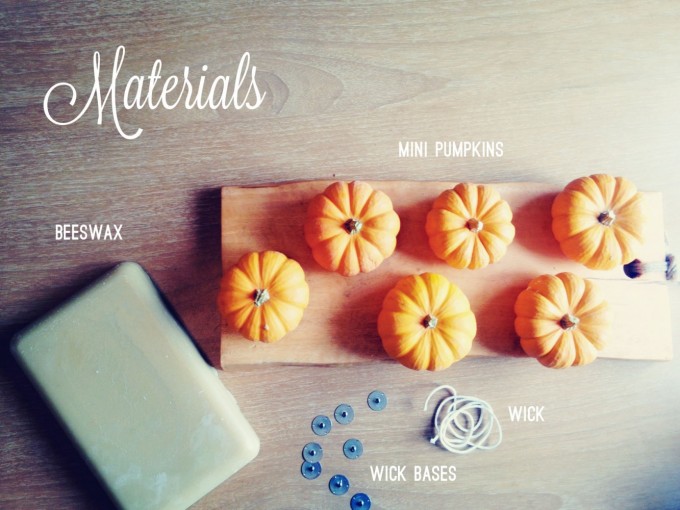
    Materials

    • beeswax
    • wick
    • metal plates for the base of the wick
    • scissors
    • mini pumpkins or gourds
    • lighter or matches
    • double-boiler
    • ladle
    • spoons
    • pliers
    • baking tray or other tray to contain beeswax drips

    mini pumpkin candles materials

    Instructions

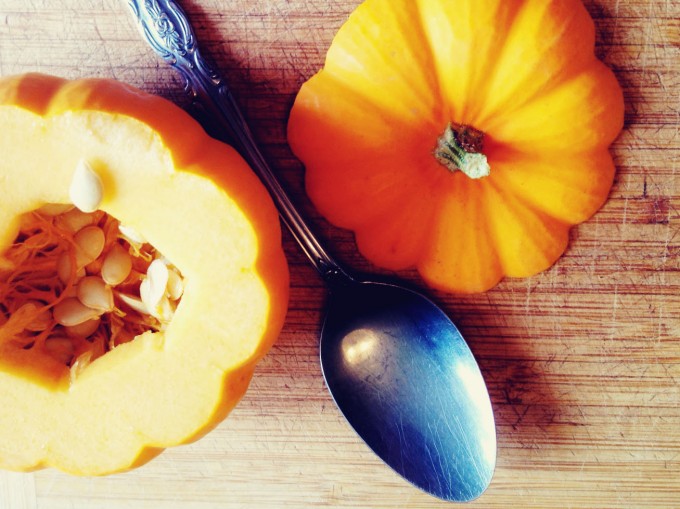
    1. Cut the tops off the mini pumpkins.mini pumpkin and spoon

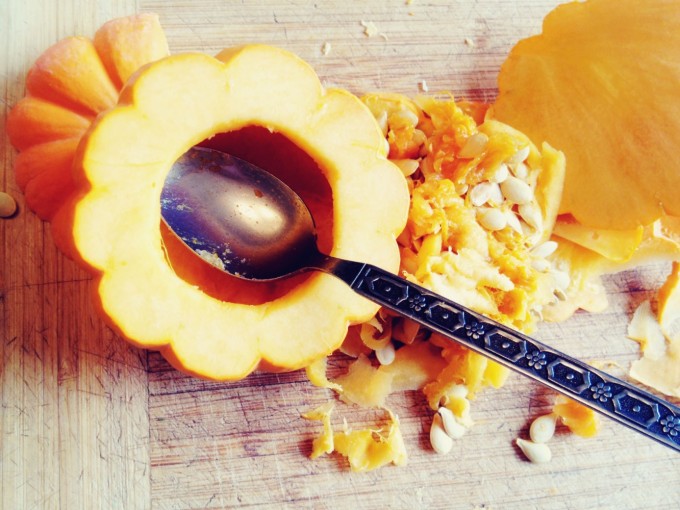
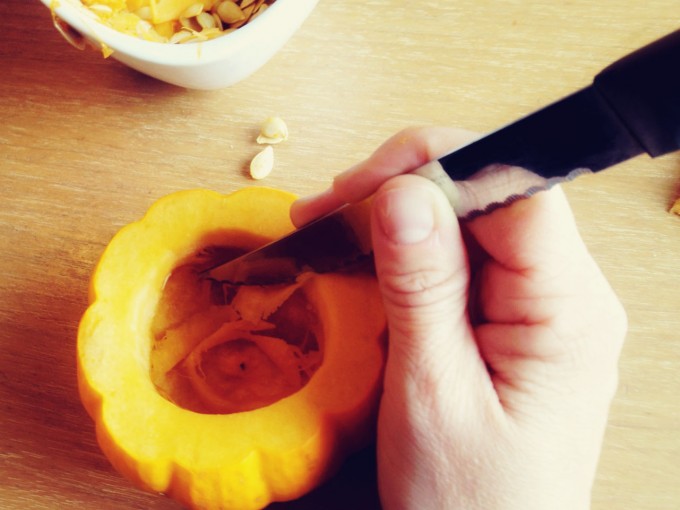
    2. Cut a hole in the top, and scoop out the insides. Use a knife to clean up the opening after.scoop out the gutsclean up the opening pumpkin

    3. Melt the beeswax in the double-boiler (you really don’t have to grate it, just cut it into chunks – ours were in roughly 2″x3″x1″ chunks)

    4. Place the wick in the pumpkin to figure out where to cut it – allow for extra and then trim later on.

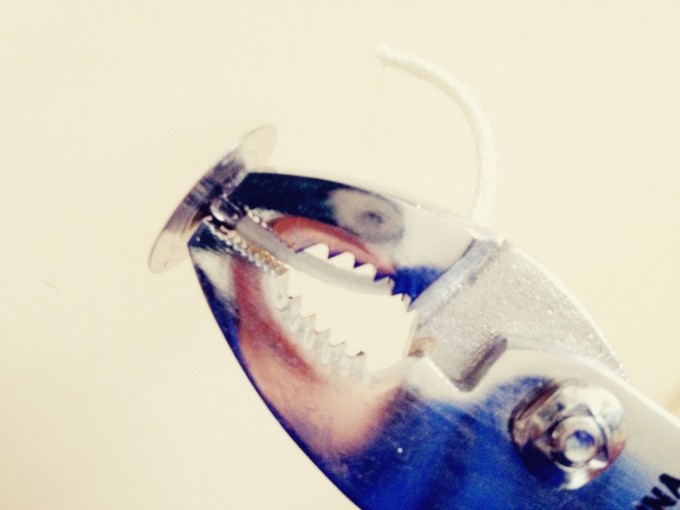
    5. Thread the wick through the metal base and then use the pliers to clamp it tight. clamp the wick base

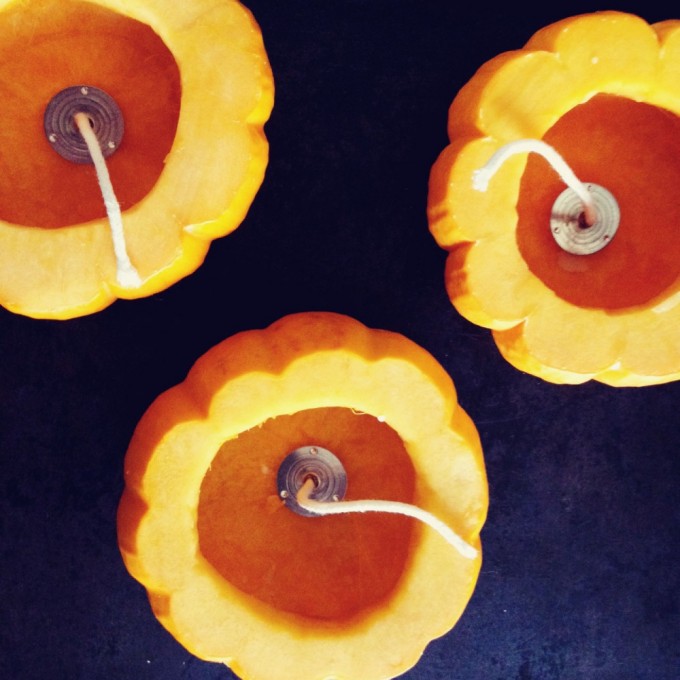
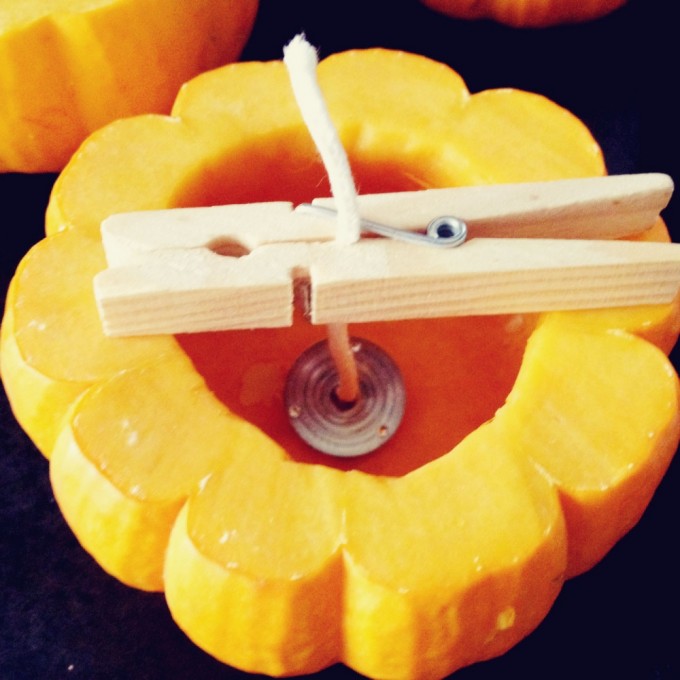
    6. Place the wick and base in the pumpkin and secure in the centre by using a clothespin (thanks to my genius husband for this idea – he is the logical-sequential brain behind my crafting operation!).place the wickpumpkin clothes pin

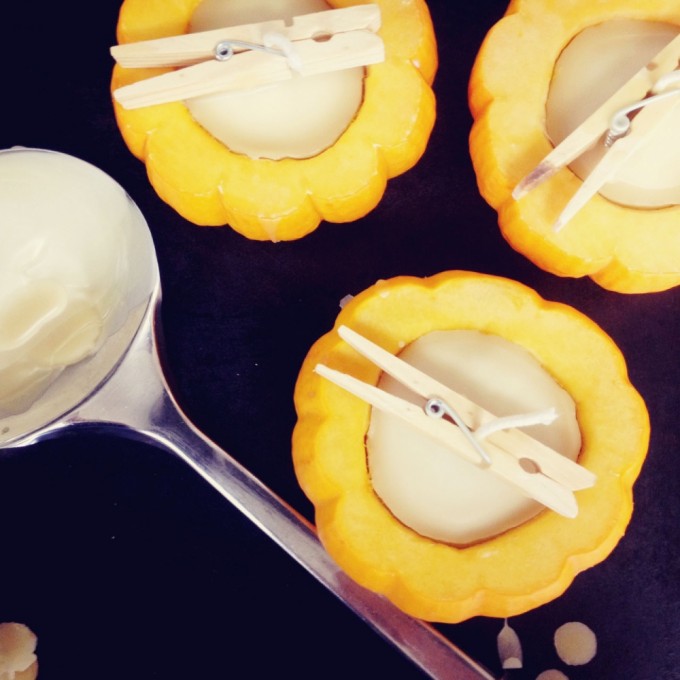
    7. Using a ladle, scoop and pour the melted beeswax into the pumpkin, right up to the top. poured wax pumpkins

    8. Once cooled, remove the clothes pins. To make these more halloween inspired, add a jack-o-lantern face using a permanent marker.  Light and enjoy!
    one mini pumpkin candle


    Don’t miss our latest FREE resource: Pumpkin Mini Inspiration Pack PDF: Fun pumpkin activities, recipes, poems, and recommended stories for your book basket.

    Screen Shot 2014-10-17 at 9.07.05 AM


    This post was shared as a part of Simply Natural Saturdays at The Pistachio Project, Thank Goodness It’s Monday at Nourishing Joy, and Natural Living Monday at Modern Alternative Health,  Simple Lives Thursdays at Real Food for Less Money, and Unprocessed Fridays at Girl Meets Nourishment.


  • Enchanted Autumn :: Beeswax Dipped Leaves

    Enchanted Autumn :: Beeswax Dipped Leaves

    To welcome fall, we joined with another family for a walk in the woods at a local natural area. We were greeted by an abundance of tiny characters beneath the trees; little acorns wearing their adorable caps. Many were gathered in baskets and pails, before we hit the trail.

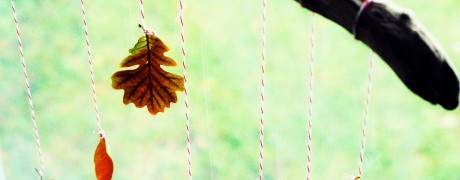
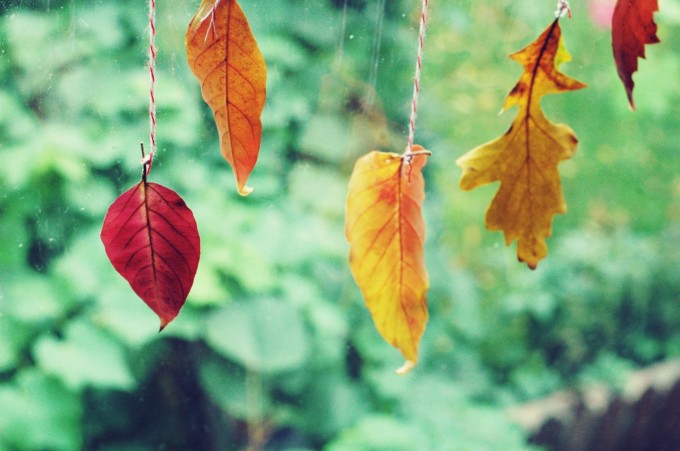
    Along the way we saw fall leaves, plants with questionable berries, ducks, and squirrels. Leaves were gathered and brought back home for crafts. Read on for the Beeswax Dipped Leaves tutorial – for an activity that is pleasing to the senses, with the comforting aroma of beeswax, the beautiful colours of leaves, and the surprisingly soft texture of the end product.

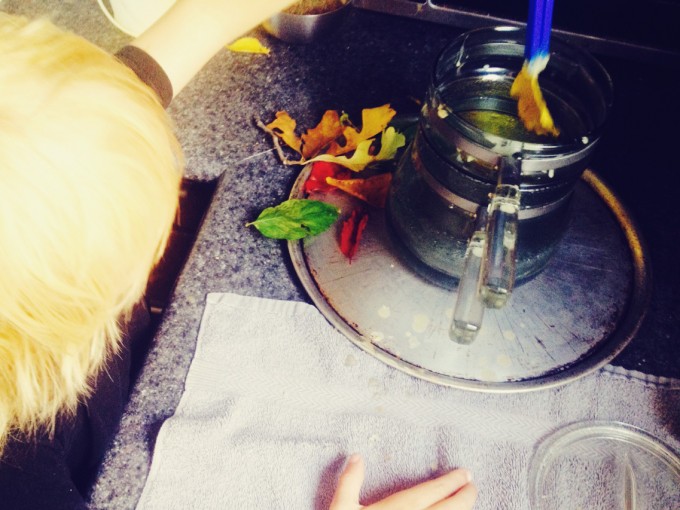
    Forgive the lack of process photos, as it was a bit tricky to get shots with 7 kiddos working with hot wax in a tiny corner of our kitchen…  that said, this is truly a simple project.

    For more leaf learning, don’t miss our Fall Leaves Inspiration Pack, which is oozing with over 40 pages of  fun, engaging activities for learning about and with fall leaves. You’ll find Montessori inspired learning, Waldorf inspired learning, story book recommendations, recipes, poems, and more.

    Screen Shot 2014-09-25 at 11.59.22 PM


    Materials:

    • String
    • Clothes pins
    • Old towel
    • Beeswax
    • Double boiler
    • Leaves, freshly fallen
    • Tongs, tweezers or kid-friendly chopsticks – for safe dipping


    Instructions

    1. To start, set up a line of twine or string and have a basket of clothes pins ready. Lay out an old towel under the leaf line, to catch the drips of beeswax.

    2. Chop or grate some beeswax and put it in a double boiler on medium heat until melted. We used about 1/2 cup of shavings and dipped roughly 30 leaves with a bit of wax leftover.

    3. Remove the pot from the heat, and over to where your towel is set up. Grasp a leaf stem between the chopsticks, and lower it into the pot, moving as necessary until covered. Keep your leaf pile to the left of your pot, to encourage left to right transferring (the same direction as we read!).

    dipping leaf

    4. Using a clothespin, hang the leaf from the stem on the line to dry.

    5. Repeat.

    6. Once all of the leaves are dry, create your piece of art. Below are some ideas, or you can come up with your own creations:

    • Garland
    • Window decoration
    • Wreath
    • Centerpiece

    Try making some patterns in your creations, such as a colour or leaf type pattern for the garland.

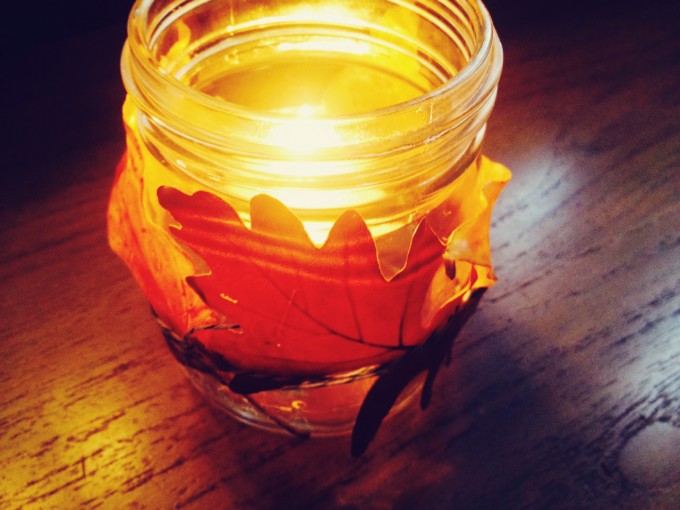
    dipped leaves 2 leaf candle


    This post is shared as a part of Simply Natural Saturdays at the Pistachio Project, Thank Goodness It’s Monday at Nourishing Joy,  Montessori Monday at Living Montessori Now,  Hip Homeschool Hop  Good Tips Tuesday, and Our Days.

  • Simple Summer: Mini Farmer’s Market

    Simple Summer: Mini Farmer’s Market

    Passing on the skills of growing and preparing food to our children is such a privilege and joy – not to mention an important step in the path to their future self-sufficiency. In these summer months the kids love being a part of caring for the garden, from preparing the garden and planting the seeds, to harvesting the fresh, intensely flavoured fruits and vegetables.

    How can we keep our little ones interested in learning about food? The answer is pretty simple. Make it fun.
    market-bros

    We’re all familiar with lemonade stands and this idea adds a twist – invite your children to harvest some garden produce and create their own mini farmer’s market (just don’t call it “mini” in front of them – this is their very own business venture!). If you’re rurally based, just head over to a friend or relative’s place – or work with your children to organize a market at your local community centre or town hall with their friends.

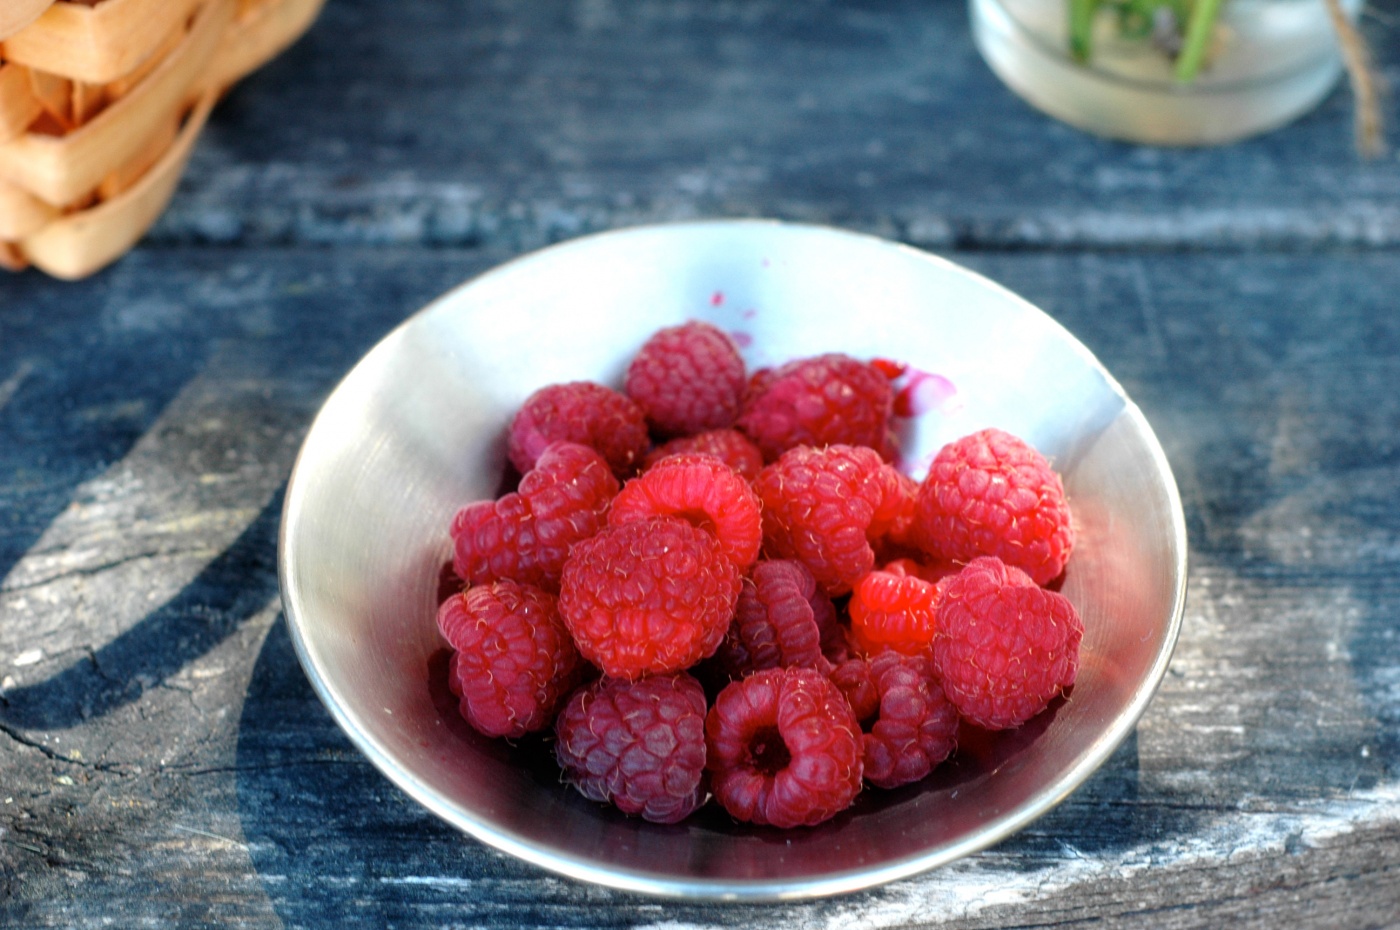
    raspberries

    MATERIALS:

    • garden produce
    • scissors for harvesting
    • baskets for collecting and for display
    • table and chairs
    • umbrella for shade, if desired
    • wagon, to make a traveling farmer’s market
    • chalkboard or sign making materials
    • small float of change
    • camera to document all the fun, if the kiddos want to
    • err, grandparents, aunts, uncles and the like – given a head’s up just in case business is slow


    The rest is really self explanatory, yet remember: your job is to facilitate and try to bite your tongue when they want to sell a single shell pea for a dollar. This is a learning experience for them, not only to nourish those roots of a love for growing food, but in marketing, sorting and counting money, assigning value to items, teamwork if you have more than one child, and so much more. At the same time, we all know that sitting around and not making sales is no fun – if business isn’t going well after a while, offer up a gentle suggestion that lowered prices or even a “buy one, get a dozen free” special on shell peas might help.

    grandpa-at-market

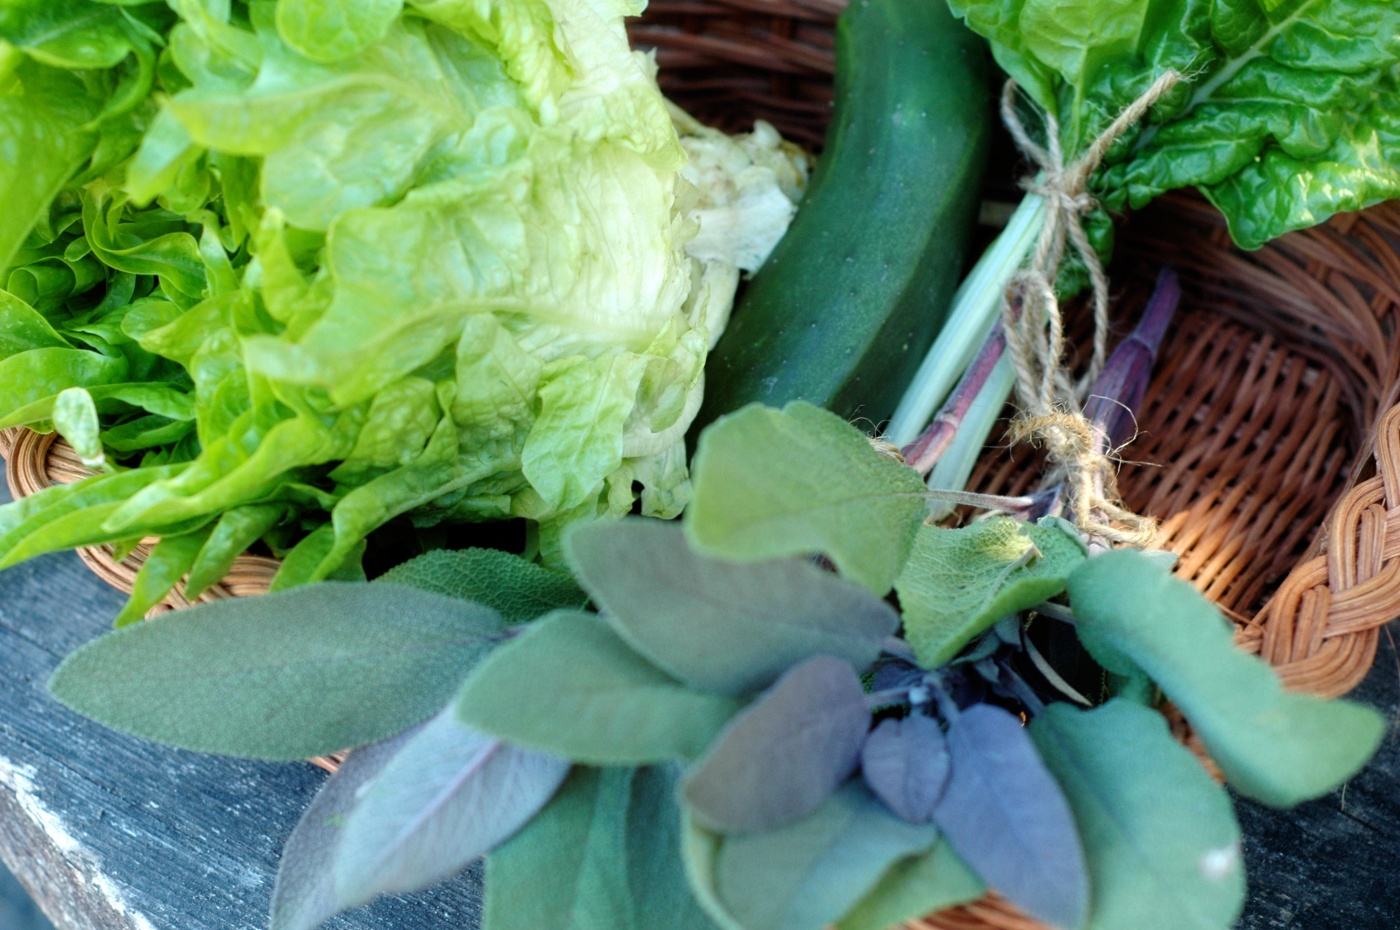
    boquets-for-salegreens-and-herbsHave fun with your market – please do share a link to your photos in the comments!

    simple-summer-farmer-market

    This post has been shared at Thank Goodness It’s Monday at Nourishing Joy and featured as most popular post.

  • Mindfully Celebrating Easter: Dyeing Eggs

    Mindfully Celebrating Easter: Dyeing Eggs

    One of my fondest childhood memories of Easter is dyeing Easter eggs in my grandmother’s kitchen, surrounded by family, while snacking on grandma’s famous Paska (Polish Easter bread).

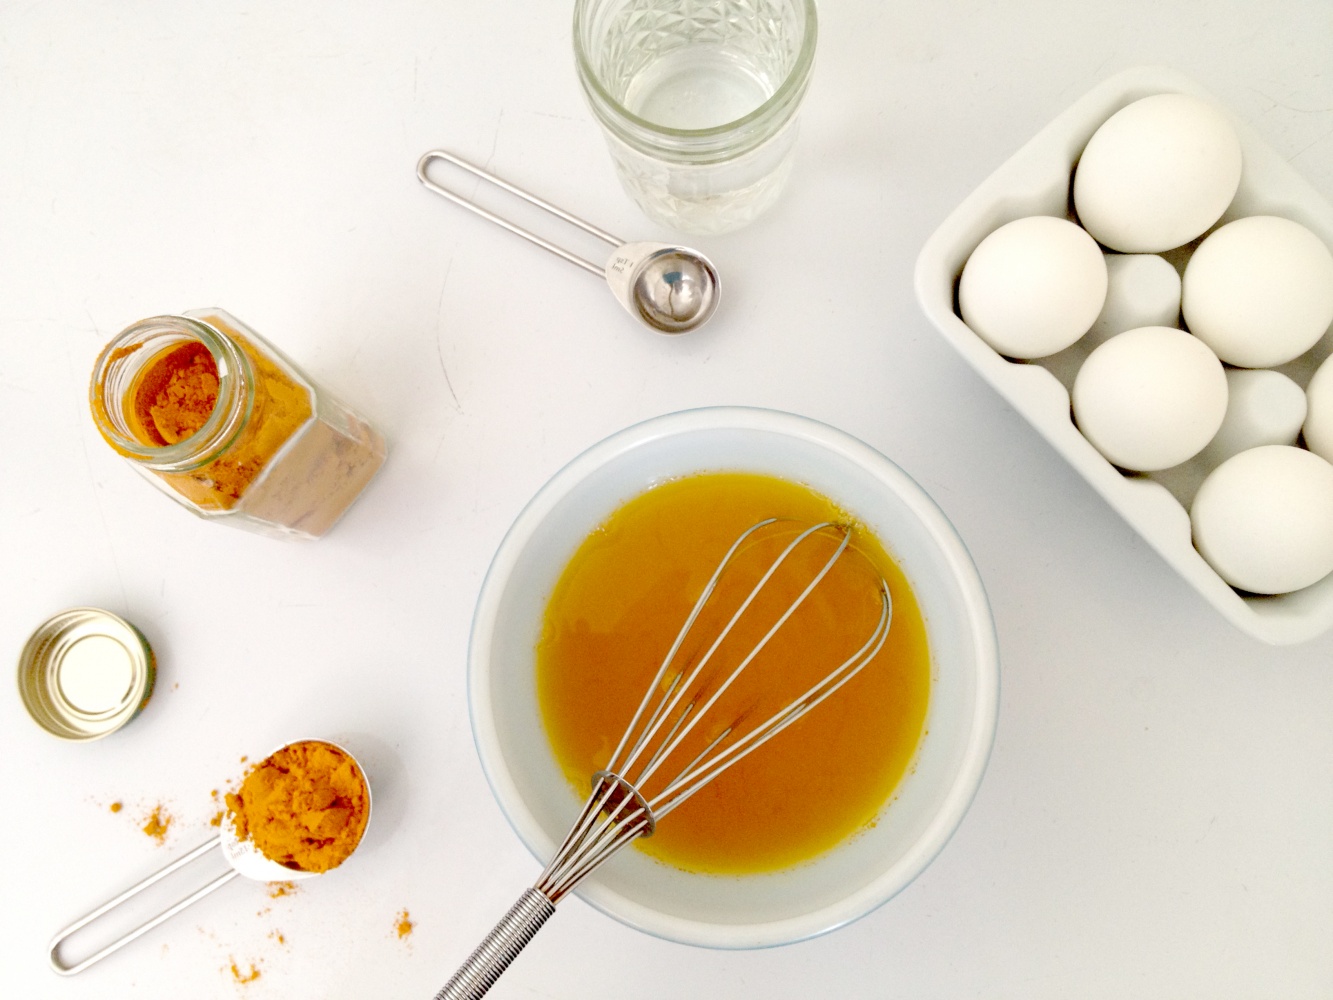
    I can recall the sweet, yeasty taste of the homemade bread, the smell of the local pickerel or ham we’d enjoy later at dinner, the whole boiled eggs carefully prepared for the dyeing and decorating – yet, in the middle of all of these wholesome parts of such a special celebration, a cardboard box is ripped open, some packets of chemical dyes are dumped down onto the counter and then carefully stirred into warm water with vinegar.

    It wasn’t until I was in high school or university that I started to wonder if the chemical dyes on our egg shells could affect our health. Often those bright colours would indeed make their way inside the shell and onto the actual egg.

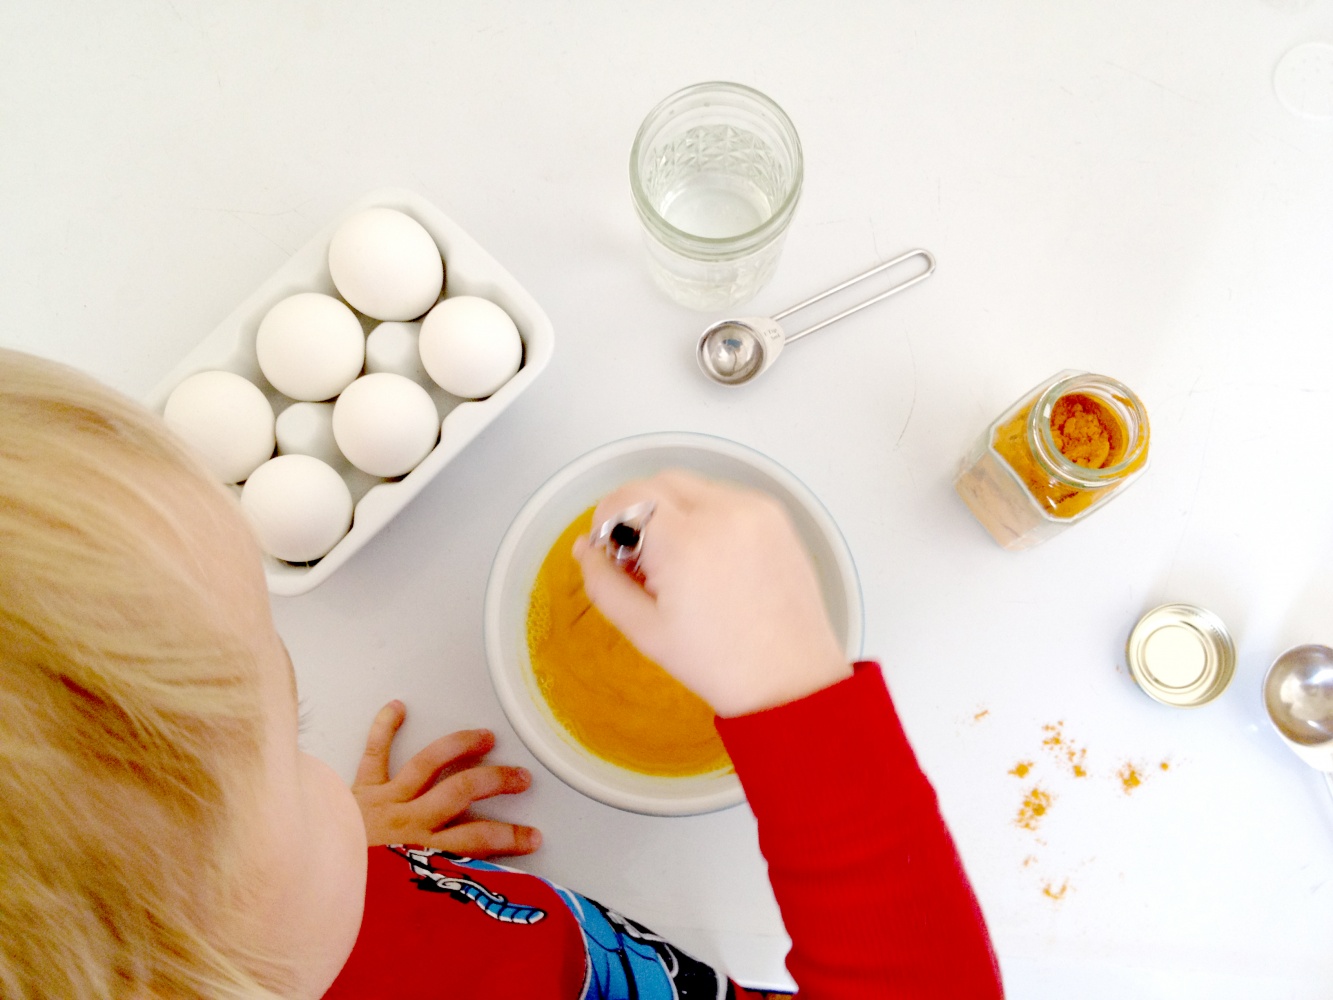
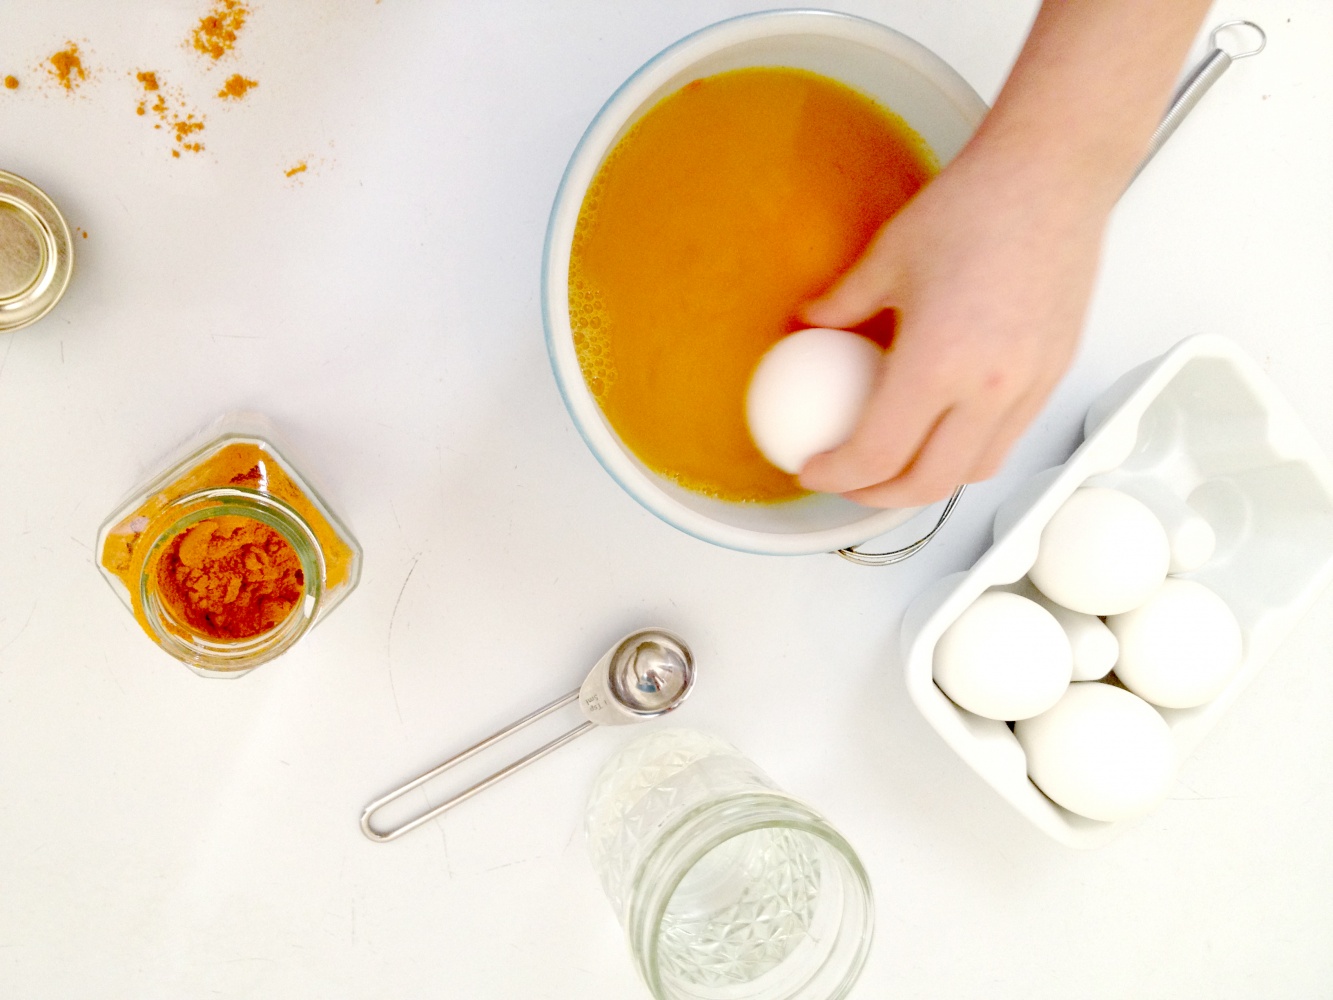
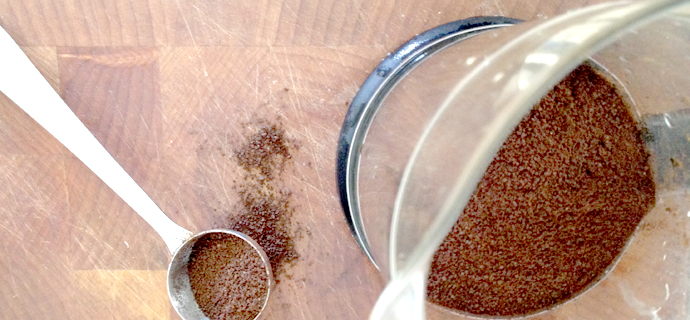
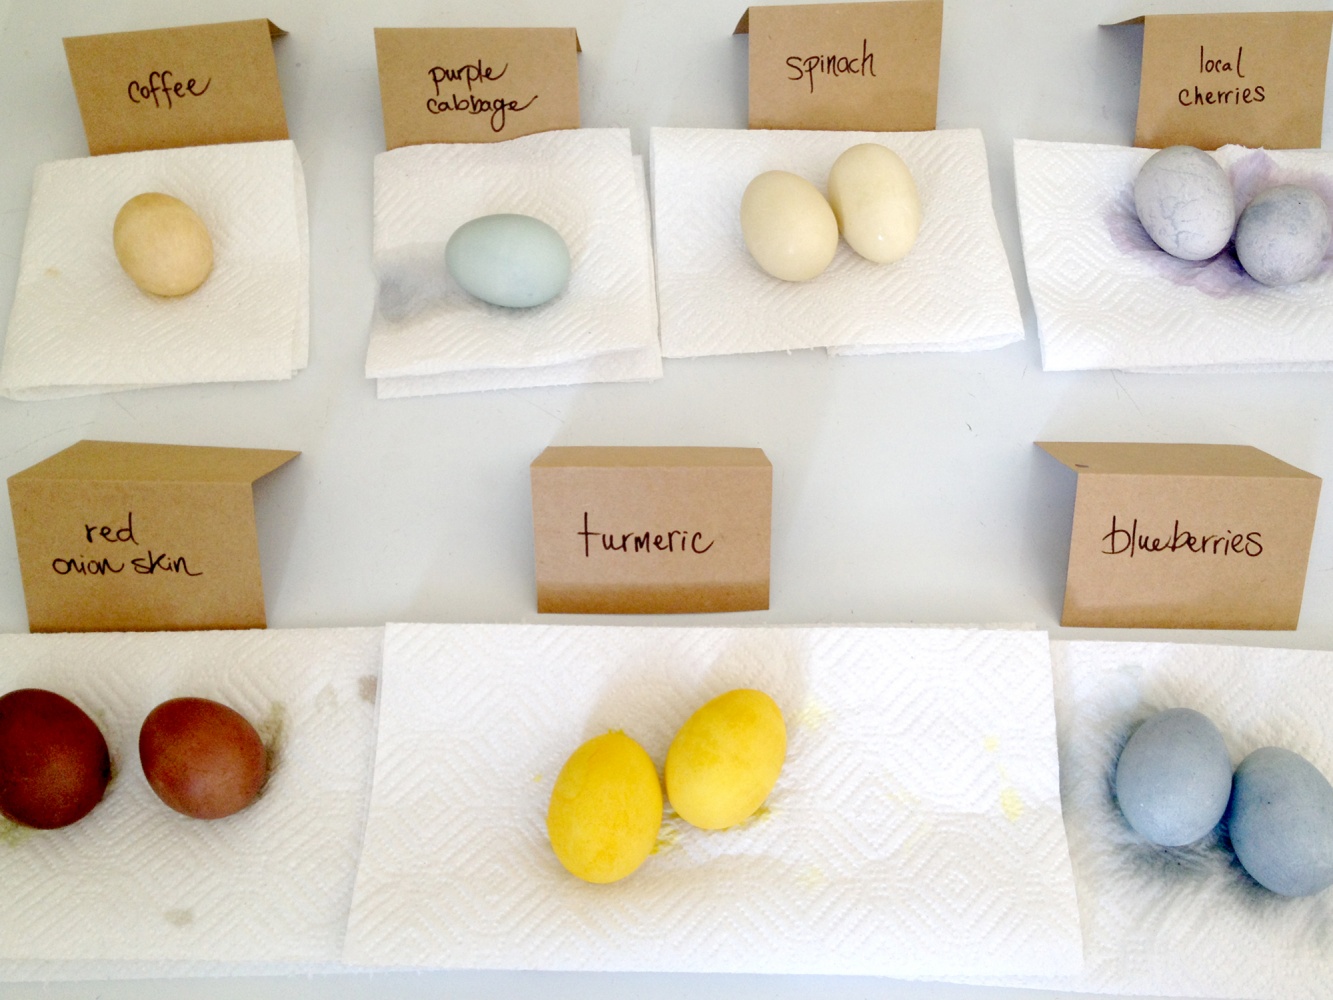
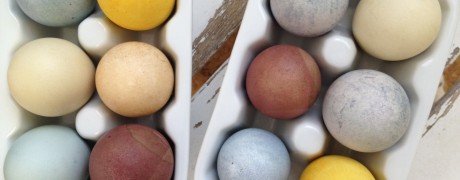
    I now have children who also love the excitement of decorating Easter eggs as part of our celelbration. I’m thankful that we’ve learned the skill of making homemade plant and food based dyes that have beautiful results and provide us some peace of mind. Purchase the PDF tutorial in the shop!


    Easter Badge

    IMG_4686
    IMG_4688IMG_4690

    coffee dyeIMG_4705 IMG_4735


  • snow + a mud pie kitchen

    snow + a mud pie kitchen

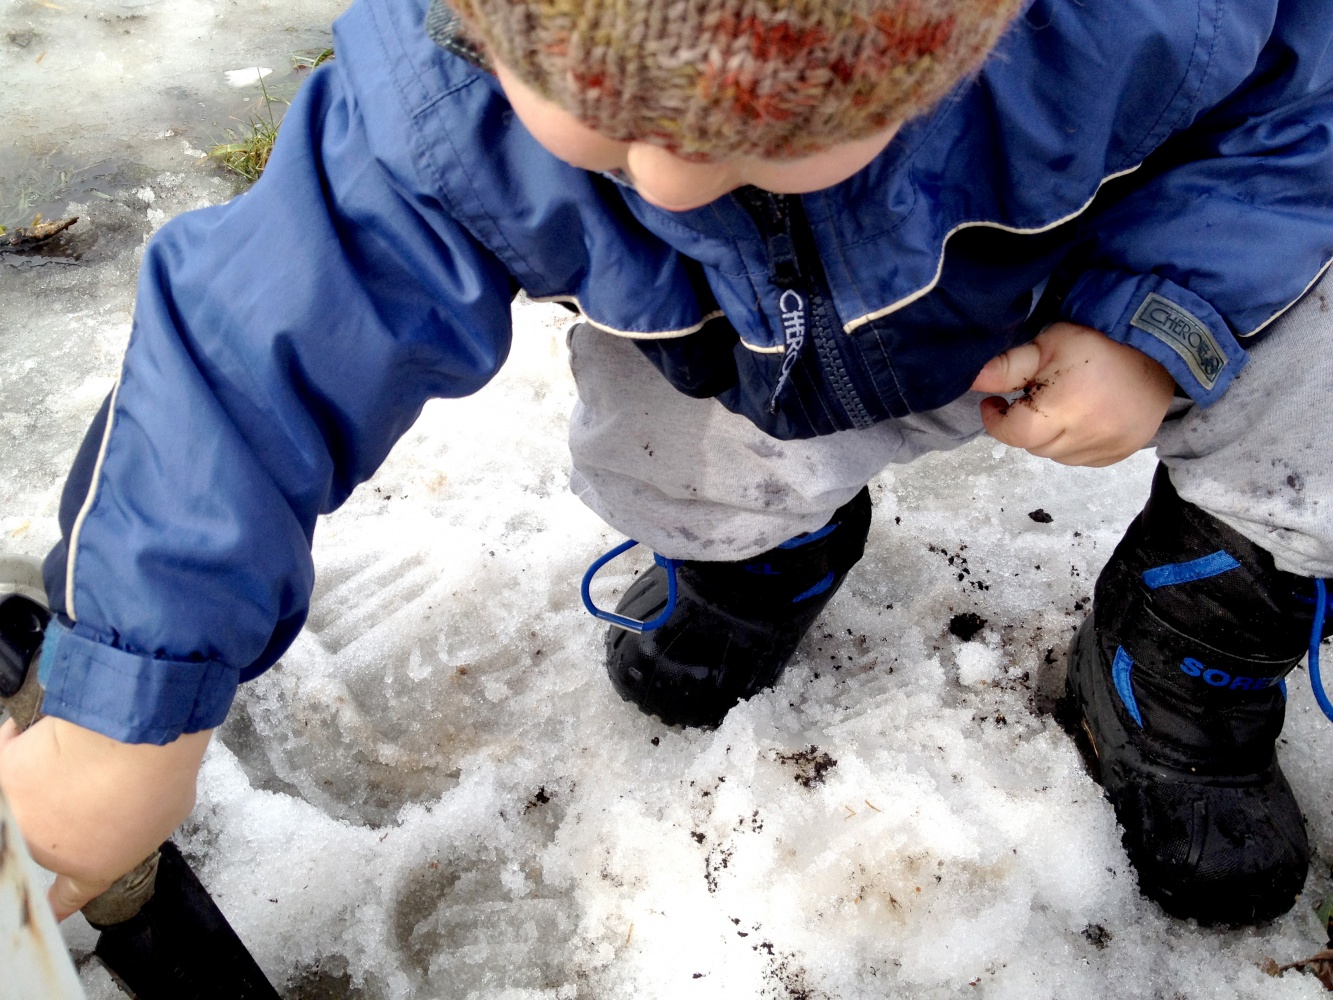
    You don’t have to let the snow stop your children from enjoying nature exploration. Whether you have several feet of snow, slush, or just plain mud in your yard, you can provide tools for your children to create an enchanting natural play area they will adore.

    milo-mud-kitchen
    Over the past few years, some of our kitchen wares have migrated from the kitchen to the backyard into the children’s mud pie kitchen. The kitchen itself travels around the backyard, settling in on a tree stump only to be moved the next hour or day underneath the trampoline, or over into the garden. The important parts are the tools and the imaginations of the children who use them.

    A few things that will make your mudpie kitchen the place to be in your yard:

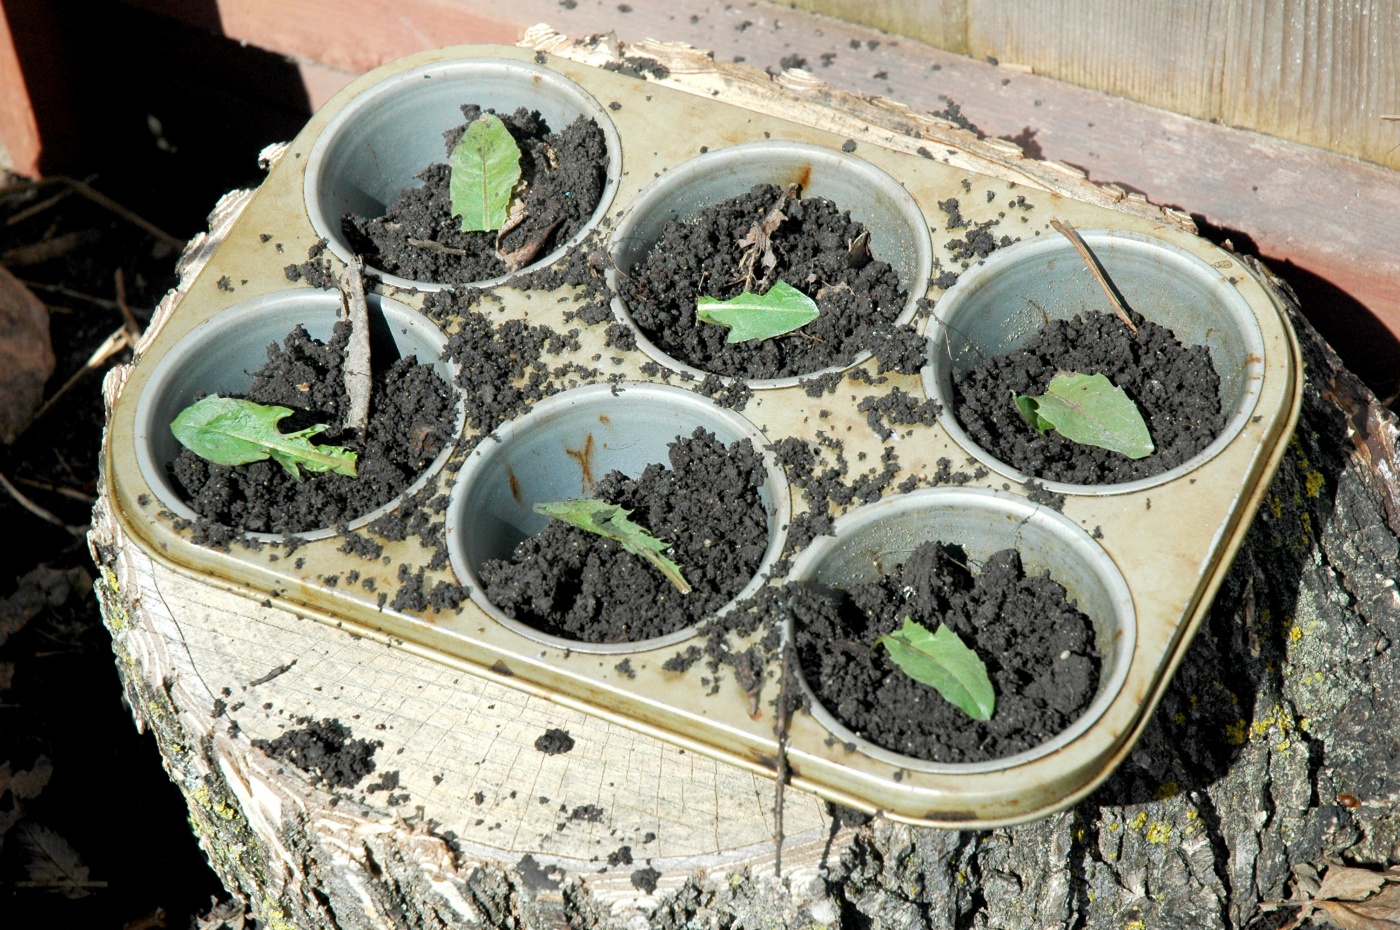
    • muffin tin
    • wooden spoon
    • old pot or pan, or child size versions
    • bread tin
    • strainer/colander
    • baking tray
    • metal or plastic bowls of various sizes
    • tongs, flippers, and other kitchen tools

    If you have small sizes of the above, that will make them easier for little hands to manage, but anything will do. Really.

    mud-muffins


    An adorable little book that I learned about from Ginny over at Small Things, is Mud Pies and Other Recipes by Marjorie Winslow. Overflowing with charming illustrations and recipes – from Wood Chip Dip to Pine Needle Upside-Down Cake, it is a great addition to the bookshelf and would be a sweet gift, especially paired with a second hand muffin tin and wooden spoon.

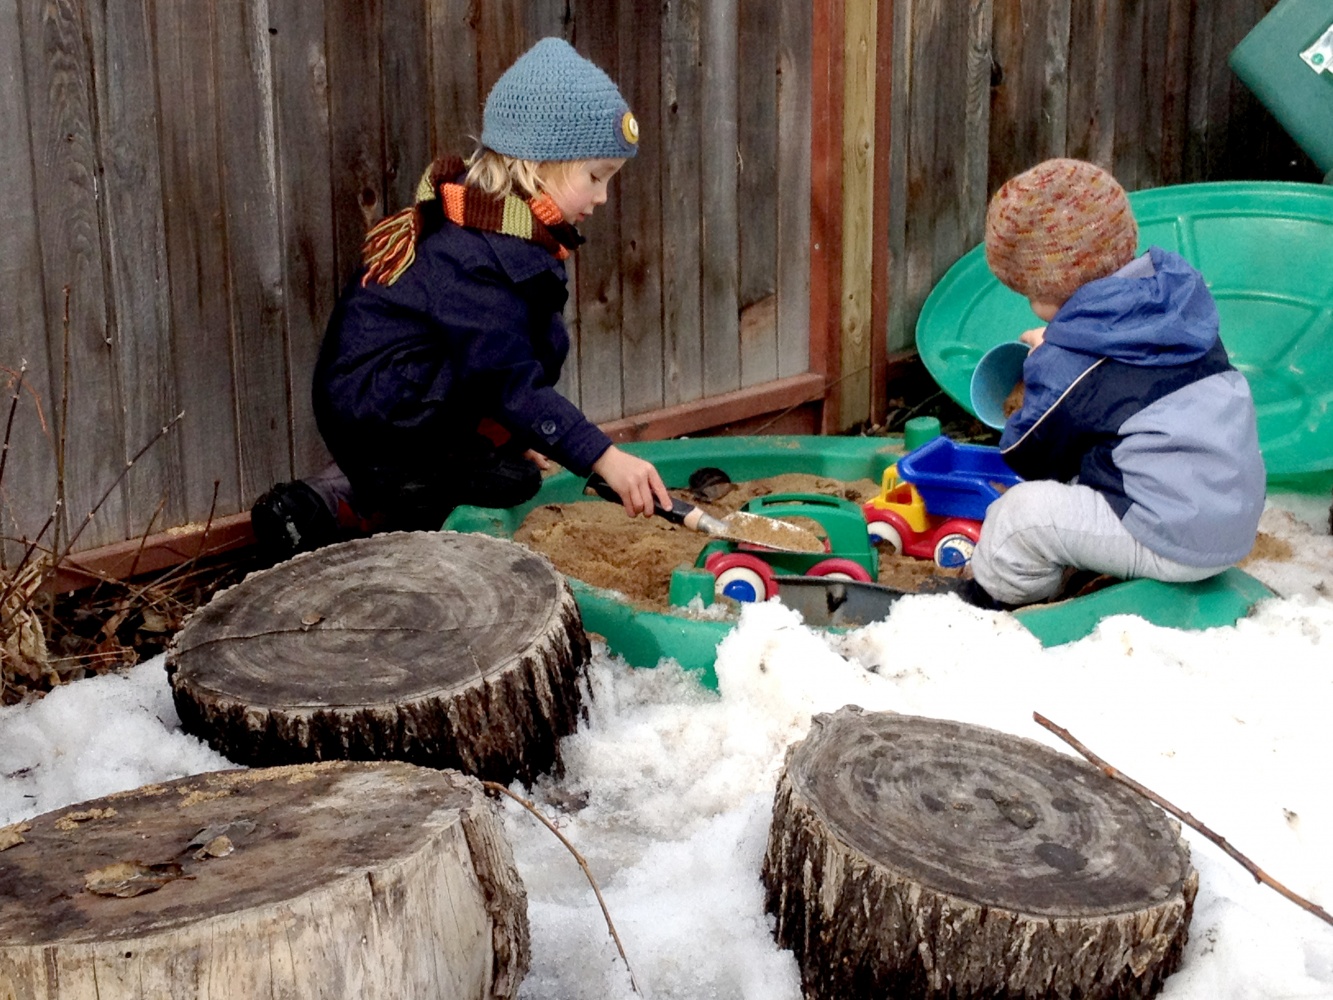
    When the need to move on from the mud kitchen wears off – don’t overlook the novelty of playing in a sandbox surrounded by snow!

    Have fun in your outdoor kitchen this spring!

    boys-snowy-sandbox


  • Sling Shots, Oh My

    Sling Shots, Oh My

    When my boys were just infants and even toddlers, I may have sworn that we’d never get a slingshot. Well, as those same boys have grown, I’ve grown alongside them and my ideas about these things have changed, even if ever so slightly.

    As part of our homeschooling journey, we choose to let our kindergartener guide a lot of his own learning (and therefore our own). When asked where Cohen got the idea to own a slingshot, my husband replied, “Oh, I think the idea of primitive weapons just appeals to any boy.” Well, our boy for certain! Oh my.

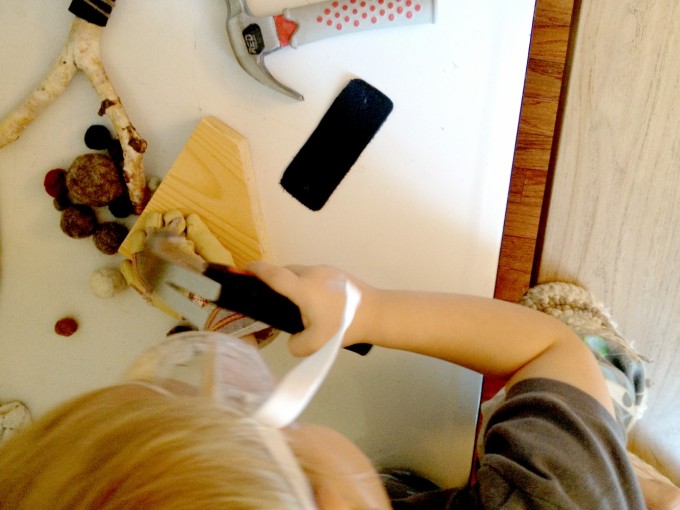
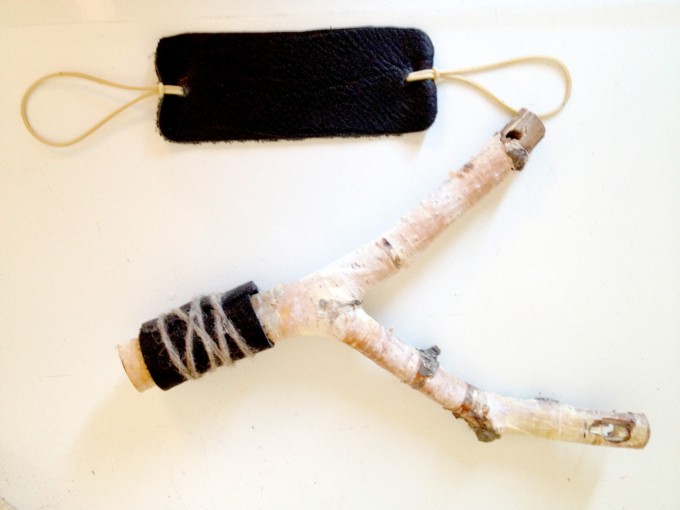
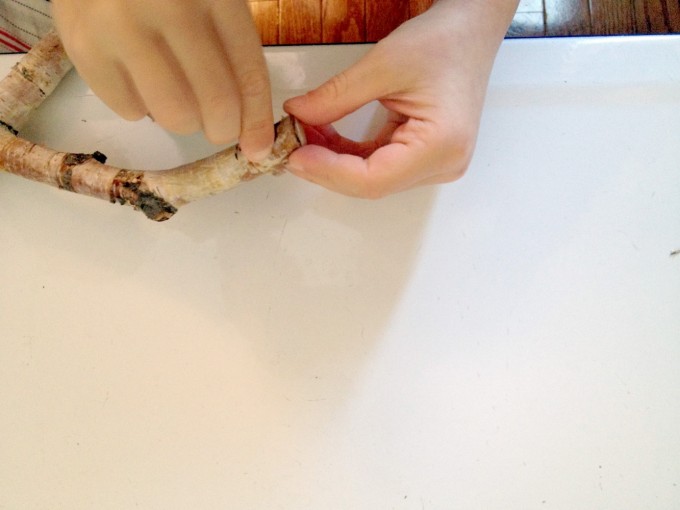
    We happened to have the materials on hand and decided to collaborate on a hand-crafted slingshot.

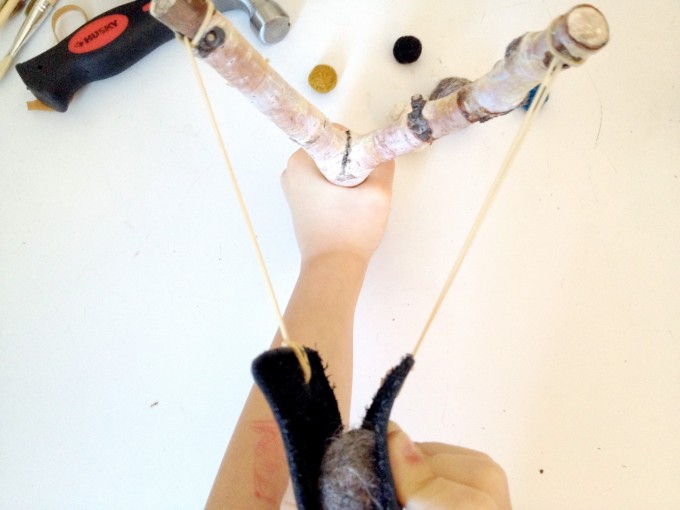
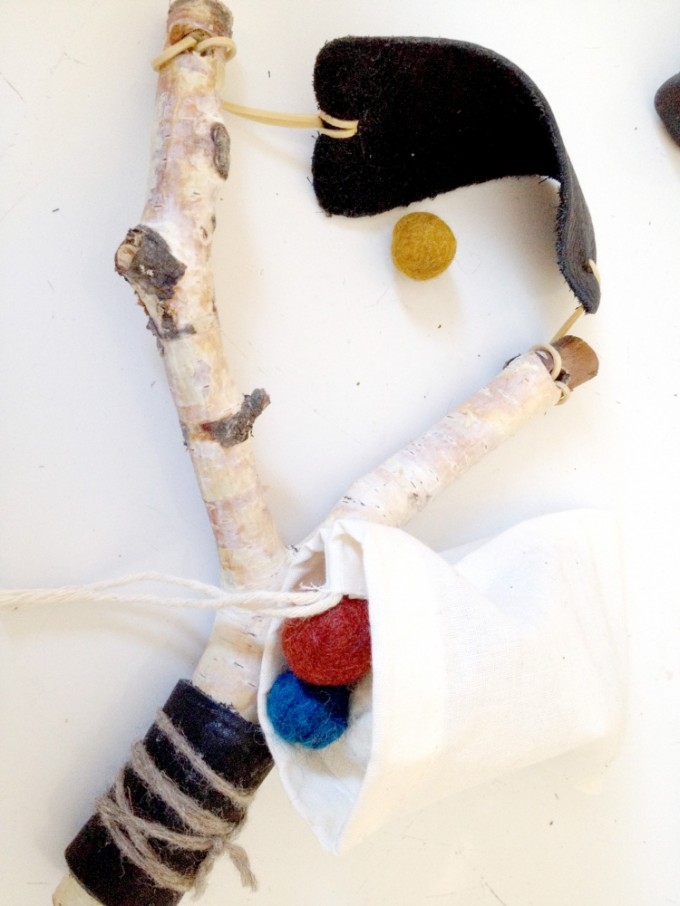
    Part of this process was figuring out how to have a slingshot and use it safely. Cohen decided to make some felted balls for the slingshot, to keep things soft and fuzzy, and we came up with a set of guidelines together. We haven’t had any problems so far and he has so much pride in his hand-crafted toy and so much joy in his play.

    slingshot 8 slingshot 7 slingshot 5 slingshot 6 Slingshot and Pouch